Page 195 of 542

UNDERSTANDING YOUR INSTRUMENT PANEL
CONTENTS
�INSTRUMENT PANEL FEATURES ...........195
� INSTRUMENT CLUSTER ..................196
� WARNING AND INDICATOR LIGHTS ........200
▫ Red Telltale Indicator Lights ...............201
▫ Yellow Telltale Indicator Lights .............208
▫ Green Telltale Indicator Lights ..............219
▫ Blue Telltale Indicator Lights ...............221
▫ White Telltale Indicator Lights ..............222
� INSTRUMENT CLUSTER DISPLAY ...........223
▫ Instrument Cluster Display Controls .........223
▫ Instrument Cluster Display Screens ..........225
▫ Oil Life Reset ......................... .227
▫ Instrument Cluster Display Selectable Menu
Items .............................. .228▫
Instrument Cluster Display Messages .........235
▫ Battery Saver On/Battery Saver Mode Message —
Electrical Load Reduction Actions —
If Equipped ......................... .237
� CYBERSECURITY ....................... .239
� UCONNECT SETTINGS ...................240
▫ Buttons On The Faceplate .................241
▫ Buttons On The Touchscreen ...............242
▫ Customer Programmable Features —
Uconnect 5.0 Personal Settings ..............242
▫ Customer Programmable Features —
Uconnect 8.4/8.4 NAV Personal Settings ......259
� UCONNECT RADIOS — IF EQUIPPED ........276
� IPOD/USB/MP3 CONTROL — IF EQUIPPED . . . .276
� STEERING WHEEL AUDIO CONTROLS — IF
EQUIPPED ........................... .2774
Page 196 of 542

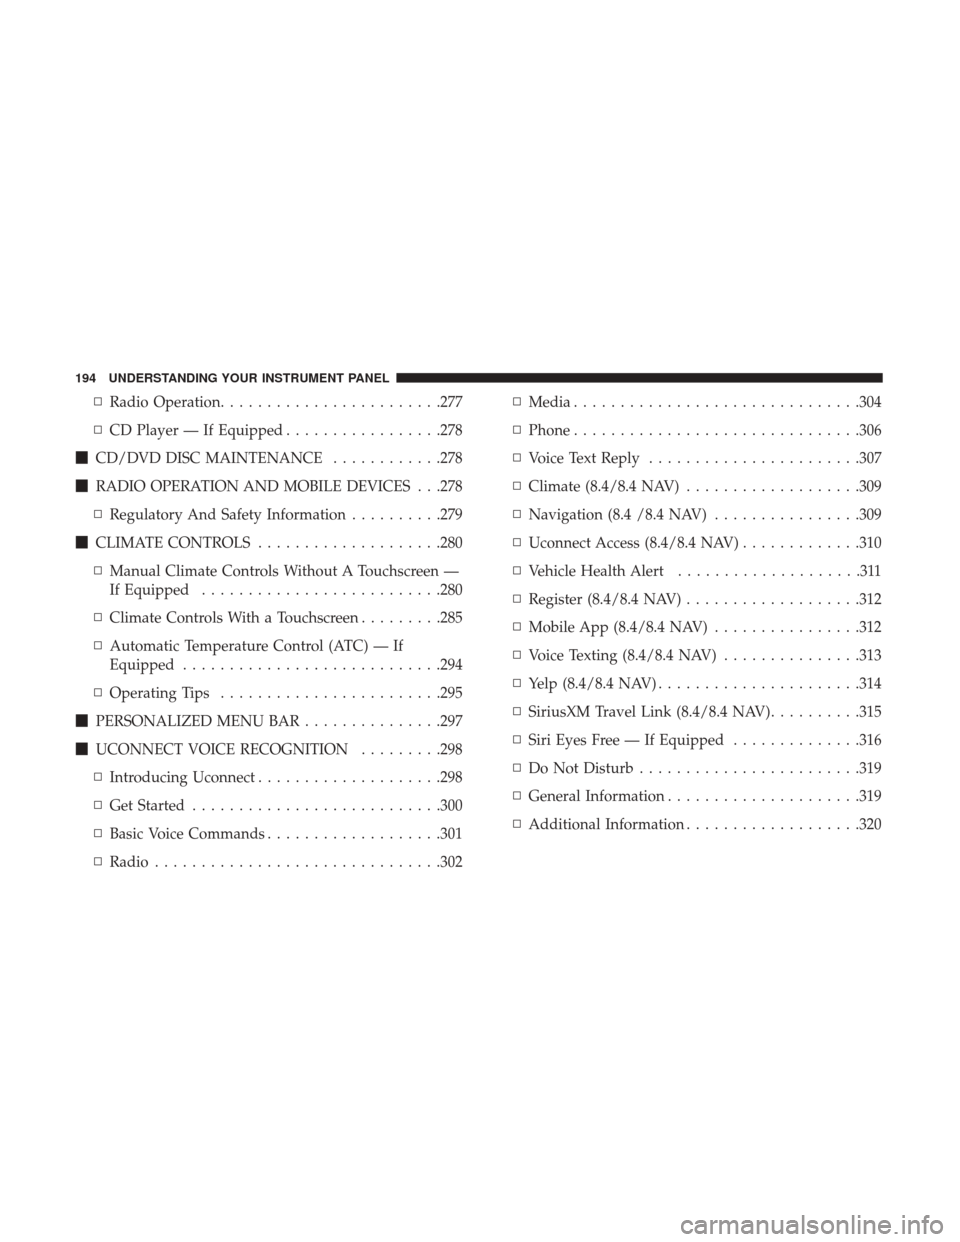
▫Radio Operation ....................... .277
▫ CD Player — If Equipped .................278
� CD/DVD DISC MAINTENANCE ............278
� RADIO OPERATION AND MOBILE DEVICES . . .278
▫ Regulatory And Safety Information ..........279
� CLIMATE CONTROLS ....................280
▫ Manual Climate Controls Without A Touchscreen —
If Equipped ......................... .280
▫ Climate Controls With a Touchscreen .........285
▫ Automatic Temperature Control (ATC) — If
Equipped ........................... .294
▫ Operating Tips ....................... .295
� PERSONALIZED MENU BAR ...............297
� UCONNECT VOICE RECOGNITION .........298
▫ Introducing Uconnect ....................298
▫ Get Started .......................... .300
▫ Basic Voice Commands ...................301
▫ Radio .............................. .302▫
Media .............................. .304
▫ Phone .............................. .306
▫ Voice Text Reply ...................... .307
▫ Climate (8.4/8.4 NAV) ...................309
▫ Navigation (8.4 /8.4 NAV) ................309
▫ Uconnect Access (8.4/8.4 NAV) .............310
▫ Vehicle Health Alert ....................311
▫ Register (8.4/8.4 NAV) ...................312
▫ Mobile App (8.4/8.4 NAV) ................312
▫ Voice Texting (8.4/8.4 NAV) ...............313
▫ Y
elp (8.4/8.4 NAV) ..................... .314
▫ SiriusXM Travel Link (8.4/8.4 NAV) ..........315
▫ Siri Eyes Free — If Equipped ..............316
▫ Do Not Disturb ....................... .319
▫ General Information .....................319
▫ Additional Information ...................320
194 UNDERSTANDING YOUR INSTRUMENT PANEL
Page 197 of 542
INSTRUMENT PANEL FEATURES
1 — Headlight Switch7 — 115v Power Inverter Outlet13 — Gear Selector/Transfer Case Position
Switch — If Equipped
2 — Instrument Cluster 8 — Power Outlet — If Equipped14 — Ignition Switch
3 — Radio 9 — Lower Switch Bank15 — Hood Release
4 — Hazard Switch 10 — Instrument Panel Drawer16 — Parking Brake Release
5 — Upper Glove Compartment 11 — Climate Controls
6 — Lower Glove Compartment 12 — Power Outlet/Cigar Lighter — If
Equipped
4
UNDERSTANDING YOUR INSTRUMENT PANEL 195
Page 226 of 542
The instrument cluster display menu items may consist of
the following:
•Speedometer
• Vehicle Info
• Fuel Economy Info
• Trip A
• Trip B
• Audio •
Trailer Tow
• Stored Messages
• Screen Setup
• Vehicle Settings (Not Equipped with a Uconnect 5.0 &
8.4 radio)
The system allows the driver to select information by
pushing the following instrument cluster display control
buttons located on the left side of the steering wheel:
Premium Instrument Cluster Display
Instrument Cluster Display Control Buttons
224 UNDERSTANDING YOUR INSTRUMENT PANEL
Page 233 of 542

Vehicle Settings Menu Item
Personal Settings allows the driver to set and recall features
when the transmission is in PARK.
Push and release theupand down button until Settings
displays in the instrument cluster display.
Follow the prompts to display and set any of the following
Vehicle Settings. NOTE:
Your vehicle may be equipped with the following
settings.
• If equipped with a base radio (Non-Touchscreen) Vehicle
Settings will be included in the instrument cluster dis-
play.
• If equipped with a Touchscreen radio, the Vehicle Set-
tings will be included in the radio head unit.
Setting Names Setting Names Abbreviated
(Left Submenu Layer) Sub-Menus
(Right Submenu Layer)
1 Language Select LanguageEnglish, Spanish, French, Italian,
German, Dutch
2 Units UnitsU.S.; Metric
3 ParkSense ParkSense
•Notification — Sound Only;
Sound & Display
• Front Volume —
Low; Medium; High
• Rear Volume —
Low; Medium; High
4 Tilt Mirror in Reverse Tilt Mirror in R On; Off
5 Rain Sensing Wipers Auto WipersOn; Off
6 Hill Start Assist Hill Start Assist On; Off
4
UNDERSTANDING YOUR INSTRUMENT PANEL 231
Page 240 of 542

Loss of the battery charge may indicate one or more of the
following conditions:
•The charging system cannot deliver enough electrical
power to the vehicle system because the electrical loads
are larger than the capability of charging system. The
charging system is still functioning properly.
• Turning on all possible vehicle electrical loads (e.g.
HVAC to max settings, exterior and interior lights,
overloaded power outlets +12V, 115V AC, USB ports)
during certain driving conditions (city driving, towing,
frequent stopping).
•
Installing options like additional lights, upfitter electrical
accessories, audio systems, alarms and similar devices.
• Unusual driving cycles (short trips separated by long
parking periods).
• The vehicle was parked for an extended period of time
(weeks, months).
• The battery was recently replaced and was not charged
completely.
• The battery was discharged by an electrical load left on
when the vehicle was parked. •
The battery was used for an extended period with the
engine not running to supply radio, lights, chargers,
+12V portable appliances like vacuum cleaners, game
consoles and similar devices.
What to do when an electrical load reduction action
message is present (“Battery Saver On” or “Battery Saver
Mode”)
During a trip:
• Reduce power to unnecessary loads if possible:
– Turn off redundant lights (interior or exterior)
– Check what may be plugged in to power outlets +12V, 115V AC, USB ports
– Check HVAC settings (blower, temperature)
– Check the audio settings (volume)
After a trip:
• Check if any aftermarket equipment was installed (ad-
ditional lights, upfitter electrical accessories, audio sys-
tems, alarms) and review specifications if any (load and
Ignition Off Draw currents).
• Evaluate the latest driving cycles (distance, driving time
and parking time).
238 UNDERSTANDING YOUR INSTRUMENT PANEL
Page 242 of 542

NOTE:
•FCA or your dealer may contact you directly regarding
software updates.
• To help further improve vehicle security and minimize
the potential risk of a security breach, vehicle owners
should:
• Routinely check www.driveuconnect.com/software-
update to learn about available Uconnect software
updates.
• Only connect and use trusted media devices (e.g.
personal mobile phones, USBs, CDs).
Privacy of any wireless and wired communications cannot
be assured. Third parties may unlawfully intercept infor-
mation and private communications without your consent.
For further information, refer to “Privacy Practices - If
Equipped with Uconnect 8.4 Radio” in your Uconnect
Owner ’s Manual Supplement and “Onboard Diagnostic
System (OBD II) Cybersecurity” in “Maintaining Your
Vehicle”.UCONNECT SETTINGS
The Uconnect system uses a combination of buttons on the
touchscreen and buttons on the faceplate located on the
center of the instrument panel that allows you to access
and change the customer programmable features. Many
features can vary by vehicle.
Uconnect 3.0 Power Hard Button
240 UNDERSTANDING YOUR INSTRUMENT PANEL
Page 248 of 542

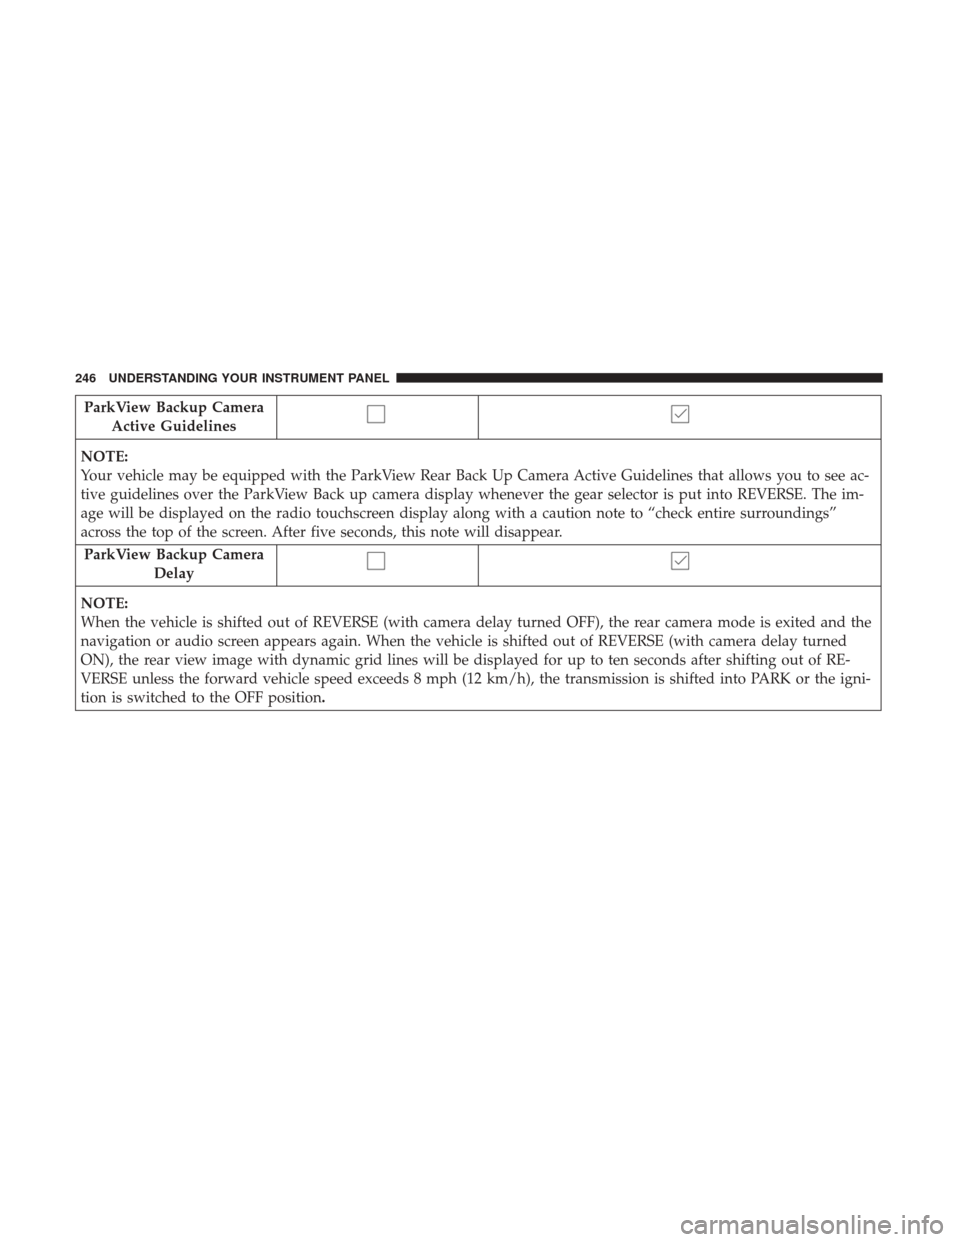
ParkView Backup CameraActive Guidelines
NOTE:
Your vehicle may be equipped with the ParkView Rear Back Up Camera Active Guidelines that allows you to see ac-
tive guidelines over the ParkView Back up camera display whenever the gear selector is put into REVERSE. The im-
age will be displayed on the radio touchscreen display along with a caution note to “check entire surroundings”
across the top of the screen. After five seconds, this note will disappear.
ParkView Backup Camera Delay
NOTE:
When the vehicle is shifted out of REVERSE (with camera delay turned OFF), the rear camera mode is exited and the
navigation or audio screen appears again. When the vehicle is shifted out of REVERSE (with camera delay turned
ON), the rear view image with dynamic grid lines will be displayed for up to ten seconds after shifting out of RE-
VERSE unless the forward vehicle speed exceeds 8 mph (12 km/h), the transmission is shifted into PARK or the igni-
tion is switched to the OFF position.
246 UNDERSTANDING YOUR INSTRUMENT PANEL