Page 108 of 542
 or 3G(data) network connect")
WARNING!
ALWAYS obey traffic laws and pay attention to the
road. Some Uconnect Access services, including 9-1-1
and Assist, will NOT work without an operable
1X(voice/data) or 3G(data) network connection.
NOTE:
• Your vehicle may be transmitting data as authorized by
the subscriber.
• Never place anything on or near the vehicle’s 1X(voice/
data) or 3G(data) and GPS antennas. You could prevent
1X(voice/data) or 3G(data) and GPS signal reception,
which can prevent your vehicle from placing an emer-
gency call. An operable 1X(voice/data) or 3G(data)
network connection and a GPS signal is required for the
9-1-1 Call system to function properly.
General Information
This device complies with Part 15 of the FCC Rules.
Operation is subject to the following two conditions: (1)
This device may not cause harmful interference, and (2)
this device must accept any interference received, includ-
ing interference that may cause undesired operation. NOTE:
Changes or modifications not expressly approved
by the party responsible for compliance could void the
user’s authority to operate the equipment.
CAUTION!
To avoid damage to the mirror during cleaning, never
spray any cleaning solution directly onto the mirror.
Apply the solution onto a clean cloth and wipe the
mirror clean.
Automatic Dimming Mirror With Rear View Camera
Display — If Equipped
A single ball joint mirror is provided in the vehicle. It is a
twist on mirror that has a fixed position at the windshield.
The mirror installs on the windshield button with a coun-
terclockwise rotation and requires no tools for mounting.
The mirror head can be adjusted up, down, left, and right
for various drivers. The mirror should be adjusted to center
on the view through the rear window.
This mirror automatically adjusts for headlight glare from
vehicles behind you.
106 UNDERSTANDING THE FEATURES OF YOUR VEHICLE
Page 111 of 542
To adjust a mirror, push either the L (left) or R (right)
button to select the mirror that you want to adjust.
Using the mirror control switch, push on any of the four
arrows for the direction that you want the mirror to move.
Heated Mirrors — If Equipped
These mirrors are heated to melt frost or ice. This
feature will be activated whenever you turn on the
rear window defroster (if equipped). Refer to “Rear Win-
dow Features” in “Understanding The Features Of Your
Vehicle” for further information.
Power Mirror Controls
1 — Mirror Select Buttons
2 — Four-Way Mirror Control Switch
Power Mirror Movement
3
UNDERSTANDING THE FEATURES OF YOUR VEHICLE 109
Page 165 of 542
Turning Rear View Camera Image On:
1. Press the�Controls�button located on the bottom of the
Uconnect display.
2. Press the �Backup Camera� button
to turn the Rear
View Camera system on.
NOTE: Once initiated by the �Backup Camera�button, the
Rear View Camera image may be deactivated by pressing
the �X�button on the touchscreen. On deactivation, the
previous selected screen will appear.
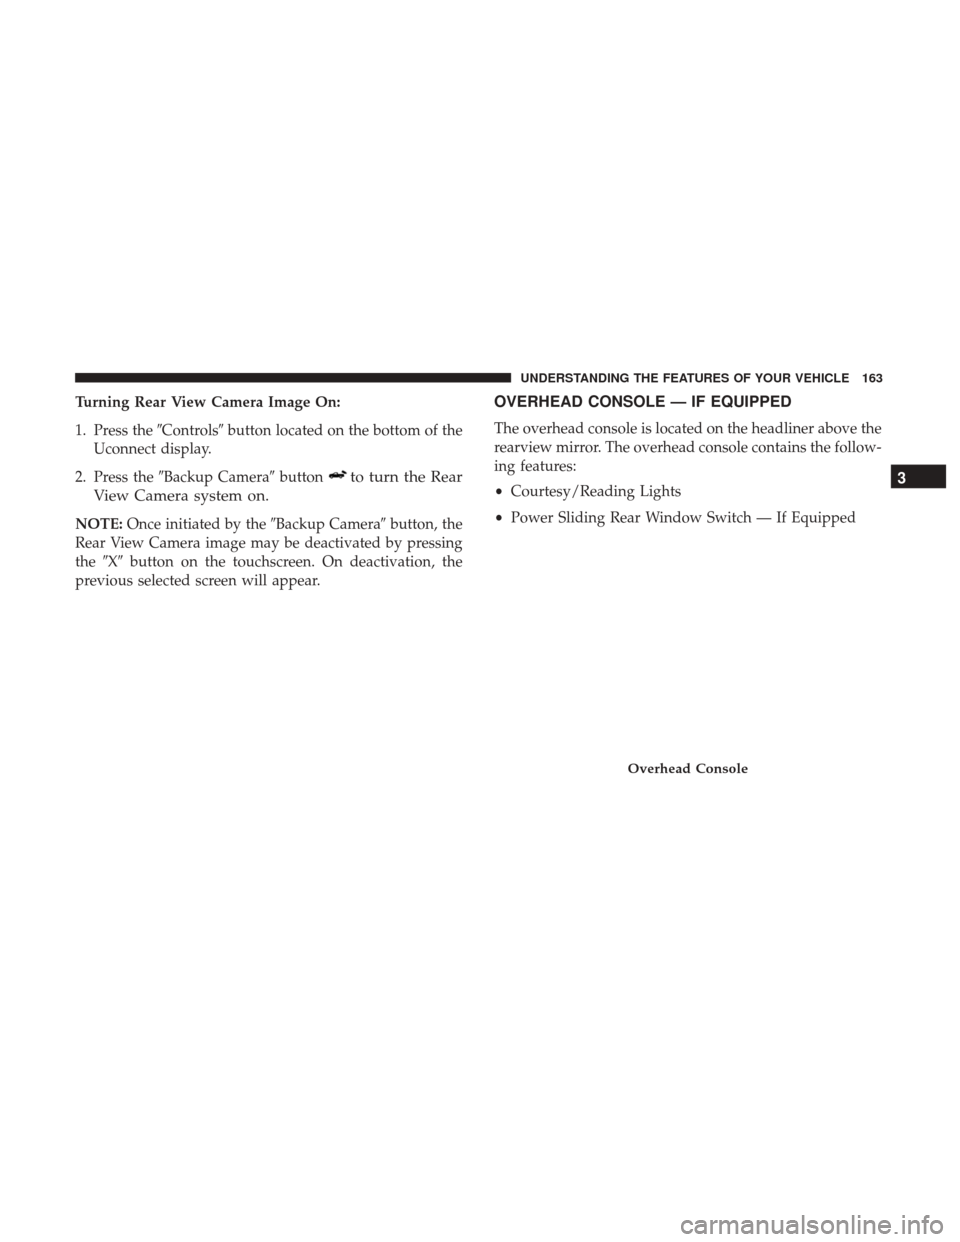
OVERHEAD CONSOLE — IF EQUIPPED
The overhead console is located on the headliner above the
rearview mirror. The overhead console contains the follow-
ing features:
• Courtesy/Reading Lights
• Power Sliding Rear Window Switch — If Equipped
Overhead Console
3
UNDERSTANDING THE FEATURES OF YOUR VEHICLE 163
Page 189 of 542

Retainer hooks which will hold plastic grocery bag handles
are built into the back panel of the cab, behind the rear seat.
REAR WINDOW FEATURES
Rear")
Plastic Grocery Bag Retainers (Regular Cab
Models)
Retainer hooks which will hold plastic grocery bag handles
are built into the back panel of the cab, behind the rear seat.
REAR WINDOW FEATURES
Rear Window Defroster
The rear window defroster button is located on the
climate control panel. Push this button to turn on
the rear window defroster and the heated outside mirrors
(if equipped). An indicator in the button will illuminate
when the rear window defroster is on. The rear window
defroster automatically turns off after approximately 10
minutes. For an additional five minutes of operation, push
the button a second time.
NOTE: To prevent excessive battery drain, use the rear
window defroster only when the engine is operating.
CAUTION!
Failure to follow these cautions can cause damage to
the heating elements:
• Use care when washing the inside of the rear win-
dow. Do not use abrasive window cleaners on the
interior surface of the window. Use a soft cloth and a
(Continued)
Grocery Bag Hooks
3
UNDERSTANDING THE FEATURES OF YOUR VEHICLE 187
Page 190 of 542
CAUTION!(Continued)
mild washing solution, wiping parallel to the heat-
ing elements. Labels can be peeled off after soaking
with warm water.
• Do not use scrapers, sharp instruments, or abrasive
window cleaners on the interior surface of the
window.
• Keep all objects a safe distance from the window.
Power Sliding Rear Window — If Equipped
The switch for the power sliding rear window is located on
the overhead console.
Push the switch to the right to open the glass. Pull the
switch to the left to close the glass.
Manual Sliding Rear Window — If Equipped
A locking device in the center of the window helps to
prevent entry from the rear of the vehicle. Squeeze the lock
to release the window.
Rear Window Switch
188 UNDERSTANDING THE FEATURES OF YOUR VEHICLE
Page 273 of 542

Setting NameSelectable Options
NOTE:
When the “Auto-On Driver Heated/Ventilated Seat & Steering Wheel With Vehicle Start” feature is selected the driv-
er’s heated seat and heated steering wheel will automatically turn on when temperatures are below 40° F (4.4° C).
When temperatures are above 80° F (26.7° C), the driver vented seat will turn on.
Engine Off Options
After pressing the “Engine Off Options” button on the touchscreen, the following settings will be available:
Setting Name Selectable Options
Engine Off Power Delay +–
NOTE:
When the “Engine Off Power Delay” feature is selected, the power window switches, radio, Uconnect phone system
(if equipped), DVD video system (if equipped), power sunroof (if equipped), and power outlets will remain active for
up to ten minutes after the ignition is cycled to OFF. Opening either front door will cancel this feature. Headlight Off Delay +–
NOTE:
When the “Headlight Off Delay” feature is selected, the driver can choose to have the headlights remain on for 0, 30,
60, or 90 seconds when exiting the vehicle.
4
UNDERSTANDING YOUR INSTRUMENT PANEL 271
Page 283 of 542

Manual Climate Control Descriptions
IconDescription
MAX A/C Setting
Rotate the Temperature Control Knob counterclockwise until it is set to MAX A/C. This is the
coldest setting and will put the A/C to its maximum power.
A/C Button
Push the A/C button to engage the Air Conditioning (A/C). A LED will illuminate when the
A/C system is engaged.
Recirculation Button
Push and release this button to change the system between recirculation mode and outside air
mode. Recirculation can be used when outside conditions such as smoke, odors, dust, or high
humidity are present.
NOTE:
•Continuous use of the Recirculation mode may make the inside air stuffy and window fog-
ging may occur. Extended use of this mode is not recommended.
•The use of the Recirculation mode in cold or damp weather could cause windows to fog on
the inside, because of moisture buildup inside the vehicle. Select the outside air position for
maximum defogging.
•Recirculation can be used in all modes except for Defrost.
•The A/C can be deselected manually without disturbing the mode control selection.
4
UNDERSTANDING YOUR INSTRUMENT PANEL 281
Page 284 of 542

IconDescription
Front Defrost Setting
Turn the Mode Control knob to the Defrost mode. Air comes from the windshield and side win-
dow demist outlets. When the defrost setting is selected, the blower level will increase. Use De-
frost mode with maximum temperature settings for best windshield and side window defrosting
and defogging.
Rear Defrost Button
Push and release the Rear Defrost Control button to turn on the rear window defroster and the
heated outside mirrors (if equipped). An indicator will illuminate when the rear window de-
froster is on. The rear window defroster automatically turns off after ten minutes.
Temperature Control
Use this control knob to regulate the temperature of the air inside the passenger compartment.
Rotating the knob counterclockwise, from top center into the blue area of the scale, indicates
cooler temperatures. Rotating the knob clockwise, into the red area, indicates warmer tempera-
tures.
Blower Control
There are seven blower speeds. Use this control knob to regulate the amount of air forced
through the system in any mode you select. The blower speed increases as you move the con-
trol clockwise from the off position.
NOTE:Depending on the configuration, your vehicle may be equipped with four blower
speeds.
282 UNDERSTANDING YOUR INSTRUMENT PANEL
 or R (right)
button to select the mirror that you want to adjust.
Using the mirror control switch, push on any of the four
arrows for the direction that yo")

mild washing solution, wiping parallel to the heat-
ing elements. Labels can be peeled off after soaking
with warm water.
• Do not use scrapers, sharp instruments, or abrasive
wi")