Page 132 of 542

Automatic High Beam Headlamp Control — If
Equipped
The Automatic High Beam Headlamp Control system
provides increased forward lighting at night by automat-
ing high beam control through the use of a digital camera
mounted on the inside rearview mirror. This camera de-
tects vehicle specific light and automatically switches from
high beams to low beams until the approaching vehicle is
out of view.
NOTE:
•If your vehicle is equipped with a touchscreen, the
Automatic High Beam Headlamp Control can be turned
on or off using the Uconnect System. Refer to “Uconnect
Settings” in “Understanding Your Instrument Panel” for
further information.
• If your vehicle is not equipped with a touchscreen, the
Automatic High Beam Headlamp Control can be turned
on or off using the instrument cluster display. Refer to
“Instrument Cluster Display” in “Understanding Your
Instrument Panel” for further information.
• Broken, muddy, or obstructed headlights and taillights
of vehicles in the field of view will cause headlights to
remain on longer (closer to the vehicle). Also, dirt, film, and other obstructions on the windshield or camera lens
will cause the system to function improperly.
• To opt out of the Advanced Auto High-Beam Sensitivity
Control (default) and enter Reduced High-Beam Sensi-
tivity Control (not recommended), toggle the high beam
lever six full on/off cycles within 10 seconds of ignition
ON. System will return to default setting upon ignition
off.
If the windshield or Automatic High Beam Headlamp
Control mirror is replaced, the mirror must be re-aimed to
ensure proper performance. See your local authorized
dealer.
To Activate
1. If your vehicle is equipped with a touchscreen, the Automatic High Beams are enabled through the
Uconnect system. Refer to “Uconnect Settings” in “Un-
derstanding Your Instrument Panel” for further infor-
mation.
If your vehicle is not equipped with a touchscreen, the
Automatic High Beams are enabled through the instru-
ment cluster display. Refer to “Instrument Cluster Display”
in “Understanding Your Instrument Panel” for further
information.
130 UNDERSTANDING THE FEATURES OF YOUR VEHICLE
Page 162 of 542

position. A lowered tailgate could provide a false indi-
cation that an obstacle is behind the vehicle.
WARNING!
•Drivers must be careful when backing up even when
using ParkSense. Always check carefully behind
your vehicle, look behind you, and be sure to check
for pedestrians, animals, other vehicles, obstructions,
and blind spots before backing up. You are respon-
sible for safety and must continue to pay attention to
your surroundings. Failure to do so can result in
serious injury or death.
• Before using ParkSense, it is strongly recommended
that the ball mount and hitch ball assembly is
disconnected from the vehicle when the vehicle is
not used for towing. Failure to do so can result in
injury or damage to vehicles or obstacles because the
hitch ball will be much closer to the obstacle than the
rear fascia when the loudspeaker sounds the con-
tinuous tone. Also, the sensors could detect the ball
mount and hitch ball assembly, depending on its size
and shape, giving a false indication that an obstacle
is behind the vehicle.
CAUTION!
• ParkSense is only a parking aid and it is unable to
recognize every obstacle, including small obstacles.
Parking curbs might be temporarily detected or not
detected at all. Obstacles located above or below the
sensors will not be detected when they are in close
proximity.
• The vehicle must be driven slowly when using
ParkSense in order to be able to stop in time when an
obstacle is detected. It is recommended that the
driver looks over his/her shoulder when using
ParkSense.
PARKVIEW REAR BACK UP CAMERA — IF
EQUIPPED
Your vehicle may be equipped with the ParkView Rear
Back Up Camera that allows you to see a image of the rear
surroundings of your vehicle whenever the gear selector is
put into REVERSE or whenever it is initiated through the
�Backup Camera� button in the�Controls�menu. Whenever
the gear selector is put into REVERSE, the image will be
displayed in the rearview mirror display (if equipped) or
160 UNDERSTANDING THE FEATURES OF YOUR VEHICLE
Page 165 of 542
Turning Rear View Camera Image On:
1. Press the�Controls�button located on the bottom of the
Uconnect display.
2. Press the �Backup Camera� button
to turn the Rear
View Camera system on.
NOTE: Once initiated by the �Backup Camera�button, the
Rear View Camera image may be deactivated by pressing
the �X�button on the touchscreen. On deactivation, the
previous selected screen will appear.
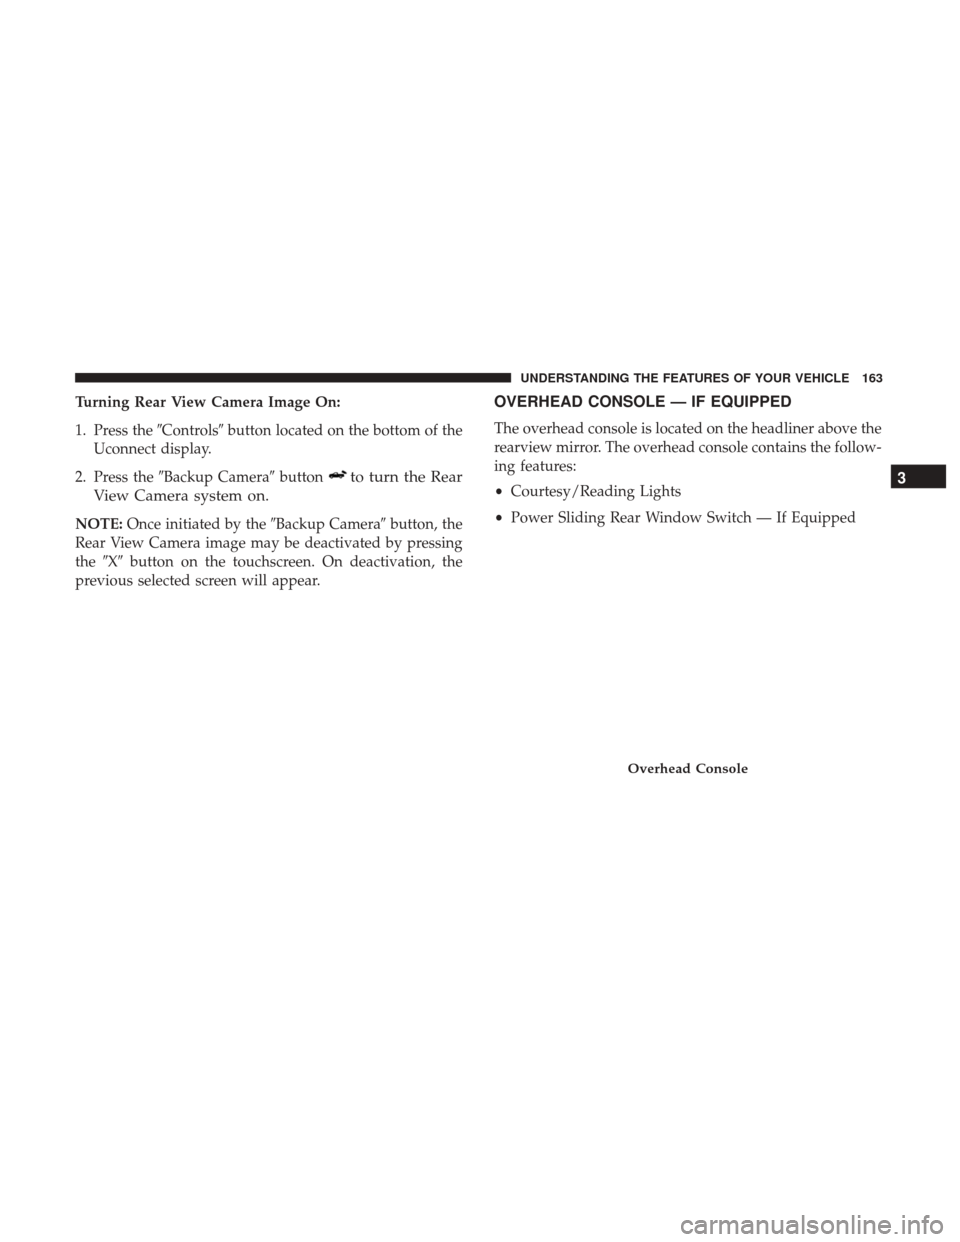
OVERHEAD CONSOLE — IF EQUIPPED
The overhead console is located on the headliner above the
rearview mirror. The overhead console contains the follow-
ing features:
• Courtesy/Reading Lights
• Power Sliding Rear Window Switch — If Equipped
Overhead Console
3
UNDERSTANDING THE FEATURES OF YOUR VEHICLE 163
Page 189 of 542

Retainer hooks which will hold plastic grocery bag handles
are built into the back panel of the cab, behind the rear seat.
REAR WINDOW FEATURES
Rear")
Plastic Grocery Bag Retainers (Regular Cab
Models)
Retainer hooks which will hold plastic grocery bag handles
are built into the back panel of the cab, behind the rear seat.
REAR WINDOW FEATURES
Rear Window Defroster
The rear window defroster button is located on the
climate control panel. Push this button to turn on
the rear window defroster and the heated outside mirrors
(if equipped). An indicator in the button will illuminate
when the rear window defroster is on. The rear window
defroster automatically turns off after approximately 10
minutes. For an additional five minutes of operation, push
the button a second time.
NOTE: To prevent excessive battery drain, use the rear
window defroster only when the engine is operating.
CAUTION!
Failure to follow these cautions can cause damage to
the heating elements:
• Use care when washing the inside of the rear win-
dow. Do not use abrasive window cleaners on the
interior surface of the window. Use a soft cloth and a
(Continued)
Grocery Bag Hooks
3
UNDERSTANDING THE FEATURES OF YOUR VEHICLE 187
Page 233 of 542

Vehicle Settings Menu Item
Personal Settings allows the driver to set and recall features
when the transmission is in PARK.
Push and release theupand down button until Settings
displays in the instrument cluster display.
Follow the prompts to display and set any of the following
Vehicle Settings. NOTE:
Your vehicle may be equipped with the following
settings.
• If equipped with a base radio (Non-Touchscreen) Vehicle
Settings will be included in the instrument cluster dis-
play.
• If equipped with a Touchscreen radio, the Vehicle Set-
tings will be included in the radio head unit.
Setting Names Setting Names Abbreviated
(Left Submenu Layer) Sub-Menus
(Right Submenu Layer)
1 Language Select LanguageEnglish, Spanish, French, Italian,
German, Dutch
2 Units UnitsU.S.; Metric
3 ParkSense ParkSense
•Notification — Sound Only;
Sound & Display
• Front Volume —
Low; Medium; High
• Rear Volume —
Low; Medium; High
4 Tilt Mirror in Reverse Tilt Mirror in R On; Off
5 Rain Sensing Wipers Auto WipersOn; Off
6 Hill Start Assist Hill Start Assist On; Off
4
UNDERSTANDING YOUR INSTRUMENT PANEL 231
Page 239 of 542
 to perform additional monitoring of")
Battery Saver On/Battery Saver Mode Message —
Electrical Load Reduction Actions — If Equipped
This vehicle is equipped with an Intelligent Battery Sensor
(IBS) to perform additional monitoring of the electrical
system and status of the vehicle battery.
In cases when the IBS detects charging system failure, or
the vehicle battery conditions are deteriorating, electrical
load reduction actions will take place to extend the driving
time and distance of the vehicle. This is done by reducing
power to or turning off non-essential electrical loads.
Load reduction is only active when the engine is running.
It will display a message if there is a risk of battery
depletion to the point where the vehicle may stall due to
lack of electrical supply, or will not restart after the current
drive cycle.
When load reduction is activated, the message “Battery
Saver On” or “Battery Saver Mode” will appear in the
instrument cluster.
These messages indicate the vehicle battery has a low state
of charge and continues to lose electrical charge at a rate
that the charging system cannot sustain.NOTE:
•
The charging system is independent from load reduc-
tion. The charging system performs a diagnostic on the
charging system continuously.
• If the Battery Charge Warning Light is on it may indicate
a problem with the charging system. Refer to “Battery
Charge Warning Light” in “Understanding Your Instru-
ment Panel” for further information.
The electrical loads that may be switched off (if equipped),
and vehicle functions which can be affected by load
reduction:
• Heated Seat/Vented Seats/Heated Wheel
• Heated/Cooled Cup Holders — If Equipped
• Rear Defroster And Heated Mirrors
• HVAC System
• 115V AC Power Inverter System
• Audio and Telematics System
4
UNDERSTANDING YOUR INSTRUMENT PANEL 237
Page 247 of 542
Safety/Assistance
After pressing the “Safety/Assistance” button on the touchscreen, the following settings will be available:
Setting NameSelectable Options
ParkSense — If Equipped Sound Only Sounds and Display
NOTE:
The ParkSense system will scan for objects behind the vehicle when the transmission gear selector is in REVERSE and
the vehicle speed is less than 7 mph (11 km/h). It will provide an alert (audible and/or visual) to indicate the prox-
imity to other objects. Front ParkSense Chime Volume Low
Med High
Rear ParkSense Chime
Volume — If Equipped Low Med High
Tilt Mirrors In Reverse — If Equipped
NOTE:
When the “Tilt Mirrors In Reverse” feature is selected, the exterior side-view mirrors will tilt downward when the
ignition is in the RUN position and the transmission gear selector is in the REVERSE position. The mirrors will move
back to their previous position when the transmission is shifted out of REVERSE.
4
UNDERSTANDING YOUR INSTRUMENT PANEL 245
Page 266 of 542
Safety & Driving Assistance
After pressing the “Safety & Driving Assistance” button on the touchscreen, the following settings will be available:
Setting NameSelectable Options
ParkSense Sound Only Sound and Display
NOTE:
The Rear Park Assist system will scan for objects behind the vehicle when the transmission gear selector is in RE-
VERSE and the vehicle speed is less than 7 mph (11 km/h). Front ParkSense Chime Volume Low
Med High
Rear ParkSense Chime Volume Low
Med High
Tilt Side Mirrors In Re- verse — If Equipped
NOTE:
When the “Tilt Side Mirrors In Reverse” feature is selected, the outside side-view mirrors will tilt downward when
the ignition is in the RUN position and the transmission gear selector is in the REVERSE position. The mirrors will
move back to their previous position when the transmission is shifted out of REVERSE.
264 UNDERSTANDING YOUR INSTRUMENT PANEL