Page 211 of 542
WARNING!
A malfunctioning catalytic converter, as referenced
above, can reach higher temperatures than in normal
operating conditions. This can cause a fire if you drive
slowly or park over flammable substances such as dry
plants, wood, cardboard, etc. This could result in death
or serious injury to the driver, occupants or others.
CAUTION!
Prolonged driving with the Malfunction Indicator
Light (MIL) on could cause damage to the vehicle
control system. It also could affect fuel economy and
driveability. If the MIL is flashing, severe catalytic
converter damage and power loss will soon occur.
Immediate service is required.
4
UNDERSTANDING YOUR INSTRUMENT PANEL 209
Page 214 of 542

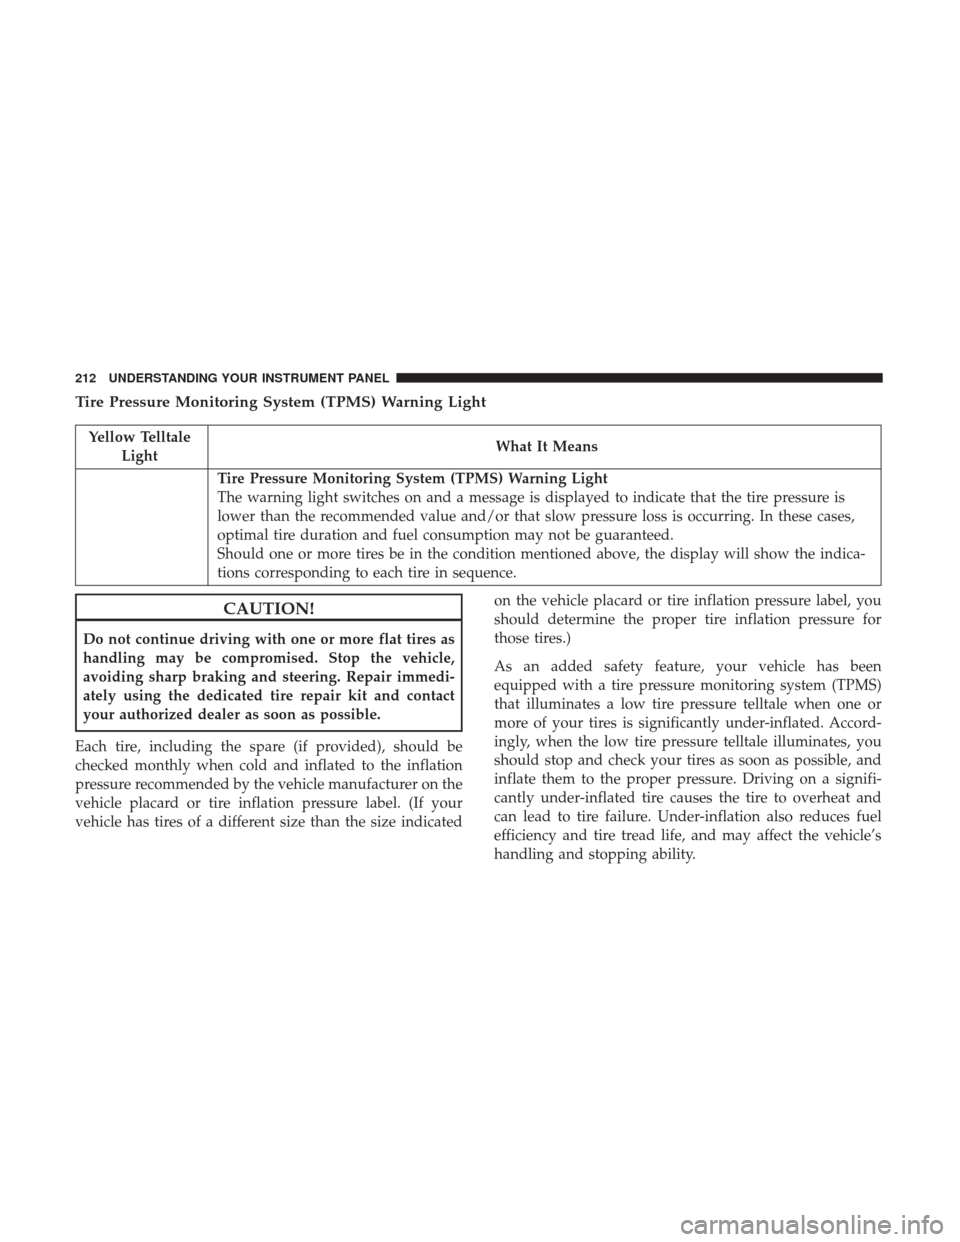
Tire Pressure Monitoring System (TPMS) Warning Light
Yellow TelltaleLight What It Means
Tire Pressure Monitoring System (TPMS) Warning Light
The warning light switches on and a message is displayed to indicate that the tire pressure is
lower than the recommended value and/or that slow pressure loss is occurring. In these cases,
optimal tire duration and fuel consumption may not be guaranteed.
Should one or more tires be in the condition mentioned above, the display will show the indica-
tions corresponding to each tire in sequence.
CAUTION!
Do not continue driving with one or more flat tires as
handling may be compromised. Stop the vehicle,
avoiding sharp braking and steering. Repair immedi-
ately using the dedicated tire repair kit and contact
your authorized dealer as soon as possible.
Each tire, including the spare (if provided), should be
checked monthly when cold and inflated to the inflation
pressure recommended by the vehicle manufacturer on the
vehicle placard or tire inflation pressure label. (If your
vehicle has tires of a different size than the size indicated on the vehicle placard or tire inflation pressure label, you
should determine the proper tire inflation pressure for
those tires.)
As an added safety feature, your vehicle has been
equipped with a tire pressure monitoring system (TPMS)
that illuminates a low tire pressure telltale when one or
more of your tires is significantly under-inflated. Accord-
ingly, when the low tire pressure telltale illuminates, you
should stop and check your tires as soon as possible, and
inflate them to the proper pressure. Driving on a signifi-
cantly under-inflated tire causes the tire to overheat and
can lead to tire failure. Under-inflation also reduces fuel
efficiency and tire tread life, and may affect the vehicle’s
handling and stopping ability.
212 UNDERSTANDING YOUR INSTRUMENT PANEL
Page 216 of 542
Low Fuel Indicator Light
Yellow TelltaleLight What It Means
Low Fuel Indicator Light
When the fuel level reaches approximately 3.0 gal (11.0 L) this light will turn on, and remain on
until fuel is added.
Anti-Lock Brake (ABS) Indicator Light
Yellow Telltale
Light What It Means
Anti-Lock Brake (ABS) Indicator Light
After the ignition is turned on, the Anti-Lock Brake System (ABS) light illuminates to indicate
function check at vehicle startup. If the light remains on after startup or comes on and stays on at
road speeds, it may indicate that the ABS has detected a malfunction or has become inoperative.
The system reverts to standard non-anti-lock brakes.
If both the Brake Warning Light and the ABS Warning Light are on, see an authorized dealer im-
mediately. Refer to “Anti-Lock Brake System” in “Starting And Operating” for further informa-
tion.
214 UNDERSTANDING YOUR INSTRUMENT PANEL
Page 219 of 542
Loose Fuel Filler Cap Indicator Light — If Equipped
Yellow TelltaleLight What It Means
Loose Fuel Filler Cap Indicator Light — If Equipped
This light will illuminate when the fuel filler cap is loose. Properly close the filler cap to disen-
gage the light. If the light does not turn off, please see your authorized dealer.
Service 4WD Indicator Light — If Equipped
Yellow Telltale
Light What It Means
Service 4WD Indicator Light
If the light stays on or comes on during driving, it means that the 4WD system is not functioning
properly and that service is required. We recommend you drive to the nearest service center and
have the vehicle serviced immediately.
4
UNDERSTANDING YOUR INSTRUMENT PANEL 217
Page 226 of 542
The instrument cluster display menu items may consist of
the following:
•Speedometer
• Vehicle Info
• Fuel Economy Info
• Trip A
• Trip B
• Audio •
Trailer Tow
• Stored Messages
• Screen Setup
• Vehicle Settings (Not Equipped with a Uconnect 5.0 &
8.4 radio)
The system allows the driver to select information by
pushing the following instrument cluster display control
buttons located on the left side of the steering wheel:
Premium Instrument Cluster Display
Instrument Cluster Display Control Buttons
224 UNDERSTANDING YOUR INSTRUMENT PANEL
Page 228 of 542

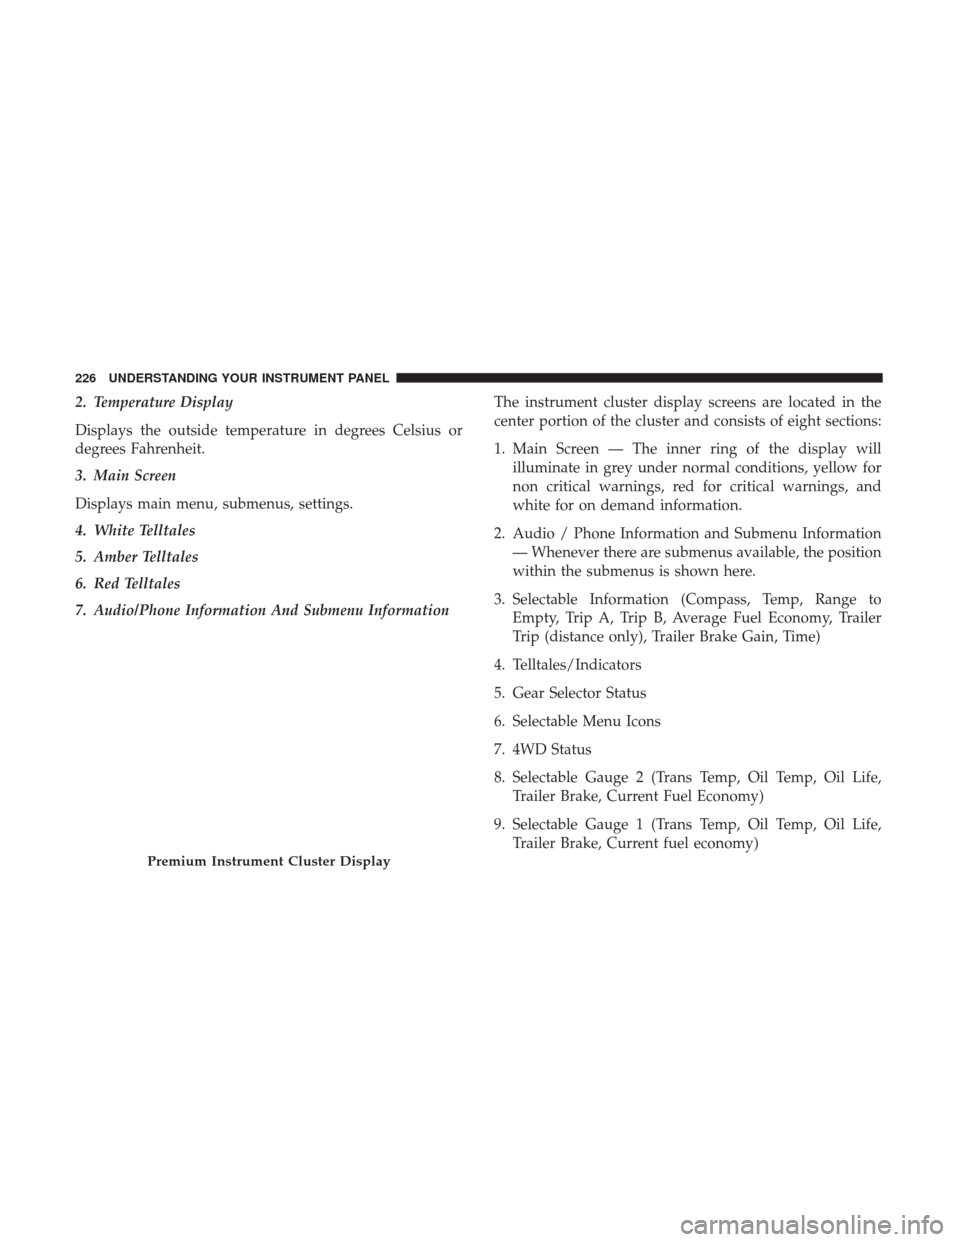
2. Temperature Display
Displays the outside temperature in degrees Celsius or
degrees Fahrenheit.
3. Main Screen
Displays main menu, submenus, settings.
4. White Telltales
5. Amber Telltales
6. Red Telltales
7. Audio/Phone Information And Submenu InformationThe instrument cluster display screens are located in the
center portion of the cluster and consists of eight sections:
1. Main Screen — The inner ring of the display will
illuminate in grey under normal conditions, yellow for
non critical warnings, red for critical warnings, and
white for on demand information.
2. Audio / Phone Information and Submenu Information — Whenever there are submenus available, the position
within the submenus is shown here.
3. Selectable Information (Compass, Temp, Range to Empty, Trip A, Trip B, Average Fuel Economy, Trailer
Trip (distance only), Trailer Brake Gain, Time)
4. Telltales/Indicators
5. Gear Selector Status
6. Selectable Menu Icons
7. 4WD Status
8. Selectable Gauge 2 (Trans Temp, Oil Temp, Oil Life, Trailer Brake, Current Fuel Economy)
9. Selectable Gauge 1 (Trans Temp, Oil Temp, Oil Life, Trailer Brake, Current fuel economy)
Premium Instrument Cluster Display
226 UNDERSTANDING YOUR INSTRUMENT PANEL
Page 231 of 542

Vehicle Info
Push and release theupordown arrow button until the
Vehicle Info menu item is highlighted in the instrument
cluster display. push and release the rightarrow button to
enter the submenus items of Vehicle Info. follow the
directional prompts to access or reset any of the following
Vehicle Info submenu items:
• Tire Pressure
• Air Suspension — If Equipped
• Coolant Temp — If Equipped
• Transmission Temp (Automatic only)
• Oil Temp
• Oil Pressure — If Equipped
• Oil Life
• Battery Voltage — If Equipped
• Gauge Summary — If Equipped
• Engine Hours
Fuel Economy
Push and release the upordown arrow button until the
Fuel Economy menu item is highlighted in the instrument
cluster display. Push and Hold the rightarrow button to
reset Average Fuel Economy.
• Current Fuel Economy Gauge
• Average Fuel Economy Value
• Range To Empty
• Dual Fuel Tank levels — If Equipped
• Push and release the rightarrow button to display the
Fuel Tank Level submenu item. Your instrument cluster
display will display the fuel levels of the Front and Rear
fuel tanks. The fuel is automatically transferred from the
Rear tank to the Front tank based on both tank levels.
Fuel transfer is complete once the Front Fuel Level is
greater than the Rear Fuel Level.
Trip A/Trip B
Push and release the upordown arrow button until the
Trip menu item is highlighted in the instrument cluster
display. Push and release the rightarrow button to enter
the submenus of Trip A and Trip B. The Trip A or Trip B
information will display the following:
4
UNDERSTANDING YOUR INSTRUMENT PANEL 229
Page 232 of 542

•Distance
• Average fuel economy
• Elapsed Time
Push and hold rightarrow button to reset all information.
Trailer Tow
Push and release the upordown arrow button until the
Trailer Tow menu item is highlighted in the instrument
cluster display. Push and release the rightarrow button
and the next screen will display the following trailer trip
information:
• Trip (trailer specific) Distance: Push and hold the right
arrow button to reset the distance.
• Trailer Brake
• Output
• Type
• Gain
Audio
Push and release the upordown arrow button until the
Audio display icon is highlighted in the instrument cluster
display. Push and release the rightarrow button to display
the active source.
Stored Messages
Push and release the upordown arrow button
until the Messages Menu item is highlighted.
This feature shows the number of stored warning
messages. Pushing the rightarrow button will
allow you to see what the stored messages are.
When no messages are present, main menu icon will be a
closed envelope.
Screen Setup Menu Item
Push and release the upordown arrow button until the
Screen Setup menu item is highlighted in the instrument
cluster display. Push and release the rightarrow button to
enter the Screen Setup submenu. The Screen Setup feature
allows you to change what information is displayed in the
instrument cluster as well as the location that information
is displayed.
230 UNDERSTANDING YOUR INSTRUMENT PANEL