Page 101 of 404

99
Automatic dual-zone air
conditioning
Press the Air conditioning menu
button to display the system controls
page. 1.
Automatic visibility programme.
2. Recirculation of interior air.
3. Adjusting the temperature on driver's
side.
4. Adjusting the temperature on passenger's
side.
5. Adjusting the air distribution.
6. Adjusting the air flow.
7. System switch-off.
8. Air conditioning on/off.
9. Automatic comfort programme on/off.
10. Maximum air conditioning.
11. Access to the secondary page.
12 . Selection of settings for the automatic
comfort programme (Soft/Normal/Fast).
13. "AQS (Air Quality System)" function (with
pollution sensor).
14 . Mono-zone / Dual-zone.
15. "REAR" function (depending on version).
The air conditioning system operates with
the engine running, but the ventilation and its
controls are available with the ignition on.
Operation of the air conditioning and regulation
of temperature, air flow and air distribution in
the passenger compartment are automatic.
Temperature adjustment
Automatic comfort
programme
F Press this button to activate or deactivate the automatic mode
of the air conditioning system.
The driver and front passenger can each
choose their own temperature setting.
The value indicated corresponds to a level of
comfort and not to a precise temperature.
F
P
ress one of these buttons to
increase the value.
F
P
ress one of these buttons to
decrease the value.
It is recommended that you avoid a difference
of more than 3°C in the settings for left and
right.
When the indicator lamp in the button is on, the
air conditioning system operates automatically:
the system manages the temperature, air
flow and air distribution in the passenger
compartment in an optimum way according to
the comfort level you have selected.
3
Ease of use and comfort
Page 104 of 404
102
"REAR" functionVentilation with the
ignition on
When the ignition is switched on, you can
use the ventilation system to adjust the air
flow settings and the air distribution in the
passenger compartment depending on the
battery charge.
This function does not operate the air
conditioning.
System switch-off
F Press this button.
Its indicator lamp comes on and all
other indicator lamps for the system
go of f.
This action deactivates all functions
of the air conditioning system. Avoid driving for too long with the
ventilation off or the system deactivated –
Risk of misting and deterioration of the air
quality!
Pressing any button reactivates the
system with the settings that were
previously in use.
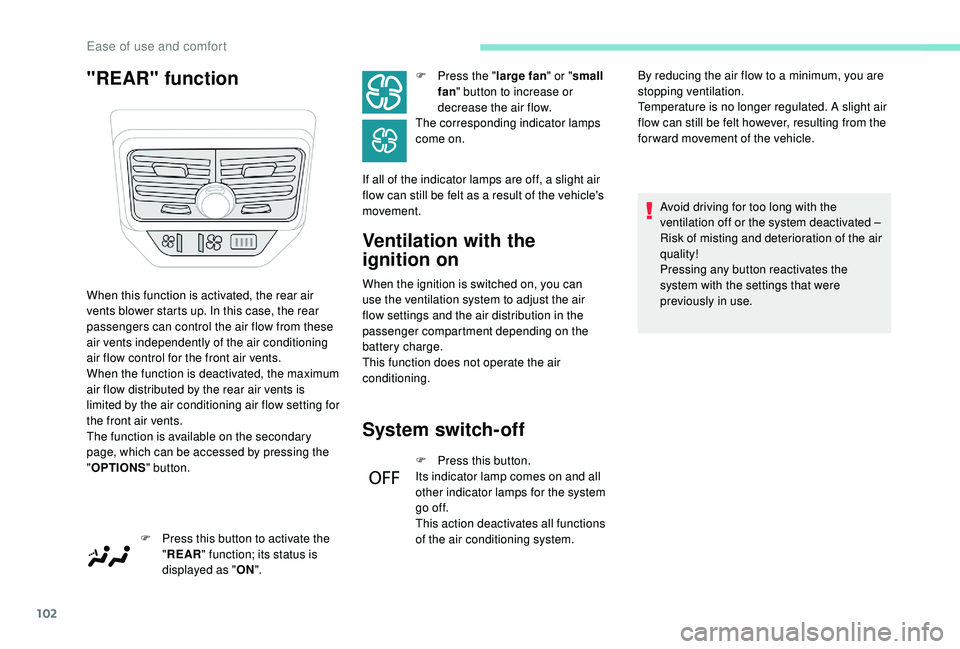
When this function is activated, the rear air
vents blower starts up. In this case, the rear
passengers can control the air flow from these
air vents independently of the air conditioning
air flow control for the front air vents.
When the function is deactivated, the maximum
air flow distributed by the rear air vents is
limited by the air conditioning air flow setting for
the front air vents.
The function is available on the secondary
page, which can be accessed by pressing the
"
OPTIONS " button.
F
P
ress this button to activate the
" REAR " function; its status is
displayed as " ON". F
P
ress the "
large fan " or "small
fan " button to increase or
decrease the air flow.
The corresponding indicator lamps
come on.
If all of the indicator lamps are off, a slight air
flow can still be felt as a result of the vehicle's
movement. By reducing the air flow to a minimum, you are
stopping ventilation.
Temperature is no longer regulated. A slight air
flow can still be felt however, resulting from the
for ward movement of the vehicle.
Ease of use and comfort
Page 113 of 404
111
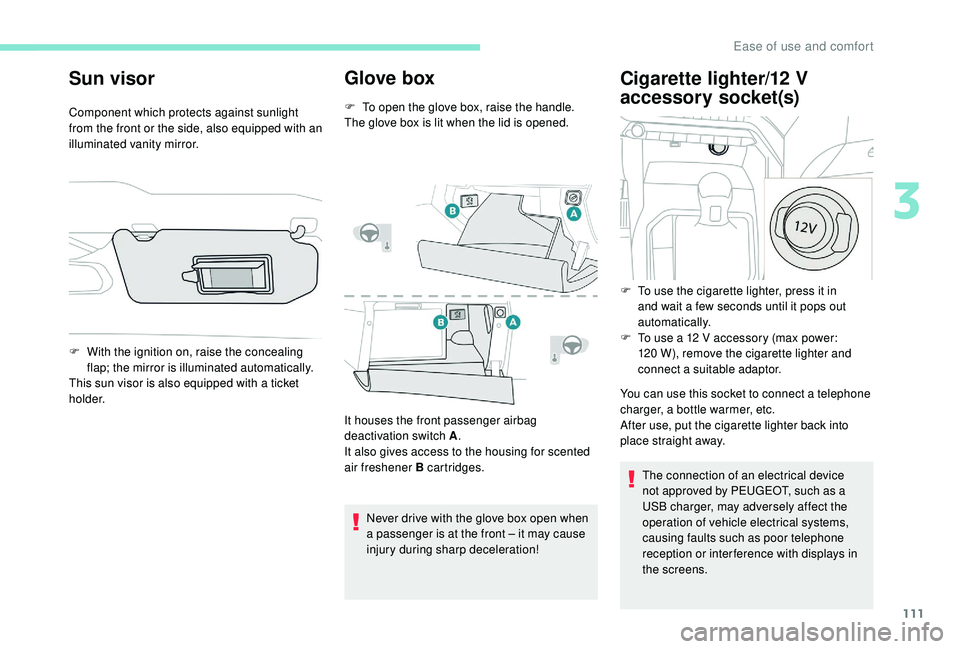
Sun visor
Component which protects against sunlight
from the front or the side, also equipped with an
illuminated vanity mirror.
Glove box
F To open the glove box, raise the handle.
The glove box is lit when the lid is opened.
F
W
ith the ignition on, raise the concealing
flap; the mirror is illuminated automatically.
This sun visor is also equipped with a ticket
h o l d e r.
It houses the front passenger airbag
deactivation switch A.
It also gives access to the housing for scented
air freshener B cartridges.
Never drive with the glove box open when
a passenger is at the front – it may cause
injury during sharp deceleration!
Cigarette lighter/12 V
a ccessory socket(s)
You can use this socket to connect a telephone
charger, a bottle warmer, etc.
After use, put the cigarette lighter back into
place straight away.
The connection of an electrical device
not approved by PEUGEOT, such as a
USB charger, may adversely affect the
operation of vehicle electrical systems,
causing faults such as poor telephone
reception or inter ference with displays in
the screens.
F
T
o use the cigarette lighter, press it in
and wait a few seconds until it pops out
automatically.
F
T
o use a 12 V accessory (max power:
120 W), remove the cigarette lighter and
connect a suitable adaptor.
3
Ease of use and comfort
Page 115 of 404
113
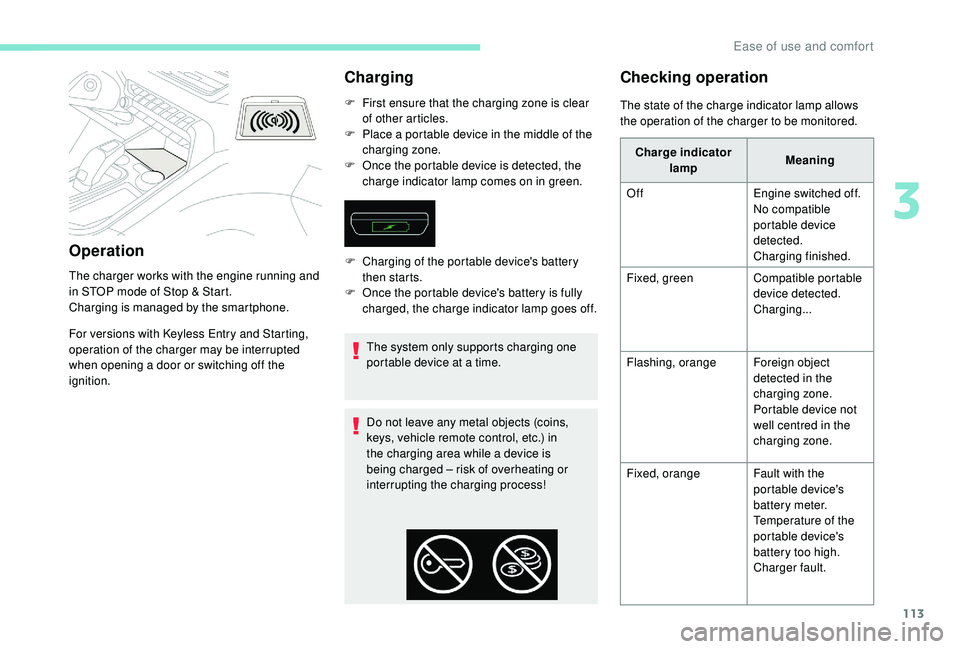
Operation
The charger works with the engine running and
in STOP mode of Stop & Start.
Charging is managed by the smartphone.
For versions with
K
eyless Entry and Starting,
operation of the charger may be interrupted
when opening a door or switching off the
ignition.
Charging
F First ensure that the charging zone is clear of other articles.
F
P
lace a portable device in the middle of the
charging zone.
F
O
nce the portable device is detected, the
charge indicator lamp comes on in green.
The system only supports charging one
portable device at a time.
Do not leave any metal objects (coins,
keys, vehicle remote control, etc.) in
the charging area while a device is
being charged – risk of overheating or
interrupting the charging process!
Checking operation
F Charging of the portable device's battery then starts.
F
O
nce the portable device's battery is fully
charged, the charge indicator lamp goes off. The state of the charge indicator lamp allows
the operation of the charger to be monitored.
Charge indicator lamp Meaning
Off Engine switched off.
No compatible
portable device
detected.
Charging finished.
Fixed, green Compatible portable
device detected.
Charging...
Flashing, orange Foreign object
detected in the
charging zone.
Portable device not
well centred in the
charging zone.
Fixed, orange Fault with the
portable device's
battery meter.
Temperature of the
portable device's
battery too high.
Charger fault.
3
Ease of use and comfort
Page 119 of 404
117
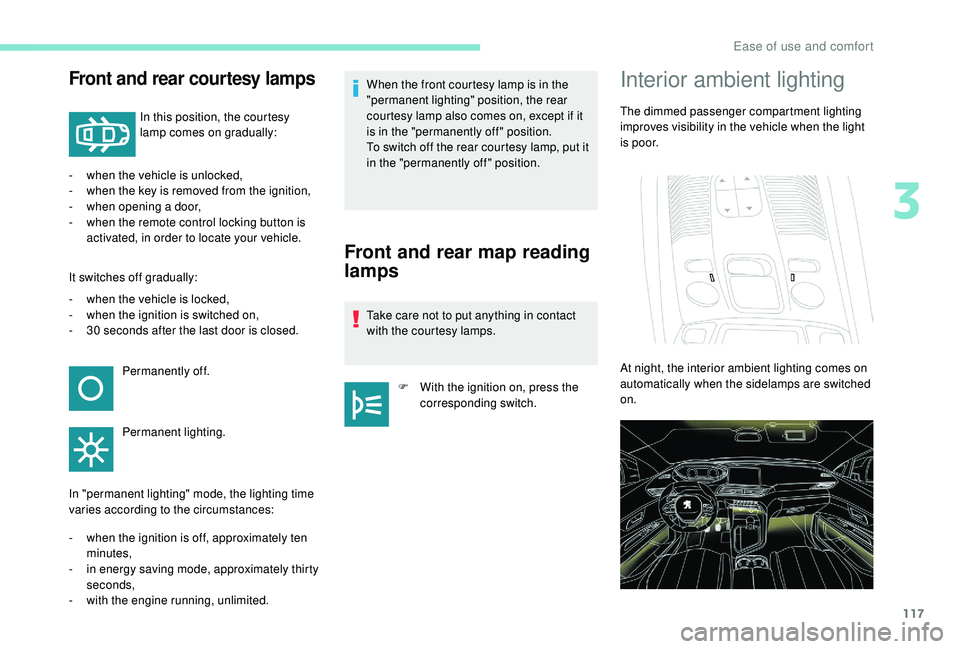
Front and rear courtesy lamps
In this position, the courtesy
lamp comes on gradually:
-
w
hen the vehicle is unlocked,
-
w
hen the key is removed from the ignition,
-
w
hen opening a door,
-
w
hen the remote control locking button is
activated, in order to locate your vehicle.
It switches off gradually:
-
w
hen the vehicle is locked,
-
w
hen the ignition is switched on,
-
3
0
seconds after the last door is closed. Permanently off.
Permanent lighting.
In "permanent lighting" mode, the lighting time
varies according to the circumstances:
-
w
hen the ignition is off, approximately ten
minutes,
-
i
n energy saving mode, approximately thirty
seconds,
-
w
ith the engine running, unlimited. When the front courtesy lamp is in the
"permanent lighting" position, the rear
courtesy lamp also comes on, except if it
is in the "permanently off " position.
To switch off the rear courtesy lamp, put it
in the "permanently off " position.
Front and rear map reading
lamps
Take care not to put anything in contact
with the courtesy lamps.
F
W
ith the ignition on, press the
corresponding switch.
Interior ambient lighting
The dimmed passenger compartment lighting
improves visibility in the vehicle when the light
i s p o o r.
At night, the interior ambient lighting comes on
automatically when the sidelamps are switched
on.
3
Ease of use and comfort
Page 125 of 404
123
12 V accessory socket
The connection of an electrical device
not approved by PEUGEOT, such as a
USB charger, may adversely affect the
operation of vehicle electrical systems,
causing faults such as poor telephone
reception or inter ference with displays in
the screens.
Boot lighting
F To connect a 12 V accessory (max power:
120 W), remove the cap and connect an
appropriate adaptor.
F
S
witch on the ignition. This comes on automatically when the boot is
opened and goes off automatically when the
boot is closed.
The lighting time varies according to the
circumstances:
-
w
hen the ignition is off, approximately
ten minutes,
-
i
n energy economy mode,
approximately thirty seconds,
-
w
ith the engine running, unlimited.
3
Ease of use and comfort
Page 126 of 404
124
Exterior lighting control
stalk
Main lighting
Selection of main lighting mode
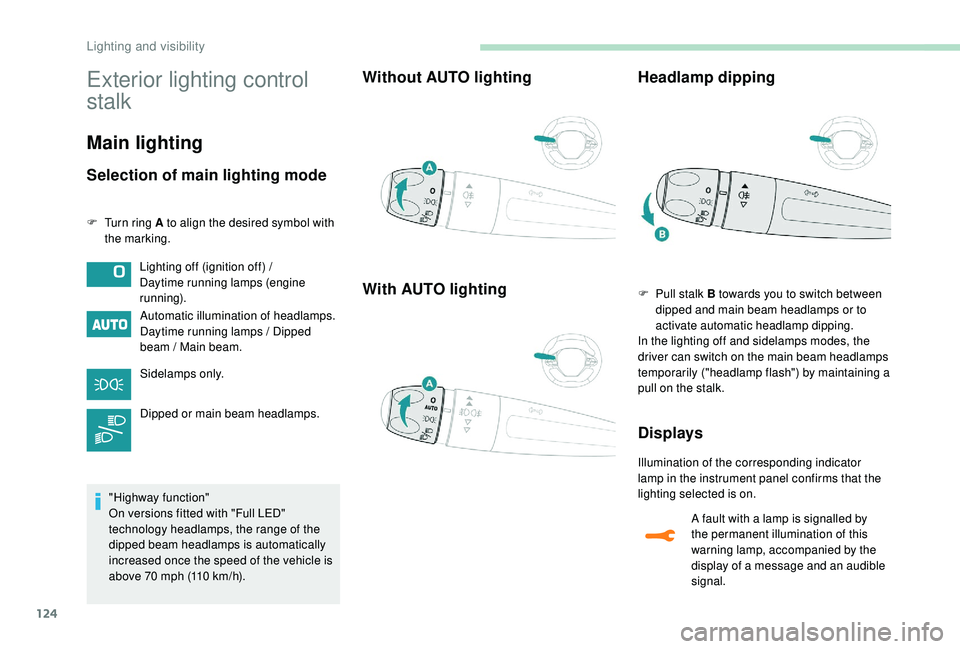
F Turn ring A to align the desired symbol with the marking.
Automatic illumination of headlamps.
Daytime running lamps / Dipped
beam / Main beam.
Sidelamps only.
Dipped or main beam headlamps.
"Highway function"
On versions fitted with "Full LED"
technology headlamps, the range of the
dipped beam headlamps is automatically
increased once the speed of the vehicle is
above 70
mph (110 km/h).
Without AUTO lighting
With AUTO lighting Headlamp dipping
F Pull stalk B towards you to switch between
dipped and main beam headlamps or to
activate automatic headlamp dipping.
In the lighting off and sidelamps modes, the
driver can switch on the main beam headlamps
temporarily ("headlamp flash") by maintaining a
pull on the stalk.
Displays
Illumination of the corresponding indicator
lamp in the instrument panel confirms that the
lighting selected is on.
Lighting off (ignition off) /
Daytime running lamps (engine
running).
A fault with a lamp is signalled by
the permanent illumination of this
warning lamp, accompanied by the
display of a message and an audible
signal.
Lighting and visibility
Page 128 of 404
126
Switching off the lamps when the
ignition is switched off
On switching off the ignition, all of the
lamps turn off immediately, except for
dipped beam if automatic guide-me-home
lighting is activated.
Switching on the lamps after the
ignition is switched off
To reactivate the lighting control, rotate
ring A to the 0 position – lamps off, then to
the desired position.
On opening the driver's door a temporary
audible signal warns the driver that the
lighting is on.
They will go off automatically after a
period of time that depends on the state of
charge in battery (entering energy-saving
m o d e).
In some weather conditions (e.g. low
temperature or humidity), the presence
of misting on the internal sur face of the
glass of the headlamps and rear lamps is
normal; it disappears after the lamps have
been on for a few minutes. Travelling abroad
If using your vehicle in a country that
drives on the other side of the road, the
headlamps must be adjusted to avoid
dazzling oncoming drivers.
Contact a PEUGEOT dealer or a qualified
workshop.
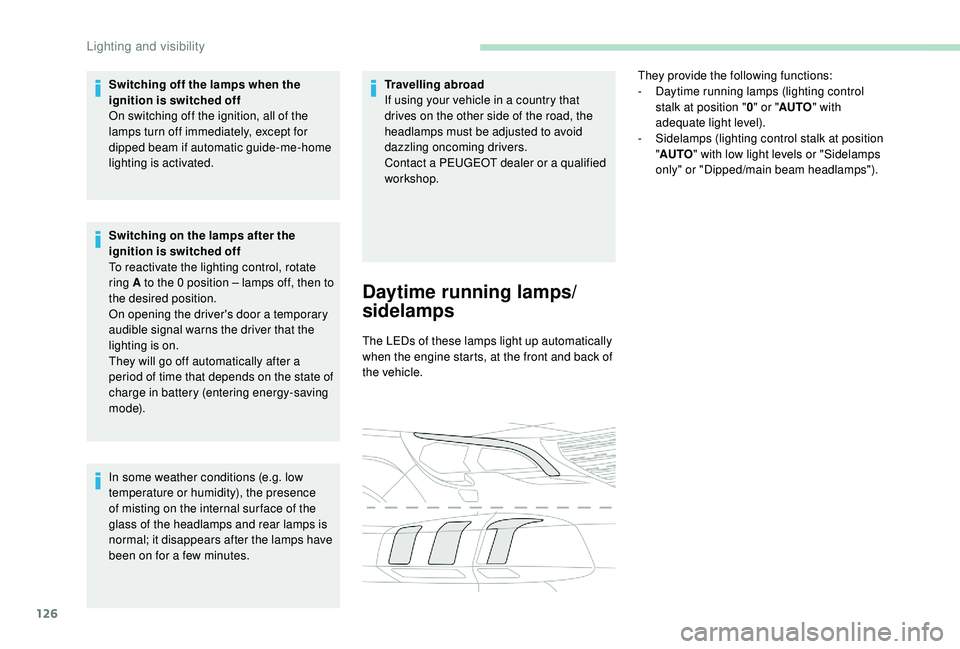
Daytime running lamps/
sidelamps
The LEDs of these lamps light up automatically
when the engine starts, at the front and back of
the vehicle.
They provide the following functions:
-
D
aytime running lamps (lighting control
stalk at position " 0" or " AUTO " with
adequate light level).
-
S
idelamps (lighting control stalk at position
" AUTO " with low light levels or "Sidelamps
only" or "Dipped/main beam headlamps").
Lighting and visibility