Page 91 of 392
89
308_en_Chap03_ergonomie-et-confort_ed01-2016
Luggage cover, roller blind (SW)
To reel inTo removeStorage
F Remove the roller guide from the rails in
the boot pillars.
F
R
elease the roller blind, it reels in
automatically. F
P lace a hand on the left under
the luggage
c ove r.
F
t
u
rn the end of the reel towards the front
(clockwise) to release it.
F
R
epeat the operation on the right (anti-
clockwise). A recess in the floor well, under the boot
carpet, allows the luggage cover to be stowed
diagonally.
th
is recess is not available with the
bass woofer unit.
3
ease of use and comfort
Page 237 of 392

235
308_en_Chap07_info-pratiques_ed01-2016
Recommendations on storage
Never store bottles of AdBlue® in your
vehicle.
AdBlue
® freezes at about -11°C and
deteriorates above 25°C. It is recommended
that bottles be stored in a cool area and
protected from direct sunlight.
un
der these conditions, the fluid can be kept
for at least a year.
If the additive has frozen, it can be used once
it has completely thawed out.
Procedure
Before starting the top-up procedure, ensure
that the vehicle is parked on a flat and level
sur face.
F
S
witch off the ignition and remove the
key, or if your vehicle has one, press
the S
tA
R
t/
S
tO
P button to switch off
the
engine. F
F
or access to the AdBlue
® tank, raise the
boot carpet then, depending on equipment,
lift out the spare wheel and/or the
storage
box.
F
W
ithout pressing, turn the black cap a
quarter turn anti-clockwise and lift it off.
F
t
u
rn the blue cap a 6
th of a turn anti-
clockwise.
F
L
ift off the cap.
Freezing of the AdBlue®
AdBlue® freezes at temperatures below
around -11°C.
th
e SCR system includes a heater
for the AdBlue
® tank, allowing you to
continue driving in very cold conditions.
Do not dispose of AdBlue
® bottles or
containers in the household waste.
Place them in a container provided
for this purpose or take them to your
dealer.
7
Practical information
Page 238 of 392

236
308_en_Chap07_info-pratiques_ed01-2016
Never dispose of AdBlue® bottles in
the household waste. Place them in
a special container provided for this
purpose or take them to your dealer.
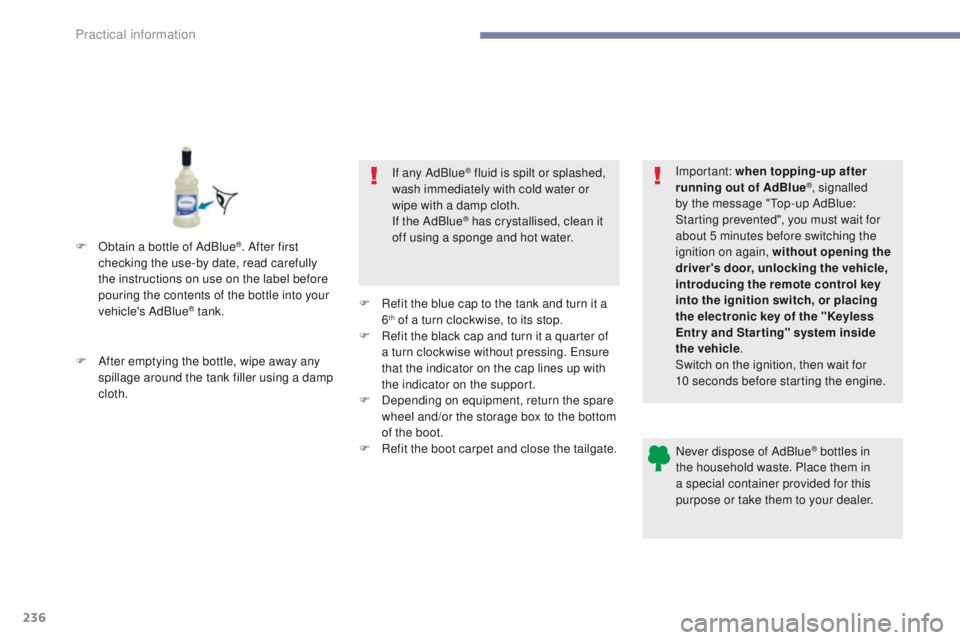
F
A
fter emptying the bottle, wipe away any
spillage around the tank filler using a damp
cloth. If any AdBlue
® fluid is spilt or splashed,
wash immediately with cold water or
wipe with a damp cloth.
If the AdBlue
® has crystallised, clean it
off using a sponge and hot water.
F
R
efit the blue cap to the tank and turn it a
6
th of a turn clockwise, to its stop.
F
R
efit the black cap and turn it a quarter of
a turn clockwise without pressing.
e
n
sure
that the indicator on the cap lines up with
the indicator on the support.
F
D
epending on equipment, return the spare
wheel and/or the storage box to the bottom
of the boot.
F
R
efit the boot carpet and close the tailgate. Important: when topping-up after
running out of AdBlue
®, signalled
by the message "to
p-up AdBlue:
Starting prevented", you must wait for
about 5 minutes before switching the
ignition on again, without opening the
driver's door, unlocking the vehicle,
introducing the remote control key
into the ignition switch, or placing
the electronic key of the "Keyless
Entr y and Star ting" system inside
the vehicle .
Switch on the ignition, then wait for
10
seconds before starting the engine.
F
O
btain a bottle of AdBlue
®. After first
checking the use-by date, read carefully
the instructions on use on the label before
pouring the contents of the bottle into your
vehicle's AdBlue
® tank.
Practical information
Page 246 of 392

244
308_en_Chap08_en-cas-de-panne_ed01-2016
Removing the pipe and cartridge
F turn the pipe assembly 2 to the left until it
contacts the unit.
F
D
isconnect the union 1 from the cartridge
by turning it a quarter turn anti-clockwise.
F
e
x
tract the pipe assembly 2 , then
disconnect the union 3 from the air delivery
pipe by turning it a quarter turn anti-
clockwise. Beware of discharges of fluid.
th
e expiry date of the fluid is indicated
on the cartridge.
th
e sealant cartridge is designed for
single use; even if only partly used, it
must be replaced.
After use, do not discard the cartridge
into the environment, take it to an
authorised waste disposal site or a
P
e
uge
Ot d
ealer.
Do not forget to obtain a new sealant
cartridge, available from Pe ugeOt
dealers or from a qualified workshop.
F
R emove the pipe assembly 2
.
F S upport the compressor vertically.
F
u
n
screw the cartridge 4 from the bottom.
to f
it the new cartridge and new pipe, carry out
these operations in reverse order.
In the event of a breakdown