Page 176 of 566
174
3008-2_en_Chap05_securite_ed01-2016
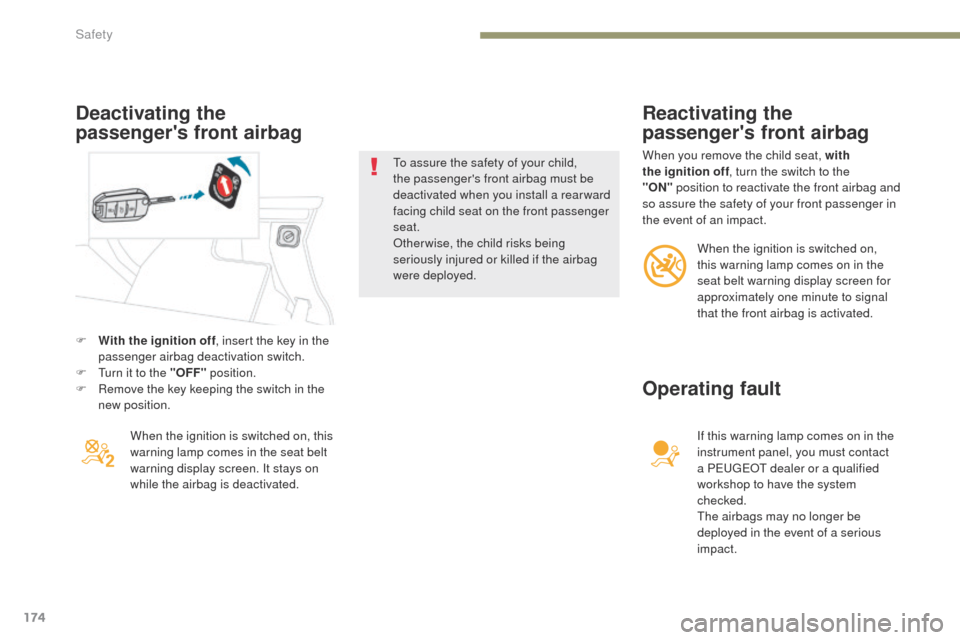
F With the ignition off, insert the key in the
passenger airbag deactivation switch.
F
T
urn it to the "OFF" position.
F
R
emove the key keeping the switch in the
new position.
Reactivating the
passenger's front airbag
When you remove the child seat, with
the ignition off , turn the switch to the
"ON"
position to reactivate the front airbag and
so assure the safety of your front passenger in
the event of an impact.
When the ignition is switched on, this
warning lamp comes in the seat belt
warning display screen. It stays on
while the airbag is deactivated. To assure the safety of your child,
the passenger's front airbag must be
deactivated when you install a rear ward
facing child seat on the front passenger
seat.
Otherwise, the child risks being
seriously injured or killed if the airbag
were deployed.
When the ignition is switched on,
this warning lamp comes on in the
seat belt warning display screen for
approximately one minute to signal
that the front airbag is activated.
If this warning lamp comes on in the
instrument panel, you must contact
a PEUGEOT dealer or a qualified
workshop to have the system
checked.
The airbags may no longer be
deployed in the event of a serious
impact.
Operating fault
Deactivating the
passenger's front airbag
Safety
Page 206 of 566
204
3008-2_en_Chap06_conduite_ed01-2016
When towing, parking on a steep slope,
or if your vehicle is heavily laden,
turn the wheels towards the kerb and
engage a gear (with a manual gearbox)
or place the gear selector at position P
with an automatic gearbox.
For towing, you vehicle is approved for
parking on slopes of up to 12%.
Manual operation
Manual application
With the vehicle stationary: briefly pull the control lever.
If you push the control lever without
pressing the brake pedal, the parking
brake will not be released and a
message is displayed.
Manual release
With the ignition on or the engine running, to
release the parking brake:
F
p
ress the brake pedal,
F
w
hile maintaining pressure on the brake
pedal, briefly push the control lever.
The complete release of the parking brake
is confirmed by the brake indicator lamp and
the
P indicator lamp in the control lever going
off, accompanied by the display of the message
"Parking brake released".
Never leave a child alone inside the
vehicle with the ignition on, as they
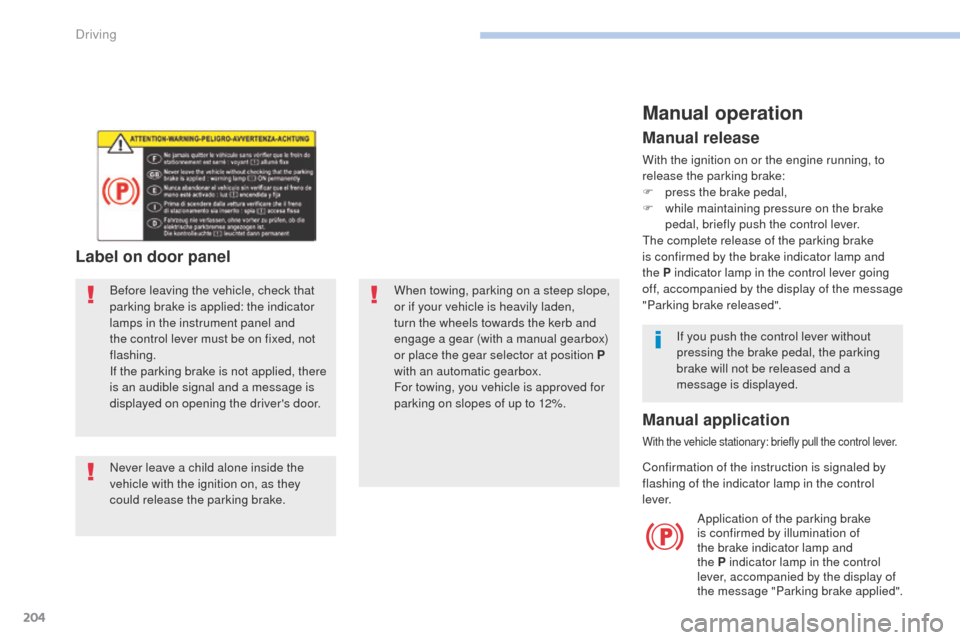
could release the parking brake. Before leaving the vehicle, check that
parking brake is applied: the indicator
lamps in the instrument panel and
the control lever must be on fixed, not
flashing.
If the parking brake is not applied, there
is an audible signal and a message is
displayed on opening the driver's door.
Label on door panel
Confirmation of the instruction is signaled by
flashing of the indicator lamp in the control
l eve r. Application of the parking brake
is confirmed by illumination of
the brake indicator lamp and
the
P indicator lamp in the control
lever, accompanied by the display of
the message "Parking brake applied".
Driving
Page 235 of 566
233
3008-2_en_Chap06_conduite_ed01-2016
On a steep descent or in the event of
sharp acceleration, the speed limiter
will not be able to prevent the vehicle
from exceeding the programmed speed.The use of mats not approved by
PEUGEOT may inter fere with the
operation of the speed limiter.
To avoid any risk of jamming of the
pedals:
-
e nsure that the mat is positioned
c o r r e c t l y,
-
d
o not fit one mat on top of another.
Temporarily exceeding the
programmed speed
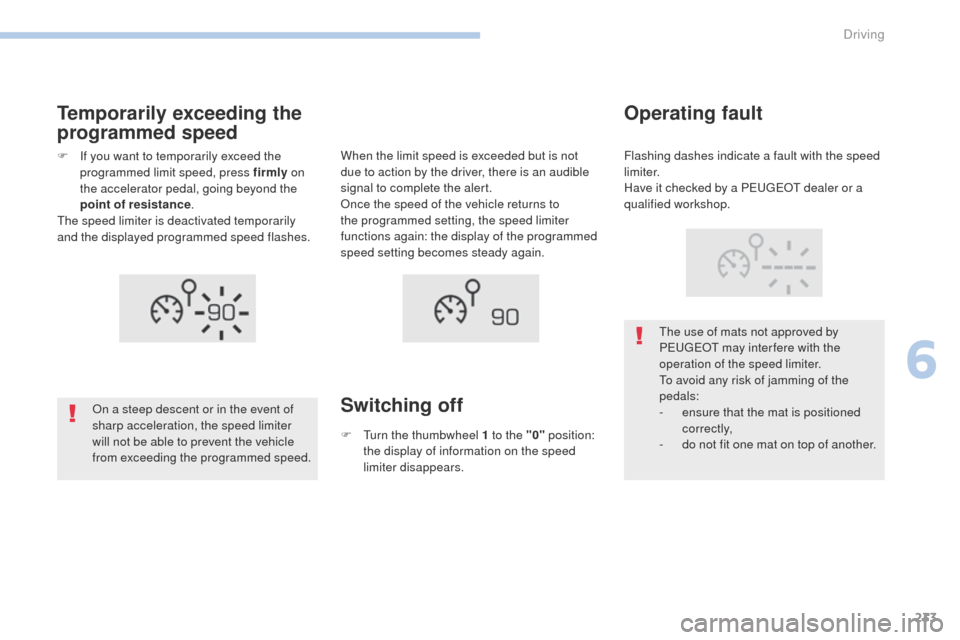
F If you want to temporarily exceed the programmed limit speed, press firmly on
the accelerator pedal, going beyond the
point of resistance .
The speed limiter is deactivated temporarily
and the displayed programmed speed flashes.
Switching off
When the limit speed is exceeded but is not
due to action by the driver, there is an audible
signal to complete the alert.
Once the speed of the vehicle returns to
the programmed setting, the speed limiter
functions again: the display of the programmed
speed setting becomes steady again.
F
T
urn the thumbwheel 1 to the "0" position:
the display of information on the speed
limiter disappears.
Operating fault
Flashing dashes indicate a fault with the speed
limiter.
Have it checked by a PEUGEOT dealer or a
qualified workshop.
6
Driving
Page 308 of 566
306
3008-2_en_Chap07_infos-pratiques_ed01-2016
To p - u p
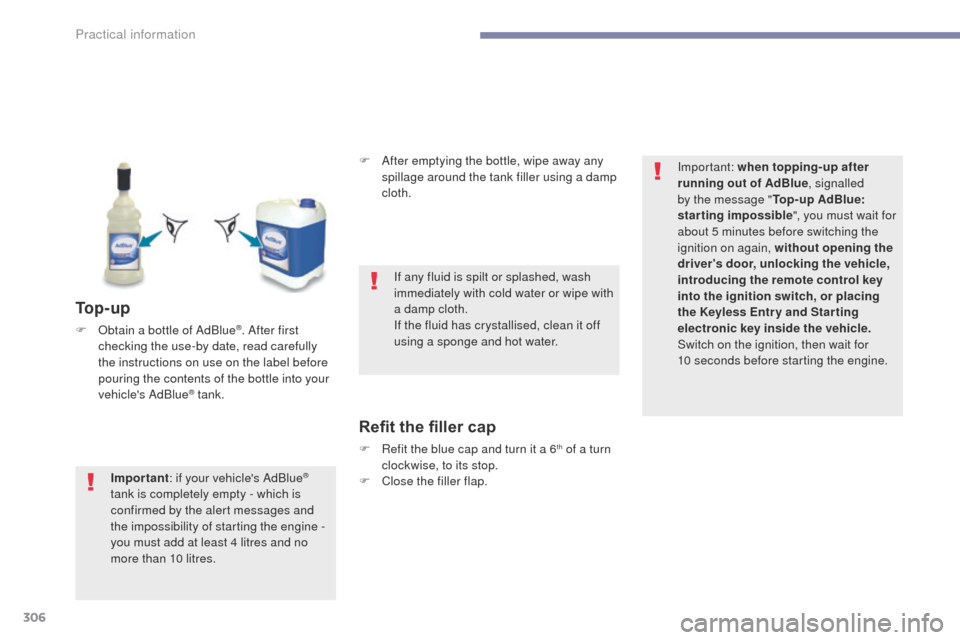
F Obtain a bottle of AdBlue®. After first
checking the use-by date, read carefully
the instructions on use on the label before
pouring the contents of the bottle into your
vehicle's AdBlue
® tank. F
A
fter emptying the bottle, wipe away any
spillage around the tank filler using a damp
cloth.
Refit the filler cap
F Refit the blue cap and turn it a 6th of a turn
clockwise, to its stop.
F
C
lose the filler flap.
Important
: if your vehicle's AdBlue
®
tank is completely empty - which is
confirmed by the alert messages and
the impossibility of starting the engine
-
you must add at least 4 litres and no
more than 10 litres. If any fluid is spilt or splashed, wash
immediately with cold water or wipe with
a damp cloth.
If the fluid has crystallised, clean it off
using a sponge and hot water.
Important: when topping-up after
running out of AdBlue
, signalled
by the message " Top-up AdBlue:
starting impossible ", you must wait for
about 5 minutes before switching the
ignition on again, without opening the
driver's door, unlocking the vehicle,
introducing the remote control key
into the ignition switch, or placing
the Keyless Entr y and Star ting
electronic key inside the vehicle.
Switch on the ignition, then wait for
10
seconds before starting the engine.
Practical information
Page 548 of 566
8
Immediate switching on
During these operations, if the message
"FA I L " appears, it means that the signal
has not been received. Follow the
procedure again after having changed
position.
Adjusting the operating time
F Press on button 1 to display the operating
time.
F
Press on button 5 until the message " OK"
appears.
When the signal has been received, the
message " OK" is displayed along with the
operating time.
The heater starts and this symbol is
displayed.
This indicator light flashes during
heating.
F To deactivate the function, press on button
4 until the message " OK" appears. This symbol and the indicator light
will turn off.
This symbol will be displayed.
F After having displayed the operating time,
press on buttons 4 and 5 simultaneously
within 10 seconds.
This symbol will flash.
F Adjust the time by pressing on the buttons
1: by 10 min increment and maximum value
of 30 mins.
Ease of use and comfort
Page 550 of 566
10
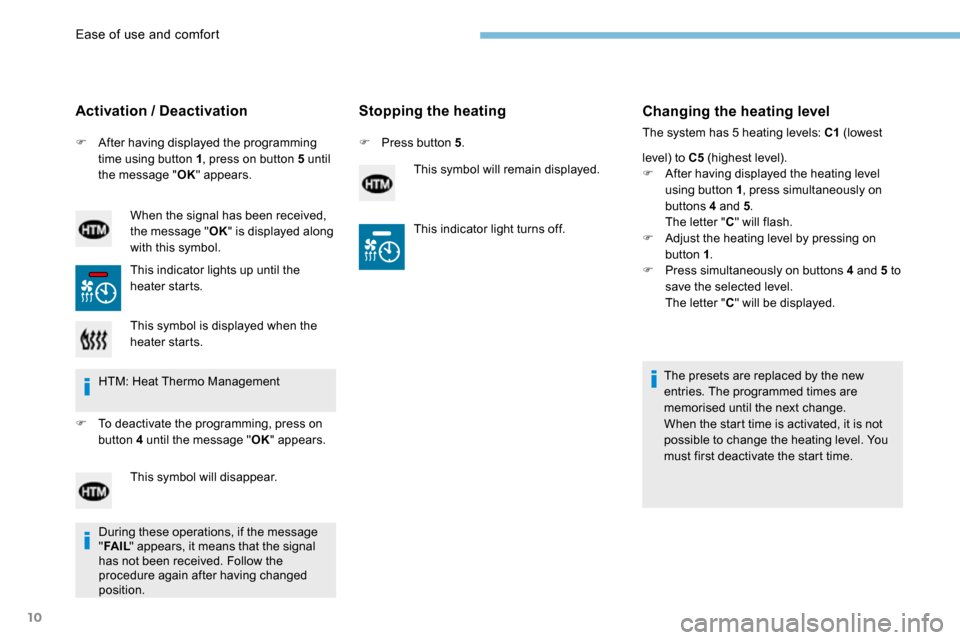
F After having displayed the programming
time using button 1 , press on button 5 until
the message " OK" appears.
Activation / Deactivation
When the signal has been received,
the message " OK" is displayed along
with this symbol.
This indicator lights up until the
heater starts.
Stopping the heating
F Press button 5 .
This symbol will remain displayed.
Changing the heating level
The system has 5 heating levels: C1 (lowest
level) to C5 (highest level).
F After having displayed the heating level
using button 1 , press simultaneously on
buttons 4 and 5 .
The letter " C" will flash.
F Adjust the heating level by pressing on
button 1 .
F Press simultaneously on buttons 4 and 5 to
save the selected level.
The letter " C" will be displayed.
The presets are replaced by the new
entries. The programmed times are
memorised until the next change.
When the start time is activated, it is not
possible to change the heating level. You
must first deactivate the start time.
This symbol is displayed when the
heater starts.
HTM: Heat Thermo Management
F To deactivate the programming, press on
button 4 until the message " OK" appears.
This symbol will disappear. This indicator light turns off.
During these operations, if the message
" FA I L " appears, it means that the signal
has not been received. Follow the
procedure again after having changed
position.
Ease of use and comfort