2017 NISSAN VERSA SEDAN reset
[x] Cancel search: resetPage 4 of 30

2
REARVIEW MONITOR (if so equipped)
When the shift lever is moved to the
R (REVERSE) position, the front display
shows the view to the rear of the vehicle.
The colored lines on the display screen indicate approximate distances to objects.
•
R
ed 1.5 f t (0.5 m); Yellow 3 f t (1 m);
Green 7 f t (2 m) and 10 f t (3 m).
Please see your Owner’s Manual for important safety information, system limitations, and additional
operating and feature information.
For more information, refer to the “Monitor, climate, audio, phone and voice recognition systems
(section 4)” of your Owner’s Manual.
NEW SYSTEM FEATURES
TRIP COMPUTER
With the ignition switch in the ON
position, modes of the trip computer
1 can be selected by pressing the trip
computer change/reset button
2 on the
instrument panel.
The following modes can be selected in the display:
•
ODO
– records the total distance the
vehicle has been driven.
•
T
rip A – measures the distance of one specific trip.
•
T
rip B – measures the distance of a second specific trip.
• mpg
– displays the instant fuel consumption.
• mpg A
VG – displays the average fuel consumption since the last reset.
•
mls
– displays the estimated distance that can be driven
before refueling.
•
Outside Air
Temperature (if so equipped) – displays the outside air
temperature in °F or °C.
To reset T rip A, Trip B, mpg or mpg AVG, go to the desired mode on the trip
computer and press and hold the trip computer change/reset button
2
for more than 3 seconds.
Please see your Owner’s Manual for important safety information, system limitations, and additional
operating and feature information.
For more information, refer to the “Instruments and controls (section 2)” of your Owner’s Manual.
1
2
To view detailed instructional videos regarding these and other features, please go to www.nissanownersinfo.mobi.
Page 7 of 30

5
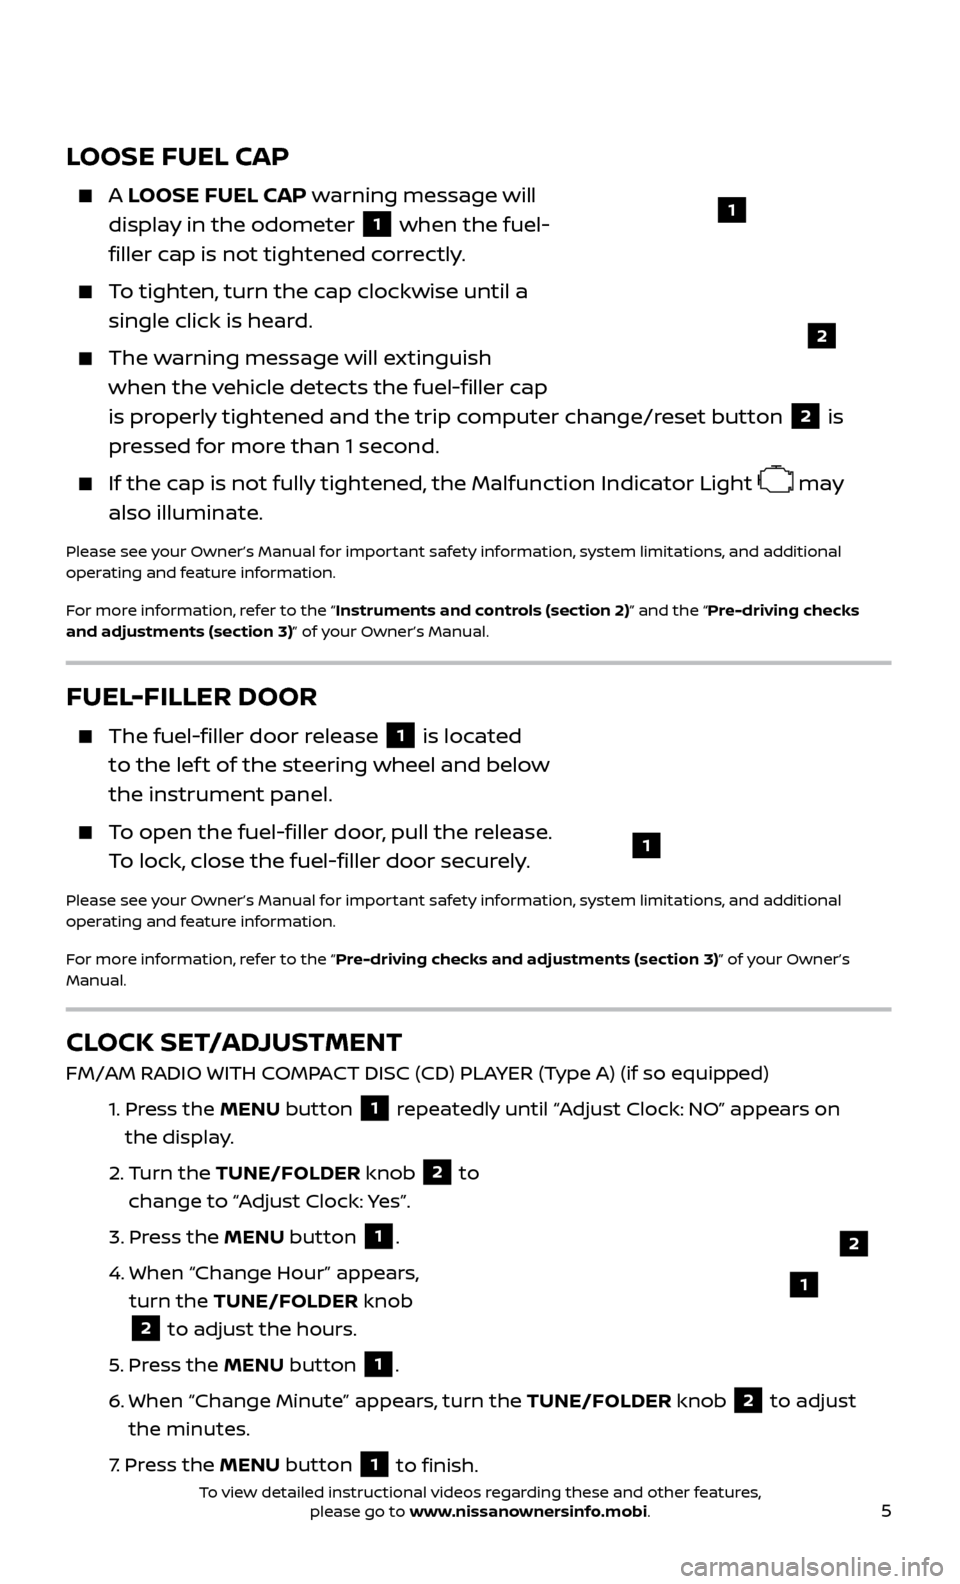
LOOSE FUEL CAP
A LOOSE FUEL CAP warning message will
display in the odometer
1 when the fuel-
filler cap is not tightened correctly.
To tighten, turn the cap clockwise until a single click is heard.
The warning message will extinguish when the vehicle detects the fuel-filler cap
is properly tightened and the trip computer change/reset button
2 is
pressed for more than 1 second.
If the cap is not fully tightened, the Malfunction Indicator Light may
also illuminate.
Please see your Owner’s Manual for important safety information, system limitations, and additional
operating and feature information.
For more information, refer to the “Instruments and controls (section 2)” and the “Pre-driving checks
and adjustments (section 3)” of your Owner’s Manual.
1
2
FUEL-FILLER DOOR
The fuel-filler door release 1 is located
to the lef t of the steering wheel and below
the instrument panel.
To open the fuel-filler door, pull the release. To lock, close the fuel-filler door securely.
Please see your Owner’s Manual for important safety information, system limitations, and additional
operating and feature information.
For more information, refer to the “Pre-driving checks and adjustments (section 3)” of your Owner’s
Manual.
1
CLOCK SET/ADJUSTMENT
FM/AM RADIO WITH COMPACT DISC (CD) PLAYER (Type A) (if so equipped)
1.
Pr
ess the MENU button
1 repeatedly until “Adjust Clock: NO” appears on
the display.
2.
Turn the TUNE/FOLDER knob
2 to
change to “Adjust Clock: Yes”.
3.
Pr
ess the MENU button
1.
4.
When “Change Hour
” appears,
turn the TUNE/FOLDER knob
2 to adjust the hours.
5
.
Pr
ess the MENU button 1.
6
.
When “Change Minute” appe
ars, turn the TUNE/FOLDER knob
2 to adjust
the minutes.
7
.
Pr
ess the MENU button
1 to finish.
1
2
To view detailed instructional videos regarding these and other features, please go to www.nissanownersinfo.mobi.
Page 16 of 30

14
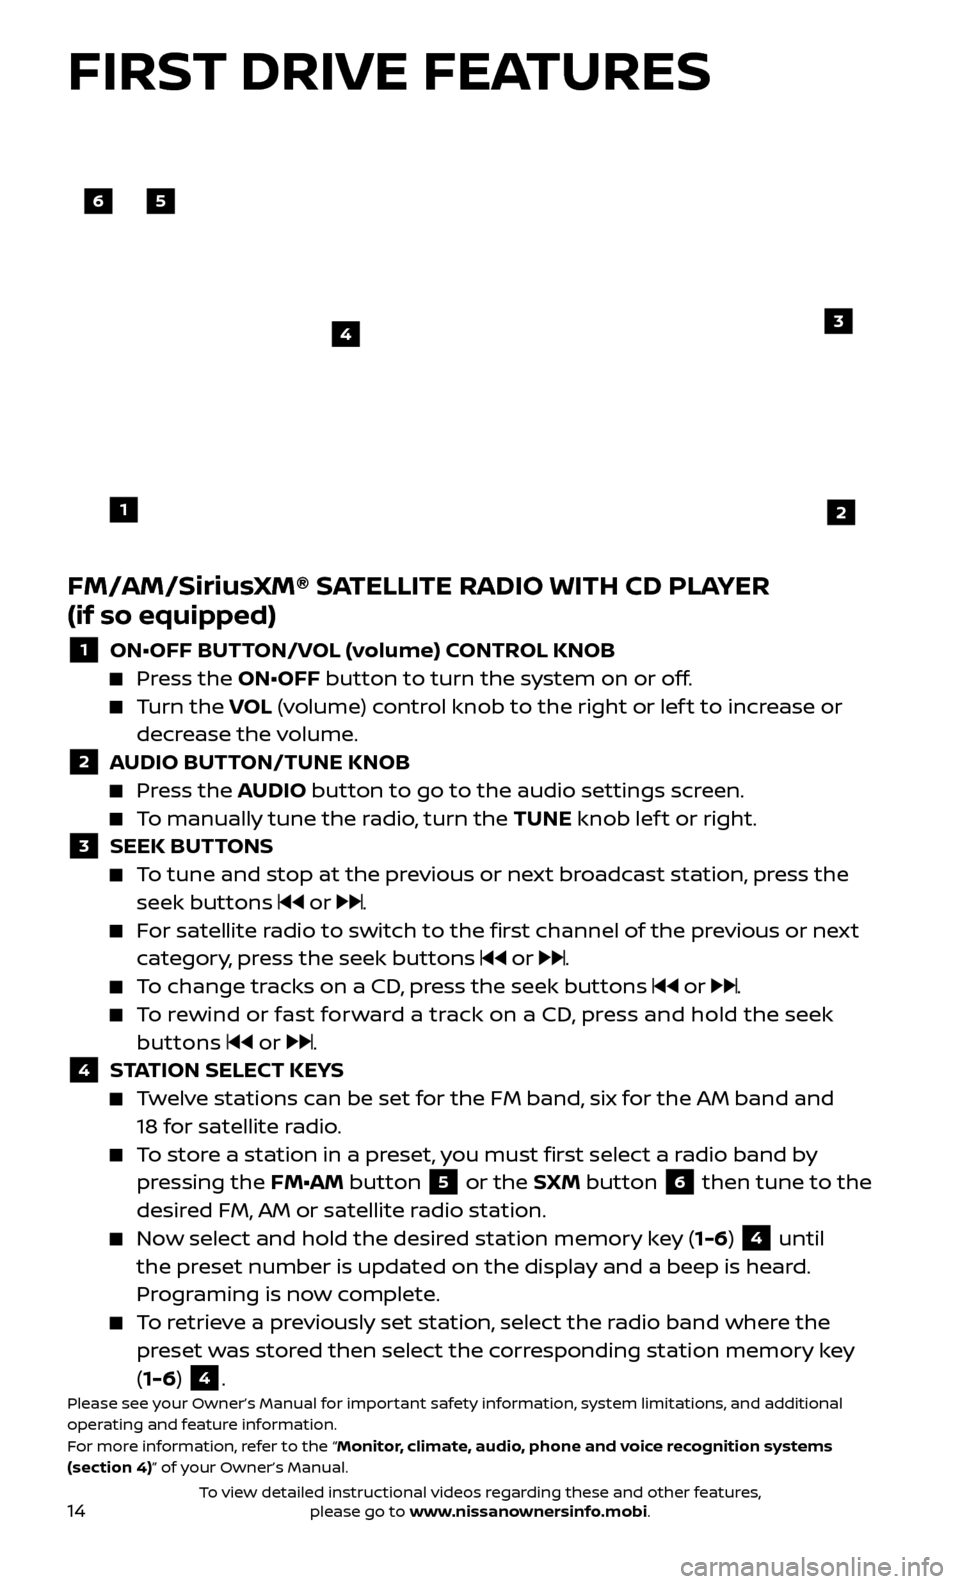
FM/AM/SiriusXM® SATELLITE RADIO WITH CD PLAYER
(if so equipped)
1 ON•OFF BUTTON/VOL (volume) CONTROL KNOB Press the ON•OFF button to turn the system on or off.
Turn the
VO L (volume) control knob to the right or lef t to increase or
decrease the volume.
2 A UDIO BUTTON/TUNE KNOB Press the AUDIO button to go to the audio settings screen.
To manually tune the radio, turn the TUNE knob lef t or right. 3 SEEK BUT
TONS
To tune and stop at the previous or next broadcast station, press the
seek buttons
or .
For satellite radio to switch to the first channel of the previous or next category, press the seek buttons
or .
To change tracks on a CD, press the seek buttons or .
To rewind or fast forward a track on a CD, press and hold the seek buttons
or .4 S TATION SELECT KEYS Twelve stations can be set for the FM band, six for the AM band and
18 for satellite radio.
To store a station in a preset, you must first select a radio band by pressing the FM•AM button 5 or the SXM button 6 then tune to the
desired FM, AM or satellite radio station.
Now select and hold the desired station memory key (1-6) 4 until
the preset number is updated on the display and a beep is heard.
Programing is now complete.
To retrieve a previously set station, select the radio band where the preset was stored then select the corresponding station memory key
(1-6)
4.Please see your Owner’s Manual for important safety information, system limitations, and additional
operating and feature information.
For more information, refer to the “Monitor, climate, audio, phone and voice recognition systems
(section 4)” of your Owner’s Manual.
56
3
1
4
2
FIRST DRIVE FEATURES
To view detailed instructional videos regarding these and other features, please go to www.nissanownersinfo.mobi.
Page 17 of 30

15
CRUISE CONTROL (if so equipped)
The cruise control system enables you to
set a constant cruising speed once the
vehicle has reached 25 mph (40 km/h).
The system wil l automatically maintain the
set speed until you tap the brake pedal,
accelerate, cancel or turn the system off.
To activate the cruise control, push the CRUISE ON/OFF switch
1 on the steering
wheel. The CRUISE indicator light in the
instrument panel will illuminate.
To set a cruising speed, accelerate the vehicle to the desired speed, push the COAST/SET switch
2 on the steering wheel and release. Take your
foot off the accelerator pedal. Your vehicle will maintain the set speed.
To reset at a faster cruising speed, push and hold the ACCEL/RES switch
3 on the steering wheel. When the vehicle attains the desired speed,
release the switch.
To reset at a slower cruising speed, push and hold the COAST/SET switch
2 on the steering wheel. Release the switch when the vehicle slows to the
desired speed.
To cancel the preset speed, push the CANCEL switch 4 on the
steering wheel.
To turn off cruise control, push the ON/OFF switch 1 on the steering
wheel. The CRUISE indicator light in the instrument panel will extinguish.
Please see your Owner’s Manual for important safety information, system limitations, and additional
operating and feature information.
For more information, refer to the “Starting and driving (section 5)” of your Owner’s Manual.
4
3
2
1
To view detailed instructional videos regarding these and other features, please go to www.nissanownersinfo.mobi.