2017 NISSAN VERSA SEDAN instrument panel
[x] Cancel search: instrument panelPage 4 of 30

2
REARVIEW MONITOR (if so equipped)
When the shift lever is moved to the
R (REVERSE) position, the front display
shows the view to the rear of the vehicle.
The colored lines on the display screen indicate approximate distances to objects.
•
R
ed 1.5 f t (0.5 m); Yellow 3 f t (1 m);
Green 7 f t (2 m) and 10 f t (3 m).
Please see your Owner’s Manual for important safety information, system limitations, and additional
operating and feature information.
For more information, refer to the “Monitor, climate, audio, phone and voice recognition systems
(section 4)” of your Owner’s Manual.
NEW SYSTEM FEATURES
TRIP COMPUTER
With the ignition switch in the ON
position, modes of the trip computer
1 can be selected by pressing the trip
computer change/reset button
2 on the
instrument panel.
The following modes can be selected in the display:
•
ODO
– records the total distance the
vehicle has been driven.
•
T
rip A – measures the distance of one specific trip.
•
T
rip B – measures the distance of a second specific trip.
• mpg
– displays the instant fuel consumption.
• mpg A
VG – displays the average fuel consumption since the last reset.
•
mls
– displays the estimated distance that can be driven
before refueling.
•
Outside Air
Temperature (if so equipped) – displays the outside air
temperature in °F or °C.
To reset T rip A, Trip B, mpg or mpg AVG, go to the desired mode on the trip
computer and press and hold the trip computer change/reset button
2
for more than 3 seconds.
Please see your Owner’s Manual for important safety information, system limitations, and additional
operating and feature information.
For more information, refer to the “Instruments and controls (section 2)” of your Owner’s Manual.
1
2
To view detailed instructional videos regarding these and other features, please go to www.nissanownersinfo.mobi.
Page 5 of 30

3
USB (Universal Serial Bus) CONNECTION PORT/AUX JACK
AND iPOD® INTERFACE (if so equipped)
The USB port/Aux jack 1 is located
below the instrument panel under the
climate controls.
When a c ompatible USB memory device,
iPod® or auxiliary device is plugged into
the USB port/Aux jack, compatible audio
files stored on the device can be played
through the vehicle’s audio system.
Please see your Owner’s Manual for important safety information, system limitations, and additional
operating and feature information.
For more information, refer to the “Monitor, climate, audio, phone and voice recognition systems
(section 4)” of your Owner’s Manual.
1
SiriusXM TRAVEL LINK AND SiriusXM TRAFFIC
(if so equipped)
Your vehicle’s Navigation System is equipped with SiriusXM Travel Link and
SiriusXM Traffic capabilities.
SiriusXM Travel Link provides access
to real-time weather information and
forecasts, nearby fuel prices, movie listings
and stock quotes.
SiriusXM Traffic provides information that
may help to avoid delays due to traffic
incidents. Traffic jams, roadwork, road
closures around the current location, etc.,
are represented graphically on the map
by icons depicting the nature of the event.
Incidents on the route are automatically displayed as they are approached.
Please see your Owner’s Manual for important safety information, system limitations, and additional
operating and feature information.
For more information, refer to the “Navigation (section 4)” and the “General system information
(section 6)” of your Navigation System Owner’s Manual.
To view detailed instructional videos regarding these and other features, please go to www.nissanownersinfo.mobi.
Page 7 of 30

5
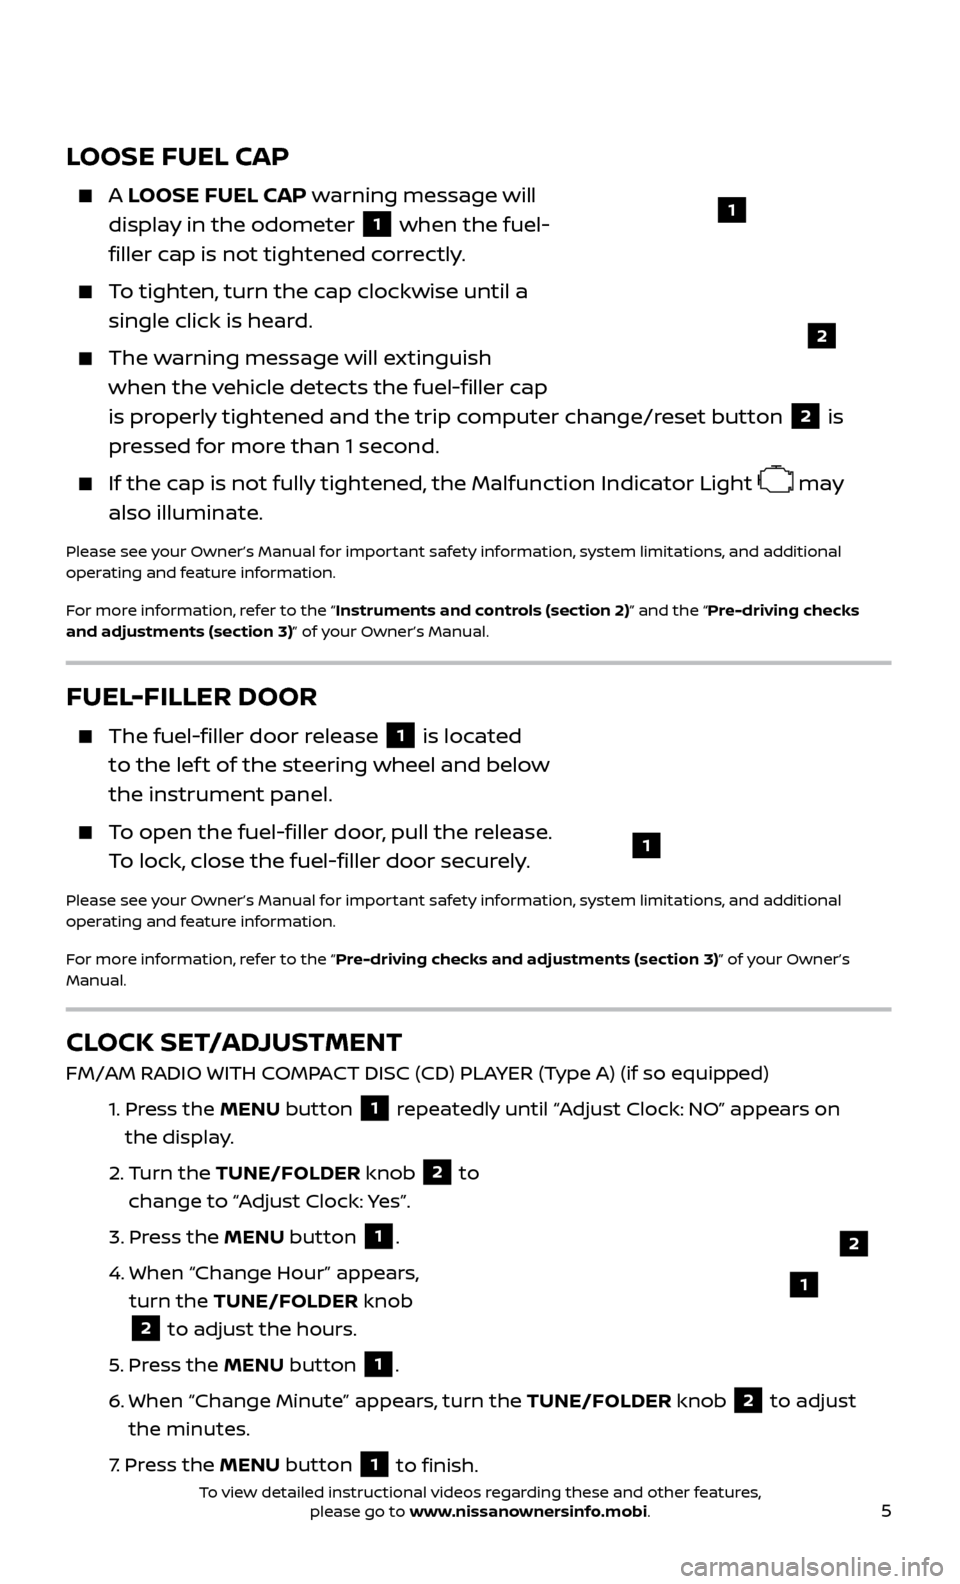
LOOSE FUEL CAP
A LOOSE FUEL CAP warning message will
display in the odometer
1 when the fuel-
filler cap is not tightened correctly.
To tighten, turn the cap clockwise until a single click is heard.
The warning message will extinguish when the vehicle detects the fuel-filler cap
is properly tightened and the trip computer change/reset button
2 is
pressed for more than 1 second.
If the cap is not fully tightened, the Malfunction Indicator Light may
also illuminate.
Please see your Owner’s Manual for important safety information, system limitations, and additional
operating and feature information.
For more information, refer to the “Instruments and controls (section 2)” and the “Pre-driving checks
and adjustments (section 3)” of your Owner’s Manual.
1
2
FUEL-FILLER DOOR
The fuel-filler door release 1 is located
to the lef t of the steering wheel and below
the instrument panel.
To open the fuel-filler door, pull the release. To lock, close the fuel-filler door securely.
Please see your Owner’s Manual for important safety information, system limitations, and additional
operating and feature information.
For more information, refer to the “Pre-driving checks and adjustments (section 3)” of your Owner’s
Manual.
1
CLOCK SET/ADJUSTMENT
FM/AM RADIO WITH COMPACT DISC (CD) PLAYER (Type A) (if so equipped)
1.
Pr
ess the MENU button
1 repeatedly until “Adjust Clock: NO” appears on
the display.
2.
Turn the TUNE/FOLDER knob
2 to
change to “Adjust Clock: Yes”.
3.
Pr
ess the MENU button
1.
4.
When “Change Hour
” appears,
turn the TUNE/FOLDER knob
2 to adjust the hours.
5
.
Pr
ess the MENU button 1.
6
.
When “Change Minute” appe
ars, turn the TUNE/FOLDER knob
2 to adjust
the minutes.
7
.
Pr
ess the MENU button
1 to finish.
1
2
To view detailed instructional videos regarding these and other features, please go to www.nissanownersinfo.mobi.
Page 13 of 30

11
HEADLIGHT CONTROL SWITCH
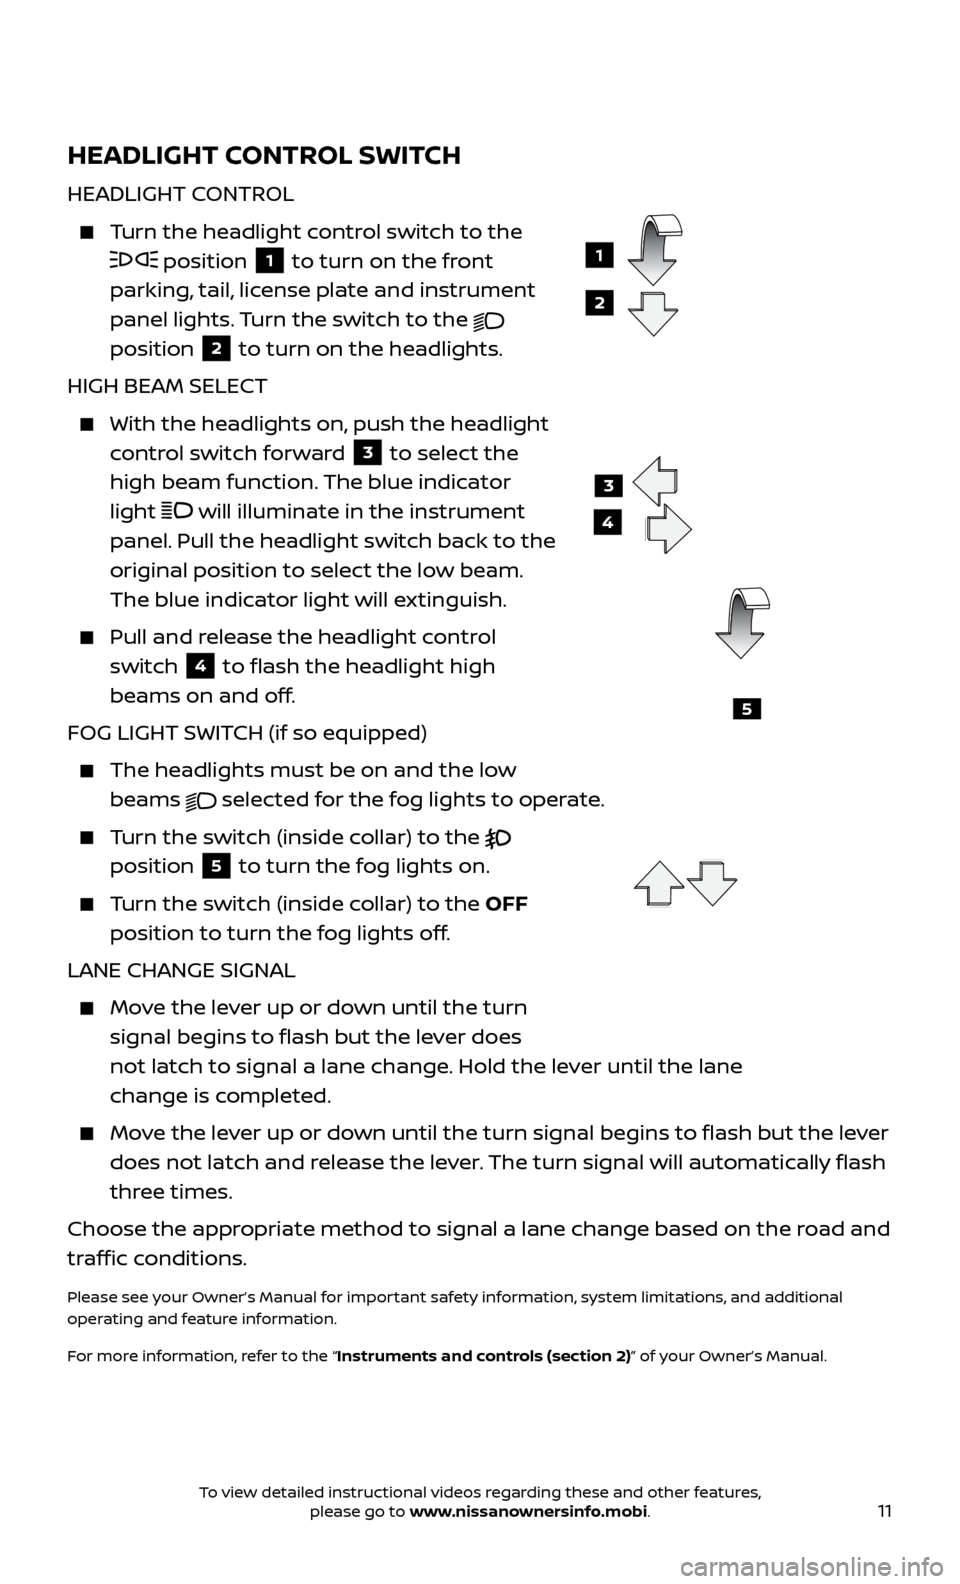
HEADLIGHT CONTROL
Turn the headlight control switch to the
position 1 to turn on the front
parking, tail, license plate and instrument
panel lights. Turn the switch to the
position
2 to turn on the headlights.
HIGH BEAM SELECT
With the he adlights on, push the headlight
control switch forward
3 to select the
high beam function. The blue indicator
light
will illuminate in the instrument
panel. Pull the headlight switch back to the
original position to select the low beam.
The blue indicator light will extinguish.
Pull and release the headlight control switch
4 to flash the headlight high
beams on and off.
FOG LIGHT SWITCH (if so equipped)
The headlights must be on and the low beams
selected for the fog lights to operate.
Turn the switch (inside collar) to the
position
5 to turn the fog lights on.
Turn the switch (inside collar) to the OFF position to turn the fog lights off.
LANE CHANGE SIGNAL
Move the lever up or down until the turn signal begins to flash but the lever does
not latch to signal a lane change. Hold the lever until the lane
change is completed.
Move the lever up or down until the turn signal begins to flash but the lever does not latch and release the lever. The turn signal will automatically flash
three times.
Choose the appropriate method to signal a lane change based on the road and
traffic conditions.
Please see your Owner’s Manual for important safety information, system limitations, and additional
operating and feature information.
For more information, refer to the “Instruments and controls (section 2)” of your Owner’s Manual.
3
4
5
1
2
To view detailed instructional videos regarding these and other features, please go to www.nissanownersinfo.mobi.
Page 17 of 30

15
CRUISE CONTROL (if so equipped)
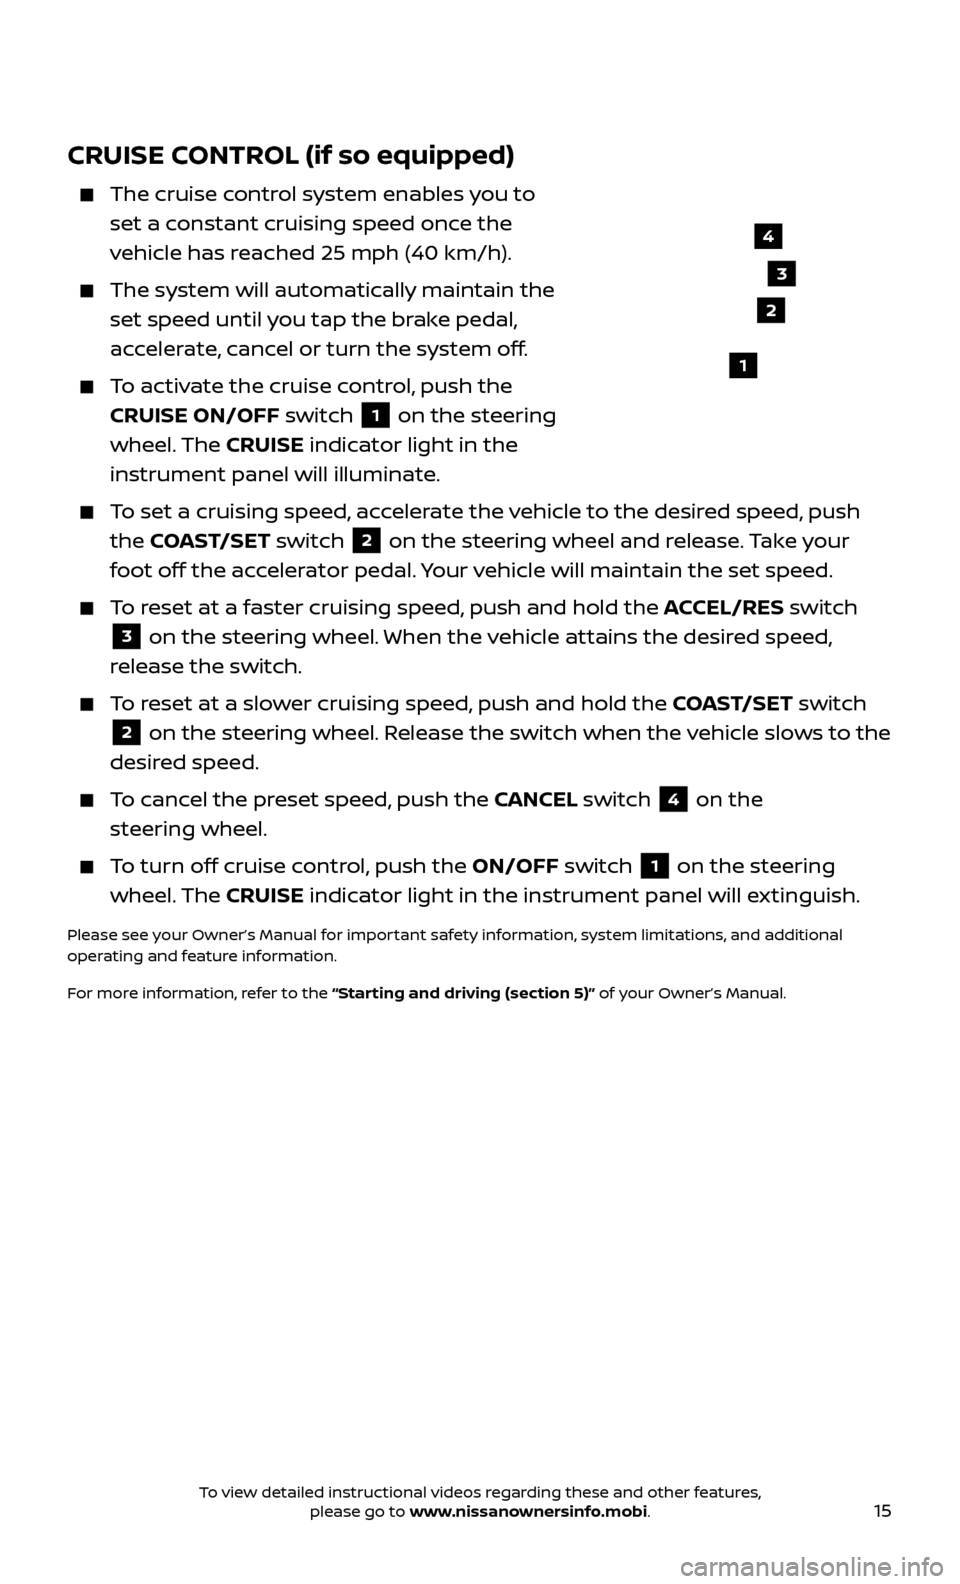
The cruise control system enables you to
set a constant cruising speed once the
vehicle has reached 25 mph (40 km/h).
The system wil l automatically maintain the
set speed until you tap the brake pedal,
accelerate, cancel or turn the system off.
To activate the cruise control, push the CRUISE ON/OFF switch
1 on the steering
wheel. The CRUISE indicator light in the
instrument panel will illuminate.
To set a cruising speed, accelerate the vehicle to the desired speed, push the COAST/SET switch
2 on the steering wheel and release. Take your
foot off the accelerator pedal. Your vehicle will maintain the set speed.
To reset at a faster cruising speed, push and hold the ACCEL/RES switch
3 on the steering wheel. When the vehicle attains the desired speed,
release the switch.
To reset at a slower cruising speed, push and hold the COAST/SET switch
2 on the steering wheel. Release the switch when the vehicle slows to the
desired speed.
To cancel the preset speed, push the CANCEL switch 4 on the
steering wheel.
To turn off cruise control, push the ON/OFF switch 1 on the steering
wheel. The CRUISE indicator light in the instrument panel will extinguish.
Please see your Owner’s Manual for important safety information, system limitations, and additional
operating and feature information.
For more information, refer to the “Starting and driving (section 5)” of your Owner’s Manual.
4
3
2
1
To view detailed instructional videos regarding these and other features, please go to www.nissanownersinfo.mobi.
Page 23 of 30

21
BLUETOOTH® SYSTEM WITH NAVIGATION* (if so equipped)
Send predefined or custom text messages through your vehicle’s Bluetooth ®
system.
Receive texts through your vehicle’s Bluetooth ®
system that can be read
to you.
Bluetooth ®
S treaming Audio allows you to use a compatible Bluetooth ®
cellular phone to play audio files on your device. Your compatible cellular phone can be connected to the vehicle’s audio system, allowing audio files to play through the vehicle’s speakers.
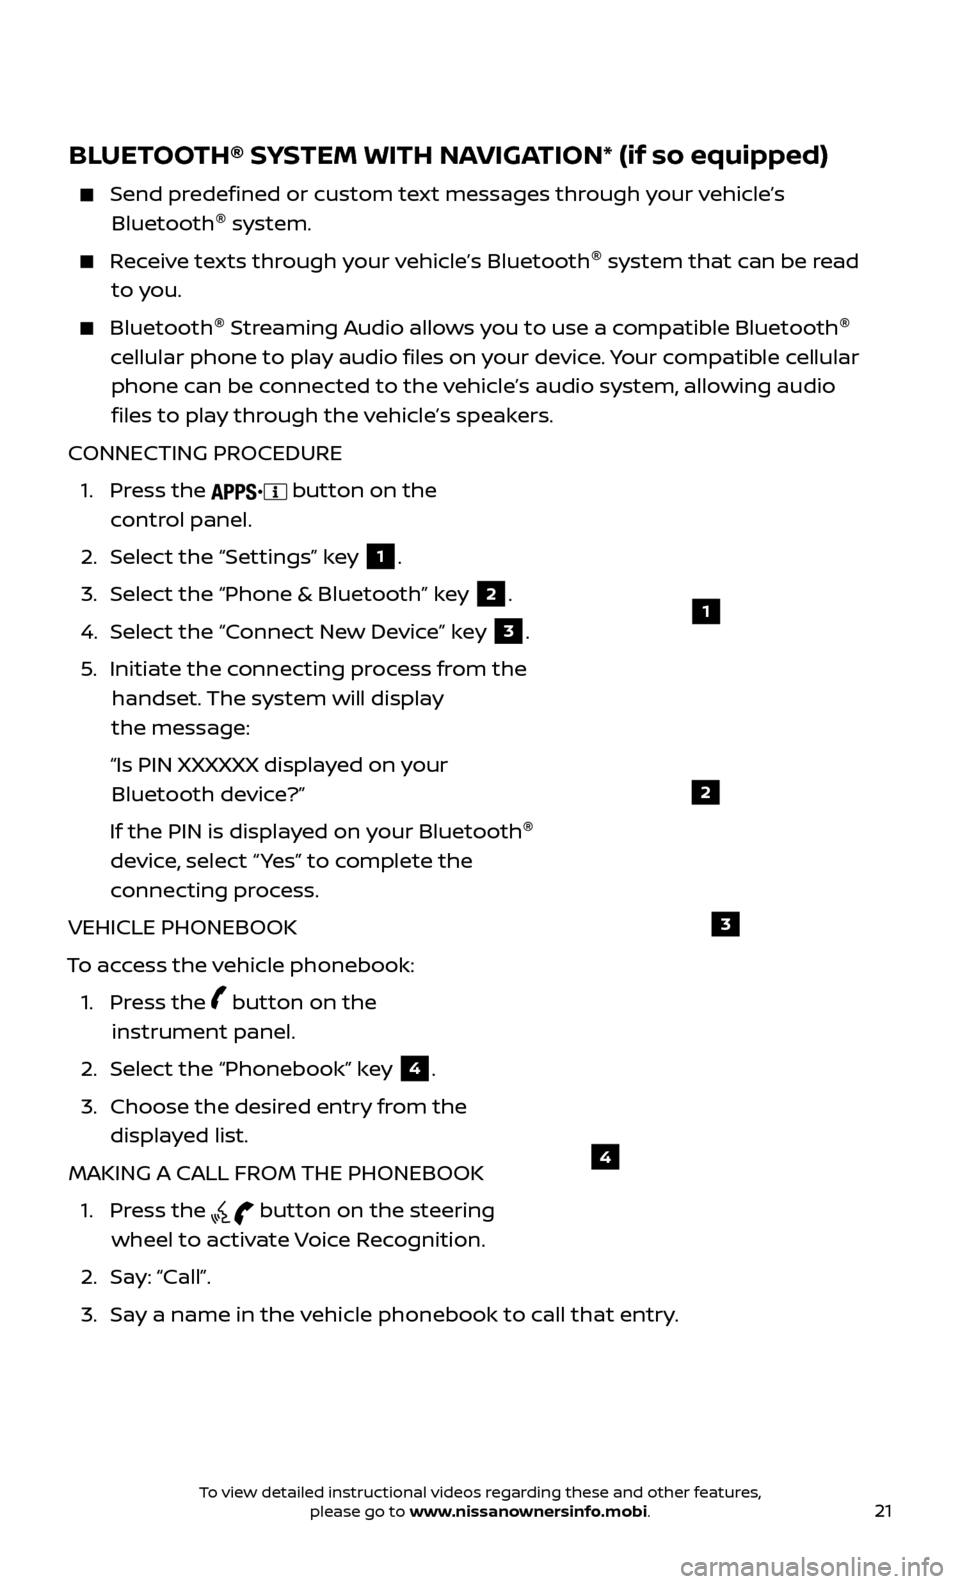
CONNECTING PROCEDURE
1.
Press the
button on the
control panel.
2.
Selec
t the “Settings” key
1.
3.
Selec
t the “Phone & Bluetooth” key
2.
4.
Selec
t the “Connect New Device” key
3.
5
.
Initiate the c
onnecting process from the
handset. The system will display
the message:
“Is PIN XXXXXX displa
yed on your
Bluetooth device?”
If the PIN is displa
yed on your Bluetooth ®
device, select “ Yes” to complete the
connecting process.
VEHICLE PHONEBOOK
To access the vehicle phonebook:
1.
Press the
button on the
instrument panel.
2. Selec
t the “Phonebook” key
4.
3.
Choose the desir
ed entry from the
displayed list.
MAKING A CALL FROM THE PHONEBOOK
1.
Press the
button on the steering
wheel to activate Voice Recognition.
2. Sa
y: “Call”.
3.
Sa
y a name in the vehicle phonebook to call that entry.
1
2
3
4
To view detailed instructional videos regarding these and other features, please go to www.nissanownersinfo.mobi.