2017 NISSAN VERSA SEDAN sat nav
[x] Cancel search: sat navPage 146 of 404

4 Monitor, climate, audio, phone and voice
recognition systems
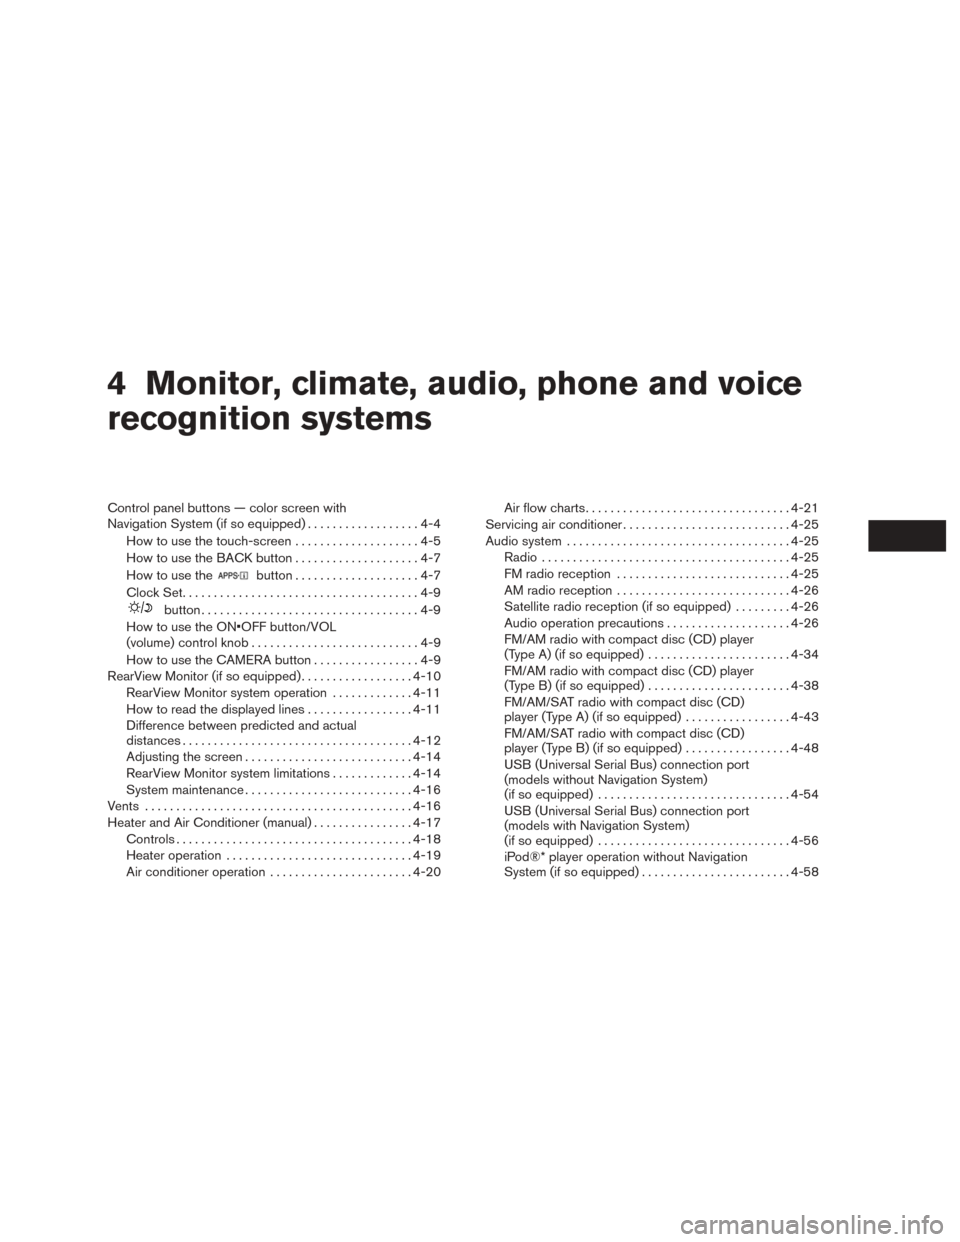
Control panel buttons — color screen with
Navigation System (if so equipped)..................4-4
How to use the touch-screen . . ..................4-5
How to use the BACK button ....................4-7
How to use the
button ....................4-7
Clock Set ......................................4-9
button...................................4-9
How to use the ON•OFF button/VOL
(volume) control knob ...........................4-9
How to use the CAMERA button .................4-9
RearView Monitor (if so equipped) ..................4-10
RearView Monitor system operation .............4-11
How to read the displayed lines .................4-11
Difference between predicted and actual
distances ..................................... 4-12
Adjusting the screen ........................... 4-14
RearView Monitor system limitations .............4-14
System maintenance ........................... 4-16
Vents ........................................... 4-16
Heater and Air Conditioner (manual) ................4-17
Controls ...................................... 4-18
Heater operation .............................. 4-19
Air conditioner operation .......................4-20Air flow charts
................................. 4-21
Servicing air conditioner ........................... 4-25
Audio system .................................... 4-25
Radio ........................................ 4-25
FM radio reception ............................ 4-25
AM radio reception ............................ 4-26
Satellite radio reception (if so equipped) .........4-26
Audio operation precautions ....................4-26
FM/AM radio with compact disc (CD) player
(Type A) (if so equipped) .......................4-34
FM/AM radio with compact disc (CD) player
(Type B) (if so equipped) .......................4-38
FM/AM/SAT radio with compact disc (CD)
player (Type A) (if so equipped) .................4-43
FM/AM/SAT radio with compact disc (CD)
player (Type B) (if so equipped) .................4-48
USB (Universal Serial Bus) connection port
(models without Navigation System)
(if so equipped) ............................... 4-54
USB (Universal Serial Bus) connection port
(models with Navigation System)
(if so equipped) ............................... 4-56
iPod®* player operation without Navigation
System (if so equipped) ........................ 4-58
Page 190 of 404

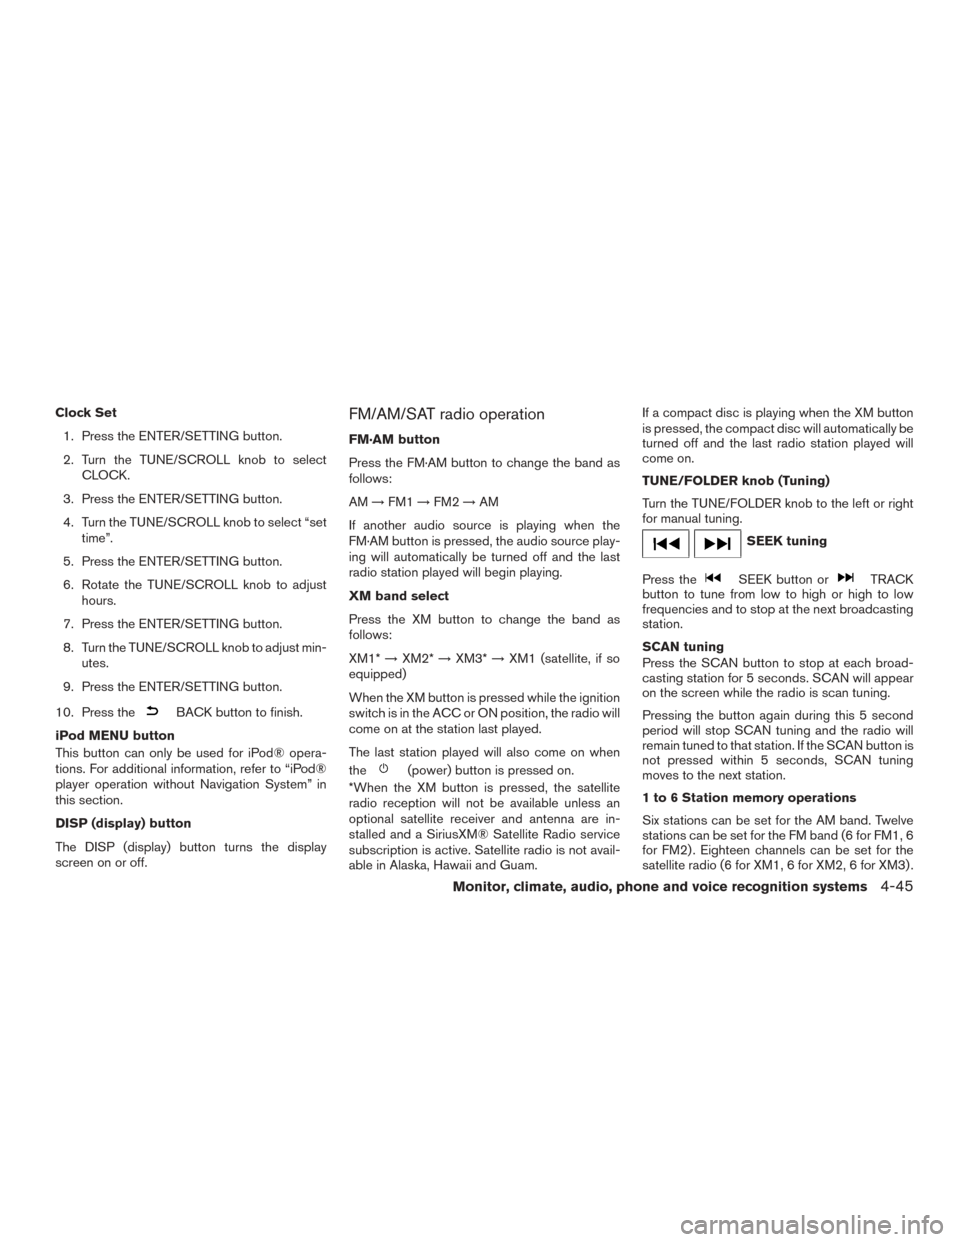
Clock Set1. Press the ENTER/SETTING button.
2. Turn the TUNE/SCROLL knob to select CLOCK.
3. Press the ENTER/SETTING button.
4. Turn the TUNE/SCROLL knob to select “set time”.
5. Press the ENTER/SETTING button.
6. Rotate the TUNE/SCROLL knob to adjust hours.
7. Press the ENTER/SETTING button.
8. Turn the TUNE/SCROLL knob to adjust min- utes.
9. Press the ENTER/SETTING button.
10. Press the
BACK button to finish.
iPod MENU button
This button can only be used for iPod® opera-
tions. For additional information, refer to “iPod®
player operation without Navigation System” in
this section.
DISP (display) button
The DISP (display) button turns the display
screen on or off.
FM/AM/SAT radio operation
FM·AM button
Press the FM·AM button to change the band as
follows:
AM →FM1 →FM2 →AM
If another audio source is playing when the
FM·AM button is pressed, the audio source play-
ing will automatically be turned off and the last
radio station played will begin playing.
XM band select
Press the XM button to change the band as
follows:
XM1* →XM2* →XM3* →XM1 (satellite, if so
equipped)
When the XM button is pressed while the ignition
switch is in the ACC or ON position, the radio will
come on at the station last played.
The last station played will also come on when
the
(power) button is pressed on.
*When the XM button is pressed, the satellite
radio reception will not be available unless an
optional satellite receiver and antenna are in-
stalled and a SiriusXM® Satellite Radio service
subscription is active. Satellite radio is not avail-
able in Alaska, Hawaii and Guam. If a compact disc is playing when the XM button
is pressed, the compact disc will automatically be
turned off and the last radio station played will
come on.
TUNE/FOLDER knob (Tuning)
Turn the TUNE/FOLDER knob to the left or right
for manual tuning.
SEEK tuning
Press the
SEEK button orTRACK
button to tune from low to high or high to low
frequencies and to stop at the next broadcasting
station.
SCAN tuning
Press the SCAN button to stop at each broad-
casting station for 5 seconds. SCAN will appear
on the screen while the radio is scan tuning.
Pressing the button again during this 5 second
period will stop SCAN tuning and the radio will
remain tuned to that station. If the SCAN button is
not pressed within 5 seconds, SCAN tuning
moves to the next station.
1 to 6 Station memory operations
Six stations can be set for the AM band. Twelve
stations can be set for the FM band (6 for FM1, 6
for FM2) . Eighteen channels can be set for the
satellite radio (6 for XM1, 6 for XM2, 6 for XM3) .
Monitor, climate, audio, phone and voice recognition systems4-45
Page 210 of 404

3. When prompted for a pin code, enter“1234” from the handset. The pin code
“1234” has been assigned by NISSAN and
cannot be changed.
Audio main operation
To switch to the Bluetooth® audio mode, press
the MEDIA button repeatedly until the
Bluetooth® audio mode is displayed on the
screen.
You can use the vehicle audio controls or the
Bluetooth® device’s controls to play, pause, skip
or reverse tracks.
BLUETOOTH® STREAMING AUDIO
WITHOUT NAVIGATION SYSTEM
(Type B) (if so equipped)
If you have a compatible Bluetooth® audio de-
vice that is capable of playing audio files, the
device can be connected to the vehicle’s audio
system so that the audio files on the device play
through the vehicle’s speakers. For additional
information, refer to “FM/AM/SAT radio with
compact disc (CD) player (Type A)” in this sec-
tion.
NOTE:
For additional information, refer to the cel-
lular phone Owner’s Manual.
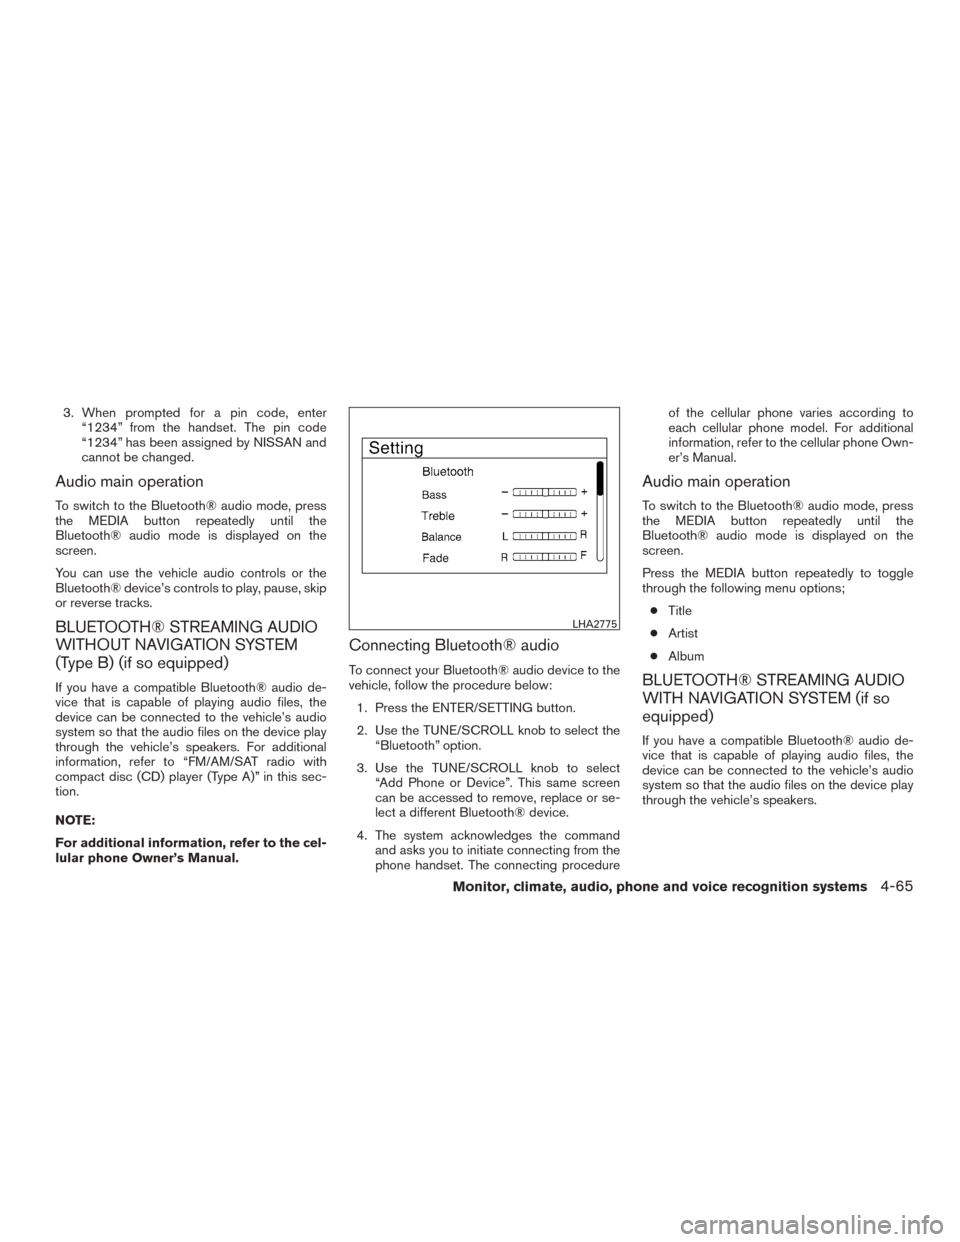
Connecting Bluetooth® audio
To connect your Bluetooth® audio device to the
vehicle, follow the procedure below:
1. Press the ENTER/SETTING button.
2. Use the TUNE/SCROLL knob to select the “Bluetooth” option.
3. Use the TUNE/SCROLL knob to select “Add Phone or Device”. This same screen
can be accessed to remove, replace or se-
lect a different Bluetooth® device.
4. The system acknowledges the command and asks you to initiate connecting from the
phone handset. The connecting procedure of the cellular phone varies according to
each cellular phone model. For additional
information, refer to the cellular phone Own-
er’s Manual.
Audio main operation
To switch to the Bluetooth® audio mode, press
the MEDIA button repeatedly until the
Bluetooth® audio mode is displayed on the
screen.
Press the MEDIA button repeatedly to toggle
through the following menu options;
● Title
● Artist
● Album
BLUETOOTH® STREAMING AUDIO
WITH NAVIGATION SYSTEM (if so
equipped)
If you have a compatible Bluetooth® audio de-
vice that is capable of playing audio files, the
device can be connected to the vehicle’s audio
system so that the audio files on the device play
through the vehicle’s speakers.
LHA2775
Monitor, climate, audio, phone and voice recognition systems4-65
Page 396 of 404

11 Index
A
Air bag (See supplemental restraint
system) .....................1-39
Air bag system Front (See supplemental front impact
air bag system) ...............1-48
Airbagwarninglabels.............1-56
Airbagwarninglight...........1-56,2-18
Air bag warning light, supplemental . .1-56, 2-18
Air cleaner housing filter ............8-15
Air conditioner Air conditioner operation ..........4-20
Air conditioner service ...........4-25
Air conditioner specification label ....10-12
Air conditioner system refrigerant and
oil recommendations ............10-7
Air conditioner system refrigerant
recommendations ..............10-7
Heater and air conditioner controls ....4-17
Servicing air conditioner ..........4-25
Airflowcharts..................4-21
Alarm system
(See vehicle security system) .........2-21
Anchor point locations .............1-23
Antenna .....................4-68
Antifreeze ....................5-38
Anti-lock brake warning light ..........2-13
Anti-lock Braking System (ABS) ........5-34
Apps .......................4-69
APPS button ...................4-7
Audible reminders ...............2-21 Audio system
..................4-25
AMradioreception.............4-26
Bluetooth®audio.......4-64,4-65,4-65
Bluetooth® streaming audio ........4-65
Compact disc (CD)
player..........4-36,4-42,4-46,4-53
FM/AM radio with compact disc (CD)
player ....................4-38
FM-AM radio with compact disc (CD)
player ....................4-34
FM/AM/SAT radio with compact disc (CD)
player.................4-43,4-48
FMradioreception.............4-25
iPod® Player .............4-58,4-61
iPod® player operation .......4-58,4-61
Radio ....................4-25
Steering wheel audio control switch . . .4-67
USB interface ............4-54,4-56
USB (Universal Serial Bus) Connection
Port..................4-54,4-56
Automatic Automatic power window switch .....2-34
Automatic transmission fluid (ATF) .....8-9
Driving with automatic transmission ....5-21
Transmission shift lever lock release ....5-24
Automatic door locks ..............3-7
AUXjack..............4-37,4-39,4-54
B
Battery ..................5-38,8-11
Chargewarninglight............2-14 Battery replacement
..............8-21
Keyfob................8-21,8-21
NISSAN Intelligent Key® ..........8-23
Before starting the engine ...........5-14
Belt (See drive belt) ..............8-14
Block heater Engine ....................5-39
Bluetooth® audio .........4-64,4-65,4-65
Bluetooth® hands-free phone
system...............4-70,4-84,4-94
Bluetooth® Hands-Free Phone System with
Navigation System ...............4-94
Bluetooth® Hands-Free Phone System
without Navigation System .......4-70,4-84
Bluetooth® streaming audio with Navigation
System .....................4-65
Bluetooth® streaming audio without Navigation
System (if so equipped) ............4-65
Boosterseats..................1-36
Brake Anti-lock Braking System (ABS) ......5-34
Brake fluid ..................8-10
Brakelight(Seestoplight).........8-26
Brake system ................5-34
Brakewarninglight.............2-13
Brakewearindicators........2-21,8-17
Parking brake operation ..........5-27
Self-adjusting brakes ............8-17
Brake assist ...................
5
-35
Brake fluid ....................8-10
Brakes ......................8-17
Brake system ..................5-34
Break-inschedule ...............5-30