2017 NISSAN VERSA SEDAN ECO mode
[x] Cancel search: ECO modePage 164 of 404
The air conditioner cooling function oper-
ates only when the engine is running.
Rear window defroster switch
For additional information, refer to “Rear window
defroster switch” in the “Instruments and con-
trols” section of this manual.
HEATER OPERATION
Heating
This mode is used to direct heated air to the foot
outlets. Some air also flows from the defrost
outlets.1. Move the air intake lever to the
posi-
tion for normal heating.
2. Turn the air flow control dial to the
position.
3. Turn the
fan control dial to the desired
position.
4. Turn the temperature control dial to the de- sired position between the middle and the
hot position.
Ventilation
This mode directs outside air to the side and
center vents.
1. Move the air intake lever to the
posi-
tion.
2. Turn the air flow control dial to the
position.
3. Turn the
fan control dial to the desired
position.
4. Turn the temperature control dial to the de- sired position.
Defrosting or defogging
This mode directs the air to the defrost outlets to
defrost/defog the windows.
1. Move the air intake lever to the
posi-
tion.
2. Turn the air flow control dial to the
position.
3. Turn the fan control dial to the desired posi- tion. 4. Turn the temperature control dial to the de-
sired position between the middle and the
hot position.
● To quickly remove ice or fog from the win-
dows, turn the fan control dial to the maxi-
mum position and the temperature control
dial to the full hot position.
When the
orposition is selected,
press the
button to turn on the air condi-
tioner for better performance. This will dehumidify
the air and help defog the windows.
Monitor, climate, audio, phone and voice recognition systems4-19
Page 165 of 404
NOTE:
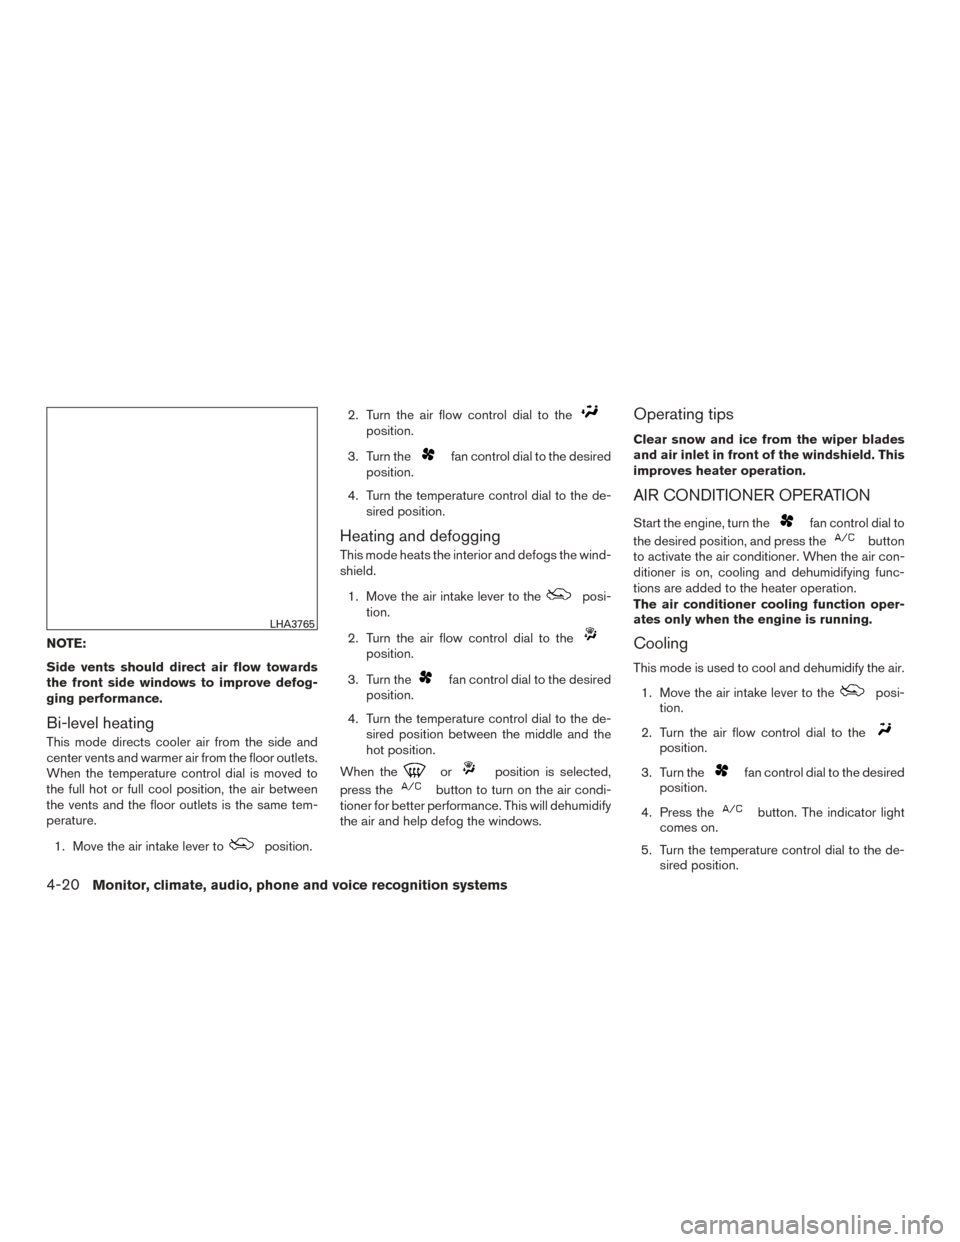
Side vents should direct air flow towards
the front side windows to improve defog-
ging performance.
Bi-level heating
This mode directs cooler air from the side and
center vents and warmer air from the floor outlets.
When the temperature control dial is moved to
the full hot or full cool position, the air between
the vents and the floor outlets is the same tem-
perature.1. Move the air intake lever to
position. 2. Turn the air flow control dial to the
position.
3. Turn the
fan control dial to the desired
position.
4. Turn the temperature control dial to the de- sired position.
Heating and defogging
This mode heats the interior and defogs the wind-
shield.
1. Move the air intake lever to the
posi-
tion.
2. Turn the air flow control dial to the
position.
3. Turn the
fan control dial to the desired
position.
4. Turn the temperature control dial to the de- sired position between the middle and the
hot position.
When the
orposition is selected,
press the
button to turn on the air condi-
tioner for better performance. This will dehumidify
the air and help defog the windows.
Operating tips
Clear snow and ice from the wiper blades
and air inlet in front of the windshield. This
improves heater operation.
AIR CONDITIONER OPERATION
Start the engine, turn thefan control dial to
the desired position, and press the
button
to activate the air conditioner. When the air con-
ditioner is on, cooling and dehumidifying func-
tions are added to the heater operation.
The air conditioner cooling function oper-
ates only when the engine is running.
Cooling
This mode is used to cool and dehumidify the air.
1. Move the air intake lever to the
posi-
tion.
2. Turn the air flow control dial to the
position.
3. Turn the
fan control dial to the desired
position.
4. Press the
button. The indicator light
comes on.
5. Turn the temperature control dial to the de- sired position.
LHA3765
4-20Monitor, climate, audio, phone and voice recognition systems
Page 166 of 404
●For quick cooling when the outside tem-
perature is high, move the air intake lever to
the
position. Be sure to return to
the
position for normal cooling.
Dehumidified heating
This mode is used to heat and dehumidify the air.
1. Move the air intake lever to the
posi-
tion.
2. Turn the air flow control dial to the
position.
3. Turn the
fan control dial to the desired
position.
4. Press the
button. The indicator light
comes on.
5. Turn the temperature control dial to the de- sired position.
Dehumidified defogging
This mode is used to defog the windows and
dehumidify the air.
1. Move the air intake lever to the
posi-
tion.
2. Turn the air flow control dial to the
position. 3. Turn the
fan control dial to the desired
position.
4. Turn the temperature control dial to the de- sired position.
Operating tips
●Keep the windows closed while the air con-
ditioner is in operation.
● After parking in the sun, drive for 2 or 3 min-
utes with the windows open to vent hot air
from the passenger compartment. Then,
close the windows. This allows the air con-
ditioner to cool the interior more quickly.
● The air conditioning system should be
operated for approximately 10 minutes
at least once a month. This helps pre-
vent damage to the system due to lack
of lubrication.
● A visible mist may be seen coming from the
ventilators in hot, humid conditions as the air
is cooled rapidly. This does not indicate a
malfunction. ●
If the engine coolant temperature
gauge indicates engine coolant tem-
perature over the normal range, turn
the air conditioner off. For additional
information, refer to “If your vehicle
overheats” in the “In case of emer-
gency” section of this manual.AIR FLOW CHARTS
The following charts show the button and dial
positions for MAXIMUM AND QUICK heating,
cooling or defrosting. The air intake lever
should always be in the
position for
heating and defrosting.
Monitor, climate, audio, phone and voice recognition systems4-21
Page 176 of 404
USB (Universal Serial Bus)
Connection Port (if so equipped)
WARNING
Do not connect, disconnect or operate the
USB device while driving. Doing so can be
a distraction. If distracted you could lose
control of your vehicle and cause an acci-
dent or serious injury.
CAUTION
●Do not force the USB device into the
USB port. Inserting the USB device
tilted or up-side-down into the port may
damage the port. Make sure that the
USB device is connected correctly into
the USB port.
● Do not grab the USB port cover (if so
equipped) when pulling the USB device
out of the port. This could damage the
port and the cover.
● Do not leave the USB cable in a place
where it can be pulled unintentionally.
Pulling the cable may damage the port.
The vehicle is not equipped with a USB device.
USB devices should be purchased separately as
necessary. This system cannot be used to format USB de-
vices. To format a USB device, use a personal
computer.
In some jurisdictions, the USB device for the front
seats plays only sound without images for regu-
latory reasons, even when the vehicle is parked.
This system supports various USB memory de-
vices, USB hard drives and iPod® players. Some
USB devices may not be supported by this sys-
tem.
● Partitioned USB devices may not play cor-
rectly.
● Some characters used in other languages
(Chinese, Japanese, etc.) may not appear
properly in the display. Using English lan-
guage characters with a USB device is rec-
ommended.
General notes for USB (if so equipped) use: ● Refer to your device manufacturer’s owner
information regarding the proper use and
care of the device. Notes for iPod® (if so equipped) use:
iPod® is a trademark of Apple Inc., registered in
the U.S. and other countries.
● Improperly plugging in the iPod® may cause
a checkmark to be displayed on and off
(flickering) . Always make sure that the
iPod® is connected properly.
● An iPod® nano (1st Generation) may remain
in fast forward or rewind mode if it is con-
nected during a seek operation. In this case,
please manually reset the iPod®.
● An iPod® nano (2nd Generation) will con-
tinue to fast-forward or rewind if it is discon-
nected during a seek operation.
● An incorrect song title may appear when the
Play Mode is changed while using an iPod®
nano (2nd Generation) .
● Audiobooks may not play in the same order
as they appear on an iPod®.
● Large video files cause slow responses in an
iPod®. The vehicle center display may mo-
mentarily black out, but will soon recover.
Monitor, climate, audio, phone and voice recognition systems4-31
Page 177 of 404
●If an iPod® automatically selects large video
files while in the shuffle mode, the vehicle
center display may momentarily black out,
but will soon recover.
iPod®* player (if so equipped)
●Some characters used in other languages
(Chinese, Japanese, etc.) are not displayed
properly on the vehicle center screen. We
recommend using English or Spanish lan-
guage characters with an iPod®.
● Large video podcast files cause slow re-
sponses in the iPod®. The vehicle center
display may momentarily black out, but it will
soon recover.
● If the iPod® automatically selects large
video podcast files while in the shuffle mode,
the vehicle center display may momentarily
black out, but it will soon recover.
● Improperly plugging in the iPod® may cause
a checkmark to be displayed on and off
(flickering) . Always make sure that the
iPod® is connected properly.
● The iPod® nano (2nd Generation) will con-
tinue to fast forward or rewind if it is discon-
nected during a seek operation. ●
An incorrect song title may appear when the
Play Mode is changed while using the iPod®
nano (2nd Generation) .
● Audiobooks may not play in the same order
as they appear on the iPod®.
● The iPod® nano (1st Generation) may re-
main in fast forward or rewind mode if it is
connected during a seek operation. In this
case, please manually reset the iPod®.
● If you are using an iPod® (3rd Generation
with Dock connector) , do not use very long
names for the song title, album name or artist
name to prevent the iPod® from resetting
itself.
● Be careful not to do the following, or the
cable could be damaged and a loss of func-
tion may occur:
● Bend the cable excessively (1.6 in
(40 mm) radius maximum) .
● Twist the cable excessively (more than
180 degrees) .
● Pull or drop the cable.
● Do not force the iPod® cable connector
into the device port.
● Close the center console lid on the cable
or connectors. ●
Store objects with sharp edges in the
storage where the cable is stored.
● Spill liquids on the cable and connectors.
● Do not connect the cable to the iPod® if the
cable and/or connectors are wet. It may
damage the iPod®.
● If the cable and connectors are exposed to
water, allow the cable and/or connectors to
dry completely before connecting the cable
to the iPod® (wait 24 hours for it to dry) .
● If the connector is exposed to fluids other
than water, evaporative residue may cause a
short between the connector pins. In this
case, replace the cable, otherwise damage
to the iPod® and a loss of function may
occur.
● If the cable is damaged (insulation cut, con-
nectors cracked, contamination such as liq-
uids, dust, dirt, etc. in the connectors) , do
not use the cable. It is recommended that
you visit a NISSAN dealer to replace the
cable with a new one.
● When not in use for extended periods of
time, store the cable in a clean, dust free
environment at room temperature and with-
out direct sun exposure.
4-32Monitor, climate, audio, phone and voice recognition systems
Page 179 of 404
FM/AM RADIO WITH COMPACT
DISC (CD) PLAYER (Type A) (if so
equipped)
For additional information, refer to “Audio opera-
tion precautions” in this section.1.
CD eject button
2. CD insert slot
3. SCAN button
4. DISP (display) button 5. RPT (repeat )/ RDM (random) button
6. TUNE/FOLDER knob / MENU button
7. AUX IN jack
8. AUX button
9. CD button
10. AM button
11. FM button
12. VOL (volume) control knob /
(power)
button
13. Station select (1 - 6) buttons
14. TRACK
button
15.
SEEK button
Audio main operation
VOL (volume) control knob/(power)
button
Place the ignition switch in the ACC or ON
position, then press the
(power) button. If
you listen to the radio with the engine not running,
place the ignition in the ACC position. The mode
(radio or CD) that was playing immediately before
the system was turned off resumes playing.
LHA8804
4-34Monitor, climate, audio, phone and voice recognition systems
Page 180 of 404
When no CD is loaded, the radio comes on.
Pressing the
(power) button again turns
the system off.
Turn the VOL (volume) control knob to the right to
increase volume or to the left to decrease volume.
MENU button (Bass, Treble, Balance,
Fade, Speed Sensitive Volume and Clock)
Press the MENU button to change the mode as
follows:
Bass →Treble →Balance →Fade →Spd. Sen.
Vol. (Speed Sensitive Volume) →AUX IN Volume
→ Clock →Clock Adjust
To adjust the Bass, Treble, Fade and Balance,
press the MENU button until the desired mode
appears in the display. Press the
SEEK or
TRACK
button to adjust the setting to the
desired level (-5 to +5) . Balance adjusts the sound
between the right and left speakers. Fade adjusts
the sound between the front and rear speakers.
Once you have adjusted the sound quality to the
desired level, press the MENU button repeatedly
until the radio or CD display reappears. Other-
wise, the radio or CD display will automatically
reappear after about 10 seconds.
Speed Sensitive Volume adjusts the volume of
the audio system as the vehicle’s driving speed
changes. It can be set as follows: OFF
→LOW →MID →HIGH
DISP (display) button
Press the DISP (display) button while a CD is
playing to change the text shown in the audio
display as follows:
For CDs:
Running Time →Album Title: →Artist Name: →
Song Title
For MP3 CDs:
Running Time →Folder Title: →Album Title: →
Artist Name: →Song Title:
If the text information is too long to fully be dis-
played on the screen; press and hold the DISP
button for longer than 1.5 seconds to scroll
through the rest of the text.
Press the DISP (display) button while the radio is
playing to toggle the audio display between sta-
tion number and RDS.
Clock operation
To turn the clock display on or off, press the
MENU button repeatedly until “Clock” appears
on the display. Turn the TUNE/FOLDER knob to
toggle the setting (ON or OFF) . Clock set
1. Press the MENU button repeatedly until “Adjust Clock: NO” appears on the display.
2. Turn the TUNE/FOLDER knob to change to “Adjust Clock: YES”.
3. Press the MENU button.
4. When “Change Hour” appears, turn the TUNE/FOLDER knob to adjust the hours.
5. Press MENU button.
6. When “Change Minute” appears, turn the TUNE/FOLDER knob to adjust minutes.
7. Press MENU button to finish.
The display will return to the regular clock display
after 10 seconds if no further adjustment is per-
formed.
FM/AM radio operation
AM and FM buttons
Press the AM button to change the band to AM.
If another audio source is playing when the AM
button is pressed, the audio source playing will
automatically be turned off and the last radio
station played will begin playing.
Monitor, climate, audio, phone and voice recognition systems4-35
Page 182 of 404
RPT (repeat)/RDM (random) button
Press the RPT/RDM button while a compact disc
is playing to change the play pattern as follows:
CD:
TRACK REPEAT→DISC RANDOM →DISC
REPEAT
MP3/WMA CD:
FOLDER REPEAT →TRACK REPEAT →DISC
RANDOM →FOLDER RANDOM →DISC RE-
PEAT
TRACK REPEAT: The track that is currently play-
ing will be repeated.
DISC RANDOM: The order of the tracks on the
disc will be mixed during play.
DISC REPEAT: The disc currently playing will be
repeated.
FOLDER REPEAT: The tracks in the current
folder will be repeated.
FOLDER RANDOM: The order of the tracks in
the folder will be mixed during play.
SCAN (CDs) button
Press the SCAN button for less than 1.5 seconds
to scan all tracks of the current disc for 10 sec-
onds per track. The SCAN icon is flashed during
scan mode. The scan mode is canceled once it scans through
all tracks on the disc, or if the SCAN button is
pressed during scan mode.
CD EJECT
When the
button is pressed with a com-
pact disc loaded, the compact disc will be
ejected.
When the
button is pressed while the
compact disc is playing, the compact disc will
eject and the system will turn off.
AUX (Auxiliary) button
The AUX IN jack is located on the CD player. The
AUX IN audio input jack accepts any standard
analog audio input such as from a portable cas-
sette tape/CD player, MP3 player or laptop com-
puters.
Press the AUX button to play a compatible device
when it is plugged into the AUX IN jack.
Press the MENU button repeatedly until “AUX IN
Volume” appears on the screen to control the
incoming volume level of the auxiliary input de-
vice. Turn the TUNE/FOLDER knob to adjust the
level between 0 and +3.
Additional features
For additional information, refer to “Bluetooth®
streaming audio without Navigation System
(Type A)” in this section.
Monitor, climate, audio, phone and voice recognition systems4-37