Page 107 of 414
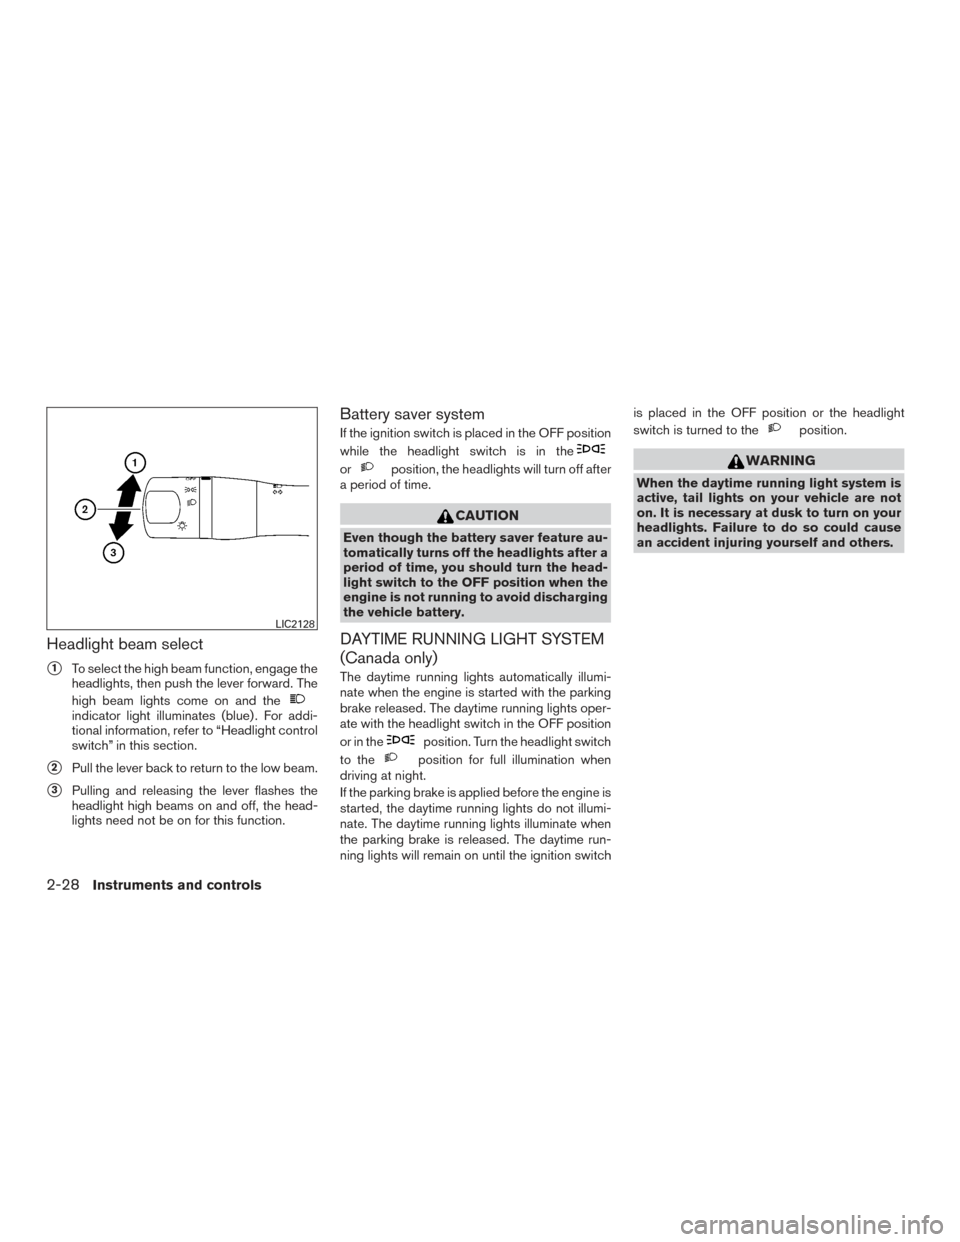
Headlight beam select
�1To select the high beam function, engage the
headlights, then push the lever forward. The
high beam lights come on and the
indicator light illuminates (blue) . For addi-
tional information, refer to “Headlight control
switch” in this section.
�2Pull the lever back to return to the low beam.
�3Pulling and releasing the lever flashes the
headlight high beams on and off, the head-
lights need not be on for this function.
Battery saver system
If the ignition switch is placed in the OFF position
while the headlight switch is in the
orposition, the headlights will turn off after
a period of time.
CAUTION
Even though the battery saver feature au-
tomatically turns off the headlights after a
period of time, you should turn the head-
light switch to the OFF position when the
engine is not running to avoid discharging
the vehicle battery.
DAYTIME RUNNING LIGHT SYSTEM
(Canada only)
The daytime running lights automatically illumi-
nate when the engine is started with the parking
brake released. The daytime running lights oper-
ate with the headlight switch in the OFF position
or in the
position. Turn the headlight switch
to the
position for full illumination when
driving at night.
If the parking brake is applied before the engine is
started, the daytime running lights do not illumi-
nate. The daytime running lights illuminate when
the parking brake is released. The daytime run-
ning lights will remain on until the ignition switch is placed in the OFF position or the headlight
switch is turned to the
position.
WARNING
When the daytime running light system is
active, tail lights on your vehicle are not
on. It is necessary at dusk to turn on your
headlights. Failure to do so could cause
an accident injuring yourself and others.
LIC2128
2-28Instruments and controls
Page 109 of 414
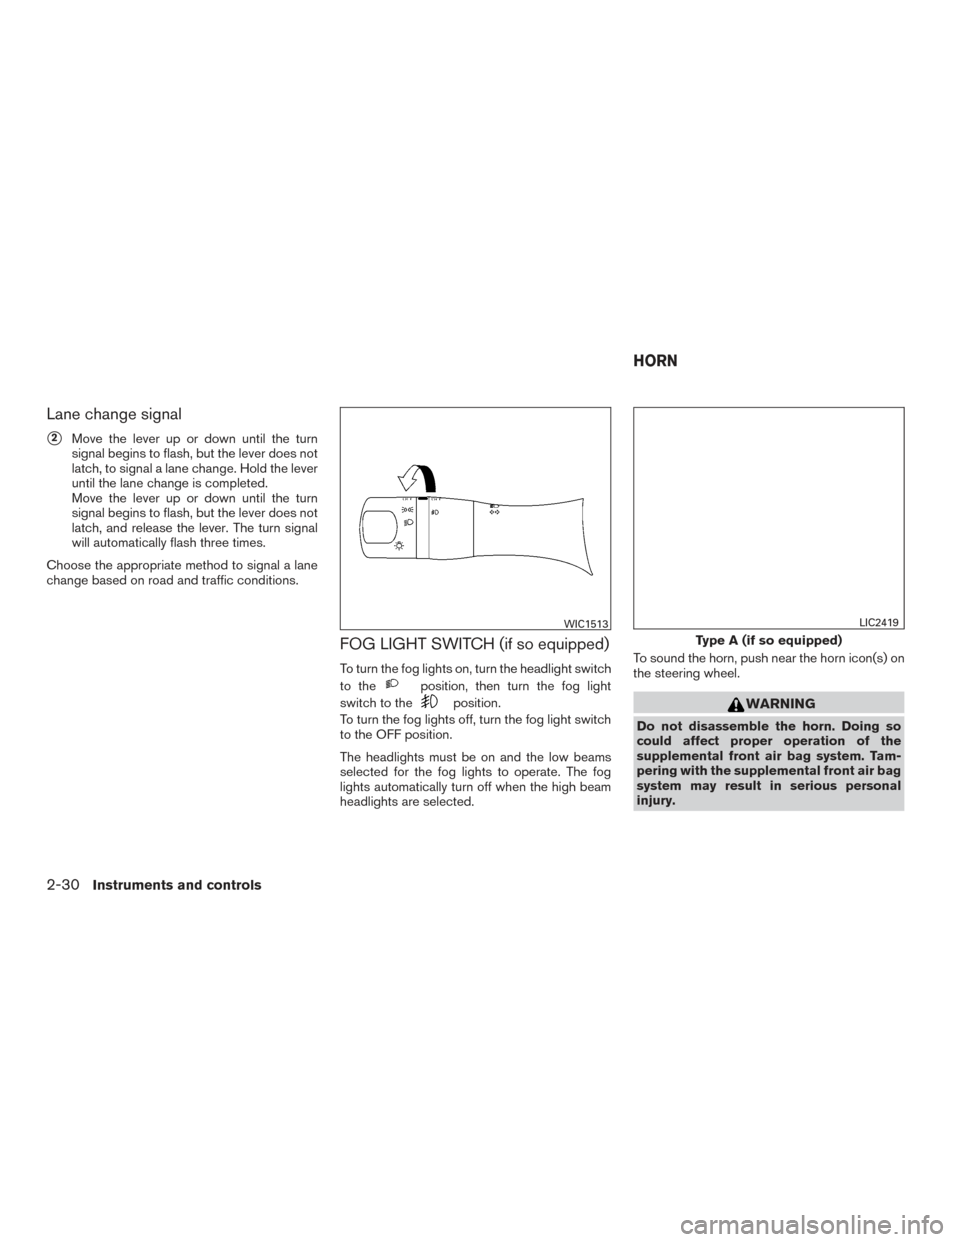
Lane change signal
�2Move the lever up or down until the turn
signal begins to flash, but the lever does not
latch, to signal a lane change. Hold the lever
until the lane change is completed.
Move the lever up or down until the turn
signal begins to flash, but the lever does not
latch, and release the lever. The turn signal
will automatically flash three times.
Choose the appropriate method to signal a lane
change based on road and traffic conditions.
FOG LIGHT SWITCH (if so equipped)
To turn the fog lights on, turn the headlight switch
to the
position, then turn the fog light
switch to the
position.
To turn the fog lights off, turn the fog light switch
to the OFF position.
The headlights must be on and the low beams
selected for the fog lights to operate. The fog
lights automatically turn off when the high beam
headlights are selected. To sound the horn, push near the horn icon(s) on
the steering wheel.WARNING
Do not disassemble the horn. Doing so
could affect proper operation of the
supplemental front air bag system. Tam-
pering with the supplemental front air bag
system may result in serious personal
injury.
WIC1513
Type A (if so equipped)
LIC2419
HORN
2-30Instruments and controls
Page 110 of 414
WARNING
Do not use or allow occupants to use the
seat heater if you or the occupants cannot
monitor elevated seat temperatures or
have an inability to feel pain in body parts
that contact the seat. Use of the seat
heater by such people could result in seri-
ous injury.
CAUTION
●The battery could run down if the seat
heater is operated while the engine is
not running.
● Do not use the seat heater for extended
periods or when no one is using the
seat.
● Do not put anything on the seat which
insulates heat, such as a blanket, cush-
ion or seat cover, etc. Otherwise, the
seat may become overheated.
● Do not place anything hard or heavy on
the seat or pierce it with a pin or similar
object. This may result in damage to the
heater.
● Any liquid spilled on the heated seat
should be removed immediately with a
dry cloth.
● When cleaning the seat, never use
gasoline, benzine, thinner, or any simi-
lar materials.
● If any malfunctions are found or the
heated seat does not operate, turn the
switch off and have the system checked.
It is recommended that you visit a
NISSAN dealer for this service.
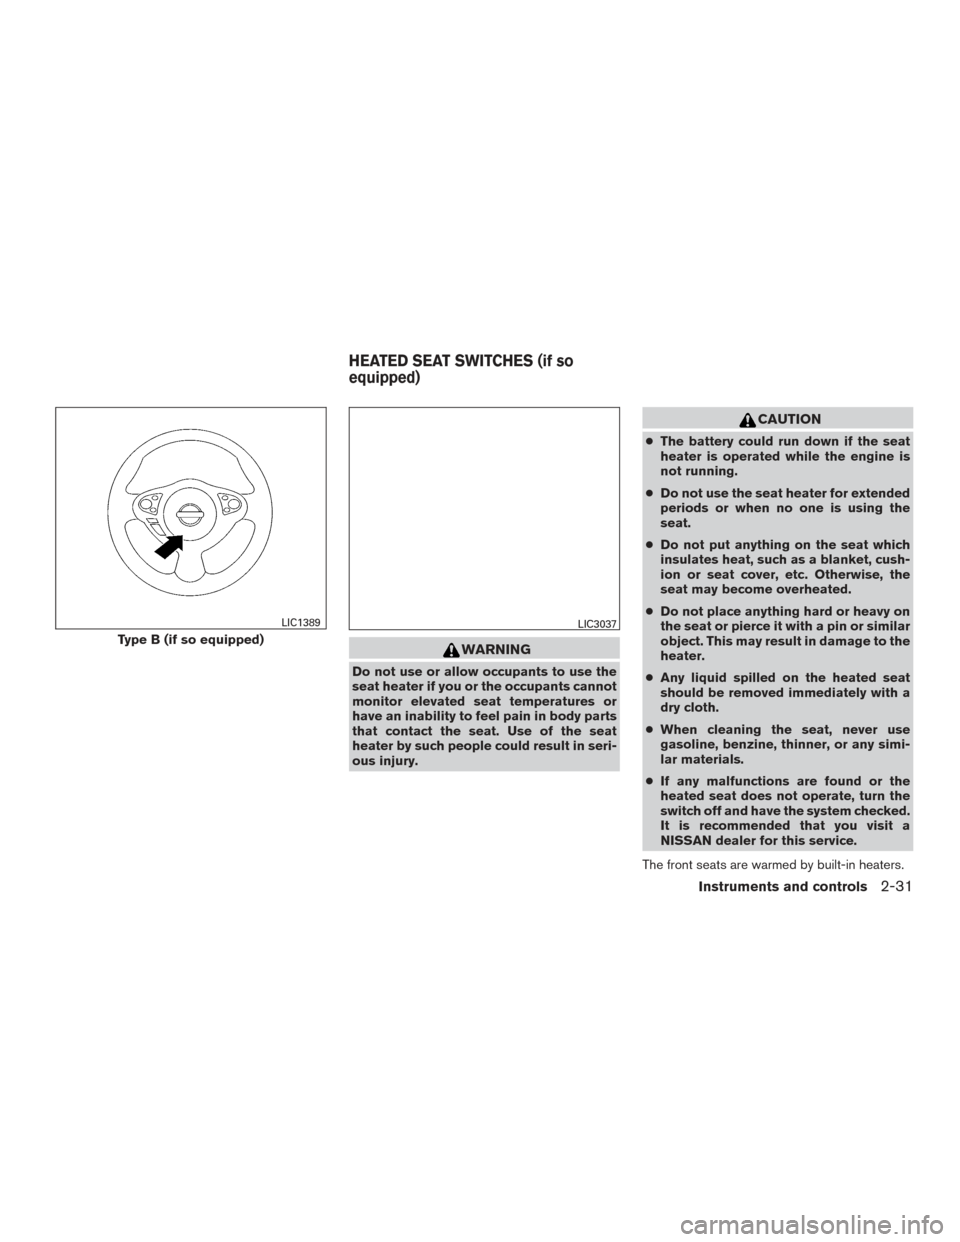
The front seats are warmed by built-in heaters.
Type B (if so equipped)
LIC1389LIC3037
HEATED SEAT SWITCHES (if so
equipped)
Instruments and controls2-31
Page 113 of 414
FRONT-DOOR POCKETSSEATBACK POCKET
The seatback pocket is located on the back of the
front passenger seat. The pocket can be used to
store maps.
WARNING
To ensure proper operation of the passen-
ger’s NISSAN Advanced Air Bag System,
please observe the following items:
●Do not allow a passenger in the rear
seat to push or pull on the seatback
pocket or head restraint/headrest. ●
Do not place heavy loads heavier than
2.2 lbs. (1 kg) on the seatback, head
restraint/headrest, or in the seatback
pocket.
LIC0799LIC2782
STORAGE
2-34Instruments and controls
Page 114 of 414
STORAGE TRAY
WARNING
Do not place sharp objects in the trays to
help prevent injury in an accident or sud-
den stop.
UPPER GLOVE BOX
Open the upper glove box by pulling the handle.
WARNING
Keep glove box lid closed while driving to
help prevent injury in an accident or a
sudden stop.
GLOVE BOX
Open the glove box by pulling the handle.
Use pocket on glove box lid
�Ato store and hide
small objects.
WARNING
Keep glove box lid closed while driving to
help prevent injury in an accident or a
sudden stop.
LIC3614LIC2532LIC3613
Instruments and controls2-35
Page 116 of 414
CAUTION
●Do not use bottle holder for any other
objects that could be thrown about in
the vehicle and possibly injure people
during sudden braking or an accident.
● Do not use bottle holder for open liquid
containers.
DIVIDE-N-HIDE® ADJUSTABLE
FLOOR (if so equipped)
WARNING
Do not put objects heavier than 110 lbs
(50 kg) on the load floor.
To lower: 1. Lift and open the panel.
2. Move the load floor along the upper trim panel channels toward the rear of vehicle
until it reaches the end of the slot. 3. Move the load floor along the lower trim
panel channels toward the front of the ve-
hicle until the latches lock it into place.
4. Lift and close the panel.
Bottle holder
LIC2158LIC2527
Instruments and controls2-37
Page 117 of 414
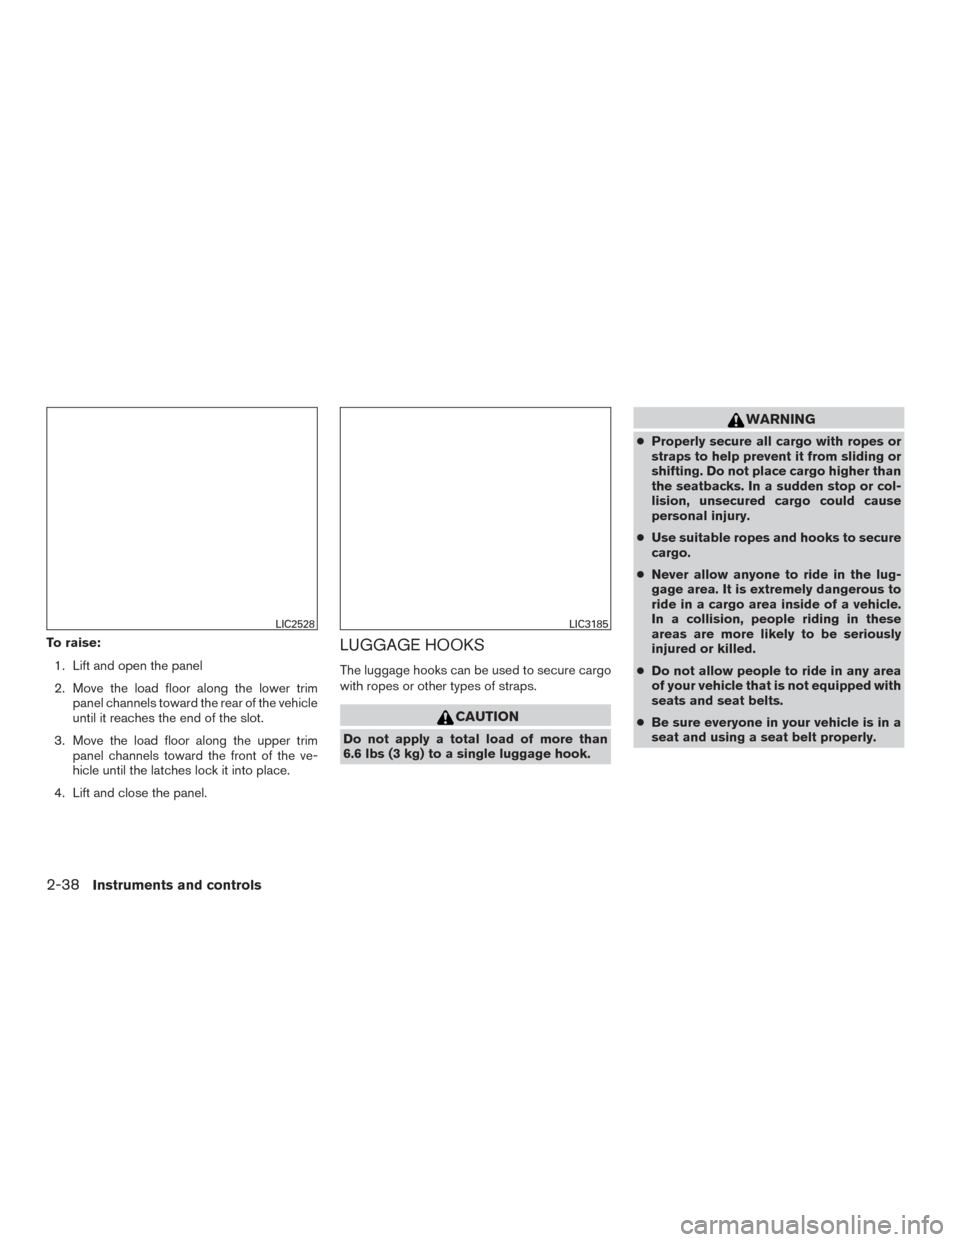
To raise:1. Lift and open the panel
2. Move the load floor along the lower trim panel channels toward the rear of the vehicle
until it reaches the end of the slot.
3. Move the load floor along the upper trim panel channels toward the front of the ve-
hicle until the latches lock it into place.
4. Lift and close the panel.LUGGAGE HOOKS
The luggage hooks can be used to secure cargo
with ropes or other types of straps.
CAUTION
Do not apply a total load of more than
6.6 lbs (3 kg) to a single luggage hook.
WARNING
● Properly secure all cargo with ropes or
straps to help prevent it from sliding or
shifting. Do not place cargo higher than
the seatbacks. In a sudden stop or col-
lision, unsecured cargo could cause
personal injury.
● Use suitable ropes and hooks to secure
cargo.
● Never allow anyone to ride in the lug-
gage area. It is extremely dangerous to
ride in a cargo area inside of a vehicle.
In a collision, people riding in these
areas are more likely to be seriously
injured or killed.
● Do not allow people to ride in any area
of your vehicle that is not equipped with
seats and seat belts.
● Be sure everyone in your vehicle is in a
seat and using a seat belt properly.
LIC2528LIC3185
2-38Instruments and controls
Page 118 of 414
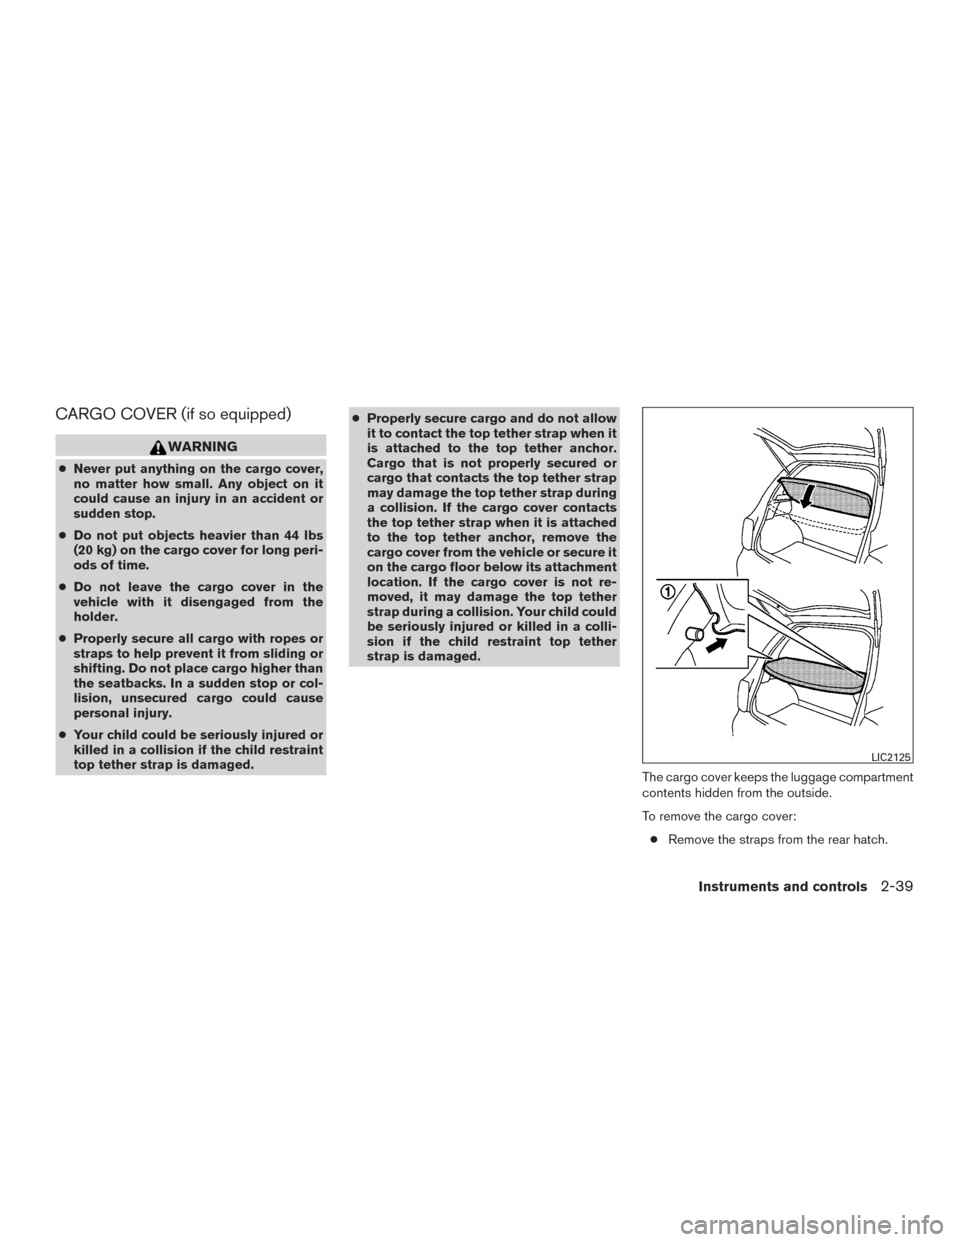
CARGO COVER (if so equipped)
WARNING
●Never put anything on the cargo cover,
no matter how small. Any object on it
could cause an injury in an accident or
sudden stop.
● Do not put objects heavier than 44 lbs
(20 kg) on the cargo cover for long peri-
ods of time.
● Do not leave the cargo cover in the
vehicle with it disengaged from the
holder.
● Properly secure all cargo with ropes or
straps to help prevent it from sliding or
shifting. Do not place cargo higher than
the seatbacks. In a sudden stop or col-
lision, unsecured cargo could cause
personal injury.
● Your child could be seriously injured or
killed in a collision if the child restraint
top tether strap is damaged. ●
Properly secure cargo and do not allow
it to contact the top tether strap when it
is attached to the top tether anchor.
Cargo that is not properly secured or
cargo that contacts the top tether strap
may damage the top tether strap during
a collision. If the cargo cover contacts
the top tether strap when it is attached
to the top tether anchor, remove the
cargo cover from the vehicle or secure it
on the cargo floor below its attachment
location. If the cargo cover is not re-
moved, it may damage the top tether
strap during a collision. Your child could
be seriously injured or killed in a colli-
sion if the child restraint top tether
strap is damaged.
The cargo cover keeps the luggage compartment
contents hidden from the outside.
To remove the cargo cover:● Remove the straps from the rear hatch.
LIC2125
Instruments and controls2-39