Page 320 of 671
CD● Tilt up/down for less than 1.5 seconds to
increase or decrease the track number.
● Tilt up/down for more than 1.5 seconds to
increase or decrease the folder number (if
playing compressed audio files) .
● Press the ENTER button to show the CD
Menu.
USB ● Tilt up/down for less than 1.5 seconds to
increase or decrease the track number.
● Tilt up/down for more than 1.5 seconds to
increase or decrease the folder number.
● Press the ENTER button to show the USB
Menu.
Bluetooth® Audio ● Tilt up/down for less than 1.5 seconds to
skip ahead or back to the next song.
● Tilt up/down for more than 1.5 seconds to
reverse or fast forward the current song.
AUX ● Press the ENTER button to show the AUX
Menu.ANTENNA
The antenna cannot be shortened, but can be
removed. When you need to remove the antenna,
turn the antenna rod counterclockwise.
To install the antenna rod, turn the antenna rod
clockwise and hand tighten.
Page 452 of 671
7. Fit the square end of the jack rod into thesquare hole of the wheel nut wrench to form
a handle.
8. Seat the T-shaped end of the jack rod into the T-shaped opening of the tire winch. Ap-
ply pressure to keep the jack rod engaged in
the spare tire winch and turn the jack rod
counterclockwise to lower the spare tire.
9. Once the spare tire is completely lowered, reach under the vehicle, remove the retainer
chain and carefully slide the tire from under
the rear of the vehicle. 10. Securely store the flat tire beneath the ve-
hicle, from where the full size spare was
removed.
11. To reinstall the jack and tool kit, reverse steps 1 through 5.
Page 479 of 671
CAUTION
Oil level should be checked regularly. Op-
erating the engine with an insufficient
amount of oil can damage the engine, and
such damage is not covered by warranty.
For additional information on checking the Cum-
mins 5.0L engine oil level, refer to the “Titan
Diesel Owner’s Manual”.
CHANGING ENGINE OIL
1. Park the vehicle on a level surface and apply the parking brake. 2. Start the engine and let it idle until it reaches
operating temperature.
3. Turn the engine off and wait more than 15 minutes.
4. Remove the oil filler cap
�Aby turning it
counterclockwise.
5. Place a large drain pan under the drain plug
�B.
6. Remove the drain plug
�Bwith a wrench by
turning it counterclockwise and completely
drain the oil.
If the oil filter is to be changed, remove and
replace it at this time. For additional informa-
tion, refer to “Changing engine oil filter” in
this section.
● Waste oil must be disposed of prop-
erly.
● Check your local regulations.
Page 481 of 671
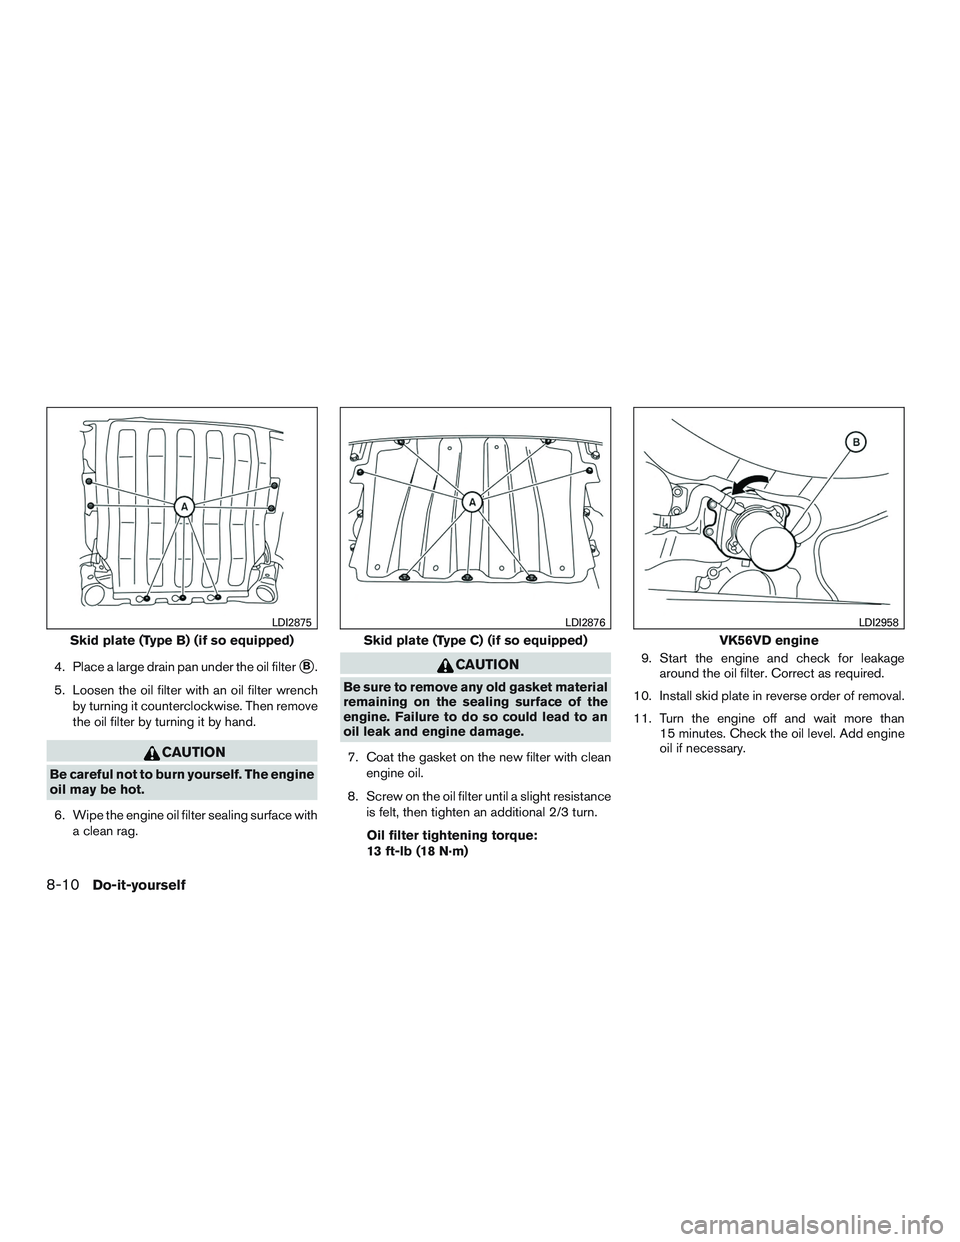
4. Place a large drain pan under the oil filter�B.
5. Loosen the oil filter with an oil filter wrench by turning it counterclockwise. Then remove
the oil filter by turning it by hand.
Page 599 of 671

Brake system...................5-54
Break-in schedule ................5-42
Brightness/contrastbutton............4-9
Brightness control Instrument panel ...............2-56
Bulb check/instrument panel ..........2-22
Bulb replacement ................8-29
C
Capacities and recommended
fuel/lubricants ..................10-2
Cargolightswitch................2-58
Cargo (See vehicle loading information) . . .10-20
Car phone or CB radio .............4-113
CD care and cleaning ..............4-81
CD player (See audio system) . .4-56, 4-62, 4-69
Check tire pressure ...............2-42
Child restraints .......1-24,1-24,1-26,1-28
LATCH (Lower Anchors and Tethers for
CHildren) System ..............1-28
Precautions on child
restraints.....1-26,1-33,1-39,1-43,1-48
Top tether strap anchor point locations . .1-31
Child safety rear door lock ............3-7
Chimes, audible reminders ...........2-31
Cleaningexteriorandinterior........7-2,7-4
Climatecontrolseatswitch...........2-58
Clock setting
(models with Navigation System) ........4-7
Clock setting (models without Navigation
System) ..................4-55,4-59
C.M.V.S.S. certification label .........10-16
Cold weather driving ...............5-65
Compact disc (CD) player ....4-56,4-62,4-69Compass
.....................2-18
Connect phone .................4-84
Console light ...................2-88
Control panel buttons ...............4-4
Back button ..................4-7
Brightness/contrast button ..........4-9
Enterbutton..................4-4
With navigation system ............4-4
Controls Audio controls (steering wheel) .......4-82
Heater and air conditioner controls .....4-43
Heater and air conditioner controls
(manual) ...................4-33
Coolant Capacities and recommended
fuel/lubricants ................10-2
Changingenginecoolant...........8-6
Checking engine coolant level ........8-6
Engine coolant temperature gauge .....2-9
Corrosion protection ...............7-7
Cruisecontrol ...........5-40,5-40,5-41
Cupholders...................2-80
Curtainside-impactandrolloverairbag....1-74
D
Daytime Running Light System .....2-56,8-28
Diesel Particulate Filter (DPF) ..........8-11
Digital video disc DVD ..............4-88
Dimensionsandweights............10-11
Dimmer switch for instrument panel ......2-56
Display......................2-32
Display controls (see control panel buttons) . .4-4
Door locks .....................3-5
Door open warning light .............2-25 Doors
........................3-5
Drive belt .....................8-17
Drive positioner, Automatic ........3-37,3-39
Driving Cold weather driving .............5-65
Driving with automatic transmission ....5-17
Precautions when starting and
driving ...................5-2,5-8
Driving the vehicle ................5-16
E
Eco Drive Report .................5-52
Economy-fuel..................5-44
Electronic
locking rear differential (E-Lock)
system ......................5-51
Electronic locking rear differential (E-Lock)
system switch ..................2-65
Emergency engine shutoff .........5-13,6-2
Emission control information label ......10-17
Emission control system warranty .......10-59
Engine Before starting the engine ..........5-14
Blockheater.................5-66
Capacities and recommended
fuel/lubricants ................10-2
Changing engine coolant ...........8-6
Changingengineoil..............8-8
Changing engine oil filter ...........8-9
Checking engine coolant level ........8-6
Checking engine oil level ...........8-7
Engine compartment check locations ....8-3
Engine coolant temperature gauge .....2-9
Engine cooling system ............8-5
Engineoil ...................8-7
11-2
Page 631 of 671
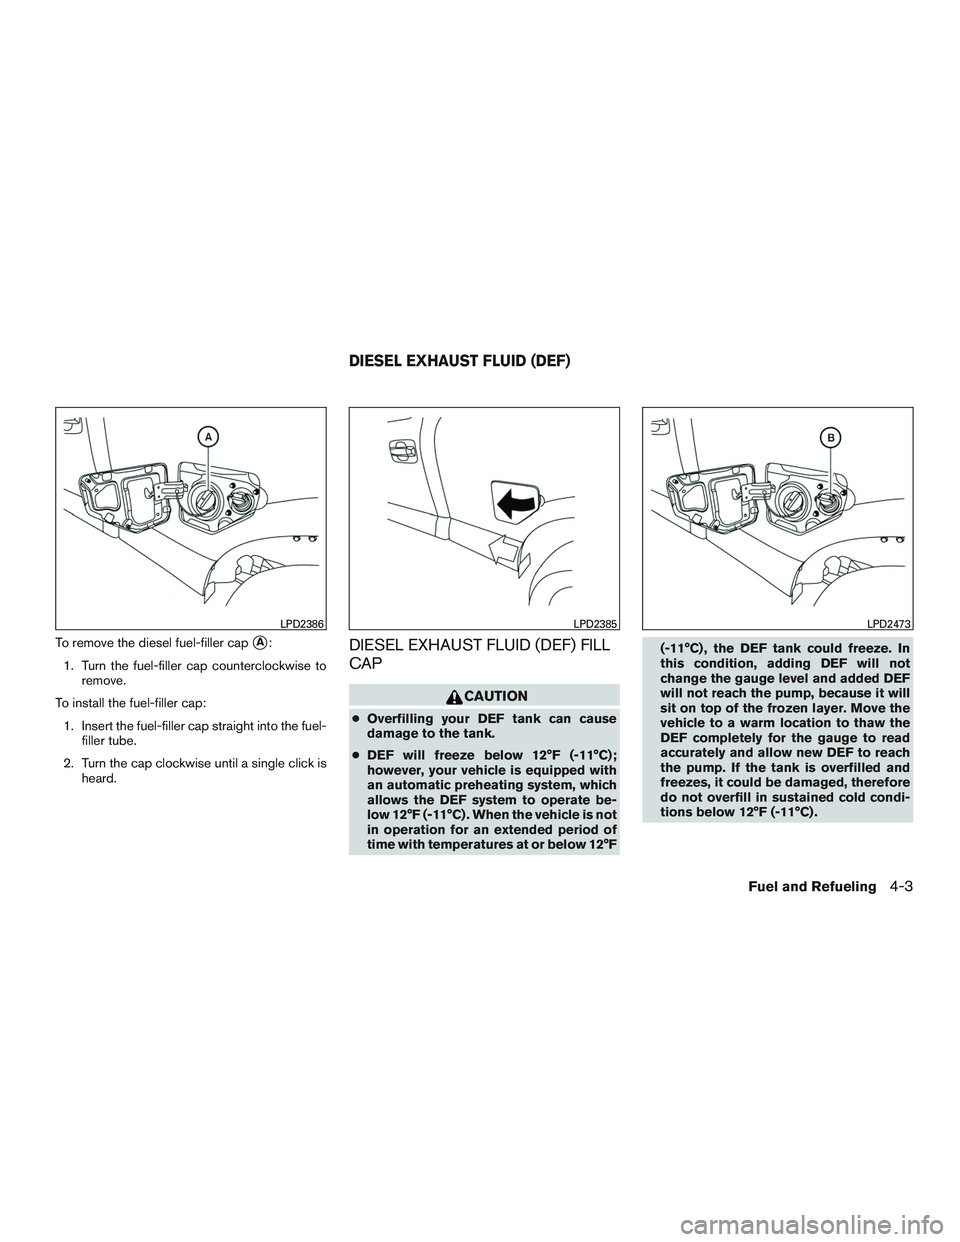
To remove the diesel fuel-filler cap�A:
1. Turn the fuel-filler cap counterclockwise to remove.
To install the fuel-filler cap: 1. Insert the fuel-filler cap straight into the fuel- filler tube.
2. Turn the cap clockwise until a single click is heard.DIESEL EXHAUST FLUID (DEF) FILL
CAP
Page 643 of 671
NOTE:
The factory fill oil may include a red dye
that is added for manufacturing quality pro-
cesses. The dye makes the oil appear to be
red. This is normal. The red dye will be
flushed from the engine after approxi-
mately 4–5 oil changes.1. Park the vehicle on a level surface and apply the parking brake.
2. Start the engine and let it idle until it reaches operating temperature, then turn it off.
3. Remove the oil filler cap
�Aby turning it
counterclockwise.
4. Place a large drain pan under the drain plug
�B.
5. Remove the drain plug
�Bwith a wrench by
turning it counterclockwise and completely
drain the oil.
Remove and replace the engine oil filter at
this time. For additional information, refer to
“Changing engine oil filter” in this section.
● Waste oil must be disposed of prop-
erly.
● Check your local regulations.
Page 644 of 671
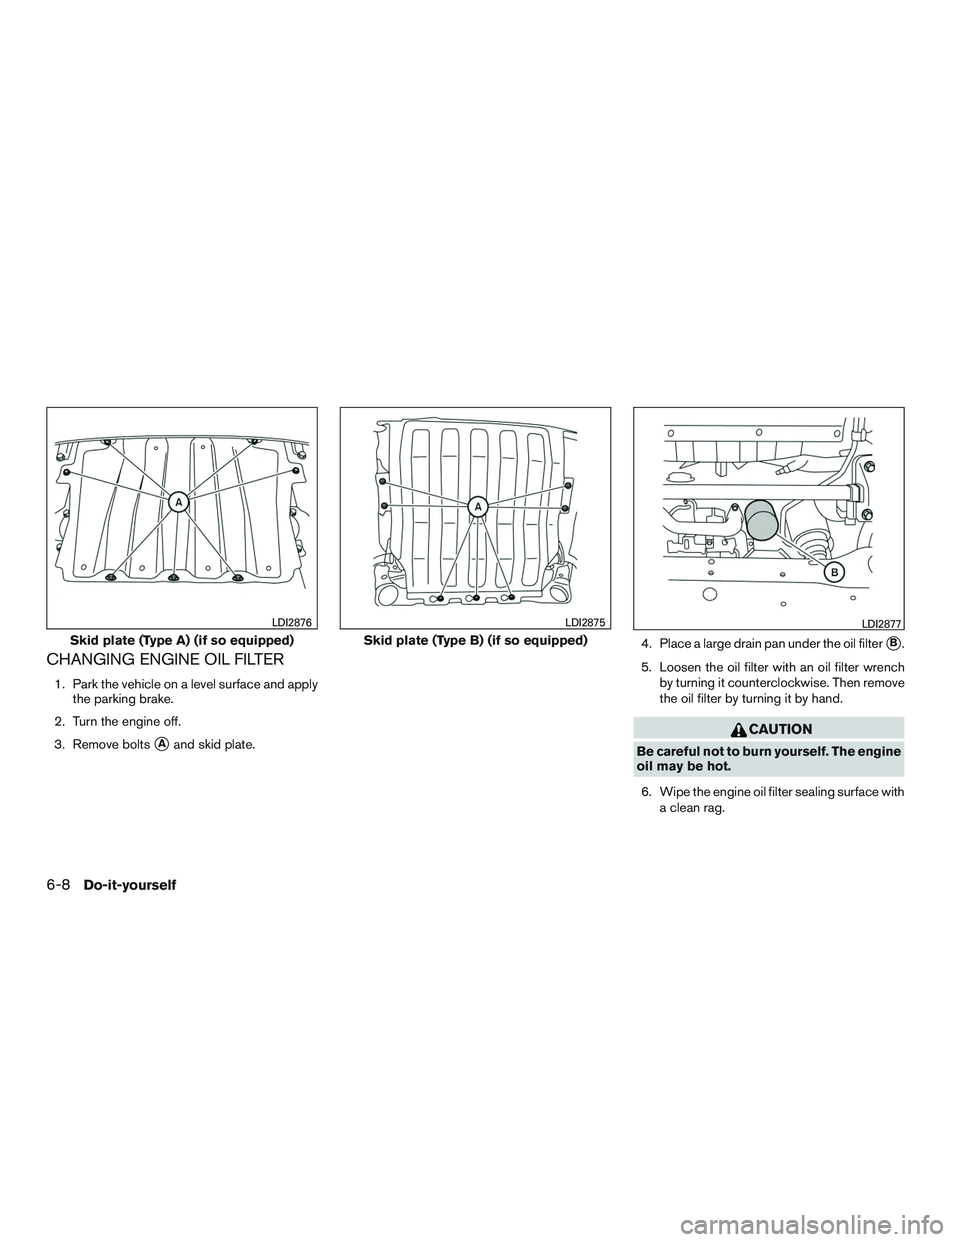
CHANGING ENGINE OIL FILTER
1. Park the vehicle on a level surface and applythe parking brake.
2. Turn the engine off.
3. Remove bolts
�Aand skid plate. 4. Place a large drain pan under the oil filter
�B.
5. Loosen the oil filter with an oil filter wrench by turning it counterclockwise. Then remove
the oil filter by turning it by hand.