Page 642 of 671
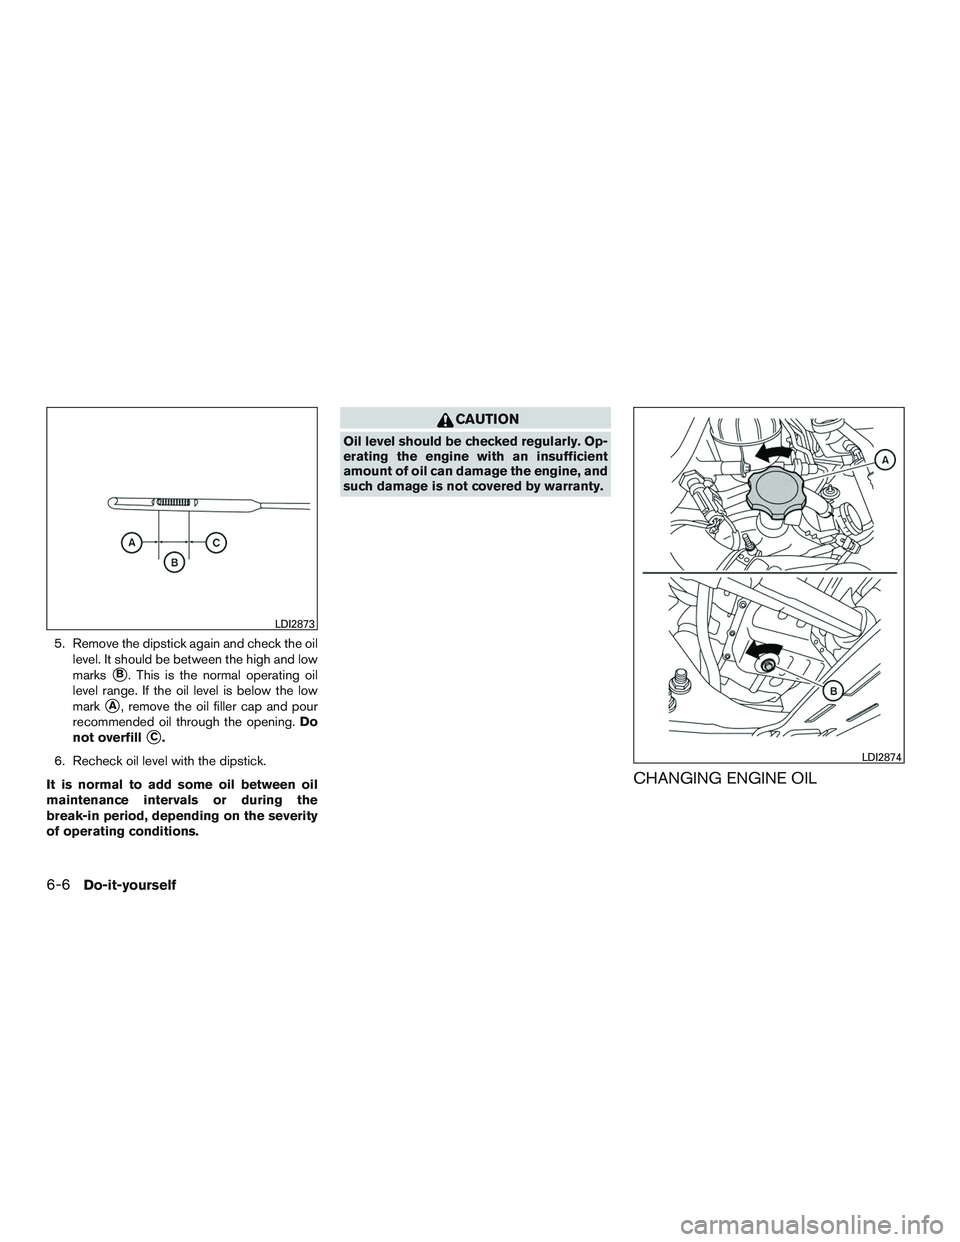
5. Remove the dipstick again and check the oillevel. It should be between the high and low
marks
�B. This is the normal operating oil
level range. If the oil level is below the low
mark
�A, remove the oil filler cap and pour
recommended oil through the opening. Do
not overfill
�C.
6. Recheck oil level with the dipstick.
It is normal to add some oil between oil
maintenance intervals or during the
break-in period, depending on the severity
of operating conditions.
Page 643 of 671
NOTE:
The factory fill oil may include a red dye
that is added for manufacturing quality pro-
cesses. The dye makes the oil appear to be
red. This is normal. The red dye will be
flushed from the engine after approxi-
mately 4–5 oil changes.1. Park the vehicle on a level surface and apply the parking brake.
2. Start the engine and let it idle until it reaches operating temperature, then turn it off.
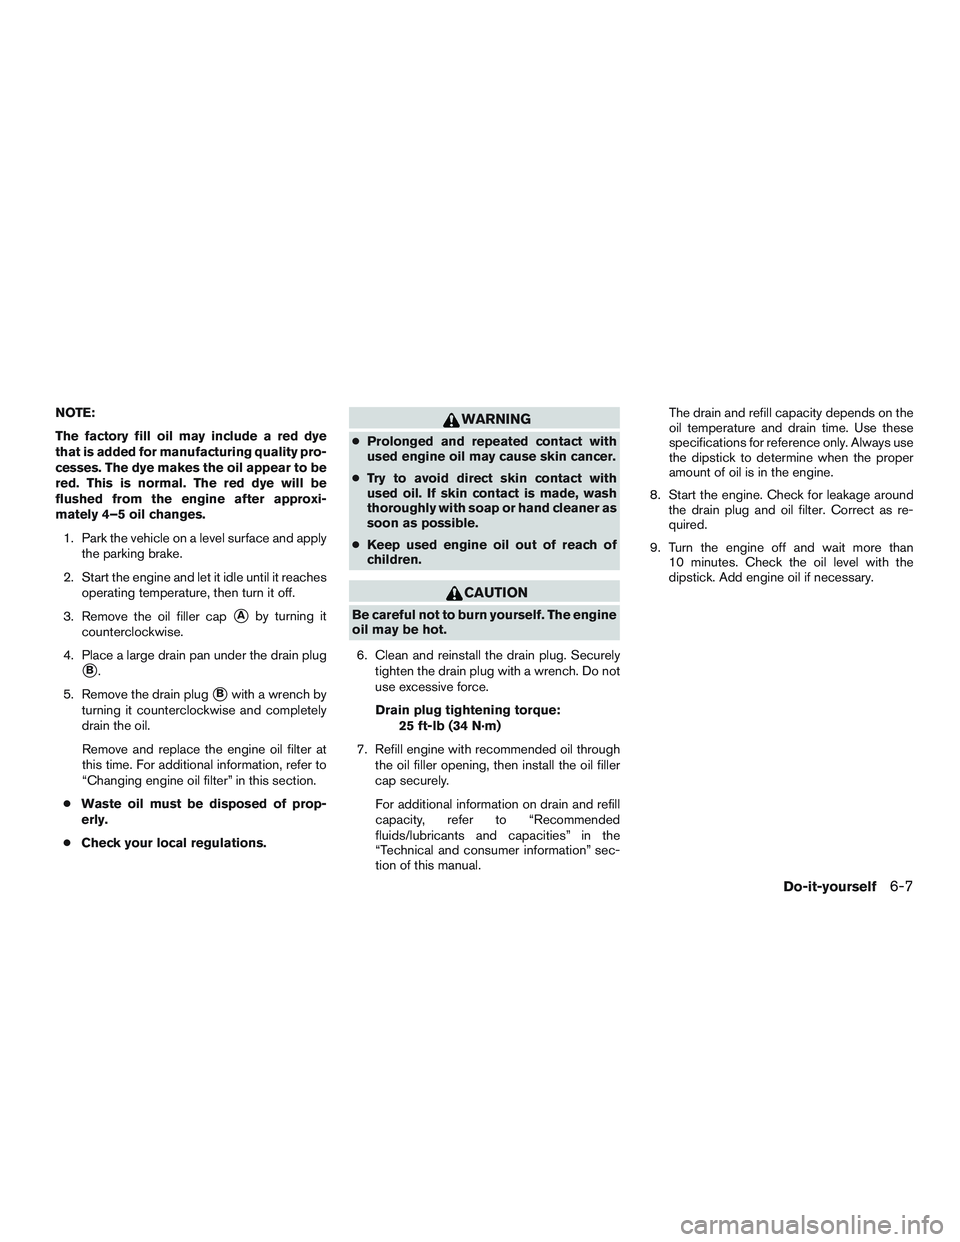
3. Remove the oil filler cap
�Aby turning it
counterclockwise.
4. Place a large drain pan under the drain plug
�B.
5. Remove the drain plug
�Bwith a wrench by
turning it counterclockwise and completely
drain the oil.
Remove and replace the engine oil filter at
this time. For additional information, refer to
“Changing engine oil filter” in this section.
● Waste oil must be disposed of prop-
erly.
● Check your local regulations.
Page 645 of 671
CAUTION
Be sure to remove any old gasket material
remaining on the sealing surface of the
engine. Failure to do so could lead to an
oil leak and engine damage.7. Fill the new filter with clean engine oil.
8. Coat the gasket on the new filter with clean engine oil.
9. Screw on the oil filter until a slight resistance is felt, then tighten an additional 3/4 turn.
10. Start the engine and check for leakage around the oil filter. Correct as required.
11. Install skid plate in reverse order of removal.
12. Turn the engine off and wait more than 10 minutes. Check the oil level. Add engine
oil if necessary.