2017 NISSAN TITAN change time
[x] Cancel search: change timePage 5 of 40

3
Journey Planner, with which you can send a route with a destination and up to five way
points directly to the vehicle.
Boundar y Alert, a feature that allows you to
monitor the movement of your vehicle in
and out of specified regions you have set on
the Monitoring section of the NissanConnect
Services web portal or companion app, and
Speed Alert, which sends you alerts when your vehicle speed exceeds a threshold you have set on the web portal or
companion app.
To access these features in your vehicle:
•
Pr
ess the APPS button
3 on the control
panel, then
•
Touch the NissanConnect Services key
4.
1 Only use NissanConnectSM Services powered by SiriusXM®
and NissanConnectSM Mobile Apps when safe to do so.
NissanConnectSM Services and Mobile Apps availability is dependent on vehicle model, trim level,
packaging, and/or options. See www.NissanUSA.com/connect for complete product and service
availability details. Late availability for some features. Compatible smartphone required to operate
NissanConnect
SM Mobile Apps. Services require an operating vehicle device and cellular and GPS
coverage. Cellular network and GPS signals are not available in all areas and/or at all times. Neither
NISSAN nor SiriusXM are responsible for associated costs, if any, for continued operation due to cellular
network termination/changes. Cellular provider may terminate/restrict service without notice.
Certain services require a PIN for activation. Applicable Subscription Agreement required.
See www.NissanUSA.com/connect for details and service limitations. Enrollment is required to
receive the full suite of services. Text rates and/or data usage may apply.
For more information, refer to the “Information (section 5)” of your Navigation System Owner’s Manual.
4
3
To view detailed instructional videos regarding these and other features, please go to www.nissanownersinfo.mobi.
Page 11 of 40

9
SiriusXM TRAVEL LINK1 AND SiriusXM TRAFFIC1
(if so equipped)
Your vehicle’s Navigation System is equipped
with SiriusXM Travel Link and SiriusXM
Traffic capabilities.
SiriusXM Travel Link provides access to
real-time weather information and forecasts,
nearby fuel prices, movie listings, sports
scores and stock quotes.
SiriusXM Traffic provides information that
may help to avoid delays due to traffic
incidents. Traffic jams, roadwork, road
closures around the current location, etc., are
represented graphically on the map by icons
depicting the nature of the event. Incidents
on the route are automatically displayed as they are approached.
1 Required monthly subscriptions sold separately for each available SiriusXM feature af ter trial period, and are continuous until you call SiriusXM to cancel. Installation costs, one-time activation fee, other fees and
taxes will apply. Each SiriusXM feature availability is dependent upon vehicle model, trim level, packaging,
and/or options, and may only be available in select markets. Satellite Radio U.S. service, NavWeather
service, and SiriusXM TravelLink services (if any of the foregoing features are equipped on vehicle)
available only to those 18 or older in the 48 contiguous states and D.C. Fees and programming subject
to change. Subscriptions governed by Customer Agreement available at siriusxm.com. ©2016 Sirius XM
Radio Inc. Sirius, XM and all related marks and logos are trademarks of Sirius XM Radio Inc.
For more information, refer to the “Navigation (section 4)” and the “General system information
(section 6)” of your Navigation System Owner’s Manual.
SIRI ®
EYES FREE1 (if so equipped)
If you have a compatible iPhone ®,2 with
Siri ®
, you can link your iPhone ®
to the
Siri ®
Eyes Free function in your vehicle’s
Bluetooth ®
,1 system.
If you have a compatible iPhone ®
connected
to the system, press and hold the
button
1 on the steering wheel for a few seconds
and Siri will be activated in Eyes Free mode.
1 Driving is serious business and r equires your full attention. Only use feature when safe to do so.
Compatible smartphone required. Availability of specific feature is dependent upon the phone’s
Bluetooth® support. Please refer to your phone owner’s manual for details. Bluetooth word mark and
logos are owned by Bluetooth SIG, Inc., and any use of such marks by Nissan is under license. See
http://www.NissanUSA.com/bluetooth for details. Text rates and/or data usage may apply. Certain
services, including Siri, are provided by independent companies not within Nissan’s control. Should
service provider terminate/restrict service, service may be suspended or terminated without notice or
liability to Nissan and/or its agents. Nissan not responsible for any equipment replacement or upgrades,
or associated costs, that may be required for continued operation due to service changes. Siri Eyes Free
is a registered trademark of Apple, Inc.
2 iPhone is a registered trademark of Apple, Inc. All rights reserved. iPhone not included.
For more information, refer to the “Monitor, climate, audio, phone and voice recognition systems
(section 4)” of your Owner’s Manual and visit www.NissanUSA.com/bluetooth.
1
To view detailed instructional videos regarding these and other features, please go to www.nissanownersinfo.mobi.
Page 14 of 40

12
CLOCK SET/ADJUSTMENT
WITHOUT NAVIGATION (if so equipped)
1.
Pr
ess the
ENTER/SETTING button 1 to show
the “Settings” screen on the display.
2.
Turn the
TUNE•SCROLL knob 2 to highlight
“Clock Adjust”.
3.
Pr
ess the
ENTER/SETTING button 1 to
highlight the hours, minutes or AM/PM and use
the
TUNE•SCROLL knob 2 to adjust
the value.
4.
Pr
ess the
ENTER/SETTING button 1 to set the value.
5.
Pr
ess the
BACK button 3 to return to the previous screen.
WITH NAVIGATION (if so equipped)
To adjust the time and the appearance of the clock on the display:
1.
Press the
button 4.
2.
Touch the “Settings” key.
3.
Touch the “System” key.
4.
Touch the “Clock/Date” key.
The following settings can be adjusted:
•
Time Format: The clock can be set to 12 hours or 24 hours.
•
Date Format: The date can be changed to one of two different formats.
• Clock Mode: From here, the clock mode options are:
· Manual: Allows for the option “Set Clock/Date Manually”. Touch this to begin
setting the clock manually using the “+” or “–” to adjust the hours, minutes,
day and month up or down.
·
Time Zone: Touch the “Time Zone” key
5 to choose from the applicable time
zone list and/or touch the “Daylight
Savings Time” key to switch between on
and off.
· Auto: Automatically sets the clock to the
vehicle’s current location.
Press the BACK button 6 to return to the previous screen.
For more information, refer to the “Monitor, climate, audio, phone and voice recognition systems
(section 4)” of your Owner’s Manual.
5
2
ESSENTIAL INFORMATION
1
46
3
To view detailed instructional videos regarding these and other features, please go to www.nissanownersinfo.mobi.
Page 19 of 40

17
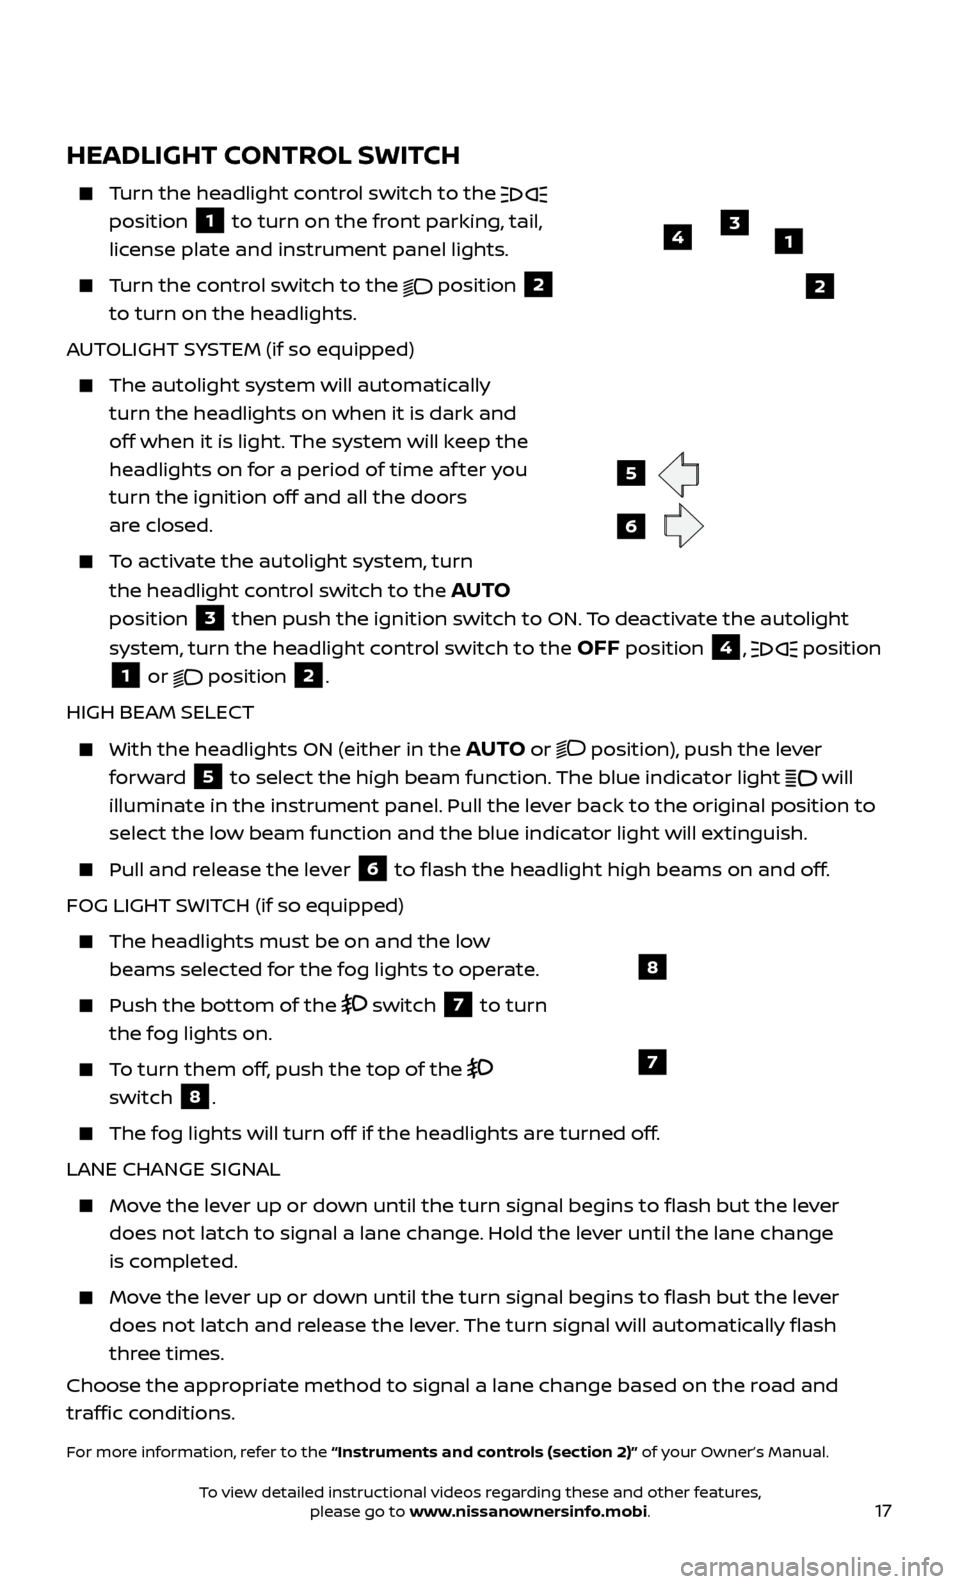
HEADLIGHT CONTROL SWITCH
Turn the headlight control switch to the
position 1 to turn on the front parking, tail,
license plate and instrument panel lights.
Turn the control switch to the
position 2
to turn on the headlights.
AUTOLIGHT SYSTEM (if so equipped)
The autolight system wil l automatically
turn the headlights on when it is dark and
off when it is light. The system will keep the
headlights on for a period of time af ter you
turn the ignition off and all the doors
are closed.
To activate the autolight system, turn
the headlight control switch to the
AUTO
position
3 then push the ignition switch to ON. To deactivate the autolight
system, turn the headlight control switch to the OFF position 4, position 1 or position 2.
HIGH BEAM SELECT
With the he adlights ON (either in the AUTO or position), push the lever
forward 5 to select the high beam function. The blue indicator light
will
illuminate in the instrument panel. Pull the lever back to the original position to
select the low beam function and the blue indicator light will extinguish.
Pull and r
elease the lever
6 to flash the headlight high beams on and off.
FOG LIGHT SWITCH (if so equipped)
The headlights must be on and the low beams selected for the fog lights to operate.
Push the bot tom of the switch 7 to turn
the fog lights on.
To turn them off, push the top of the
switch
8.
The fog lights will turn off if the headlights are turned off.
LANE CHANGE SIGNAL
Move the lever up or down until the turn signal begins to flash but the lever does not latch to signal a lane change. Hold the lever until the lane change
is completed.
Move the lever up or down until the turn signal begins to flash but the lever does not latch and release the lever. The turn signal will automatically flash
three times.
Choose the appropriate method to signal a lane change based on the road and
traffic conditions.
For more information, refer to the “Instruments and controls (section 2)” of your Owner’s Manual.
6
5
13
2
4
7
8
To view detailed instructional videos regarding these and other features, please go to www.nissanownersinfo.mobi.
Page 23 of 40

21
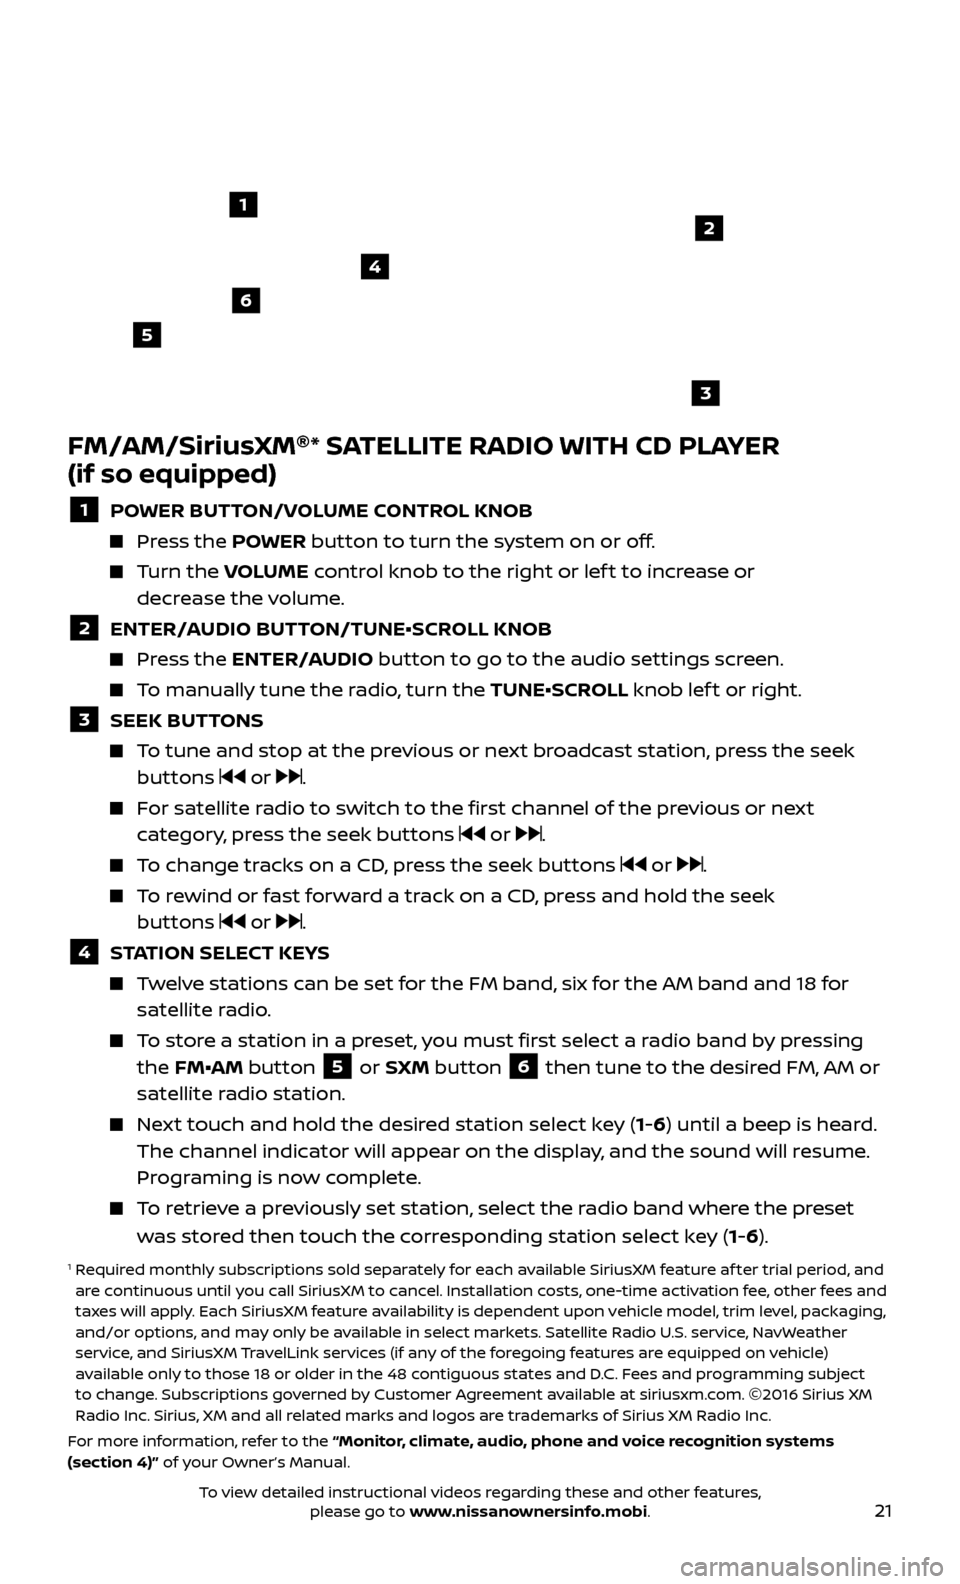
FM/AM/SiriusXM®
* SATELLITE RADIO WITH CD PLAYER
(if so equipped)
1 POWER BUTTON/VOLUME CONTROL KNOB
Press the POWER button to turn the system on or off.
Turn the V OLUME control knob to the right or lef t to increase or
decrease the volume.
2 ENTER/A UDIO BUTTON/TUNE•SCROLL KNOB Press the ENTER/AUDIO button to go to the audio settings screen.
To manually tune the radio, turn the TUNE•SCROLL knob lef t or right.
3 SEEK BUT TONS To tune and stop at the previous or next broadcast station, press the seek
buttons or .
For satellite radio to switch to the first channel of the previous or next category, press the seek buttons or .
To change tracks on a CD, press the seek buttons or .
To rewind or fast forward a track on a CD, press and hold the seek buttons or .
4 S TATION SELECT KEYS Twelve stations can be set for the FM band, six for the AM band and 18 for
satellite radio.
To store a station in a preset, you must first select a radio band by pressing the FM•AM button 5 or SXM button 6 then tune to the desired FM, AM or
satellite radio station.
Next touch and hold the desired station select key (1-6) until a beep is heard. The channel indicator will appear on the display, and the sound will resume.
Programing is now complete.
To retrieve a previously set station, select the radio band where the preset was stored then touch the corresponding station select key (1-6).
1 Required monthly subscriptions sold separately for each available SiriusXM feature af ter trial period, and are continuous until you call SiriusXM to cancel. Installation costs, one-time activation fee, other fees and
taxes will apply. Each SiriusXM feature availability is dependent upon vehicle model, trim level, packaging,
and/or options, and may only be available in select markets. Satellite Radio U.S. service, NavWeather
service, and SiriusXM TravelLink services (if any of the foregoing features are equipped on vehicle)
available only to those 18 or older in the 48 contiguous states and D.C. Fees and programming subject
to change. Subscriptions governed by Customer Agreement available at siriusxm.com. ©2016 Sirius XM
Radio Inc. Sirius, XM and all related marks and logos are trademarks of Sirius XM Radio Inc.
For more information, refer to the “Monitor, climate, audio, phone and voice recognition systems
(section 4)” of your Owner’s Manual.
4
6
2
3
1
5
To view detailed instructional videos regarding these and other features, please go to www.nissanownersinfo.mobi.
Page 26 of 40

24
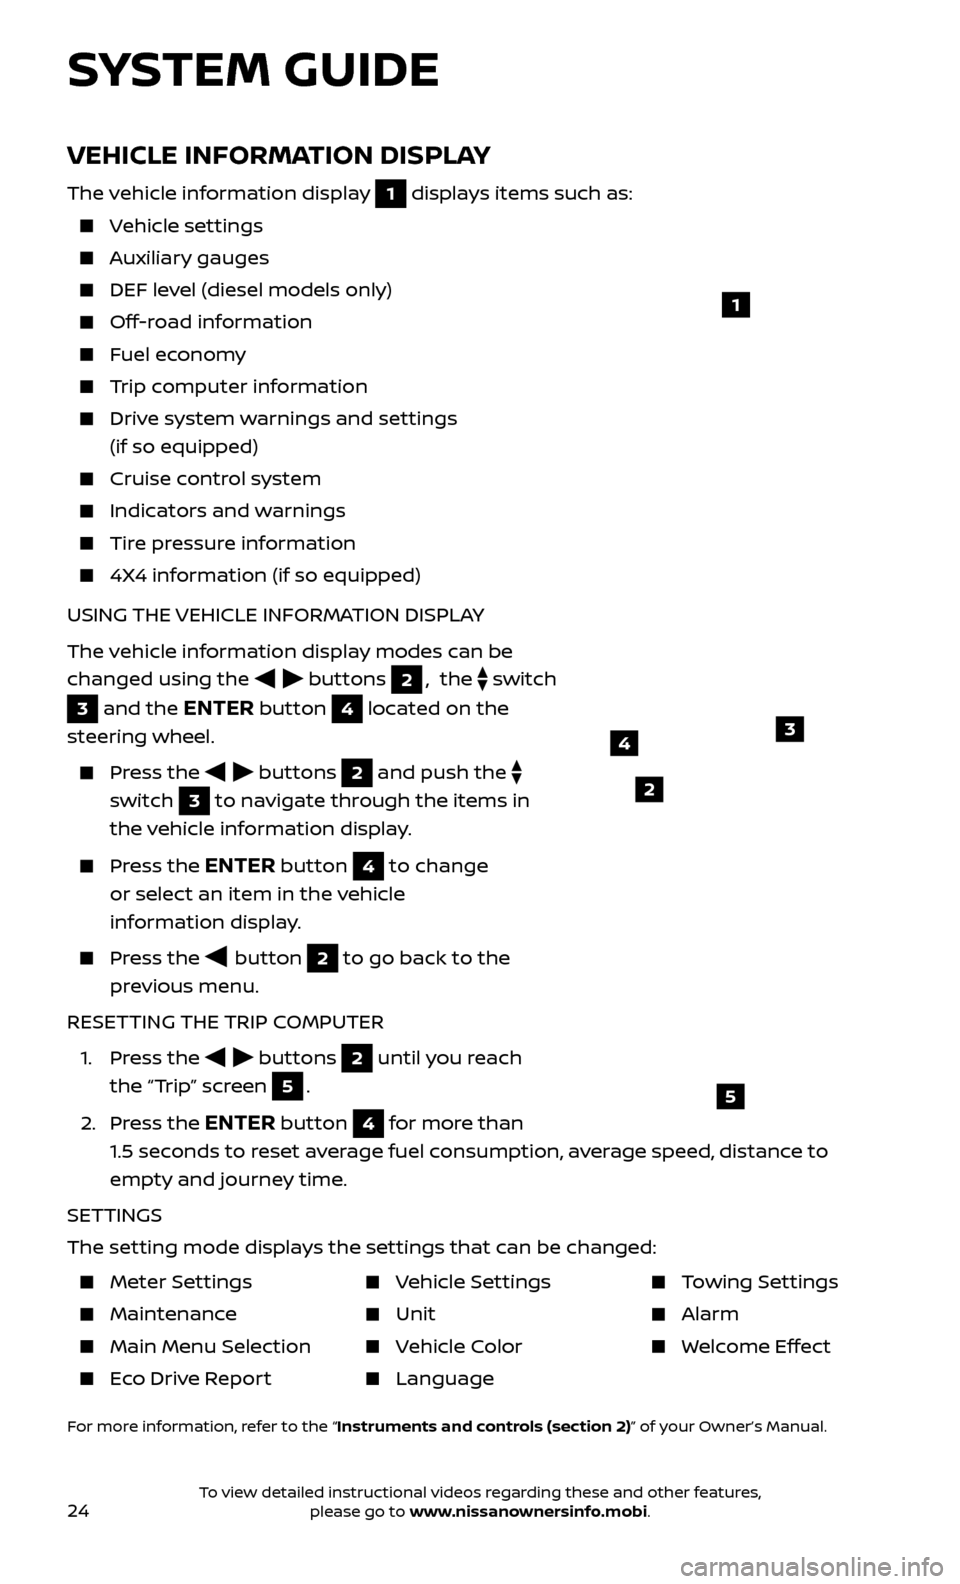
VEHICLE INFORMATION DISPLAY
The vehicle information display 1 displays items such as:
Vehicle settings
Auxiliary gauges
DEF level (diesel models only)
Off-road information
Fuel economy
Trip computer information
Drive system warnings and settings (if so equipped)
Cruise control system
Indicators and warnings
Tire pressure information
4X4 information (if so equipped)
USING THE VEHICLE INFORMATION DISPLAY
The vehicle information display modes can be
changed using the
buttons 2, the switch
3 and the ENTER button 4 located on the
steering wheel.
Press the buttons 2 and push the
switch
3 to navigate through the items in
the vehicle information display.
Press the ENTER button 4 to change
or select an item in the vehicle
information display.
Press the button 2 to go back to the
previous menu.
RESETTING THE TRIP COMPUTER
1.
Press the
buttons 2 until you reach
the “Trip” screen
5.
2.
Press the
ENTER button 4 for more than
1.5 seconds to reset average fuel consumption, average speed, distance to
empty and journey time.
SETTINGS
The setting mode displays the settings that can be changed:
1
34
5
2
SYSTEM GUIDE
Meter Settings
Maintenance
Main Menu Selec tion
Eco Drive Report
Vehicle Settings
Unit
Vehicle Color
Language
Towing Settings
Alarm
Welcome Effect
For more information, refer to the “Instruments and controls (section 2)” of your Owner’s Manual.
To view detailed instructional videos regarding these and other features, please go to www.nissanownersinfo.mobi.
Page 40 of 40

Nissan, the Nissan Brand Symbol, Z and
Nissan model names are Nissan trademarks.
©
2016 Nissan North America, Inc.
QR17EA 0A61U1Printing: September 2016 (04)
To view detailed instructional videos,
go to www.nissanownersinfo.mobi/2017/titan
or snap this barcode with an appropriate barcode reader.
This Quick Reference Guide is intended to provide an overview of some of the unique features of your new
vehicle. Please see your Owner’s Manual for important safety information and system operation limitations.
Features and equipment in your vehicle may vary depending on model, trim level, options selected, order, date of
production, region or availability. Therefore, you may find information about features or equipment that are not
included or installed on your vehicle.
All information, specifications and illustrations in this Quick Reference Guide are those in effect at the time
of printing. NISSAN reserves the right to change specifications, performance, design or component suppliers
without notice and without obligation. From time to time, NISSAN may update or revise this Quick Reference
Guide to provide owners with the most accurate information currently available. Please carefully read and
retain with this Quick Reference Guide all revision updates sent to you by NISSAN to ensure you have access
to accurate and up-to-date information regarding your vehicle. Current versions of vehicle Quick Reference
Guides, Owner’s Manuals and any updates can also be found in the Owner section of the NISSAN website at
https://owners.nissanusa.com/nowners/navigation/manualsGuide. If you have questions concerning
any information in your Owner’s Manual, contact Nissan Consumer Affairs. See the NISSAN CUSTOMER CARE
PROGRAM page in the Owner’s Manual for contact information.
Helpful Resources
Below is a list of helpful resources that can be used
to learn more about the vehicle’s systems and
feature operations.
Vehicle Owner’s Manual
Navigation Owner’s Manual (if so equipped)
Printed Quick R eference Guide (this document)
www.NissanUSA.com/bluetooth
www.NissanUSA.com/connect
www.youtube.com/user/NissanUSA
Nissan Consumer Affairs 1-800-647-7261
Electronic Quick Reference Guide
(Use Quick Response (QR) code or URL below.)
Nissan Quick Guide (a vailable in the iPhone
App Store or Android Google Play Store for
download to your smartphone)