2017 NISSAN ROGUE light
[x] Cancel search: lightPage 85 of 547
2 Instruments and controls
Instrument panel...................................2-2
Meters and gauges ................................2-4
Speedometer and odometer .....................2-4
Tachometer ....................................2-6
Engine coolant temperature gauge ...............2-6
Fuel gauge ....................................2-7
Compass (if so equipped) ..........................2-7
Compass display ...............................2-8
Warning lights, indicator lights and audible
reminders ........................................ 2-11
Checking lights ............................... 2-11
Warning lights ................................ 2-12
Indicator lights ................................ 2-17
Audible reminders ............................. 2-19
Vehicle information display ......................... 2-20
How to use the vehicle information display .......2-20
Startup display ................................ 2-20
Resetting the drive computer ...................2-21
Settings ...................................... 2-21
Vehicle information display warnings and
indicators ..................................... 2-30
Security systems ................................. 2-34
Vehicle security system ......................... 2-34NISSAN Vehicle Immobilizer System
.............2-35
Wiper and washer switch ......................... 2-36
Switch operation .............................. 2-36
Rear switch operation .......................... 2-37
Rear window and outside mirror (if so equipped)
defroster switch .................................. 2-38
Headlight and turn signal switch ....................2-39
Headlight control switch ........................ 2-39
Daytime Running Light (DRL) system
(Type A) (if so equipped) .......................2-44
LED Daytime Running Light (DRL) system
(Type B) (if so equipped) .......................2-44
Instrument brightness control ...................2-45
Turn signal switch ............................. 2-45
Fog light switch (if so equipped) ................2-46
Horn ............................................ 2-46
Heated seat switches (if so equipped) ..............2-47
Heated
steering wheel switch (if so equipped) .......2-48
Warning systems switch (if so equipped) ............2-48
Vehicle Dynamic Control (VDC) off switch ...........2-50
All-wheel drive (AWD) lock switch (if so equipped) . . . 2-50
E-call (SOS) switch (if so equipped) ................2-51
Power outlets .................................... 2-51
12v outlets ................................... 2-51
Page 86 of 547
Extended storage switch.......................... 2-53
Storage ......................................... 2-54
Seatback pockets ............................. 2-54
Glove box .................................... 2-54
Console box .................................. 2-55
Overhead sunglasses storage ...................2-55
Cup holders .................................. 2-56
Cargo area storage bin (if so equipped) ..........2-58
Divide-N-Hide® adjustable floor
(if so equipped) ............................... 2-58
Luggage hooks ................................ 2-59
Cargo cover (if so equipped) ....................2-59
Roof rack (if so equipped) ......................2-61
Windows ........................................ 2-62
Power windows ............................... 2-62
Power moonroof (if so equipped) ...................2-64Interior lights
..................................... 2-66
Console light .................................. 2-67
Map lights .................................... 2-67
Personal lights (if so equipped) .................2-68
Room light (if so equipped) .....................2-68
Luggage compartment light ........................2-69
Homelink® Universal Transceiver (if so equipped) ....2-69
Programming HomeLink® ......................2-70
Programming HomeLink® for Canadian
customers and gate openers ....................2-71
Operating the HomeLink® Universal
Transceiver ................................... 2-72
Programming trouble-diagnosis .................2-72
Clearing the programmed information ............2-72
Reprogramming a single HomeLink® button ......2-72
If your vehicle is stolen ......................... 2-73
Page 87 of 547
1. Vent (P. 4-32)
2. Headlight/fog light (if so equipped)/turnsignal switch (P. 2-39)
3. Meters and gauges (P. 2-4) Warning and indicator lights (P. 2-11)
Vehicle information display (P. 2-20)
4. Wiper and washer switch, rear wiper
washer switch (P. 2-36)
5. Ignition switch (if so equipped)
(P. 5-13)
Push-button ignition switch
(if so equipped) (P. 5-16)
6. Hazard warning flasher switch (P. 6-2)
7. Radio (P. 4-43) Navigation system* (if so equipped)
(P. 4-4)
8. Front passenger supplemental air bag
(P. 1-46)
9. Glove box (P. 2-54)
10. Heater and air conditioning controls
(P. 4-33)
11. Power outlet (P. 2-51)
12. Shift lever (P. 5-21)
13. Auxiliary jack (P. 4-63) USB port (P. 4-63)
14. Front passenger air bag status light
(P. 1-46)
LII2516
INSTRUMENT PANEL
2-2Instruments and controls
Page 89 of 547
1. Tachometer
2. Warning and indicator lights
3. Vehicle information display
4. Speedometer
5. Fuel gauge
6. Engine coolant temperature gaugeSPEEDOMETER AND ODOMETER
This vehicle is equipped with a speedometer and
odometer. The speedometer is located on the
right side of the meter cluster. The odometer is
located within the vehicle information display.
Speedometer
The speedometer indicates vehicle speed.
LIC2627
LIC2255
METERS AND GAUGES
2-4Instruments and controls
Page 92 of 547
FUEL GAUGE
The gauge indicates theapproximatefuel level
in the tank.
The gauge may move slightly during braking,
turning, acceleration, or going up or down hills.
The gauge needle returns to 0 (Empty) after the
ignition switch is placed in the OFF position.
The low fuel warning message appears in the
vehicle information display when the amount of
fuel in the tank is getting low.
Refill the fuel tank before the gauge regis-
ters 0 (Empty) . The
indicates that the fuel-filler door is
located on the passenger’s side of the vehicle.
CAUTION
● If the vehicle runs out of fuel, theMalfunction Indicator Light (MIL) may
come on. Refuel as soon as possible.
After a few driving trips. the
light
should turn off. If the light remains on
after a few driving trips, have the vehicle
inspected. It is recommended that you
visit a NISSAN dealer for this service.
● For additional information, refer to
“Malfunction Indicator Light (MIL)” in
this section. This unit measures terrestrial magnetism and in-
dicates the heading direction of the vehicle.
With the ignition switch in the ON position, press
the
button as described in the charts be-
low to activate various features of the automatic
anti-glare rearview mirror.
Push and hold
the
button for about: Feature:
(Push button again for about 1 sec-
ond to change settings)
1 second Compass display toggles on/off
8 seconds Compass zone can be changed to
correct false compass readings
10 seconds Compass enters calibration mode
For additional information about the automatic
anti-glare feature, refer to “Automatic anti-glare
rearview mirror” in the “Pre-driving checks and
adjustments” section of this manual.LIC2222
COMPASS (if so equipped)
Instruments and controls2-7
Page 96 of 547
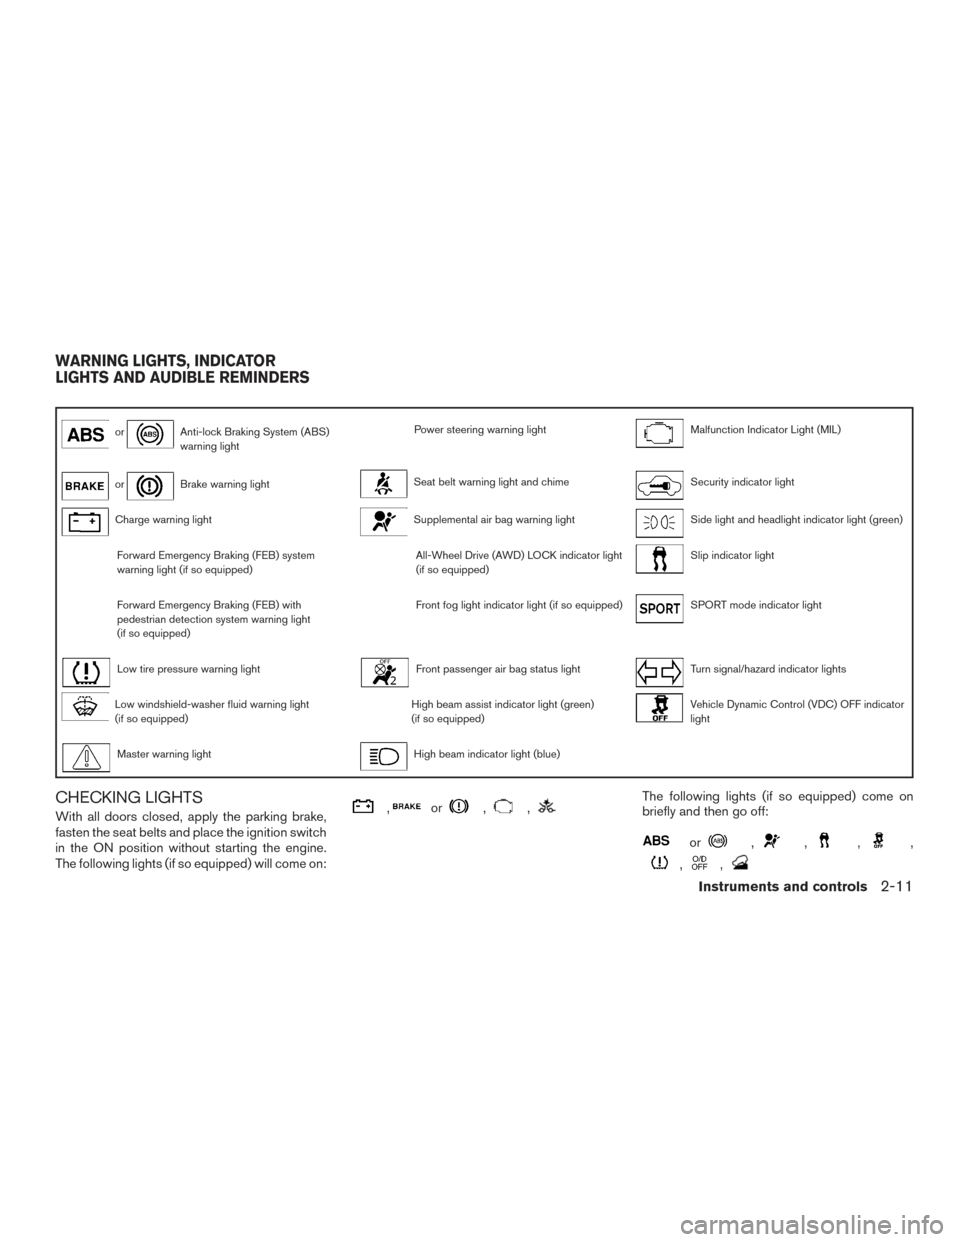
orAnti-lock Braking System (ABS)
warning lightPower steering warning lightMalfunction Indicator Light (MIL)
orBrake warning lightSeat belt warning light and chimeSecurity indicator light
Charge warning lightSupplemental air bag warning lightSide light and headlight indicator light (green)
Forward Emergency Braking (FEB) system
warning light (if so equipped)All-Wheel Drive (AWD) LOCK indicator light
(if so equipped)Slip indicator light
Forward Emergency Braking (FEB) with
pedestrian detection system warning light
(if so equipped)Front fog light indicator light (if so equipped)SPORT mode indicator light
Low tire pressure warning lightFront passenger air bag status lightTurn signal/hazard indicator lights
Low windshield-washer fluid warning light
(if so equipped)High beam assist indicator light (green)
(if so equipped)Vehicle Dynamic Control (VDC) OFF indicator
light
Master warning lightHigh beam indicator light (blue)
CHECKING LIGHTS
With all doors closed, apply the parking brake,
fasten the seat belts and place the ignition switch
in the ON position without starting the engine.
The following lights (if so equipped) will come on:,or,,The following lights (if so equipped) come on
briefly and then go off:
or,,,,
,,
WARNING LIGHTS, INDICATOR
LIGHTS AND AUDIBLE REMINDERS
Instruments and controls2-11
Page 97 of 547
If any light fails to come on or operate in a way
other than described, it may indicate a burned-
out bulb and/or a system malfunction. Have the
system checked. It is recommended that you visit
a NISSAN dealer for this service.
Some indicators and warnings are also displayed
on the vehicle information display between the
speedometer and tachometer. For additional in-
formation, refer to “Vehicle information display” in
this section.
WARNING LIGHTS
For additional information, refer to “Vehicle infor-
mation display” in this section.
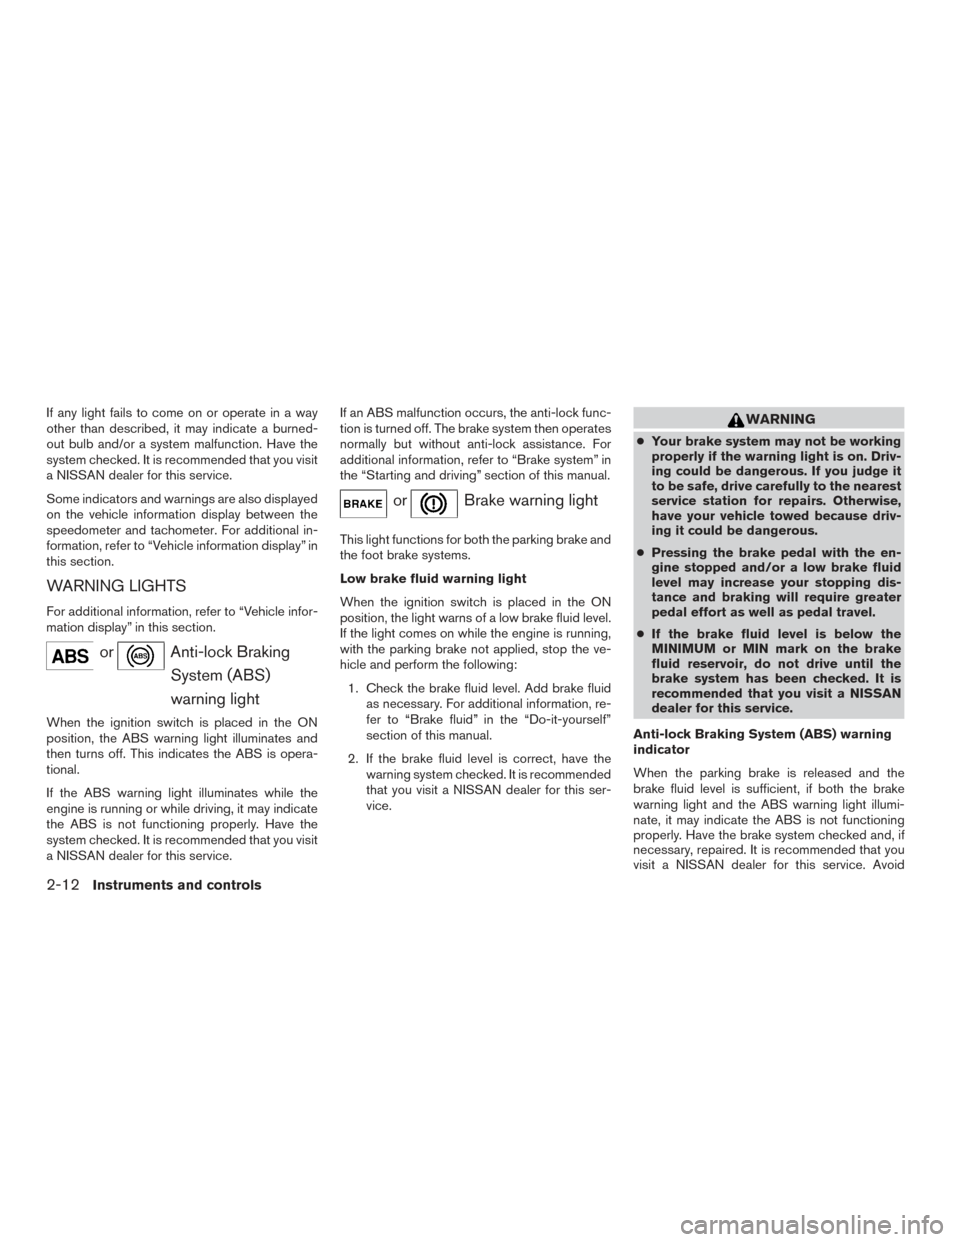
orAnti-lock BrakingSystem (ABS)
warning light
When the ignition switch is placed in the ON
position, the ABS warning light illuminates and
then turns off. This indicates the ABS is opera-
tional.
If the ABS warning light illuminates while the
engine is running or while driving, it may indicate
the ABS is not functioning properly. Have the
system checked. It is recommended that you visit
a NISSAN dealer for this service. If an ABS malfunction occurs, the anti-lock func-
tion is turned off. The brake system then operates
normally but without anti-lock assistance. For
additional information, refer to “Brake system” in
the “Starting and driving” section of this manual.
orBrake warning light
This light functions for both the parking brake and
the foot brake systems.
Low brake fluid warning light
When the ignition switch is placed in the ON
position, the light warns of a low brake fluid level.
If the light comes on while the engine is running,
with the parking brake not applied, stop the ve-
hicle and perform the following:
1. Check the brake fluid level. Add brake fluid as necessary. For additional information, re-
fer to “Brake fluid” in the “Do-it-yourself”
section of this manual.
2. If the brake fluid level is correct, have the warning system checked. It is recommended
that you visit a NISSAN dealer for this ser-
vice.
WARNING
●Your brake system may not be working
properly if the warning light is on. Driv-
ing could be dangerous. If you judge it
to be safe, drive carefully to the nearest
service station for repairs. Otherwise,
have your vehicle towed because driv-
ing it could be dangerous.
● Pressing the brake pedal with the en-
gine stopped and/or a low brake fluid
level may increase your stopping dis-
tance and braking will require greater
pedal effort as well as pedal travel.
● If the brake fluid level is below the
MINIMUM or MIN mark on the brake
fluid reservoir, do not drive until the
brake system has been checked. It is
recommended that you visit a NISSAN
dealer for this service.
Anti-lock Braking System (ABS) warning
indicator
When the parking brake is released and the
brake fluid level is sufficient, if both the brake
warning light and the ABS warning light illumi-
nate, it may indicate the ABS is not functioning
properly. Have the brake system checked and, if
necessary, repaired. It is recommended that you
visit a NISSAN dealer for this service. Avoid
2-12Instruments and controls
Page 98 of 547
high-speed driving and abrupt braking. For addi-
tional information, refer to “Anti-lock Braking Sys-
tem (ABS) warning light” in this section.
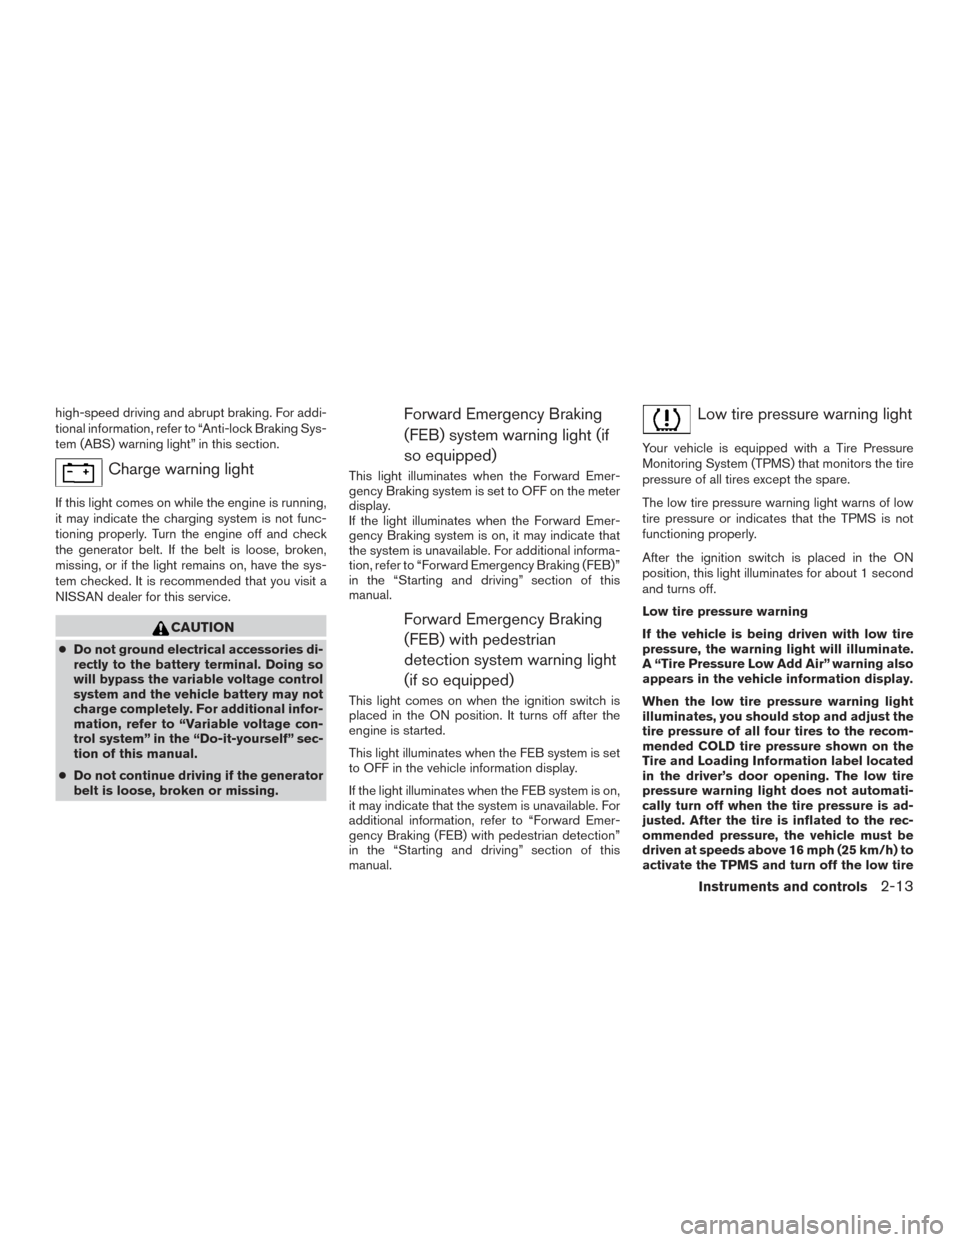
Charge warning light
If this light comes on while the engine is running,
it may indicate the charging system is not func-
tioning properly. Turn the engine off and check
the generator belt. If the belt is loose, broken,
missing, or if the light remains on, have the sys-
tem checked. It is recommended that you visit a
NISSAN dealer for this service.
CAUTION
●Do not ground electrical accessories di-
rectly to the battery terminal. Doing so
will bypass the variable voltage control
system and the vehicle battery may not
charge completely. For additional infor-
mation, refer to “Variable voltage con-
trol system” in the “Do-it-yourself” sec-
tion of this manual.
● Do not continue driving if the generator
belt is loose, broken or missing.
Forward Emergency Braking
(FEB) system warning light (if
so equipped)
This light illuminates when the Forward Emer-
gency Braking system is set to OFF on the meter
display.
If the light illuminates when the Forward Emer-
gency Braking system is on, it may indicate that
the system is unavailable. For additional informa-
tion, refer to “Forward Emergency Braking (FEB)”
in the “Starting and driving” section of this
manual.
Forward Emergency Braking(FEB) with pedestrian
detection system warning light
(if so equipped)
This light comes on when the ignition switch is
placed in the ON position. It turns off after the
engine is started.
This light illuminates when the FEB system is set
to OFF in the vehicle information display.
If the light illuminates when the FEB system is on,
it may indicate that the system is unavailable. For
additional information, refer to “Forward Emer-
gency Braking (FEB) with pedestrian detection”
in the “Starting and driving” section of this
manual.
Low tire pressure warning light
Your vehicle is equipped with a Tire Pressure
Monitoring System (TPMS) that monitors the tire
pressure of all tires except the spare.
The low tire pressure warning light warns of low
tire pressure or indicates that the TPMS is not
functioning properly.
After the ignition switch is placed in the ON
position, this light illuminates for about 1 second
and turns off.
Low tire pressure warning
If the vehicle is being driven with low tire
pressure, the warning light will illuminate.
A “Tire Pressure Low Add Air” warning also
appears in the vehicle information display.
When the low tire pressure warning light
illuminates, you should stop and adjust the
tire pressure of all four tires to the recom-
mended COLD tire pressure shown on the
Tire and Loading Information label located
in the driver’s door opening. The low tire
pressure warning light does not automati-
cally turn off when the tire pressure is ad-
justed. After the tire is inflated to the rec-
ommended pressure, the vehicle must be
driven at speeds above 16 mph (25 km/h) to
activate the TPMS and turn off the low tire
Instruments and controls2-13