Page 409 of 520
 .
4. Turn off the hybrid system.
5. Raise the hood to warn other traffic and to signal professional road assista")
3. Park on a level surface and apply the parkingbrake. Move the shift lever to P (Park) .
4. Turn off the hybrid system.
5. Raise the hood to warn other traffic and to signal professional road assistance person-
nel that you need assistance.
6. Have all passengers get out of the vehicle and stand in a safe place, away from traffic
and clear of the vehicle.
WARNING
●Make sure the parking brake is securely
applied and the shift lever is shifted into
P (Park) .
● Never change tires when the vehicle is
on a slope, ice or slippery areas. This is
hazardous.
● Never change tires if oncoming traffic is
close to your vehicle. Wait for profes-
sional road assistance.
A. Blocks
B. Flat tire
Blocking wheels
Place suitable blocks at both the front and back
of the wheel diagonally opposite the flat tire to
prevent the vehicle from moving when it is jacked
up.
WARNING
Be sure to block the wheel as the vehicle
may move and result in personal injury.
Getting the spare tire and tools
Open the rear liftgate. Remove the Divide-n-Hide
floor. For additional information, refer to “Divide-
n-Hide adjustable floor” in the “Instruments and
controls” section of this manual.
Lift the floorboard.
LCE2142LCE2111
6-4In case of emergency
Page 410 of 520
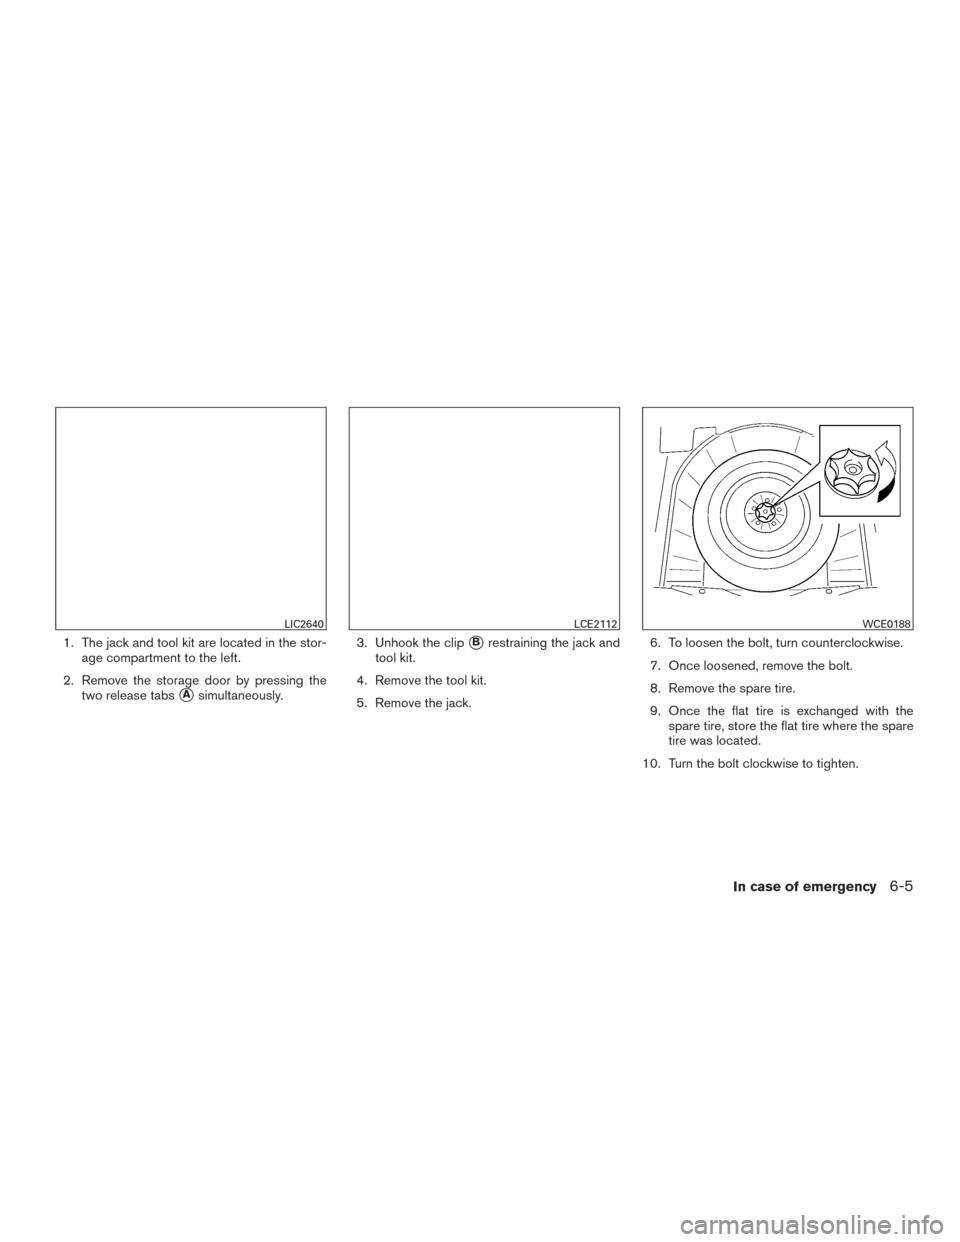
1. The jack and tool kit are located in the stor-age compartment to the left.
2. Remove the storage door by pressing the two release tabs
�Asimultaneously. 3. Unhook the clip
�Brestraining the jack and
tool kit.
4. Remove the tool kit.
5. Remove the jack. 6. To loosen the bolt, turn counterclockwise.
7. Once loosened, remove the bolt.
8. Remove the spare tire.
9. Once the flat tire is exchanged with the
spare tire, store the flat tire where the spare
tire was located.
10. Turn the bolt clockwise to tighten.
LIC2640LCE2112WCE0188
In case of emergency6-5
Page 411 of 520
Changing the spare tire with BOSE®
sub-woofer (if so equipped)
1. To loosen the bolt, turn counterclockwise.
2. Once loosened, remove the bolt.3. Place the sub-woofer in the upper right cor-
ner of the trunk, leaning against the rear row
passenger side seat.
4. Remove the spare tire.
5. Once the flat tire is exchanged with the spare tire, store the flat tire where the spare
was located.
6. Place the sub-woofer inside the flat tire.
7. Turn the bolt clockwise to tighten.
LCE2109LCE2110
6-6In case of emergency
Page 413 of 520

Always refer to the proper illustrations for the
correct placement and jack-up points for your
specific vehicle model and jack type.
Carefully read the caution label attached to
the jack body and the following instruc-
tions.1. Loosen each wheel nut 1 or 2 turns by turning counterclockwise with the wheel nut
wrench. Do not remove the wheel nuts
until the tire is off the ground. 2. Place the jack directly under the jack-up
point as illustrated so the top of the jack
contacts the vehicle at the jack-up point.
Align the jack head between the 2 notches in
the front or the rear as shown. Also fit the
groove of the jack head between the
notches as shown.
The jack should be used on firm and
level ground.
3. To lift the vehicle, securely hold the jack lever and rod with both hands. Carefully raise the
vehicle until the tire clears the ground. Re-
move the wheel nuts, and then remove the
tire.Installing the spare tire
The spare tire is designed for emergency
use. For additional information, refer to
“Wheels and tires” in the “Do-it-yourself”
section of this manual.
1. Clean any mud or dirt from the surface be- tween the wheel and hub.
2. Carefully put the spare tire on and tighten the wheel nuts finger tight.
3. With the wheel nut wrench, tighten wheel nuts alternately and evenly in the sequence
illustrated until they are tight (
�A,�B,�C,�D,
�E).
SCE0002WCE0056
6-8In case of emergency
Page 459 of 520

WARNING
Radio waves could adversely aff")
If you have a flat tire, refer to “Flat tire” in
the “In case of emergency” section of this
manual.
TIRE PRESSURE
Tire Pressure Monitoring System
(TPMS)
WARNING
Radio waves could adversely affect elec-
tric medical equipment. Those who use a
pacemaker should contact the electric
medical equipment manufacturer for the
possible influences before use.
This vehicle is equipped with TPMS. It monitors
tire pressure of all tires except the spare. When
the low tire pressure warning light is lit and the
Tire Pressure Low - Add Air warning appears in
the vehicle information display, one or more of
your tires is significantly under-inflated. If
equipped, the system also displays pressure of
all tires (except the spare tire) on the display
screen by sending a signal from a sensor that is
installed in each wheel.
The TPMS will activate only when the vehicle is
driven at speeds above 16 mph (25 km/h). Also,
this system may not detect a sudden drop in tire
pressure (for example a flat tire while driving) . For additional information, refer to “Low tire pres-
sure warning light” in the “Instruments and con-
trols” section and “Flat tire” in the “In case of
emergency” section.
Tire inflation pressure
Check the tire pressures (including the
spare) often and always prior to long dis-
tance trips. The recommended tire pres-
sure specifications are shown on the
F.M.V.S.S./C.M.V.S.S. certification label
or the Tire and Loading Information label
under the “Cold Tire Pressure” heading.
The Tire and Loading Information label is
affixed to the driver side center pillar. Tire
pressures should be checked regularly
because:
● Most tires naturally lose air over time.
● Tires can lose air suddenly when
driven over potholes or other objects
or if the vehicle strikes a curb while
parking. The tire pressures should be checked
when the tires are cold. The tires are
considered COLD after the vehicle has
been parked for 3 or more hours, or driven
less than 1 mile (1.6 km) at moderate
speeds.
The TPMS with Easy Fill Tire Alert pro-
vides visual and audible signals outside
the vehicle for inflating the tires to the
recommended COLD tire pressure. For
additional information, refer to “TPMS
with Easy Fill Tire Alert” in the “Starting
and driving” section of this manual.
WHEELS AND TIRES
8-28Do-it-yourself
Page 461 of 520
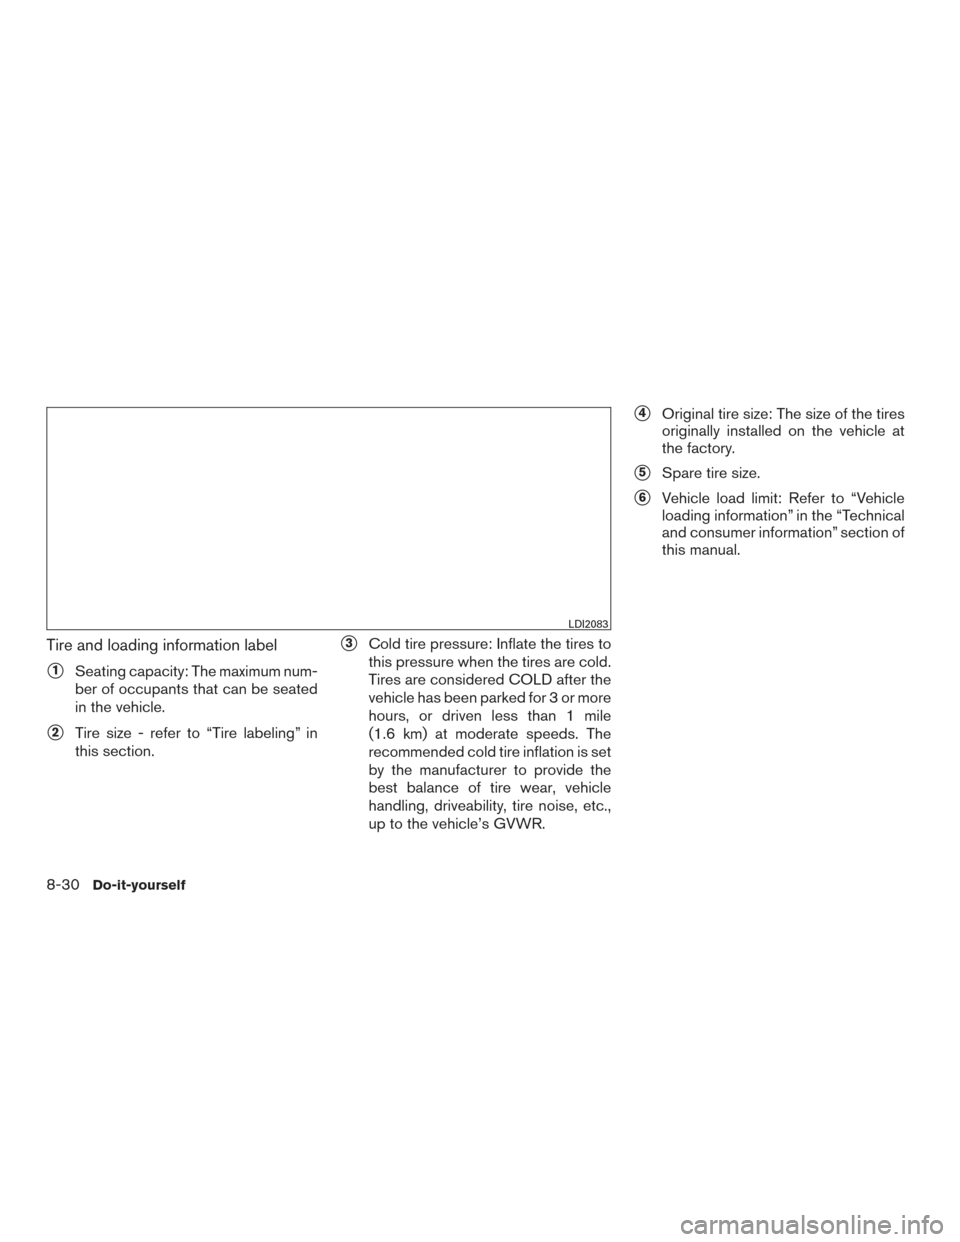
Tire and loading information label
�1Seating capacity: The maximum num-
ber of occupants that can be seated
in the vehicle.
�2Tire size - refer to “Tire labeling” in
this section.
�3Cold tire pressure: Inflate the tires to
this pressure when the tires are cold.
Tires are considered COLD after the
vehicle has been parked for 3 or more
hours, or driven less than 1 mile
(1.6 km) at moderate speeds. The
recommended cold tire inflation is set
by the manufacturer to provide the
best balance of tire wear, vehicle
handling, driveability, tire noise, etc.,
up to the vehicle’s GVWR.
�4Original tire size: The size of the tires
originally installed on the vehicle at
the factory.
�5Spare tire size.
�6Vehicle load limit: Refer to “Vehicle
loading information” in the “Technical
and consumer information” section of
this manual.
LDI2083
8-30Do-it-yourself
Page 462 of 520

Checking tire pressure
1. Remove the valve stem cap from thetire.
2. Press the pressure gauge squarely onto the valve stem. Do not press too
hard or force the valve stem side-
ways, or air will escape. If the hissing
sound of air escaping from the tire is
heard while checking the pressure,
reposition the gauge to eliminate this
leakage.
3. Remove the gauge. 4. Read the tire pressure on the gauge
stem and compare to the specifica-
tion shown on the Tire and Loading
Information label.
5. Add air to the tire as needed. If too much air is added, press the core of
the valve stem briefly with the tip of
the gauge stem to release pressure.
Recheck the pressure and add or
release air as needed.
6. Install the valve stem cap.
7. Check the pressure of all other tires, including the spare.
Size Cold Tire Inflation
Pressure
Front and Rear
Original Tire:
225/65R17 102H 41 psi, 280 kPa
Front and Rear
Original Tire:
225/60R18 100H 41 psi, 280 kPa
Spare Tire:
T155/90D17
101M 60 psi, 420 kPa
LDI0393
Do-it-yourself8-31
Page 465 of 520
 the sidewall that
contains a whitewall, bears white lettering
o")
Other Tire-related Terminology
In addition to the many terms that are
defined throughout this section, Intended
Outboard Sidewall is (1) the sidewall that
contains a whitewall, bears white lettering
or bears manufacturer, brand, and/or
model name molding that is higher or
deeper than the same molding on the
other sidewall of the tire, or (2) the out-
ward facing sidewall of an asymmetrical
tire that has a particular side that must
always face outward when mounted on a
vehicle.
TYPES OF TIRES
WARNING
●When changing or replacing tires, be
sure all four tires are of the same type
(i.e., Summer, All Season or Snow) and
construction. A NISSAN dealer may be
able to help you with information about
tire type, size, speed rating and
availability. ●
Replacement tires may have a lower
speed rating than the factory equipped
tires, and may not match the potential
maximum vehicle speed. Never exceed
the maximum speed rating of the tire.
● Replacing tires with those not originally
specified by NISSAN could affect the
proper operation of the low tire pres-
sure warning system.
● For additional information regarding
tires, refer to “Important Tire Safety In-
formation” (US) or “Tire Safety Informa-
tion” (Canada) in the Warranty Informa-
tion Booklet.
● Always use tires of the same type, size,
brand, construction and tread pattern
on all four wheels. Failure to do so may
result in a circumference difference be-
tween tires on the front and rear axles
which can cause the VDC system to mal-
function resulting in personal injury or
death, excessive tire wear and may
damage the transmission, transfer case
and differential gears. All-Wheel Drive (AWD) models
CAUTION
●
ONLY use spare tires specified for the
AWD model.
If excessive tire wear is found, it is recommended
that all four tires be replaced with tires of the
same size, brand, construction and tread pattern.
The tire pressure and wheel alignment should
also be checked and corrected as necessary.
Contact a NISSAN dealer.
All season tires
NISSAN specifies All Season tires on some mod-
els to provide good performance all year, includ-
ing snowy and icy road conditions. All Season
tires are identified by ALL SEASON and/or M&S
on the tire sidewall. Snow tires have better snow
traction than All Season tires and may be more
appropriate in some areas.
Summer tires
NISSAN specifies summer tires on some models
to provide superior performance on dry roads.
Summer tire performance is substantially re-
duced in snow and ice. Summer tires do not have
the tire traction rating “M&S” on the tire sidewall.
8-34Do-it-yourself

1. To loosen the bolt, turn counterclockwise.
2. Once loosened, remove the bolt.3. Place the sub-woofer in the upper right cor-
ner of t")