2017 NISSAN MAXIMA key
[x] Cancel search: keyPage 171 of 406
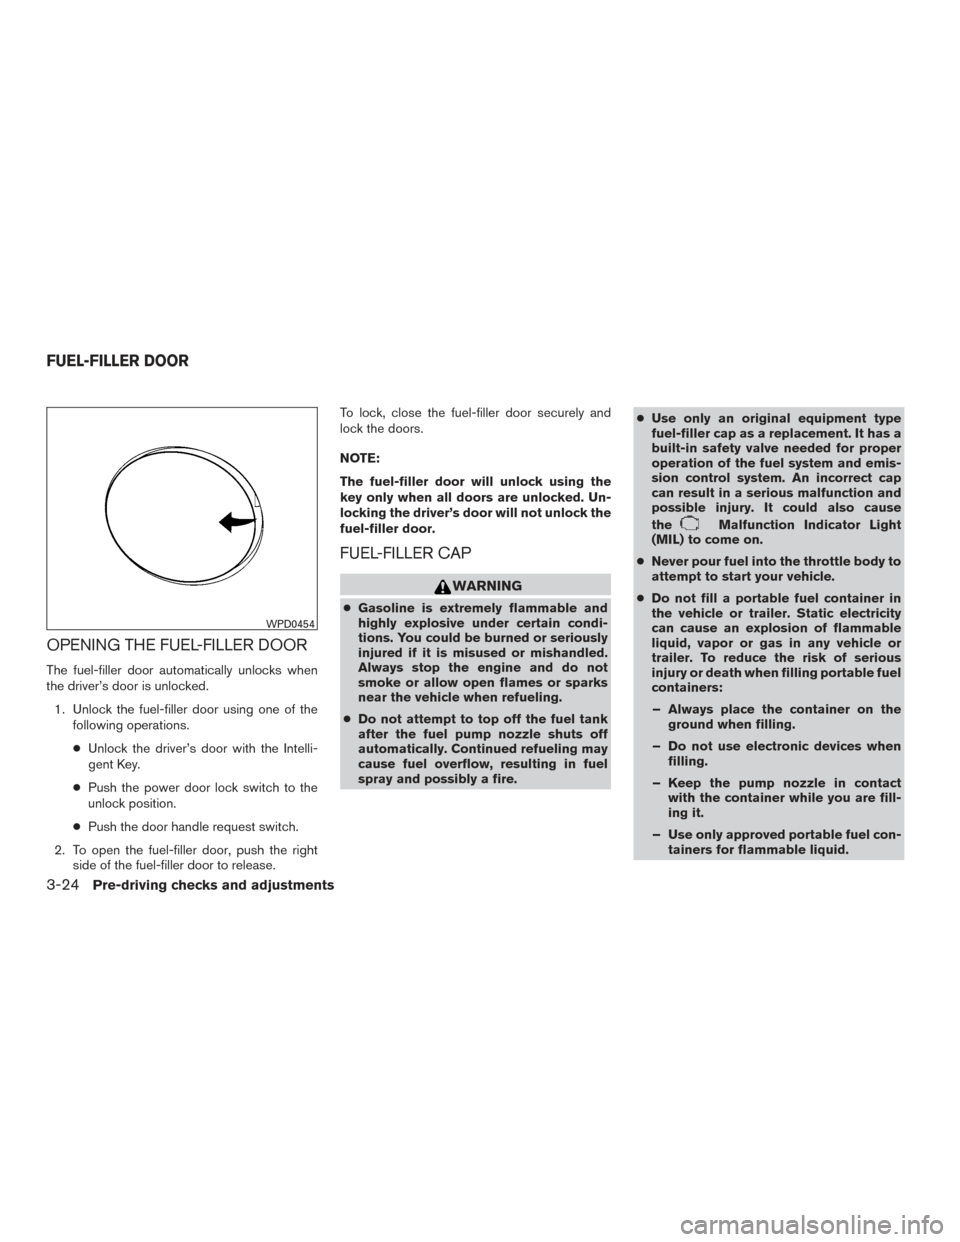
OPENING THE FUEL-FILLER DOOR
The fuel-filler door automatically unlocks when
the driver’s door is unlocked.1. Unlock the fuel-filler door using one of the following operations.
● Unlock the driver’s door with the Intelli-
gent Key.
● Push the power door lock switch to the
unlock position.
● Push the door handle request switch.
2. To open the fuel-filler door, push the right side of the fuel-filler door to release. To lock, close the fuel-filler door securely and
lock the doors.
NOTE:
The fuel-filler door will unlock using the
key only when all doors are unlocked. Un-
locking the driver’s door will not unlock the
fuel-filler door.
FUEL-FILLER CAP
WARNING
●
Gasoline is extremely flammable and
highly explosive under certain condi-
tions. You could be burned or seriously
injured if it is misused or mishandled.
Always stop the engine and do not
smoke or allow open flames or sparks
near the vehicle when refueling.
● Do not attempt to top off the fuel tank
after the fuel pump nozzle shuts off
automatically. Continued refueling may
cause fuel overflow, resulting in fuel
spray and possibly a fire. ●
Use only an original equipment type
fuel-filler cap as a replacement. It has a
built-in safety valve needed for proper
operation of the fuel system and emis-
sion control system. An incorrect cap
can result in a serious malfunction and
possible injury. It could also cause
the
Malfunction Indicator Light
(MIL) to come on.
● Never pour fuel into the throttle body to
attempt to start your vehicle.
● Do not fill a portable fuel container in
the vehicle or trailer. Static electricity
can cause an explosion of flammable
liquid, vapor or gas in any vehicle or
trailer. To reduce the risk of serious
injury or death when filling portable fuel
containers:
– Always place the container on the ground when filling.
– Do not use electronic devices when filling.
– Keep the pump nozzle in contact with the container while you are fill-
ing it.
– Use only approved portable fuel con- tainers for flammable liquid.
WPD0454
FUEL-FILLER DOOR
3-24Pre-driving checks and adjustments
Page 178 of 406
The automatic drive positioner system has three
features:● Memory storage function (Key-link)
● Memory storage function (Switch)
● Entry/exit function
Key-link, when enabled, automatically retains the
driver’s last seat, automatic steering wheel, and
outside mirror positions for that specific key
when the ignition is turned from ON to OFF.
Each memory switch button (1 or 2) on the driv-
er’s door can also store one additional position
which is independent of the key-linked position.
MEMORY STORAGE FUNCTION
(Key-Link)
Use the following process to setup key-link:
1. Unlock the vehicle with the desired Intelli- gent Key while the ignition is OFF.
2. Place the ignition in the ON position.
3. Within the “Settings” menu of the vehicle information display, select “Key-Linked Set-
tings” and press the OK button on the steer-
ing switch. 4. While in the menu, press the OK button on
the steering switch to turn the system
ON/OFF.
Once step 4 is completed, every time the ignition
is switched from ON to OFF, the memory posi-
tions of the driver’s seat, automatic steering
wheel and the outside mirrors are linked to the
Intelligent Key.
Follow the same procedure if you want to
link the 2nd, 3rd or 4th Intelligent Key.
NOTE:
If new memory positions are set prior to
turning the ignition from ON to OFF, the
previously linked memory positions for the
respective key will be overwritten by new
positions.
Recalling Intelligent Key Memory
Positions
If the “Key-Linked Settings” are enabled in the
vehicle information display for that particular key,
every time you enter the vehicle the driver’s seat,
automatic steering wheel, and outside mirrors will
automatically move to the driver’s last position of
the respective Intelligent Key.
LPD2432
AUTOMATIC DRIVE POSITIONER (if
so equipped)
Pre-driving checks and adjustments3-31
Page 179 of 406
NOTE:
The key-linked memory positions can be
different from the positions stored in the
memory switch (1 or 2) .
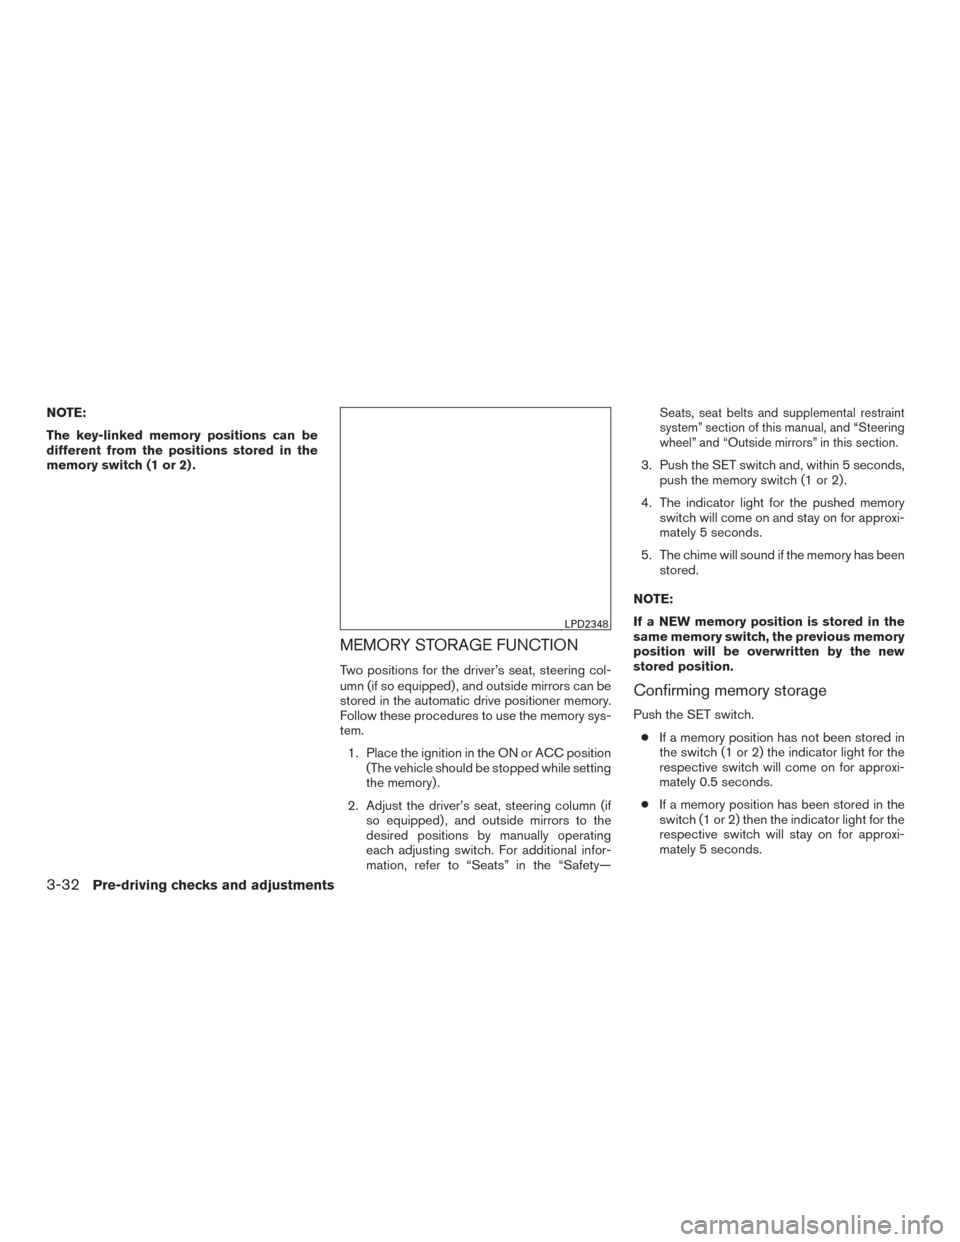
MEMORY STORAGE FUNCTION
Two positions for the driver’s seat, steering col-
umn (if so equipped) , and outside mirrors can be
stored in the automatic drive positioner memory.
Follow these procedures to use the memory sys-
tem.1. Place the ignition in the ON or ACC position (The vehicle should be stopped while setting
the memory) .
2. Adjust the driver’s seat, steering column (if so equipped) , and outside mirrors to the
desired positions by manually operating
each adjusting switch. For additional infor-
mation, refer to “Seats” in the “Safety—
Seats, seat belts and supplemental restraint
system” section of this manual, and “Steering
wheel” and “Outside mirrors” in this section.
3. Push the SET switch and, within 5 seconds,push the memory switch (1 or 2) .
4. The indicator light for the pushed memory switch will come on and stay on for approxi-
mately 5 seconds.
5. The chime will sound if the memory has been stored.
NOTE:
If a NEW memory position is stored in the
same memory switch, the previous memory
position will be overwritten by the new
stored position.
Confirming memory storage
Push the SET switch. ● If a memory position has not been stored in
the switch (1 or 2) the indicator light for the
respective switch will come on for approxi-
mately 0.5 seconds.
● If a memory position has been stored in the
switch (1 or 2) then the indicator light for the
respective switch will stay on for approxi-
mately 5 seconds.
LPD2348
3-32Pre-driving checks and adjustments
Page 180 of 406
Linking an Intelligent Key to the meter
display (if so equipped)
Each Intelligent Key, up to a maximum of four, can
be linked to the meter display.1. When the system is enabled, the recognized Intelligent Key is displayed at start up, as well
as within “Key-Linked Settings”.
2. When the system is active, the meter setting items are memorized for each Intelligent Key
that has been enabled in the system.
3. The auto drive positioner system is memo- rized automatically when the ignition switch
is turned from ON to OFF by the Intelligent
Key with no need to set separate buttons for
recalling and memorizing positions.
4. If two Intelligent Keys are in the vehicle, the system will recognize the Intelligent Key that
was used most recently, such as to
unlock/lock the door.
5. If there is a desire to change to another Intelligent Key while in the vehicle, the user
must turn the ignition OFF and initiate com-
munication from the desired Intelligent Key.
a. Ignition from ON position to the OFF
b. Unlock door with the desired Intelligent Key c. The desired Intelligent Key number should
appear on the meter display.ENTRY/EXIT FUNCTION
This system is designed so that the driver’s seat
and automatic operation steering column will au-
tomatically move when the shift lever is in the P
(Park) position. This allows the driver to get into
and out of the driver’s seat more easily.
The driver’s seat will slide backward and the
steering wheel will move up:
●When the driver’s door is opened and
the ignition switch is in the OFF posi-
tion.
● When the ignition switch is turned from
ACC to OFF with the driver’s door open.
The driver’s seat and steering wheel will return to
the previous position: ● When the ignition switch is turned to ACC or
ON while the shift lever is in the P (Park)
position.
The entry/exit function can be adjusted or can-
celed through the Vehicle Settings in the vehicle
information display by performing the following: ● Switch the Exit Seat Slide from ON to OFF.
● Switch the Exit Steering Up from ON to OFF.
Restarting the entry/exit function
If the battery cable is disconnected or if the fuse
opens, the stored memory positions may be lost
and some of the functions will be restricted.
1. Drive the vehicle over 25 mph (40 km/h).
OR 2. Open and close the driver’s door more than two times with the ignition switch in the OFF
position.
The entry/exit function should now work properly.
SYSTEM OPERATION
The automatic drive positioner system will not
work or will stop operating under the following
conditions: ● When the vehicle speed is above 0 mph
(0 km/h) or 4 mph (7km/h) for some limited
functions such as linking a key fob to the
meter when the power source is turned on
from off or during the Exit function.
● When any of the memory switches are
pushed while the automatic drive positioner
is operating.
● When the adjusting switch for the driver’s
seat and steering column is turned on while
the automatic drive positioner is operating.
Pre-driving checks and adjustments3-33
Page 188 of 406
ADJUSTING THE SCREEN
1. While on a RearView Monitor screen, touchthe touch-screen display. The Camera Set-
tings screen will come up.
2. Touch the Display Settings key.
3. Touch the “Brightness,” “Contrast,” “Tint,” “Color,” or “Black Level” key.
4. Adjust the item by touching the + or — key on the touch-screen display. NOTE:
Do not adjust any of the display settings of
the RearView Monitor while the vehicle is
moving. Make sure the parking brake is
firmly applied.
HOW TO TURN ON AND OFF
PREDICTED COURSE LINES
To toggle ON and OFF the predicted course lines
while in the P (Park) position:
1. Touch the Settings key.
2. Touch the Camera key.
3. Touch the Predicted Course Lines key to turn the feature ON or OFF.
To toggle ON and OFF the predicted course lines
while in the R (Reverse) position: 1. Touch the touch-screen display.
2. Touch the Predicted Course Lines key to turn the feature ON or OFF.
REARVIEW MONITOR SYSTEM
LIMITATIONS
WARNING
Listed below are the system limitations for
RearView Monitor. Failure to operate the
vehicle in accordance with these system
limitations could result in serious injury or
death.
●The system cannot completely elimi-
nate blind spots and may not show ev-
ery object.
● Underneath the bumper and the corner
areas of the bumper cannot be viewed
on the RearView Monitor because of its
monitoring range limitation. The system
will not show small objects below the
bumper, and may not show objects
close to the bumper or on the ground.
● Objects viewed in the RearView Moni-
tor differ from actual distance because
a wide-angle lens is used.
● Objects in the RearView Monitor will
appear visually opposite compared to
when viewed in the rearview and out-
side mirrors.
LHA3522
Monitor, climate, audio, phone and voice recognition systems4-7
Page 198 of 406
ADJUSTING THE SCREEN
1. Touch the touch-screen display with theAround View® Monitor on.
2. Touch the “Brightness,” “Contrast,” “Tint,” “Color,” or “Black Level” key.
3. Adjust the item by touching the + or — key on the touch-screen display.
NOTE:
Do not adjust any of the display settings of
the Around View® Monitor while the ve-
hicle is moving. Make sure the parking
brake is firmly applied.
AROUND VIEW® MONITOR
SYSTEM LIMITATIONS
WARNING
Listed below are the system limitations for
Around View® Monitor. Failure to operate
the vehicle in accordance with these sys-
tem limitations could result in serious in-
jury or death.
● Do not use the Around View® Monitor
with the outside mirrors in the stored
position, and make sure that the trunk
is securely closed when operating the
vehicle using the Around View®
Monitor.
● The apparent distance between objects
viewed on the Around View® Monitor
differs from the actual distance.
● The cameras are installed on the front
grille, the outside mirrors and above the
rear license plate. Do not put anything
on the vehicle that covers the cameras.
● When washing the vehicle with high
pressure water, be sure not to spray it
around the cameras. Otherwise, water
may enter the camera unit causing wa-
ter condensation on the lens, a mal-
function, fire or an electric shock.
LHA3590
LHA3620
Monitor, climate, audio, phone and voice recognition systems4-17
Page 212 of 406
5 Starting and driving
Precautions when starting and driving................5-4
Exhaust gas (carbon monoxide) ..................5-4
Three-way catalyst ..............................5-4
Tire Pressure Monitoring System (TPMS) ..........5-5
Avoiding collision and rollover . . ..................5-8
Off-road recovery ...............................5-9
Rapid air pressure loss ..........................5-9
Drinking alcohol/drugs and driving ...............5-10
Push-Button Ignition Switch .......................5-10
Operating range ............................... 5-11
Push-button ignition switch positions . . . .........5-12
Emergency engine shut off .....................5-13
NISSAN Intelligent Key® battery discharge .......5-13
NISSAN Vehicle Immobilizer System .............5-13
Before starting the engine ......................... 5-14
Starting the engine ............................... 5-14
Remote start .................................. 5-15
Driving the vehicle ................................ 5-15
Continuously Variable Transmission (CVT) ........5-15
Parking brake .................................... 5-21
Drive mode selector .............................. 5-22
Normal mode ................................. 5-22
Sport mode ................................... 5-22Blind Spot Warning (BSW) (if so equipped)
.........5-23
BSW system operation ........................ 5-24
How to enable/disable the BSW system .........5-25
BSW system limitations ........................ 5-26
BSW driving situations ......................... 5-27
System temporarily unavailable ..................5-30
System maintenance ........................... 5-31
Rear Cross Traffic Alert (RCTA) (if so equipped) .....5-32
RCTA system operation ........................ 5-33
How to enable/disable the RCTA system .........5-35
RCTA system limitations ........................ 5-36
System temporarily unavailable ..................5-39
System maintenance ........................... 5-39
Cruise control (if so equipped) . . ...................5-40
Precautions
on cruise control ................... 5-40
Cruise control operations .......................5-41
Intelligent Cruise Control (ICC) (if so equipped) ......5-42
ICC system operation .......................... 5-43
The ICC switch ............................... 5-45
ICC system limitations ......................... 5-51
System temporarily unavailable ..................5-54
System maintenance ........................... 5-56
Forward Emergency Braking (FEB) (if so equipped) . . 5-57
Page 215 of 406
WARNING
●Do not leave children or adults who
would normally require the assistance
of others alone in your vehicle. Pets
should also not be left alone. They
could accidentally injure themselves or
others through inadvertent operation of
the vehicle. Also, on hot, sunny days,
temperatures in a closed vehicle could
quickly become high enough to cause
severe or possibly fatal injuries to
people or animals.
● Closely supervise children when they
are around cars to prevent them from
playing and becoming locked in the
trunk where they could be seriously in-
jured. Keep the car locked, with the rear
seatback and trunk lid securely latched
when not in use, and prevent children’s
access to car keys.
EXHAUST GAS (carbon monoxide)
WARNING
● Do not breathe exhaust gases; they
contain colorless and odorless carbon
monoxide. Carbon monoxide is danger-
ous. It can cause unconsciousness or
death. ●
If you suspect that exhaust fumes are
entering the vehicle, drive with all win-
dows fully open, and have the vehicle
inspected immediately.
● Do not run the engine in closed spaces
such as a garage.
● Do not park the vehicle with the engine
running for any extended length of time.
● Keep the rear vent windows, liftgates,
doors and trunk lids (if so equipped)
closed while driving, otherwise exhaust
gases could be drawn into the passen-
ger compartment. If you must drive with
one of these open, follow these
precautions:
1. Open all the windows.
2. Set the
air recirculation but-
ton to off and the fan control dial to
high to circulate the air.
● If electrical wiring or other cable con-
nections must pass to a trailer through
the seal on the trunk lid or the body,
follow the manufacturer’s recommen-
dation to prevent carbon monoxide en-
try into the vehicle. ●
The exhaust system and body should be
inspected by a qualified mechanic
whenever:
a. The vehicle is raised for service.
b. You suspect that exhaust fumes are entering into the passenger
compartment.
c. You notice a change in the sound of the exhaust system.
d. You have had an accident involving damage to the exhaust system, un-
derbody, or rear of the vehicle.
THREE-WAY CATALYST
The three-way catalyst is an emission control
device installed in the exhaust system. Exhaust
gases in the three-way catalyst are burned at
high temperatures to help reduce pollutants.
WARNING
●The exhaust gas and the exhaust sys-
tem are very hot. Keep people, animals
or flammable materials away from the
exhaust system components.
PRECAUTIONS WHEN STARTING
AND DRIVING
5-4Starting and driving