Page 183 of 424
The autolight system can turn on the headlights
automatically when it is dark and turn off the
headlights when it is light.
For US models: The headlights will also be turned
on automatically at twilight or in rainy weather
(when the windshield wiper is operated continu-
ously) .
If the power switch is placed in the OFF position
and one of the doors is opened and this condition
continues, the headlights remain on for 45 sec-
onds.
Automatic headlights off delay:
You can keep the headlights on for up to 180
seconds after you push the power switch to OFF
and open any door then close all the doors.
You can adjust the period of the automatic head-
lights off delay from 0 seconds (OFF) to 180 sec-
onds. The factory default setting is 45 seconds.
For automatic headlights off delay setting, refer to
the LEAF Navigation System Owner’s Manual
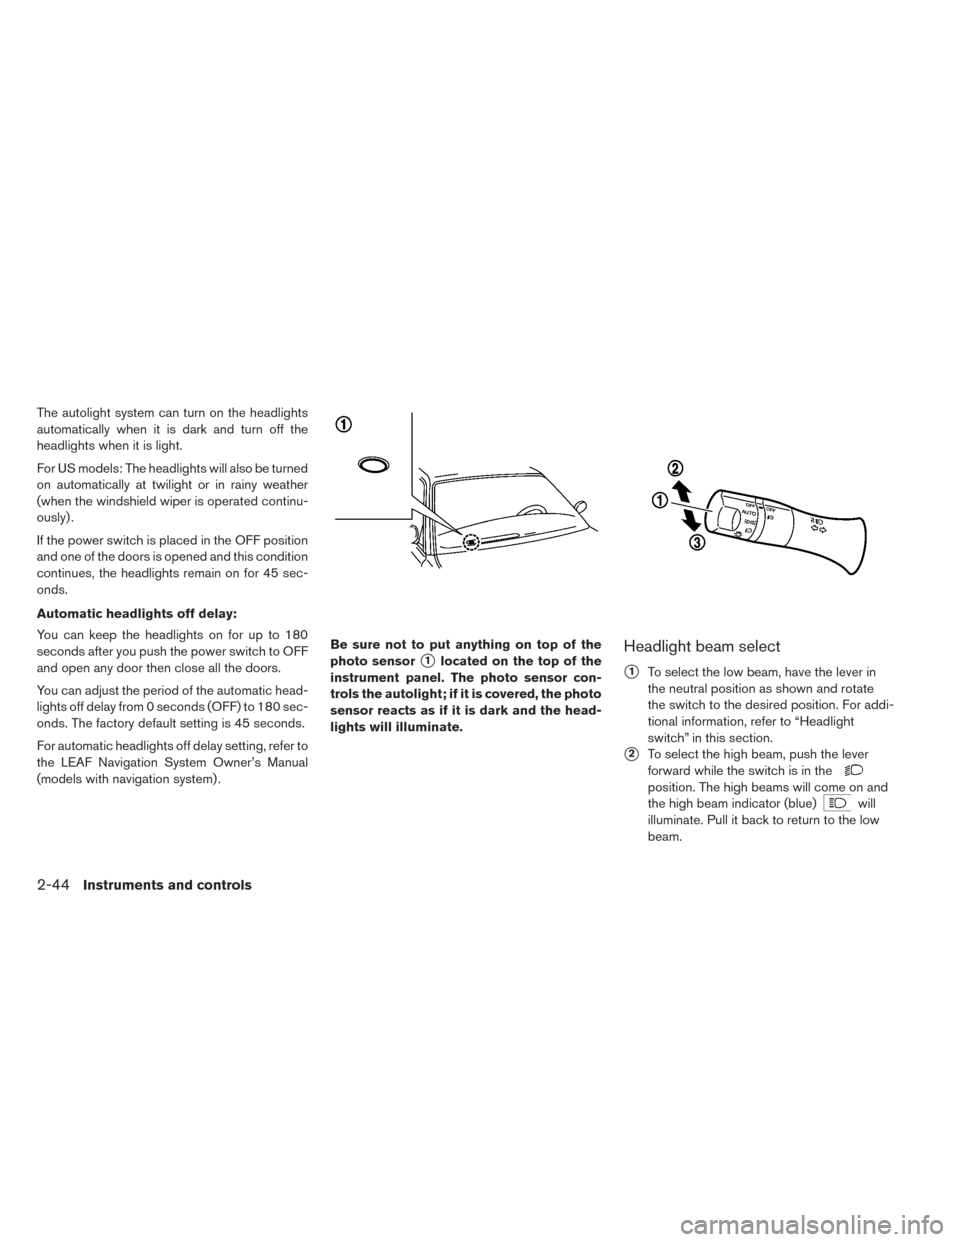
(models with navigation system) .Be sure not to put anything on top of the
photo sensor
�1located on the top of the
instrument panel. The photo sensor con-
trols the autolight; if it is covered, the photo
sensor reacts as if it is dark and the head-
lights will illuminate.Headlight beam select
�1To select the low beam, have the lever in
the neutral position as shown and rotate
the switch to the desired position. For addi-
tional information, refer to “Headlight
switch” in this section.
�2To select the high beam, push the lever
forward while the switch is in the
position. The high beams will come on and
the high beam indicator (blue)
will
illuminate. Pull it back to return to the low
beam.
2-44Instruments and controls
Page 184 of 424
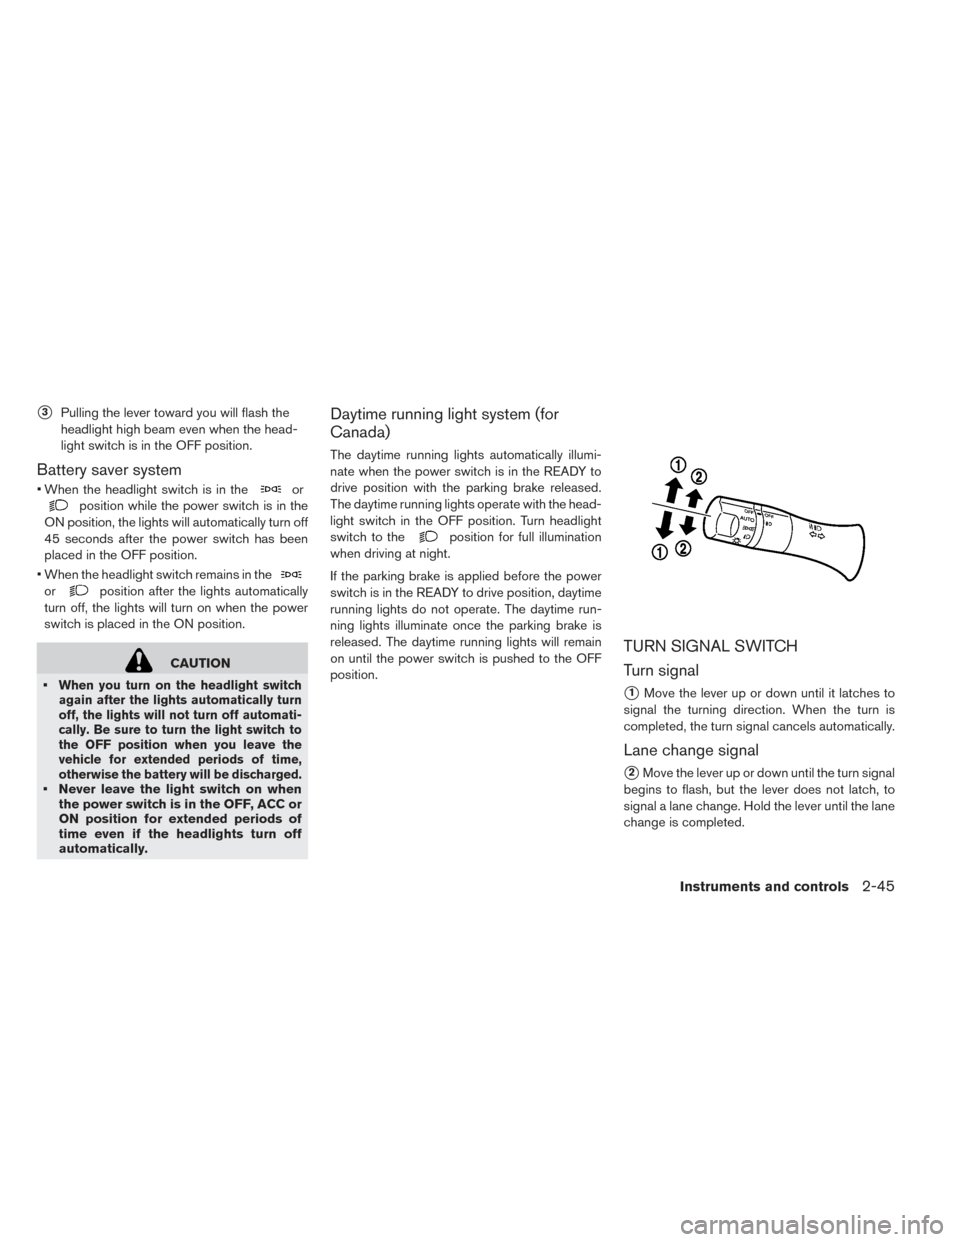
�3Pulling the lever toward you will flash the
headlight high beam even when the head-
light switch is in the OFF position.
Battery saver system
• When the headlight switch is in theor
position while the power switch is in the
ON position, the lights will automatically turn off
45 seconds after the power switch has been
placed in the OFF position.
• When the headlight switch remains in the
orposition after the lights automatically
turn off, the lights will turn on when the power
switch is placed in the ON position.
CAUTION
•
When you turn on the headlight switch
again after the lights automatically turn
off, the lights will not turn off automati-
cally. Be sure to turn the light switch to
the OFF position when you leave the
vehicle for extended periods of time,
otherwise the battery will be discharged.
• Never leave the light switch on when the power switch is in the OFF, ACC or
ON position for extended periods of
time even if the headlights turn off
automatically.
Daytime running light system (for
Canada)
The daytime running lights automatically illumi-
nate when the power switch is in the READY to
drive position with the parking brake released.
The daytime running lights operate with the head-
light switch in the OFF position. Turn headlight
switch to the
position for full illumination
when driving at night.
If the parking brake is applied before the power
switch is in the READY to drive position, daytime
running lights do not operate. The daytime run-
ning lights illuminate once the parking brake is
released. The daytime running lights will remain
on until the power switch is pushed to the OFF
position.
TURN SIGNAL SWITCH
Turn signal
�1Move the lever up or down until it latches to
signal the turning direction. When the turn is
completed, the turn signal cancels automatically.
Lane change signal
�2Move the lever up or down until the turn signal
begins to flash, but the lever does not latch, to
signal a lane change. Hold the lever until the lane
change is completed.
Instruments and controls2-45
Page 185 of 424
Move the lever up or down until the turn signal
begins to flash, but the lever does not latch, and
release the lever. The turn signal will automati-
cally flash three times.
Choose the appropriate method to signal a lane
change based on road and traffic conditions.To turn the fog lights on, rotate the headlight
switch to the
position, then rotate the
switch to the
position. To turn them off,
rotate the switch to the OFF position.
The headlights must be on for the fog lights to
operate. The heated steering wheel system is designed to
operate only when the surface temperature of the
steering wheel is below approximately 68°F
(20°C) .
Push the heated steering wheel switch to warm
the steering wheel when the power switch is in
the ON position. The indicator light
�1on the
switch will illuminate.
FOG LIGHT SWITCH (IF SO
EQUIPPED) HEATED STEERING WHEEL SWITCH
(IF SO EQUIPPED)
2-46Instruments and controls
Page 190 of 424
To turn off the charge timer, push the charge
timer OFF switch. For additional information, re-
fer to “Charging timer” in the “Charging” section
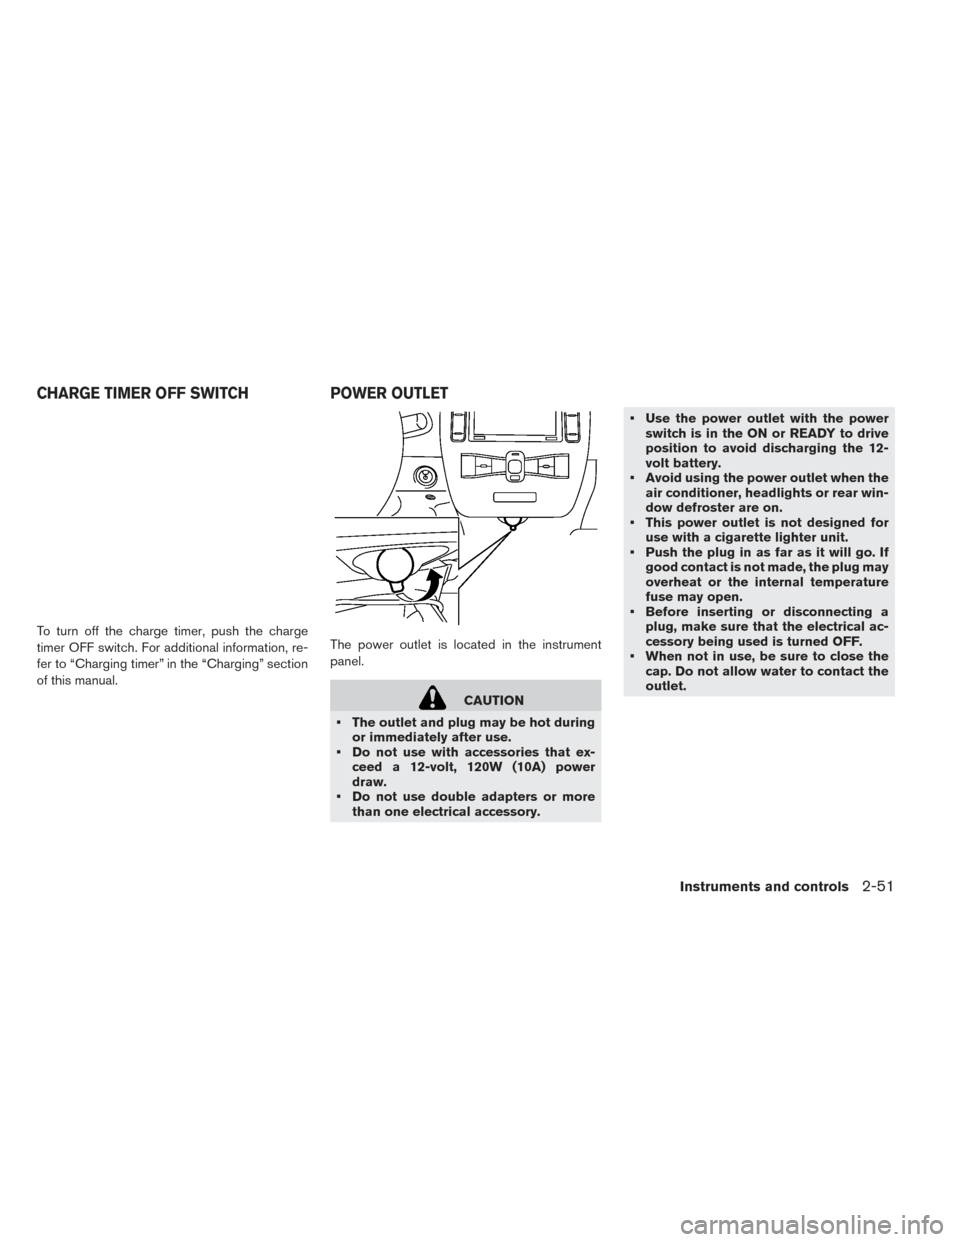
of this manual.The power outlet is located in the instrument
panel.
CAUTION
• The outlet and plug may be hot during or immediately after use.
• Do not use with accessories that ex- ceed a 12-volt, 120W (10A) power
draw.
• Do not use double adapters or more than one electrical accessory. • Use the power outlet with the power
switch is in the ON or READY to drive
position to avoid discharging the 12-
volt battery.
• Avoid using the power outlet when the air conditioner, headlights or rear win-
dow defroster are on.
• This power outlet is not designed for use with a cigarette lighter unit.
• Push the plug in as far as it will go. If good contact is not made, the plug may
overheat or the internal temperature
fuse may open.
• Before inserting or disconnecting a plug, make sure that the electrical ac-
cessory being used is turned OFF.
• When not in use, be sure to close the cap. Do not allow water to contact the
outlet.
CHARGE TIMER OFF SWITCH POWER OUTLET
Instruments and controls2-51
Page 198 of 424
CAUTION
Do not use for extended periods of time
with the power switch in the OFF posi-
tion. This could result in a discharged
12-volt battery.
MAP LIGHTS
Press the button to turn the map lights on. To turn
them off, press the button again.ROOM LIGHT
The room light switch has three positions: ON,
DOOR and OFF.
ON position
When the switch is in the ON position�1, the
ceiling light will illuminate.
INTERIOR LIGHTS
Instruments and controls2-59
Page 199 of 424
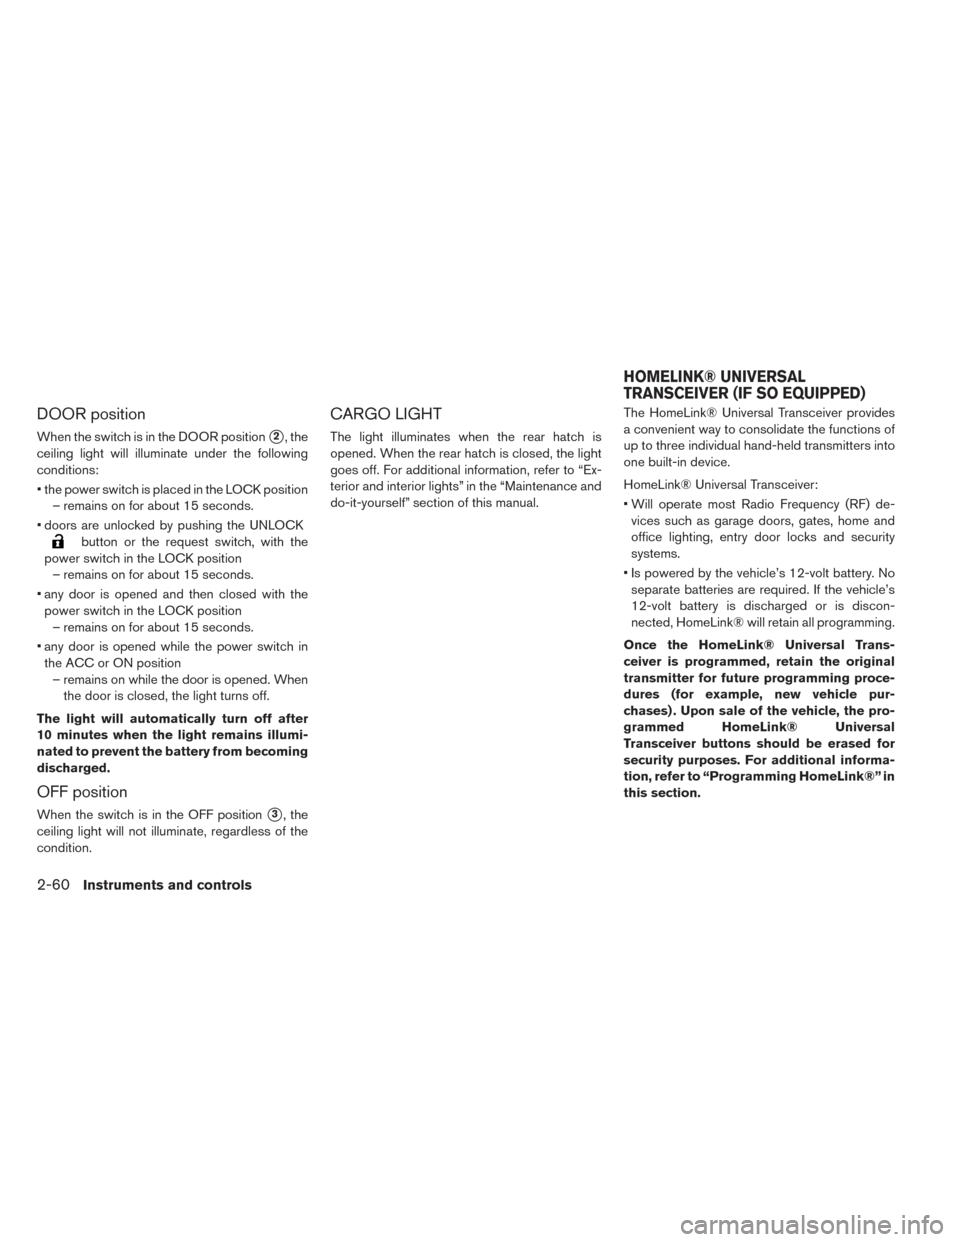
DOOR position
When the switch is in the DOOR position�2, the
ceiling light will illuminate under the following
conditions:
• the power switch is placed in the LOCK position – remains on for about 15 seconds.
• doors are unlocked by pushing the UNLOCK
button or the request switch, with the
power switch in the LOCK position – remains on for about 15 seconds.
• any door is opened and then closed with the power switch in the LOCK position – remains on for about 15 seconds.
• any door is opened while the power switch in the ACC or ON position – remains on while the door is opened. When the door is closed, the light turns off.
The light will automatically turn off after
10 minutes when the light remains illumi-
nated to prevent the battery from becoming
discharged.
OFF position
When the switch is in the OFF position�3, the
ceiling light will not illuminate, regardless of the
condition.
CARGO LIGHT
The light illuminates when the rear hatch is
opened. When the rear hatch is closed, the light
goes off. For additional information, refer to “Ex-
terior and interior lights” in the “Maintenance and
do-it-yourself” section of this manual. The HomeLink® Universal Transceiver provides
a convenient way to consolidate the functions of
up to three individual hand-held transmitters into
one built-in device.
HomeLink® Universal Transceiver:
• Will operate most Radio Frequency (RF) de-
vices such as garage doors, gates, home and
office lighting, entry door locks and security
systems.
• Is powered by the vehicle’s 12-volt battery. No separate batteries are required. If the vehicle’s
12-volt battery is discharged or is discon-
nected, HomeLink® will retain all programming.
Once the HomeLink® Universal Trans-
ceiver is programmed, retain the original
transmitter for future programming proce-
dures (for example, new vehicle pur-
chases) . Upon sale of the vehicle, the pro-
grammed HomeLink® Universal
Transceiver buttons should be erased for
security purposes. For additional informa-
tion, refer to “Programming HomeLink®” in
this section.
HOMELINK® UNIVERSAL
TRANSCEIVER (IF SO EQUIPPED)
2-60Instruments and controls
Page 218 of 424
Using panic alarm
If you are near your vehicle and feel threatened,
you may activate the alarm to call attention as
follows:
1. Push the PANIC
button�4on the
Intelligent Key for more than 1 second.
2. The theft warning alarm and headlights will stay on for a period of time.
3. The panic alarm stops when: • It has run for a period of time, or
• Any of the buttons on the Intelligent Key ispushed. (Note: The PANIC button must be
pushed for more than 1 second.)
Setting hazard indicator and horn
mode
This vehicle is set in hazard indicator and horn
mode when you first receive the vehicle.
In hazard indicator and horn mode, when the
LOCK
button�1is pressed, the hazard
indicator flashes twice and the horn chirps once.
When the UNLOCK
button�2is pressed,
the hazard indicator flashes once. If horns are not necessary, the system can be
switched to the hazard indicator mode.
In hazard indicator mode, when the LOCK
button is pressed, the hazard indicator flashes
twice. When the UNLOCK
button is
pressed, neither the hazard indicator nor the horn
operates.
Pre-driving checks and adjustments3-15
Page 223 of 424
When opening the charge port lid perform one of
the following:
• Push the charge port lid opener switch locatedon the instrument panel, or
• Press and hold the charge port lid unlock button on the Intelligent Key for more than one second.
When opening the charge port lid:
1. The charging status indicator lights flash and a chime sounds three times and the charge
port lid will then spring up slightly.
2. Put your hand into the under side of the lid and open until it is in the fully open position. When closing the charge port lid:
1. Slowly move the lid down.
2. Lock it securely into place.CHARGE PORT CAP
When opening the charge port cap, press the tab
inward and the cap will spring open.
When the charge port cap is closed to its previ-
ous position, it will lock automatically.
3-20Pre-driving checks and adjustments