2017 NISSAN LEAF radio
[x] Cancel search: radioPage 279 of 424
• Operating procedure of the Bluetooth® audiowill vary depending on the devices. Make sure
how to operate your audio device before using it
with this system.
• The Bluetooth® audio may be stopped under the following conditions: – Receiving a call on the Hands-Free Phone System.
– Checking the connection to the hands-free phone.
• Do not place the Bluetooth® audio device in an area surrounded by metal or far away from the
in-vehicle Bluetooth® module to prevent tone
quality degradation and wireless connection
disruption.
• While an audio device is connected through the Bluetooth® wireless connection, the battery
power of the device may discharge quicker than
usual.
• This system supports the Bluetooth® Audio Distribution Profile (A2DP, AVRCP) .
BLUETOOTH® is a trademark
owned by Bluetooth SIG, Inc. and licensed to
Visteon.
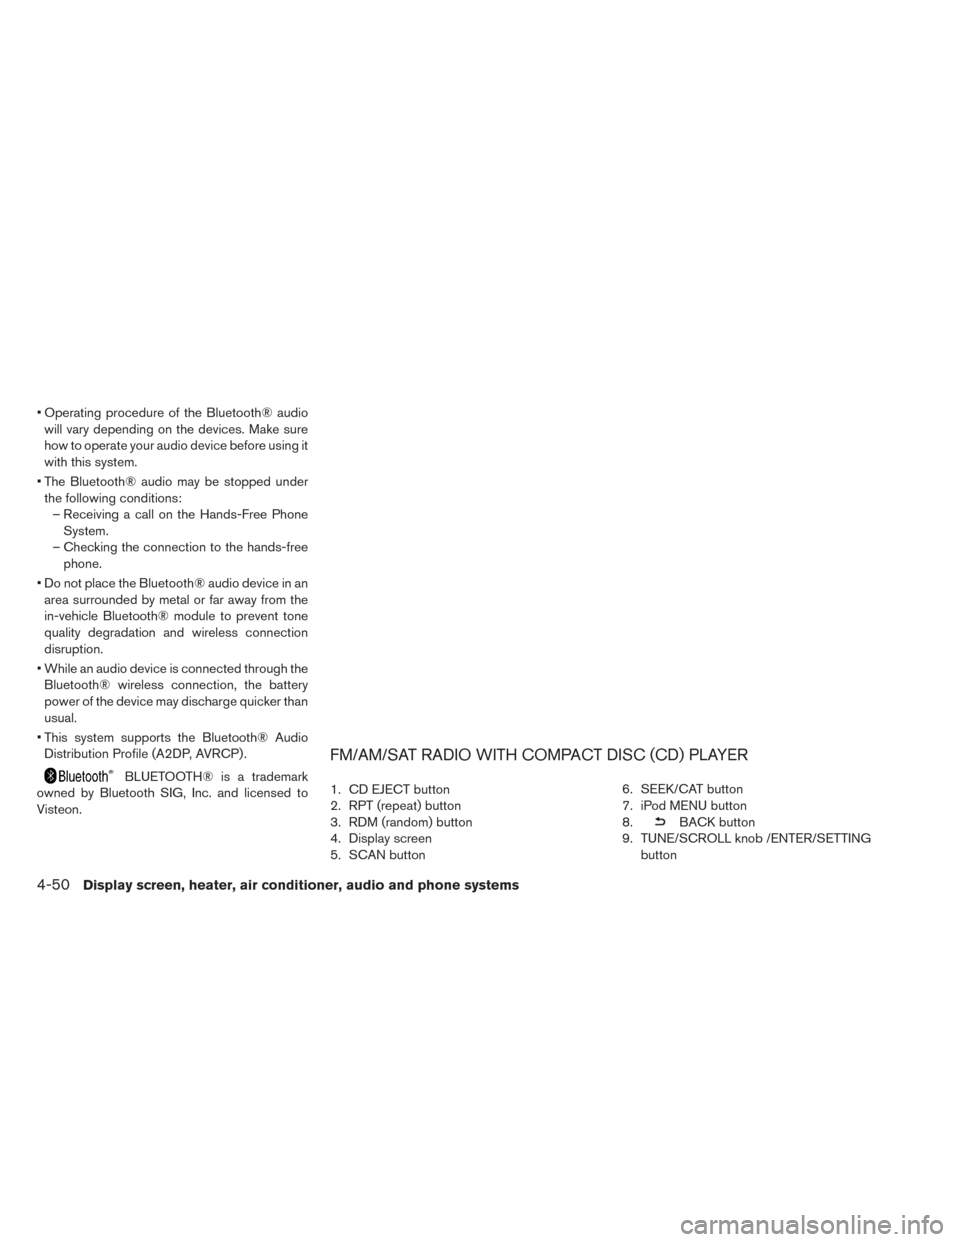
FM/AM/SAT RADIO WITH COMPACT DISC (CD) PLAYER
1. CD EJECT button
2. RPT (repeat) button
3. RDM (random) button
4. Display screen
5. SCAN button 6. SEEK/CAT button
7. iPod MENU button
8.
BACK button
9. TUNE/SCROLL knob /ENTER/SETTING button
4-50Display screen, heater, air conditioner, audio and phone systems
Page 280 of 424
10. Station select (1–6) buttons
11.
(power) button /VOL (volume)
control knob
12. DISP button
13. MEDIA button
14. XM button
15. FM·AM button
For additional information, refer to “Audio opera-
tion precautions” in this section.
• No satellite radio reception is available when the SAT band option is selected unless a
SiriusXM® Satellite Radio subscription is
active.
• The satellite radio is not available in Alaska, Hawaii and Guam.Audio main operation
(Power)/VOL (Volume) control knob
Place the power switch in the ACC or ON posi-
tion, and then press the
button while the
system is off to turn on the last audio source,
which was playing immediately before the system
was turned off. While the system is on, pressing
the
button turns the system off.
Turn the VOL control knob to adjust the volume.
This vehicle may be equipped with speed sensi-
tive volume. When this feature is active, the audio
volume changes as the driving speed changes. ENTER/SETTING button
When the audio screen is displayed, press the
ENTER/SETTING button to show the Settings
screen on the display. Turn the TUNE/SCROLL
knob to navigate the options and then press the
ENTER/SETTING button to make a selection.
Display screen, heater, air conditioner, audio and phone systems4-51
Page 281 of 424
AudioBass Adjusts the bass to the desired level.
Treble Adjusts the treble to the desired level.
Balance Adjusts the balance to the desired level. Balance adjusts the sound level between the left and right speakers.
Fade Adjusts the fade to the desired level. Fade adjusts the sound level between the front and rear speakers.
Brightness Adjust the brightness to adjust the appearance of the display screen.
Contrast Adjust the contrast to adjust the appearance of the display screen.
Clock Adjust Allows the user to set time manually. To set the clock:
1. Press the ENTER/SETTING button.
2. Turn the TUNE/FOLDER knob to select CLOCK.
3. Press the ENTER/SETTING button.
4. Turn the TUNE/FOLDER knob to select “set time”.
5. Press the ENTER/SETTING button.
6. Rotate the TUNE/FOLDER knob to adjust hours.
7. Press the ENTER/SETTING button.
8. Turn the TUNE/FOLDER knob to adjust minutes.
9. Press the ENTER/SETTING button.
10. Press the
BACK button to finish.
On-Screen ClockToggles ON or OFF the clock display on the upper right corner of the display screen.
RDS Display Toggles ON or OFF the RDS information displayed on the screen while the radio is playing.
Speed Sens Vol. (Speed Sen-
sitive Volume) Adjusts the speed sensitive volume function, which increases the volume of the audio system as the speed of the vehicle increases. Set to
“OFF” to disable the feature. The higher the setting, the more the volume increases in relation to vehicle speed.
AUX Vol. Choose a setting from 0 to +3 to control the boost of incoming auxiliary device volume. A setting of 0 provides no additional boost in vol-
ume. A setting of +3 provides the greatest boost in volume.
Language Select Select the desired language for the system from the available options.
4-52Display screen, heater, air conditioner, audio and phone systems
Page 282 of 424
Bass, treble, balance and fade can also be ad-
justed by pressing the ENTER/SETTING button
and turning the TUNE/SCROLL control knob to
select the item to adjust. When the desired item
is shown on the display, turn the tuning to adjust
and then press the ENTER/SETTING button until
the display returns to the main audio screen. If the
button is not pressed for approximately 10 sec-
onds, the radio or CD display will automatically
reappear.
DISP button
Display of the screen can be canceled by press-
ing the DISP button. You can then listen to music
that is being played back. If you want to display
the screen again, either press the DISP button
once more or press the FM·AM, XM Satellite
Radio or CD·AUX button.
MEDIA button
Pressing the MEDIA button will switch the dis-
plays as follows:
iPod®/USB→Bluetooth
Audio→AUX→CD→iPod®/USB
BACK button
When the BACK button is pressed, it returns to
the previous display. iPod MENU button
Press the iPod MENU button while the iPod® is
connected to show the iPod® operation menu on
the audio display. Scroll through the menu list
using the TUNE/SCROLL knob. Press the
ENTER/SETTING button to select a menu item.
For additional information, refer to the iPod®
Owner’s Manual.
FM/AM/SAT radio operation
FM●AM band select
Pressing the radio band select button will change
the band as follows:
AM→FM1→FM2→AM
XM band select
Pressing the XM band select button will change
the band as follows:
XM1→XM2→XM3→XM1
When the XM band select button is pressed
while the power switch is in the ACC or ON
position, the radio will come on at the channel last
played.
The last station played will also come on when
the
button is pressed to radio ON. *When the XM button is pressed, the satellite
radio mode will be skipped unless a SiriusXM®
Satellite Radio service subscription is active.
Satellite radio is not available in Alaska, Hawaii
and Guam.
If a compact disc is playing when the XM button
is pressed, the compact disc will automatically be
turned off and the last radio station played will
come on.
TUNE/SCROLL knob (Tuning)
Turn the TUNE/SCROLL knob to the left or right
for manual tuning.
SEEK tuning
Press the SEEK/CAT
orbutton or to
tune from low to high or high to low frequencies
and to stop at the next broadcasting station.
SCAN tuning
Press the SCAN button to stop at each broad-
casting station for 5 seconds. SCAN will appear
on the screen while the radio is scan tuning.
Pressing the button again during this 5 second
period will stop SCAN tuning and the radio will
remain tuned to that station. If the SCAN button is
not pressed within 5 seconds, SCAN tuning
moves to the next station.
Display screen, heater, air conditioner, audio and phone systems4-53
Page 283 of 424
1 to 6 Station memory operations
Six stations can be set for the AM band. Twelve
stations can be set for the FM band (6 for FM1,
6 for FM2) . Eighteen channels can be set for the
satellite radio (6 for XM1, 6 for XM2, 6 for XM3) .
1. Choose the radio band AM, FM1 or FM2 us-ing the FM·AM select button, or choose the
satellite band XM1, XM2 or XM3 using the
XM button.
2. Tune to the desired station using manual, SEEK or SCAN tuning. Press and hold any of
the desired station memory buttons (1 – 6)
until the preset number is updated on the
display and the sound is briefly muted.
3. The channel indicator will then come on and the sound will resume. Programming is now
complete.
4. Other buttons can be set in the same manner.
If the battery cable is disconnected, or if the fuse
opens, the radio memory will be canceled. In that
case, reset the desired stations.Compact disc (CD) player operation
Place the power switch in the ACC or ON posi-
tion and insert the Compact Disc (CD) into the
slot with the label side facing up. The CD will be
guided automatically into the slot and start play-
ing.
After loading the CD, the number of tracks on the
CD and the play time will appear on the display.
If the radio is already operating, it will automati-
cally turn off and the CD will play.
If the system has been turned off while the CD
was playing, pressing the
(power) button
will start the CD.
Do not use 3.1 in (8 cm) discs.
SEEK/CAT buttons
When the FF or REW button is pressed for more
than 1.5 seconds while the CD is being played,
the CD will play while fast forwarding or rewind-
ing. When the button is released, the CD will
return to normal play speed.
When the FF or REW button is pressed for less
than 1.5 seconds while the CD is being played,
the next track or the beginning of the current track
on the CD will be played. Repeat (RPT)
When the RPT play button is pressed while the
CD is played, the play pattern can be changed as
follows:
(CD)
Normal↔1 Track Repeat
(CD with compressed audio files)
Normal→1 Folder Repeat→1 Track Repeat-
→Normal
Random (RDM)
When the RDM play button is pressed while a
CD is being played, the play pattern can be
changed as follows:
(CD)
Normal↔1 Disc Random
(CD with compressed audio files)
Normal→1 Disc Random→1 Folder Random-
→Normal
CD EJECT
When the CD EJECT button is pressed with a
compact disc loaded, the CD will be ejected.
When this button is pressed while the CD is
being played, the CD will be ejected.
4-54Display screen, heater, air conditioner, audio and phone systems
Page 288 of 424
• Artists
• Albums
• Songs
• Podcasts
• Genres
• Composers
• Audiobooks
• Shuffle Songs
For additional information, refer to the iPod®
Owner’s Manual.
SEEK/CAT buttons
When the
orbutton is pressed for
more than 1.5 seconds while the iPod® is play-
ing, the iPod® will play while fast forwarding or
rewinding. When the button is released , the
iPod® will return to the normal play speed.
When the
orbutton is pressed for
less than 1.5 seconds while the iPod® is playing,
the next track or the beginning of the current track
on the iPod® will be played.
REPEAT (RPT)
When the RPT play button is pressed while a
track is being played, the play pattern can be
changed as follows: Repeat Off→1 Track Repeat→All Repeat→Re-
peat Off
RANDOM (RDM)
When the RDM play button is pressed while a
track is being played, the play pattern can be
changed as follows:
Shuffle Off→Track Shuffle→Album Shuffle-
→Shuffle Off
BACK button
When the
BACK button is pressed, it
returns to the previous display.
BLUETOOTH® STREAMING AUDIO
(MODELS WITHOUT NAVIGATION
SYSTEM)
If you have a compatible Bluetooth® audio de-
vice that is capable of playing audio files, the
device can be connected to the vehicle’s audio
system so that the audio files on the device play
through the vehicle’s speakers. For additional
information, refer to “FM-AM-SAT radio with
compact disc (CD) player” in this section.
NOTE:
For additional information regarding
Bluetooth® Streaming Audio, refer to
the Cellular Phone Owner’s Manual.
Connecting Bluetooth® audio
To connect your Bluetooth® audio device to the
vehicle, follow the procedure below:
1. Press the ENTER/SETTING button.
2. Select “Bluetooth”.
3. Select “Add Phone”. This same screen can be accessed to remove, replace or select a dif-
ferent Bluetooth® device.
4. The system acknowledges the command and asks you to initiate connecting from the phone
handset. The connecting procedure of the
cellular phone varies according to each cellu-
lar phone model. For additional information,
refer to the cellular phone’s Owner’s Manual.
You can also visit
www.NissanUSA.com/bluetooth for instruc-
tions on connecting NISSAN-recommended
cellular phones.
Audio main operation:
To switch to the Bluetooth® audio mode, press
the MEDIA button repeatedly until the
Display screen, heater, air conditioner, audio and phone systems4-59
Page 291 of 424
– The vehicle enters an automatic carwash.
– The vehicle enters a garage with a low ceiling.
– The vehicle is covered with a car cover.
• Always properly tighten the antenna rod during installation. Otherwise, the
antenna rod may break during vehicle
operation.
CAR PHONE OR CB RADIO
When installing a CB, ham radio or car phone in
your vehicle, be sure to observe the following
precautions; otherwise, the new equipment may
adversely affect the EV control system and other
electronic parts.
WARNING
• A cellular phone should not be used for any purpose while driving so full
attention may be given to vehicle op-
eration. Some jurisdictions prohibit
the use of cellular phones while driv-
ing. • If you must make a call while your
vehicle is in motion, the hands free
cellular phone operational mode is
highly recommended. Exercise ex-
treme caution at all times so full atten-
tion may be given to vehicle operation.
• If you are unable to devote full atten- tion to vehicle operation while talking
on the phone, pull off the road to a safe
location and stop your vehicle.
CAUTION
• Keep the antenna as far away as pos- sible from the electronic control mod-
ules.
• Keep the antenna wire more than 20 cm (8 in) away from the electronic
control system harnesses. Do not
route the antenna wire next to any har-
ness.
• Adjust the antenna standing-wave ra- tio as recommended by the manufac-
turer.
• Connect the ground wire from the CB radio chassis to the body.
• For additional information, it is recom- mended that you visit a NISSAN certi-
fied LEAF dealer.
WARNING
• Use a phone after stopping your ve- hicle in a safe location. If you have to
use a phone while driving, exercise ex-
treme caution at all times so full atten-
tion may be given to vehicle operation.
• If you are unable to devote full atten- tion to vehicle operation while talking
on the phone, pull off the road to a safe
location and stop your vehicle.
CAUTION
To avoid draining the vehicle battery, use
a phone after the READY to drive indica-
tor light is on.
BLUETOOTH® HANDS-FREE PHONE
SYSTEM WITHOUT NAVIGATION
SYSTEM (IF SO EQUIPPED)
4-62Display screen, heater, air conditioner, audio and phone systems
Page 293 of 424
• You will not be able to use a hands-free phoneunder the following conditions: – Your vehicle is outside of the cellular service area.
– Your vehicle is in an area where it is difficult to receive a cellular signal; such as in a
tunnel, in an underground parking garage,
near a tall building or in a mountainous area.
– Your cellular phone is locked to prevent it from being dialed.
• When the radio wave condition is not ideal or ambient sound is too loud, it may be difficult to
hear the other person’s voice during a call.
• Do not place the cellular phone in an area surrounded by metal or far away from the in-
vehicle phone module to prevent tone quality
degradation and wireless connection
disruption.
• While a cellular phone is connected through the Bluetooth® wireless connection, the battery
power of the cellular phone may discharge
quicker than usual. The Bluetooth® Hands-
Free Phone System cannot charge cellular
phones.
• For additional information, refer to “Trouble- shooting guide” in this section. You can also visit
www.nissanusa.com/bluetooth orwww.nissan.ca/bluetooth for troubleshooting
help if the hands-free phone system seems to
be malfunctioning.
• Some cellular phones or other devices may cause interference or a buzzing noise to come
from the audio system speakers. Storing the
device in a different location may reduce or
eliminate the noise.
• For additional information, refer to the cellular phone Owner’s Manual regarding the telephone
charges, cellular phone antenna and body, etc.
REGULATORY INFORMATION
FCC Regulatory information
CAUTION: To maintain compliance with FCC’s
RF exposure guidelines, use only the supplied
antenna. Unauthorized antenna, modification, or
attachments could damage the transmitter and
may violate FCC regulations.
Operation is subject to the following two condi-
tions:
1. This device may not cause interference and
2. this device must accept any interference, in- cluding interference that may cause unde-
sired operation of the device. IC Regulatory information
• Operation is subject to the following two condi-
tions: (1) this device may not cause interfer-
ence, and (2) this device must accept any inter-
ference, including interference that may cause
undesired operation of the device.
• This Class B digital apparatus meets all require- ments of the Canadian Interference-Causing
Equipment Regulations.
BLUETOOTH® is a trademark
owned by Bluetooth SIG, Inc. and licensed to
Visteon.
USING THE SYSTEM
The NISSAN Voice Recognition system allows
hands-free operation of the Bluetooth® Hands-
Free Phone System.
If the vehicle is in motion, some commands may
not be available so full attention may be given to
vehicle operation.
Initialization
When the power switch is placed in the ON
position, NISSAN Voice Recognition is initialized,
which takes a few seconds. If the
button is
pressed before the initialization completes, the
4-64Display screen, heater, air conditioner, audio and phone systems