2017 NISSAN LEAF power steering
[x] Cancel search: power steeringPage 13 of 424
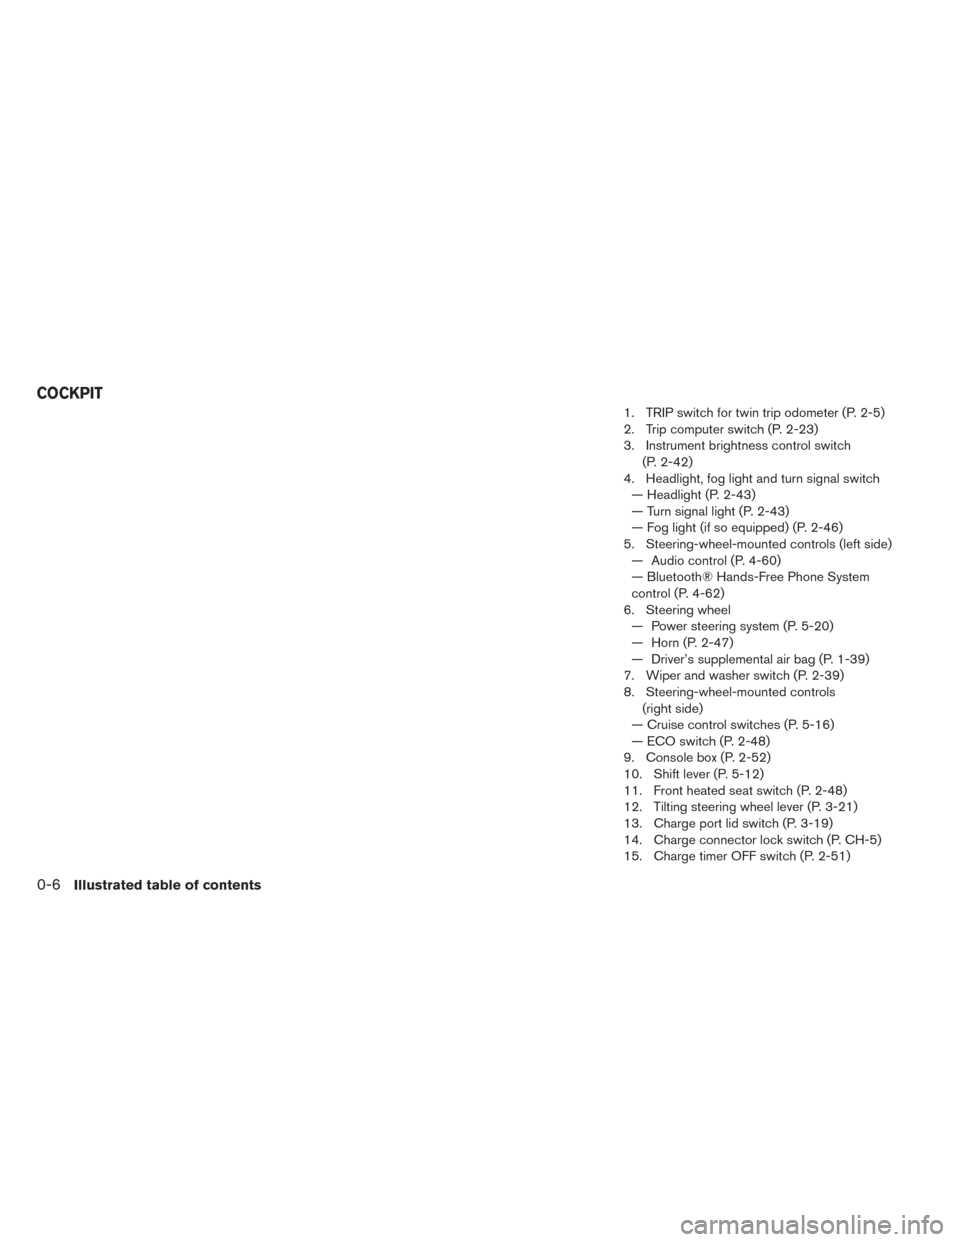
1. TRIP switch for twin trip odometer (P. 2-5)
2. Trip computer switch (P. 2-23)
3. Instrument brightness control switch(P. 2-42)
4. Headlight, fog light and turn signal switch — Headlight (P. 2-43)
— Turn signal light (P. 2-43)
— Fog light (if so equipped) (P. 2-46)
5. Steering-wheel-mounted controls (left side) — Audio control (P. 4-60)
— Bluetooth® Hands-Free Phone System
control (P. 4-62)
6. Steering wheel — Power steering system (P. 5-20)
— Horn (P. 2-47)
— Driver’s supplemental air bag (P. 1-39)
7. Wiper and washer switch (P. 2-39)
8. Steering-wheel-mounted controls (right side)
— Cruise control switches (P. 5-16)
— ECO switch (P. 2-48)
9. Console box (P. 2-52)
10. Shift lever (P. 5-12)
11. Front heated seat switch (P. 2-48)
12. Tilting steering wheel lever (P. 3-21)
13. Charge port lid switch (P. 3-19)
14. Charge connector lock switch (P. CH-5)
15. Charge timer OFF switch (P. 2-51)
COCKPIT
0-6Illustrated table of contents
Page 18 of 424
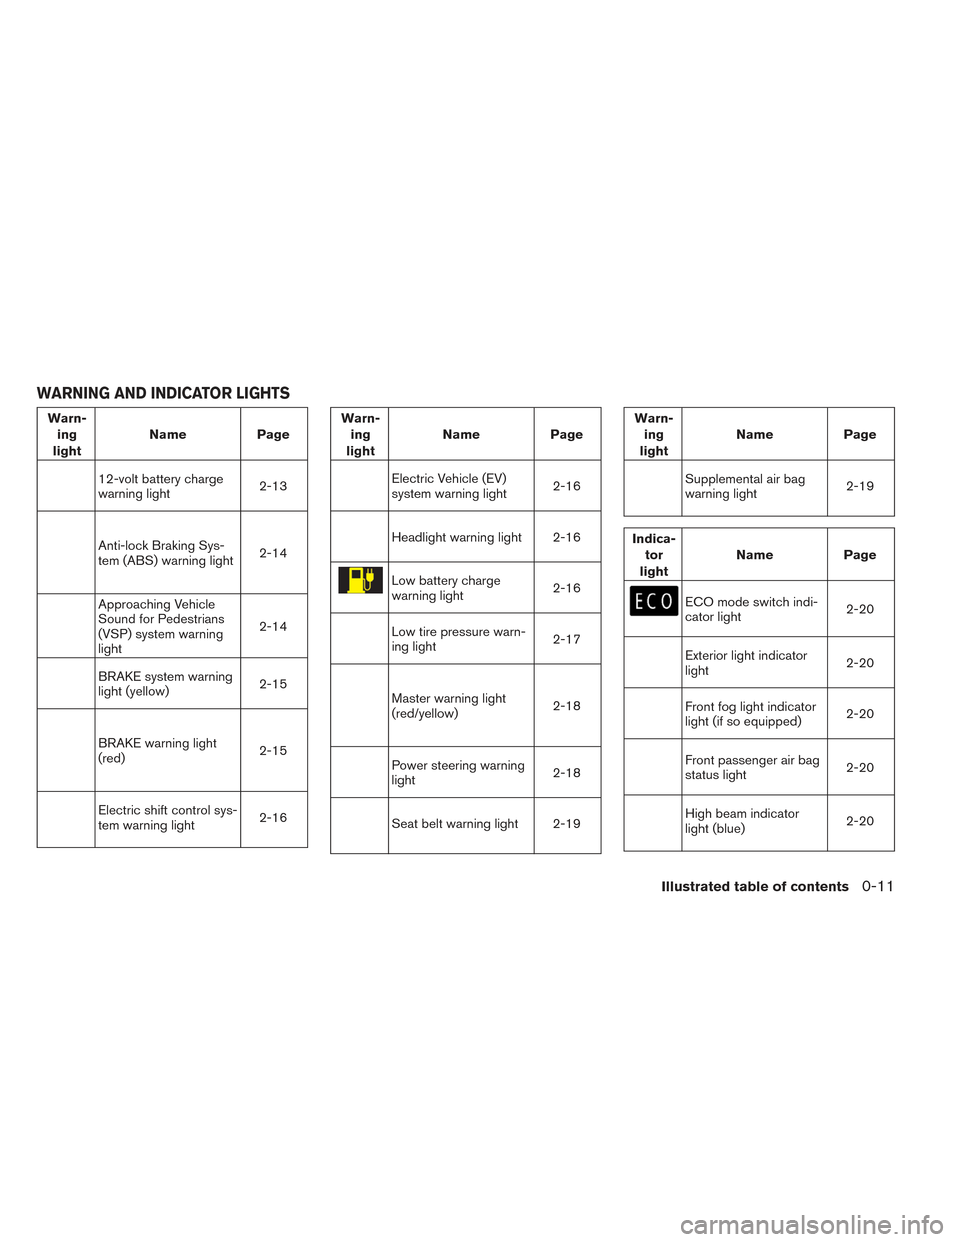
Warn-ing
light Name
Page
12-volt battery charge
warning light 2-13
Anti-lock Braking Sys-
tem (ABS) warning light2-14
Approaching Vehicle
Sound for Pedestrians
(VSP) system warning
light2-14
BRAKE system warning
light (yellow)
2-15
BRAKE warning light
(red)2-15
Electric shift control sys-
tem warning light2-16
Warn-
ing
light Name
Page
Electric Vehicle (EV)
system warning light 2-16
Headlight warning light 2-16
Low battery charge
warning light2-16
Low tire pressure warn-
ing light2-17
Master warning light
(red/yellow)2-18
Power steering warning
light2-18
Seat belt warning light 2-19
Warn-
ing
light Name
Page
Supplemental air bag
warning light 2-19
Indica-
tor
light Name
Page
ECO mode switch indi-
cator light 2-20
Exterior light indicator
light2-20
Front fog light indicator
light (if so equipped)2-20
Front passenger air bag
status light2-20
High beam indicator
light (blue)2-20
WARNING AND INDICATOR LIGHTS
Illustrated table of contents0-11
Page 122 of 424
PRECAUTIONS ON SRS
This SRS section contains important information
concerning the following systems.
• Driver and front passenger supplemental front-impact air bag (NISSAN Advanced Air Bag
System)
• Front seat-mounted side-impact supplemental air bag
• Roof-mounted curtain side-impact and rollover (if so equipped) supplemental air bag
• Seat belt with pretensioner(s) (front seats)
Supplemental front-impact air bag system
The NISSAN Advanced Air Bag System can help
cushion the impact force to the head and chest of
the driver and front passenger in certain frontal
collisions.
Front seat-mounted side-impact supple-
mental air bag system
This system can help cushion the impact force to
the chest and pelvic area of the driver and front
passenger in certain side impact collisions. The
side air bags are designed to inflate on the side
where the vehicle is impacted. Roof-mounted curtain side-impact and
rollover (if so equipped) supplemental air
bag system
This system can help cushion the impact force to
the head of occupants in front and rear outboard
seating positions in certain side impact collisions.
In a side impact, the curtain air bags are designed
to inflate on the side where the vehicle is im-
pacted. If so equipped, in a rollover, the curtain air
bags are designed to inflate and remain inflated
for a short time.
The SRS is designed to
supplementthe crash
protection provided by the driver and passenger
seat belts and is not a substitute for them. Seat
belts should always be correctly worn, and the
occupant should be seated a suitable distance
away from the steering wheel, instrument panel
and door finishers. For additional information,
instructions, and precautions on seat belt usage,
refer to “Seat belts” in this section. The supplemental air bags operate only
when the power switch is in the ON posi-
tion.
After the power switch is placed in the ON
position, the supplemental air bag warning
light illuminates. The supplemental air bag
warning light will turn off after about 7 sec-
onds if the system is operational.
SUPPLEMENTAL RESTRAINT
SYSTEM (SRS)
Safety–Seats, seat belts and supplemental restraint system1-39
Page 129 of 424
When a front air bag inflates, a fairly loud noise
may be heard, followed by release of smoke. This
smoke is not harmful and does not indicate a fire.
Care should be taken not to inhale it, as it may
cause irritation and choking. Those with a history
of a breathing condition should get fresh air
promptly.
Front air bags, along with the use of seat belts,
help to cushion the impact force on the head and
chest of the front occupants. They can help save
lives and reduce serious injuries. However, an
inflating front air bag may cause facial abrasions
or other injuries. Front air bags do not provide
restraint to the lower body.
Even with NISSAN Advanced Air Bags, seat
belts should be correctly worn and the driver and
front passenger seated upright as far as practical
away from the steering wheel or instrument
panel. The front air bags inflate quickly in order to
help protect the front occupants. Because of this,
the force of the front air bag inflating can increase
the risk of injury if the occupant is too close to, or
is against, the air bag module during inflation.
The front air bags deflate quickly after a collision.The front air bags operate only when the
power switch is in the ON position.
After the power switch is placed in the ON
position, the supplemental air bag warning
light illuminates. The supplemental air bag
warning light will turn off after about 7 sec-
onds if the system is operational.
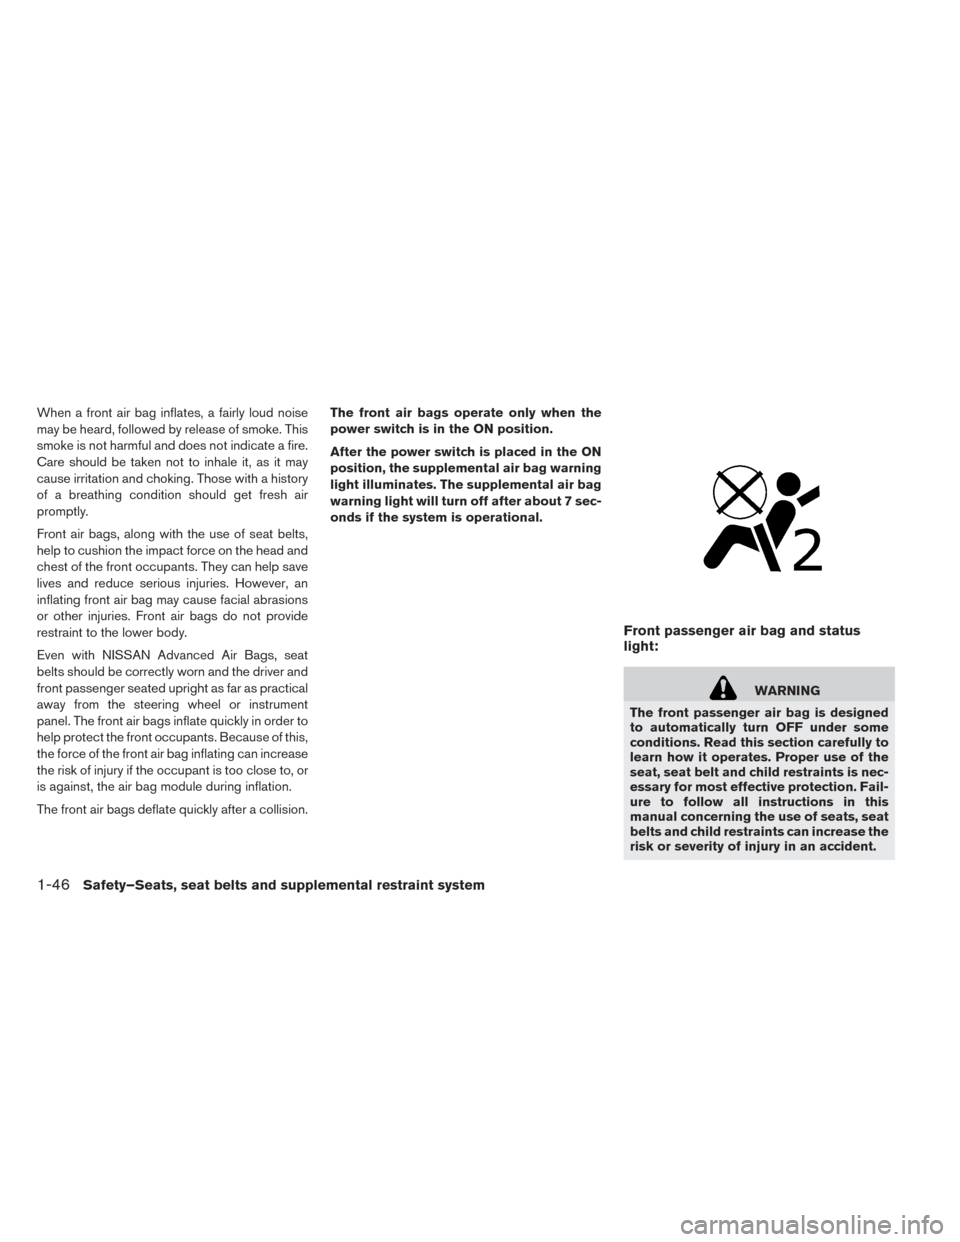
Front passenger air bag and status
light:
WARNING
The front passenger air bag is designed
to automatically turn OFF under some
conditions. Read this section carefully to
learn how it operates. Proper use of the
seat, seat belt and child restraints is nec-
essary for most effective protection. Fail-
ure to follow all instructions in this
manual concerning the use of seats, seat
belts and child restraints can increase the
risk or severity of injury in an accident.
1-46Safety–Seats, seat belts and supplemental restraint system
Page 140 of 424
2 Instruments and controls
Cockpit............................ .2-3
Instrument panel ....................... .2-4
Meters and gauges ..................... .2-5
Speedometer and odometer ...............2-6
Li-ion battery temperature gauge ............2-7
Power meter ....................... .2-7
Driving range ....................... .2-8
Li-ion battery available charge gauge .........2-9
Li-ion battery capacity level gauge ..........2-10
Outside air temperature ................2-10
ECO indicator ..................... .2-10
Clock .......................... .2-11
Warning lights, indicator lights and audible
reminders .......................... .2-12
Checking lights .................... .2-13
Warning lights ..................... .2-13
Indicator lights ..................... .2-20
Audible reminders ................... .2-22
Vehicle information display .................2-23
Indicators for operation ................ .2-24
Trip computer ..................... .2-28
Warning information displays .............2-33
Indicators for maintenance ...............2-35
Indicator for timer ................... .2-36Security systems
..................... .2-36
Vehicle security system ................ .2-37
NISSAN Vehicle Immobilizer System .........2-38
Wiper and washer switch .................2-39
Washer operation ................... .2-40
Rear wiper operation ................. .2-41
Rear window and outside mirror (if so equipped)
defroster switch ...................... .2-42
Instrument brightness control ...............2-42
Headlight and turn signal switch .............2-43
Headlight switch .................... .2-43
Turn signal switch ................... .2-45
Fog
light switch (if so equipped) .............2-46
Heated steering wheel switch (if so equipped) .....2-46
Horn ............................. .2-47
ECO switch ........................ .2-48
Heated seat switch .................... .2-48
Vehicle Dynamic Control (VDC) OFF switch ......2-49
Charge port lid switch .................. .2-50
Charge connector lock switch ...............2-50
Charge timer OFF switch .................2-51
Power outlet ........................ .2-51
Storage ........................... .2-52
Cup holders ...................... .2-52
Storage trays ...................... .2-52
Page 142 of 424
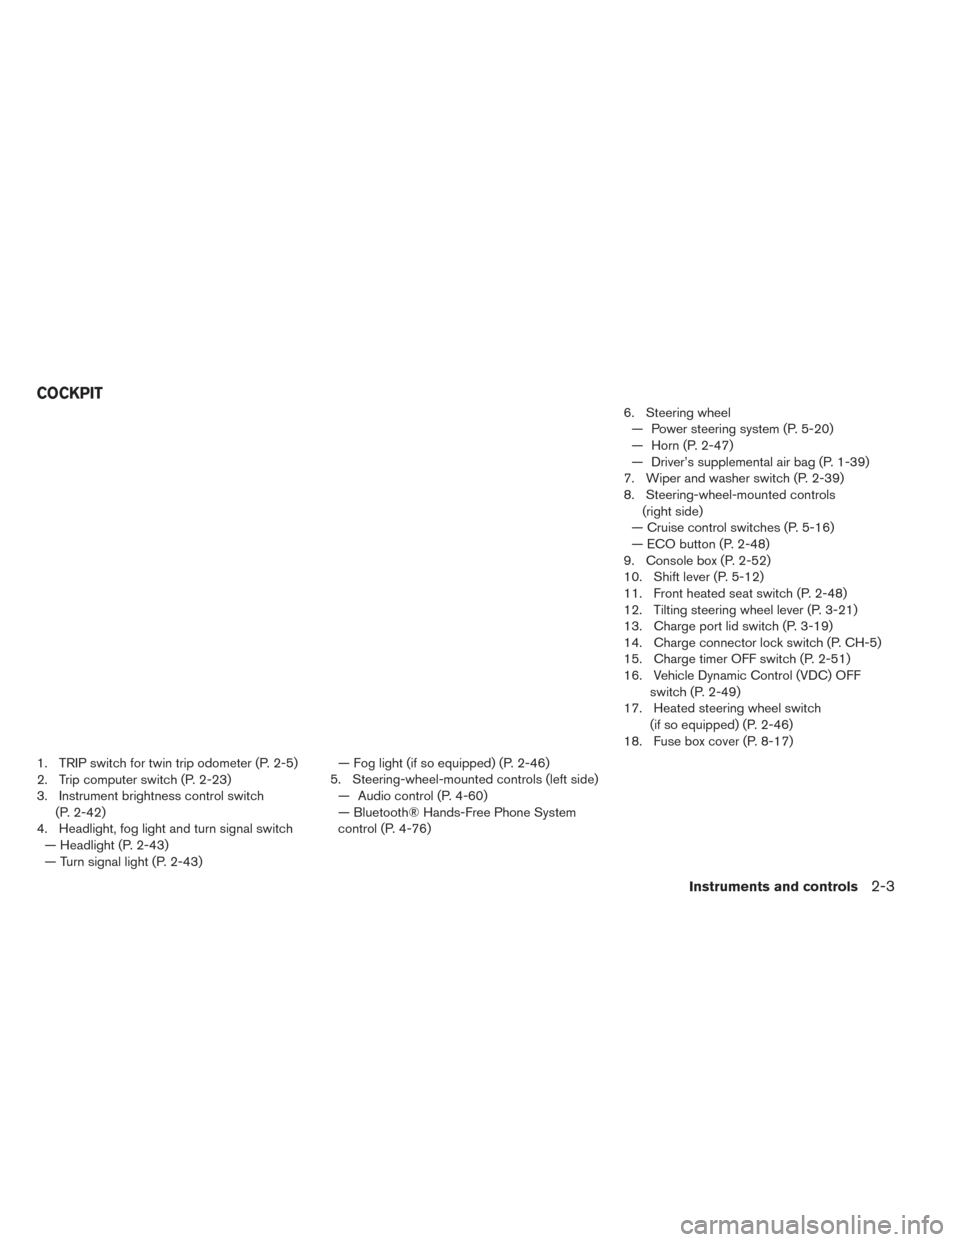
1. TRIP switch for twin trip odometer (P. 2-5)
2. Trip computer switch (P. 2-23)
3. Instrument brightness control switch(P. 2-42)
4. Headlight, fog light and turn signal switch — Headlight (P. 2-43)
— Turn signal light (P. 2-43) — Fog light (if so equipped) (P. 2-46)
5. Steering-wheel-mounted controls (left side) — Audio control (P. 4-60)
— Bluetooth® Hands-Free Phone System
control (P. 4-76) 6. Steering wheel
— Power steering system (P. 5-20)
— Horn (P. 2-47)
— Driver’s supplemental air bag (P. 1-39)
7. Wiper and washer switch (P. 2-39)
8. Steering-wheel-mounted controls (right side)
— Cruise control switches (P. 5-16)
— ECO button (P. 2-48)
9. Console box (P. 2-52)
10. Shift lever (P. 5-12)
11. Front heated seat switch (P. 2-48)
12. Tilting steering wheel lever (P. 3-21)
13. Charge port lid switch (P. 3-19)
14. Charge connector lock switch (P. CH-5)
15. Charge timer OFF switch (P. 2-51)
16. Vehicle Dynamic Control (VDC) OFF switch (P. 2-49)
17. Heated steering wheel switch (if so equipped) (P. 2-46)
18. Fuse box cover (P. 8-17)
COCKPIT
Instruments and controls2-3
Page 151 of 424
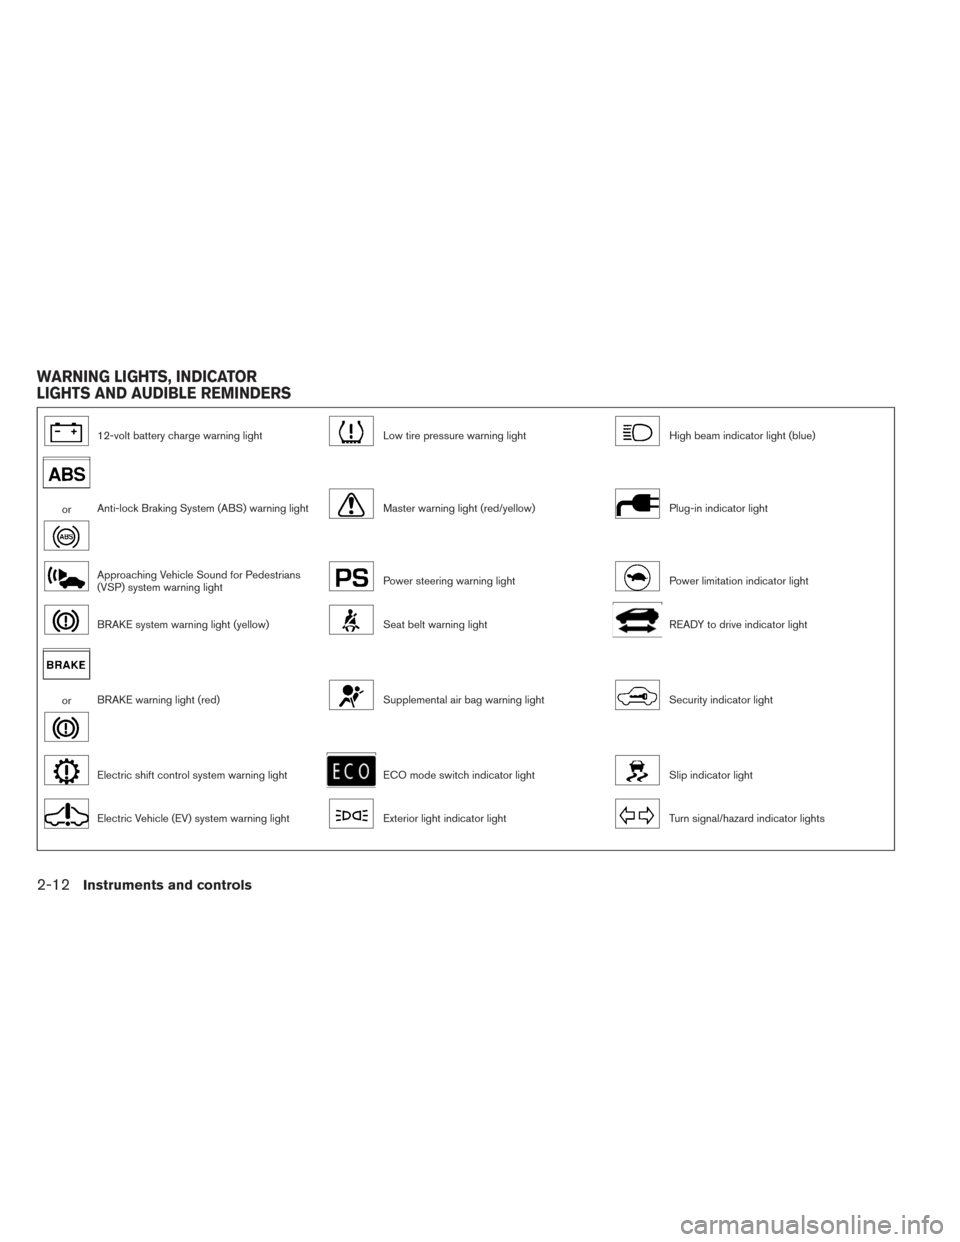
12-volt battery charge warning lightLow tire pressure warning lightHigh beam indicator light (blue)
orAnti-lock Braking System (ABS) warning lightMaster warning light (red/yellow)Plug-in indicator light
Approaching Vehicle Sound for Pedestrians
(VSP) system warning lightPower steering warning lightPower limitation indicator light
BRAKE system warning light (yellow)Seat belt warning lightREADY to drive indicator light
orBRAKE warning light (red)Supplemental air bag warning lightSecurity indicator light
Electric shift control system warning lightECO mode switch indicator lightSlip indicator light
Electric Vehicle (EV) system warning lightExterior light indicator lightTurn signal/hazard indicator lights
WARNING LIGHTS, INDICATOR
LIGHTS AND AUDIBLE REMINDERS
2-12Instruments and controls
Page 157 of 424
• If the light illuminates while driving,avoid sudden steering maneuvers or
abrupt braking, reduce vehicle speed,
pull off the road to a safe location and
stop the vehicle as soon as possible.
Driving with under-inflated tires may
permanently damage the tires and in-
crease the likelihood of tire failure.
Serious vehicle damage could occur
and may lead to an accident and could
result in serious personal injury or
death. Check the tire pressure for all
four tires. Adjust the tire pressure to
the recommended COLD tire pressure
shown on the Tire and Loading Infor-
mation label to turn the low tire pres-
sure warning light OFF. If the light still
illuminates while driving after adjust-
ing the tire pressure, a tire may be flat
or the TPMS may be malfunctioning. If
you have a flat tire, replace it with a
spare tire as soon as possible. If no tire
is flat and all tires are properly inflated,
have the vehicle checked. It is recom-
mended that you visit a NISSAN certi-
fied LEAF dealer for this service. • When replacing a wheel without the
TPMS such as a spare tire, the TPMS
will not function and the low tire pres-
sure warning light will flash for ap-
proximately 1 minute. The light will re-
main on after 1 minute. Have the
system checked. It is recommended
that you visit a NISSAN certified LEAF
dealer as soon as possible for tire re-
placement and/or system resetting.
• Replacing tires with those not origi- nally specified by NISSAN could affect
the proper operation of the TPMS.
CAUTION
• The TPMS is not a substitute for the regular tire pressure check. Be sure to
check the tire pressure regularly.
• If the vehicle is being driven at speeds of less than 16 mph (25 km/h) , the
TPMS may not operate correctly.
• Be sure to install the specified size of tires to the four wheels correctly.
Master warning light
(red/yellow)
There are two types of master warning lights:
yellow and red. These lights illuminate if any
warning lights or indicator lights are illuminated or
if various vehicle information warnings appear in
the vehicle information display.
Yellow master warning light
The yellow master warning light is located on the
upper display.
This light illuminates when a yellow warning light on
the lower display is illuminated or when a message
is displayed on the vehicle information display.
Red master warning light
The red master warning light is located on the
upper display.
This light illuminates when a red warning light on
the lower display is illuminated or when a warning
is displayed on the vehicle information display.
Power steering warning light
When the power switch is in the ON position, the
electric power steering warning light illuminates
and turns off when the power switch is placed in
the READY to drive position. This indicates the
electric power steering system is operational.
2-18Instruments and controls