2017 NISSAN FRONTIER service
[x] Cancel search: servicePage 230 of 478
Static and flutter: During signal interference from
buildings, large hills or due to antenna position
(usually in conjunction with increased distance
from the station transmitter) , static or flutter can
be heard. This can be reduced by adjusting the
treble control to reduce treble response.
Multipath reception: Because of the reflective
characteristics of FM signals, direct and reflected
signals reach the receiver at the same time. The
signals may cancel each other, resulting in mo-
mentary flutter or loss of sound.
AM RADIO RECEPTION
AM signals, because of their low frequency, can
bend around objects and skip along the ground.
In addition, the signals can be bounced off the
ionosphere and bent back to earth. Because of
these characteristics, AM signals are also sub-
ject to interference as they travel from transmitter
to receiver.
Fading: Occurs while the vehicle is passing
through freeway underpasses or in areas with
many tall buildings. It can also occur for several
seconds during ionospheric turbulence even in
areas where no obstacles exist.
Static: Caused by thunderstorms, electrical
power lines, electric signs and even traffic lights.
SATELLITE RADIO RECEPTION (if so
equipped)
When the satellite radio is used for the first time
or the battery has been replaced, the satellite
radio may not work properly. This is not a mal-
function. Wait more than 10 minutes with satellite
radio ON and the vehicle outside of any metal or
large building for satellite radio to receive all of
the necessary data.
No satellite radio reception is available and “NO
SAT” is displayed when the SAT band option is
selected unless optional satellite receiver and
antenna are installed and a SiriusXM® Satellite
Radio service subscription is active. Satellite ra-
dio is not available in Alaska, Hawaii and Guam.
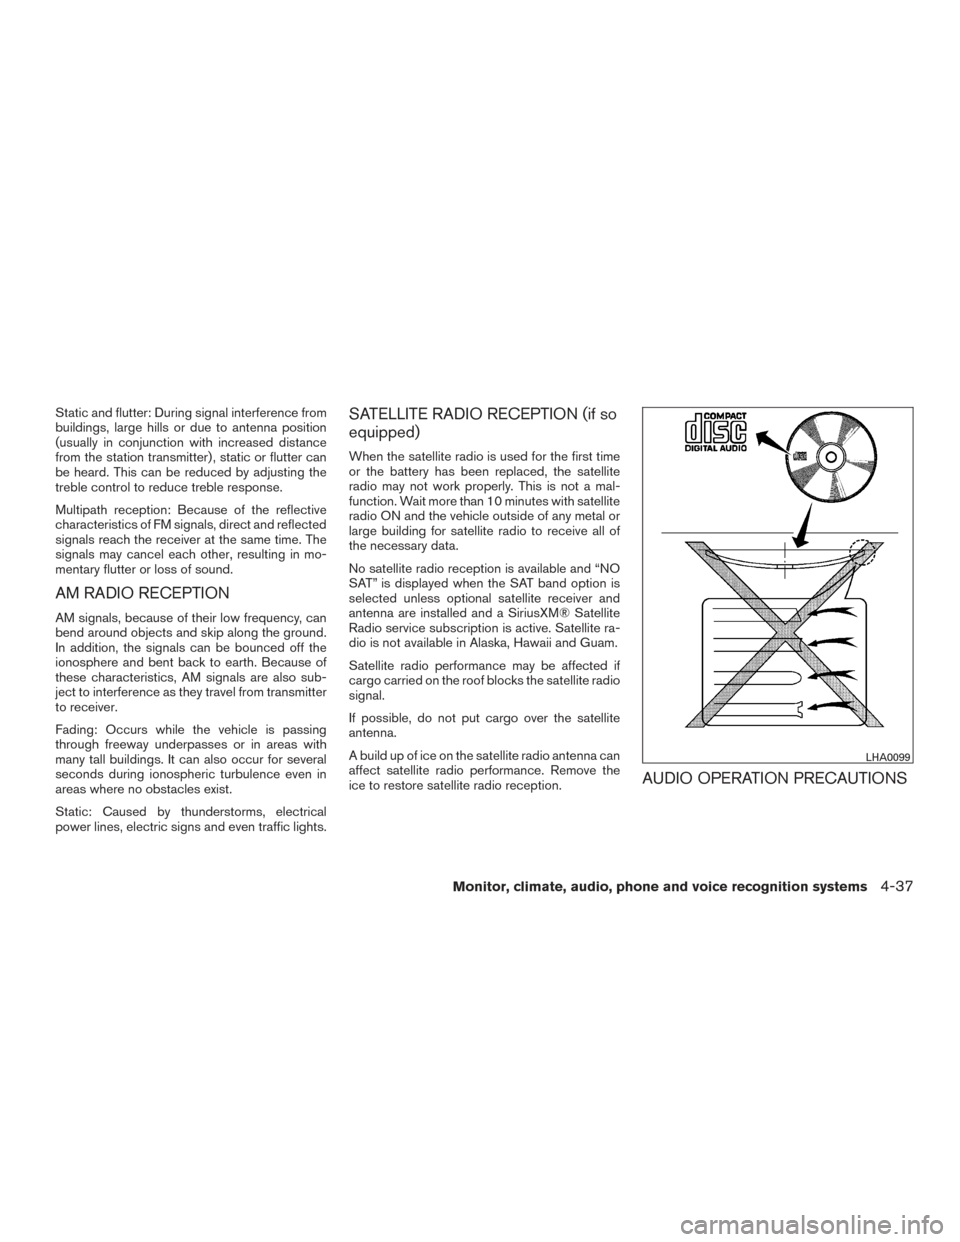
Satellite radio performance may be affected if
cargo carried on the roof blocks the satellite radio
signal.
If possible, do not put cargo over the satellite
antenna.
A build up of ice on the satellite radio antenna can
affect satellite radio performance. Remove the
ice to restore satellite radio reception.
AUDIO OPERATION PRECAUTIONS
LHA0099
Monitor, climate, audio, phone and voice recognition systems4-37
Page 242 of 478
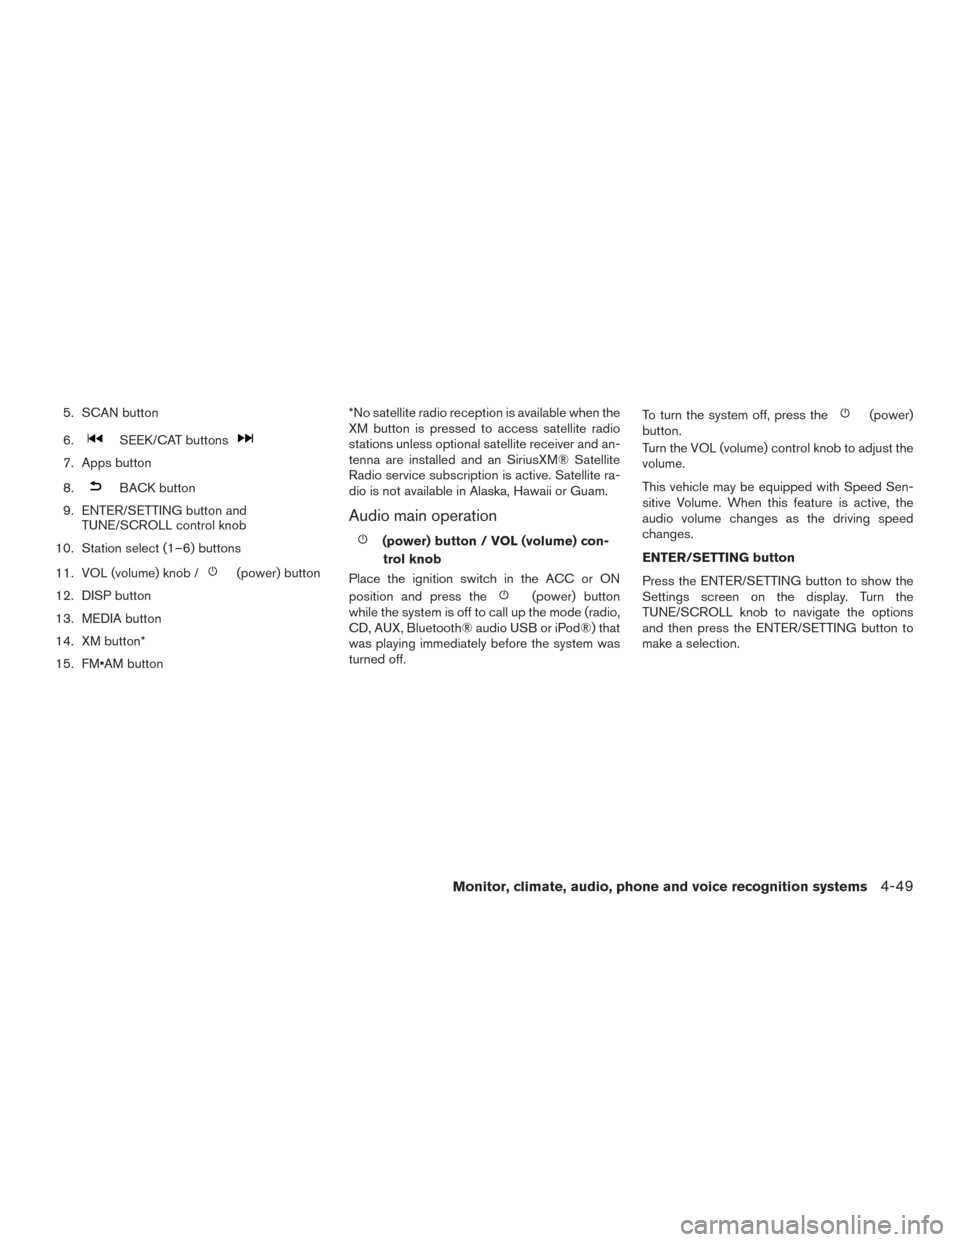
5. SCAN button
6.
SEEK/CAT buttons
7. Apps button
8.
BACK button
9. ENTER/SETTING button and TUNE/SCROLL control knob
10. Station select (1–6) buttons
11. VOL (volume) knob /
(power) button
12. DISP button
13. MEDIA button
14. XM button*
15. FM•AM button *No satellite radio reception is available when the
XM button is pressed to access satellite radio
stations unless optional satellite receiver and an-
tenna are installed and an SiriusXM® Satellite
Radio service subscription is active. Satellite ra-
dio is not available in Alaska, Hawaii or Guam.
Audio main operation
(power) button / VOL (volume) con-
trol knob
Place the ignition switch in the ACC or ON
position and press the
(power) button
while the system is off to call up the mode (radio,
CD, AUX, Bluetooth® audio USB or iPod®) that
was playing immediately before the system was
turned off. To turn the system off, press the
(power)
button.
Turn the VOL (volume) control knob to adjust the
volume.
This vehicle may be equipped with Speed Sen-
sitive Volume. When this feature is active, the
audio volume changes as the driving speed
changes.
ENTER/SETTING button
Press the ENTER/SETTING button to show the
Settings screen on the display. Turn the
TUNE/SCROLL knob to navigate the options
and then press the ENTER/SETTING button to
make a selection.
Monitor, climate, audio, phone and voice recognition systems4-49
Page 244 of 478
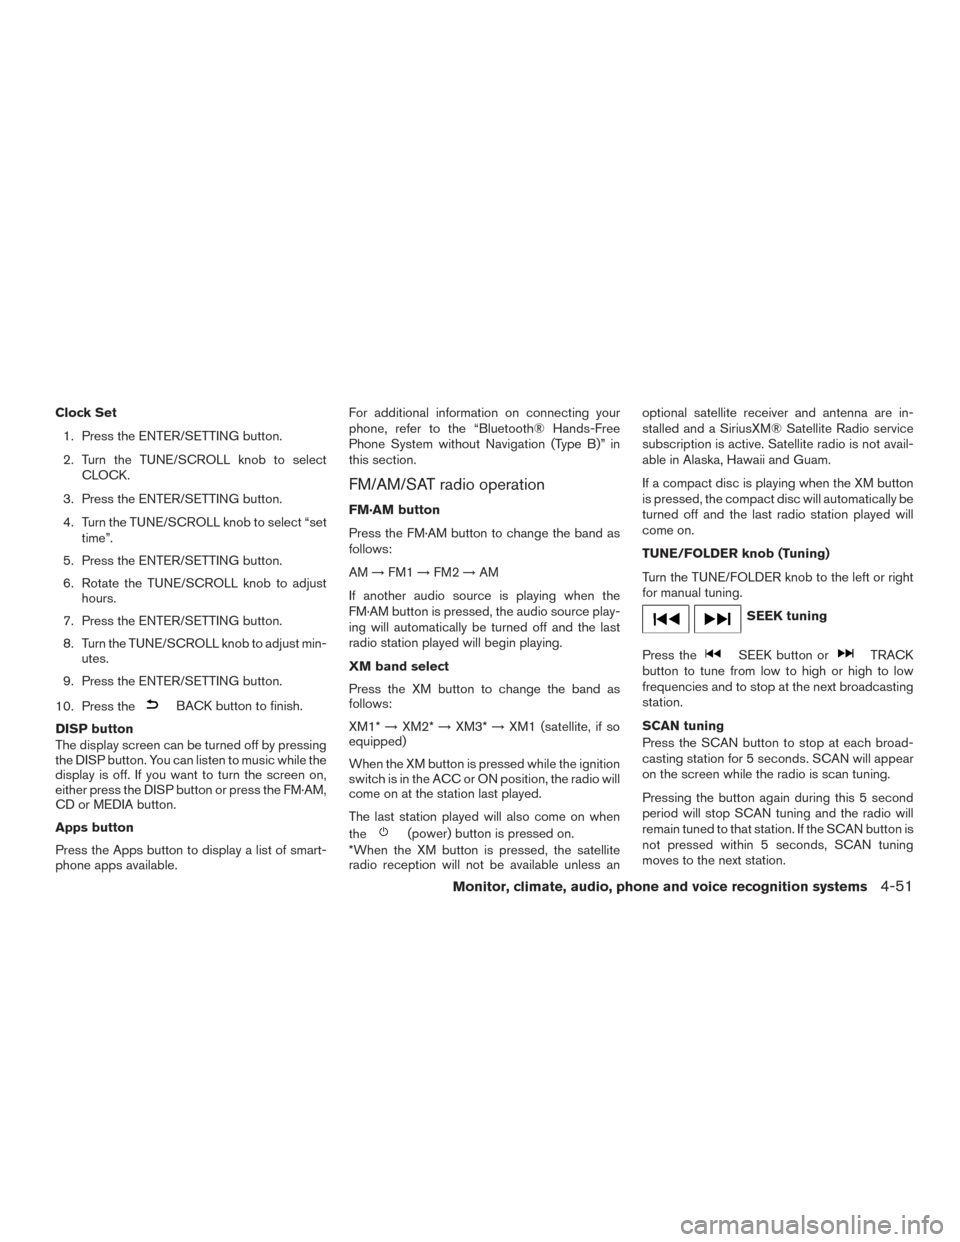
Clock Set1. Press the ENTER/SETTING button.
2. Turn the TUNE/SCROLL knob to select CLOCK.
3. Press the ENTER/SETTING button.
4. Turn the TUNE/SCROLL knob to select “set time”.
5. Press the ENTER/SETTING button.
6. Rotate the TUNE/SCROLL knob to adjust hours.
7. Press the ENTER/SETTING button.
8. Turn the TUNE/SCROLL knob to adjust min- utes.
9. Press the ENTER/SETTING button.
10. Press the
BACK button to finish.
DISP button
The display screen can be turned off by pressing
the DISP button. You can listen to music while the
display is off. If you want to turn the screen on,
either press the DISP button or press the FM·AM,
CD or MEDIA button.
Apps button
Press the Apps button to display a list of smart-
phone apps available. For additional information on connecting your
phone, refer to the “Bluetooth® Hands-Free
Phone System without Navigation (Type B)” in
this section.
FM/AM/SAT radio operation
FM·AM button
Press the FM·AM button to change the band as
follows:
AM
→FM1 →FM2 →AM
If another audio source is playing when the
FM·AM button is pressed, the audio source play-
ing will automatically be turned off and the last
radio station played will begin playing.
XM band select
Press the XM button to change the band as
follows:
XM1* →XM2* →XM3* →XM1 (satellite, if so
equipped)
When the XM button is pressed while the ignition
switch is in the ACC or ON position, the radio will
come on at the station last played.
The last station played will also come on when
the
(power) button is pressed on.
*When the XM button is pressed, the satellite
radio reception will not be available unless an optional satellite receiver and antenna are in-
stalled and a SiriusXM® Satellite Radio service
subscription is active. Satellite radio is not avail-
able in Alaska, Hawaii and Guam.
If a compact disc is playing when the XM button
is pressed, the compact disc will automatically be
turned off and the last radio station played will
come on.
TUNE/FOLDER knob (Tuning)
Turn the TUNE/FOLDER knob to the left or right
for manual tuning.
SEEK tuning
Press the
SEEK button orTRACK
button to tune from low to high or high to low
frequencies and to stop at the next broadcasting
station.
SCAN tuning
Press the SCAN button to stop at each broad-
casting station for 5 seconds. SCAN will appear
on the screen while the radio is scan tuning.
Pressing the button again during this 5 second
period will stop SCAN tuning and the radio will
remain tuned to that station. If the SCAN button is
not pressed within 5 seconds, SCAN tuning
moves to the next station.
Monitor, climate, audio, phone and voice recognition systems4-51
Page 247 of 478
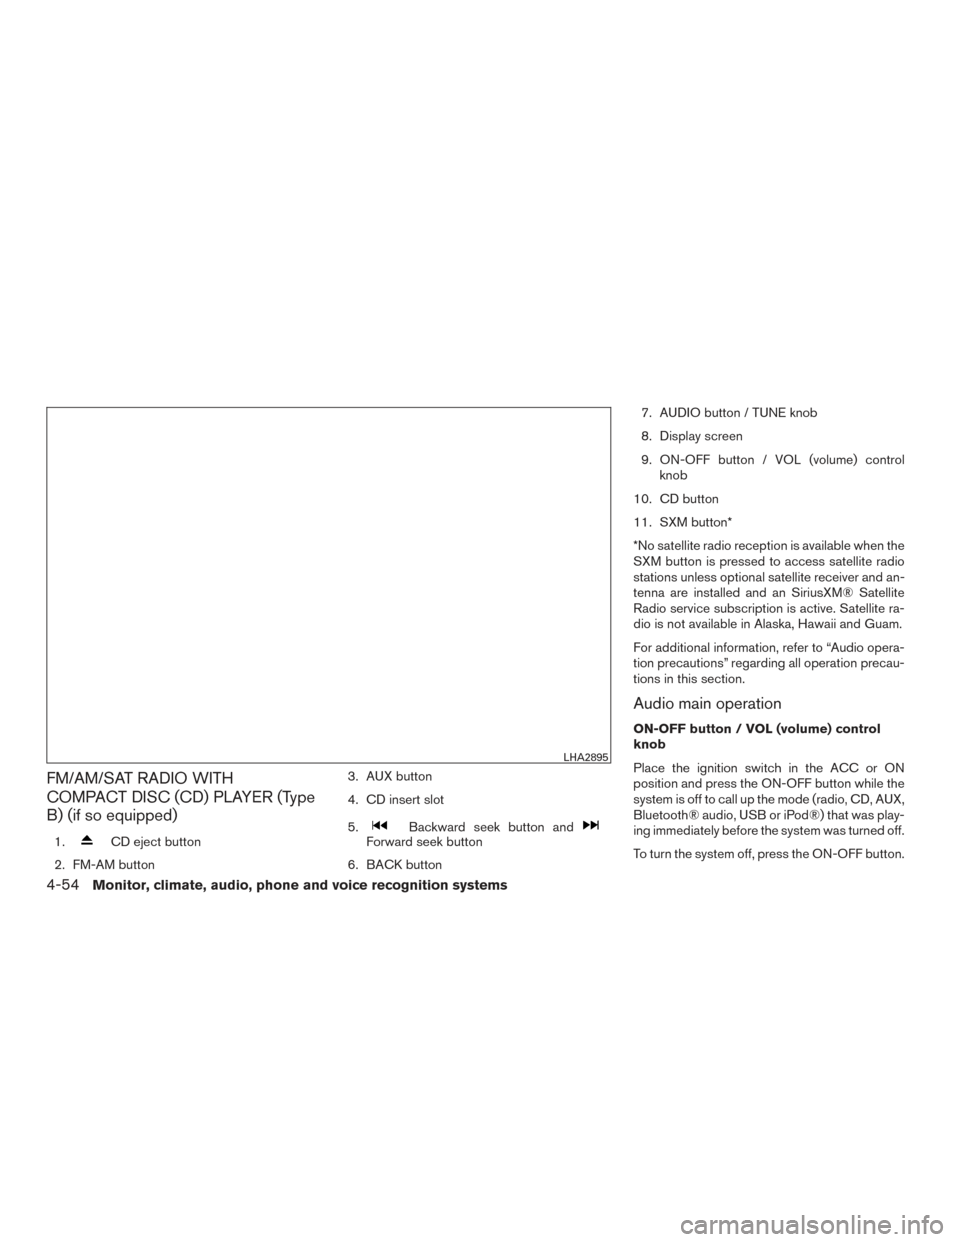
FM/AM/SAT RADIO WITH
COMPACT DISC (CD) PLAYER (Type
B) (if so equipped)
1.CD eject button
2. FM-AM button 3. AUX button
4. CD insert slot
5.Backward seek button andForward seek button
6. BACK button 7. AUDIO button / TUNE knob
8. Display screen
9. ON-OFF button / VOL (volume) control
knob
10. CD button
11. SXM button*
*No satellite radio reception is available when the
SXM button is pressed to access satellite radio
stations unless optional satellite receiver and an-
tenna are installed and an SiriusXM® Satellite
Radio service subscription is active. Satellite ra-
dio is not available in Alaska, Hawaii and Guam.
For additional information, refer to “Audio opera-
tion precautions” regarding all operation precau-
tions in this section.
Audio main operation
ON-OFF button / VOL (volume) control
knob
Place the ignition switch in the ACC or ON
position and press the ON-OFF button while the
system is off to call up the mode (radio, CD, AUX,
Bluetooth® audio, USB or iPod®) that was play-
ing immediately before the system was turned off.
To turn the system off, press the ON-OFF button.
LHA2895
4-54Monitor, climate, audio, phone and voice recognition systems
Page 249 of 478
![NISSAN FRONTIER 2017 D23 / 3.G Owners Manual SXM settings
To view the SXM settings:1. Press the [
] button.
2. Touch the “Settings” key.
3. Touch the “SXM” key.
The signal strength, activation status and other
information are displayed o NISSAN FRONTIER 2017 D23 / 3.G Owners Manual SXM settings
To view the SXM settings:1. Press the [
] button.
2. Touch the “Settings” key.
3. Touch the “SXM” key.
The signal strength, activation status and other
information are displayed o](/manual-img/5/521/w960_521-248.png)
SXM settings
To view the SXM settings:1. Press the [
] button.
2. Touch the “Settings” key.
3. Touch the “SXM” key.
The signal strength, activation status and other
information are displayed on the screen.
FM/AM/SAT radio operation
FM·AM button
Press the FM·AM button to change the band as
follows:
AM →FM1 →FM2 →AM
If another audio source is playing when the
FM·AM button is pressed, the audio source play-
ing will automatically be turned off and the last
radio station played will begin playing.
The FM stereo indicator (STEREO) is shown on the
screen during FM stereo reception. When the ste-
reo broadcast signal is weak, the radio automati-
cally changes from stereo to monaural reception.
SXM band select
Pressing the SXM button will change the band as
follows:
SXM1* →SXM2* →SXM3* →SXM1* (satellite,
if so equipped) When the SXM button is pressed while the igni-
tion switch is in the ACC or ON position, the
radio will come on at the last station played.
The last station played will also come on when
the ON-OFF button is pressed to turn the radio
on.
*When the SXM button is pressed, the satellite
radio mode will be skipped unless an optional
satellite receiver and antenna are installed and a
SiriusXM® Satellite Radio service subscription is
active. Satellite radio is not available in Alaska,
Hawaii and Guam.
If a compact disc is playing when the SXM button
is pressed, the compact disc will automatically be
turned off and the last radio station played will
come on.
While the radio is in SXM mode, the operation
can be controlled through the touch-screen.
Touch the “Channels” key to display a list of
channels. Touch a channel displayed on the list to
change to that channel. Touch the “Categories”
key to display a list of categories. Touch a cat-
egory displayed on the list to display options
within that category.
Tuning with the touch-screen
When in AM or FM mode, the radio can be tuned
using the touch-screen. To bring up the visual
tuner, touch the “Tune” key on the lower rightcorner of the screen. A screen appears with a bar
running from low frequencies on the left to high
frequencies on the right. Touch the screen at the
location of the frequency you wish to tune and the
station will change to that frequency. To return to
the regular radio display screen, touch the “OK”
key.
Tuning with the TUNE knob
The radio can also be manually tuned using the
TUNE knob. When in FM or AM mode, turn the
TUNE knob to the left for lower frequencies or to
the right for higher frequencies. When in SXM
mode, turn the TUNE knob to change the chan-
nel.
SEEK tuning
When in FM or AM mode, press the
orseek buttons to tune from low to high or
high to low frequencies and to stop at the next
broadcasting station.
When in SXM mode, press the
orseek buttons to change the category.
4-56Monitor, climate, audio, phone and voice recognition systems
Page 299 of 478
WARNING
●Do not leave children or adults who
would normally require the assistance
of others alone in your vehicle. Pets
should also not be left alone. They
could accidentally injure themselves or
others through inadvertent operation of
the vehicle. Also, on hot, sunny days,
temperatures in a closed vehicle could
quickly become high enough to cause
severe or possibly fatal injuries to
people or animals.
● Properly secure all cargo with ropes or
straps to help prevent it from sliding or
shifting. Do not place cargo higher than
the seatbacks. In a sudden stop or col-
lision, unsecured cargo could cause
personal injury.
EXHAUST GAS (carbon monoxide)
WARNING
●Do not breathe exhaust gases; they
contain colorless and odorless carbon
monoxide. Carbon monoxide is danger-
ous. It can cause unconsciousness or
death. ●
If you suspect that exhaust fumes are
entering the vehicle, drive with all win-
dows fully open, and have the vehicle
inspected immediately.
● Do not run the engine in closed spaces
such as a garage.
● Do not park the vehicle with the engine
running for any extended length of time.
● Keep the rear vent windows, liftgates,
doors and trunk lids (if so equipped)
closed while driving, otherwise exhaust
gases could be drawn into the passen-
ger compartment. If you must drive with
one of these open, follow these
precautions:
1. Open all the windows.
2. Set the
air recirculation but-
ton to off and the fan control dial to
high to circulate the air.
● If electrical wiring or other cable con-
nections must pass to a trailer through
the seal on the liftgate or the body,
follow the manufacturer’s recommen-
dation to prevent carbon monoxide en-
try into the vehicle. ●
The exhaust system and body should be
inspected by a qualified mechanic
whenever:
a. The vehicle is raised for service.
b. You suspect that exhaust fumes are entering into the passenger
compartment.
c. You notice a change in the sound of the exhaust system.
d. You have had an accident involving damage to the exhaust system, un-
derbody, or rear of the vehicle.
● If a special body, camper, or other
equipment is added for recreational or
other usage, follow the manufacturer’s
recommendation to prevent carbon
monoxide entry into the vehicle. Do not
occupy these areas while the engine is
running even if the vehicle is parked.
Some recreational vehicle appliances
such as stoves, refrigerators, heaters,
etc. may also generate carbon
monoxide.
PRECAUTIONS WHEN STARTING
AND DRIVING
5-2Starting and driving
Page 300 of 478
THREE-WAY CATALYST
The three-way catalyst is an emission control
device installed in the exhaust system. Exhaust
gases in the three-way catalyst are burned at
high temperatures to help reduce pollutants.
WARNING
●The exhaust gas and the exhaust sys-
tem are very hot. Keep people, animals
or flammable materials away from the
exhaust system components.
● Do not stop or park the vehicle over
flammable materials such as dry grass,
waste paper or rags. They may ignite
and cause a fire.
CAUTION
●Do not use leaded gasoline. Deposits
from leaded gasoline will seriously re-
duce the three-way catalyst’s ability to
help reduce exhaust pollutants. ●
Keep your engine tuned up. Malfunc-
tions in the ignition, fuel injection, or
electrical systems can cause overrich
fuel flow into the three-way catalyst,
causing it to overheat. Do not keep driv-
ing if the engine misfires, or if notice-
able loss of performance or other un-
usual operating conditions are
detected. Have the vehicle inspected
promptly. It is recommended that you
visit a NISSAN dealer for this service.
● Avoid driving with an extremely low fuel
level. Running out of fuel could cause
the engine to misfire, damaging the
three-way catalyst.
● Do not race the engine while warming it
up.
● Do not push or tow your vehicle to start
the engine.
TIRE PRESSURE MONITORING
SYSTEM (TPMS)
Each tire, including the spare (if provided) ,
should be checked monthly when cold and in-
flated to the inflation pressure recommended by
the vehicle manufacturer on the vehicle placard
or tire inflation pressure label. (If your vehicle has
tires of a different size than the size indicated on
the vehicle placard or tire inflation pressure label, you should determine the proper tire inflation
pressure for those tires.)
As an added safety feature, your vehicle has been
equipped with a Tire Pressure Monitoring System
(TPMS) that illuminates a low tire pressure telltale
when one or more of your tires is significantly
under-inflated. Accordingly, when the low tire
pressure telltale illuminates, you should stop and
check your tires as soon as possible, and inflate
them to the proper pressure. Driving on a signifi-
cantly under-inflated tire causes the tire to over-
heat and can lead to tire failure. Under-inflation
also reduces fuel efficiency and tire tread life, and
may affect the vehicle’s handling and stopping
ability.
Please note that the TPMS is not a substitute for
proper tire maintenance, and it is the driver’s
responsibility to maintain correct tire pressure,
even if under-inflation has not reached the level to
trigger illumination of the TPMS low tire pressure
telltale.
Your vehicle has also been equipped with a
TPMS malfunction indicator to indicate when the
system is not operating properly. The TPMS mal-
function indicator is combined with the low tire
pressure telltale. When the system detects a
malfunction, the telltale will flash for approxi-
mately 1 minute and then remain continuously
illuminated. This sequence will continue upon
Starting and driving5-3
Page 302 of 478
WARNING
●Radio waves could adversely affect
electric medical equipment. Those who
use a pacemaker should contact the
electric medical equipment manufac-
turer for the possible influences before
use.
● If the low tire pressure warning light
illuminates while driving, avoid sudden
steering maneuvers or abrupt braking,
reduce vehicle speed, pull off the road
to a safe location and stop the vehicle
as soon as possible. Driving with under-
inflated tires may permanently damage
the tires and increase the likelihood of
tire failure. Serious vehicle damage
could occur and may lead to an accident
and could result in serious personal in-
jury. Check the tire pressure for all four
tires. Adjust the tire pressure to the
recommended COLD tire pressure
shown on the Tire and Loading Informa-
tion label to turn the low tire pressure
warning light OFF. If you have a flat tire,
replace it with a spare tire as soon as
possible. For additional information, re-
fer to “Flat tire” in the “In case of emer-
gency” section of this manual for
changing a flat tire. ●
Since the spare tire is not equipped with
the TPMS, when a spare tire is mounted
or a wheel is replaced, the TPMS will
not function and the low tire pressure
warning light will flash for approxi-
mately 1 minute. The light will remain
on after 1 minute. Have your tires re-
placed and/or TPMS system reset as
soon as possible. It is recommended
that you visit a NISSAN dealer for this
service.
● Replacing tires with those not originally
specified by NISSAN could affect the
proper operation of the TPMS.
● Do not inject any tire liquid or aerosol
tire sealant into the tires, as this may
cause a malfunction of the tire pressure
sensors.
CAUTION
Do not place metalized film or any metal
parts (antenna, etc.) on the windows. This
may cause poor reception of the signals
from the tire pressure sensors, and the
TPMS will not function properly.
Some devices and transmitters may temporarily
interfere with the operation of the TPMS and cause
the low tire pressure warning light to illuminate.
Some examples are:
● Facilities or electric devices using similar
radio frequencies are near the vehicle.
● If a transmitter set to similar frequencies is
being used in or near the vehicle.
● If a computer (or similar equipment) or a
DC/AC converter is being used in or near
the vehicle.
Low tire pressure warning light may illuminate in
the following cases: ● If the vehicle equipped with a wheel and tire
without TPMS.
● If the TPMS has been replaced and the ID
has not been registered.
● If the wheel is not originally specified by
NISSAN.
FCC Notice:
For USA:
This device complies with Part 15 of the
FCC Rules. Operation is subject to the fol-
lowing two conditions: (1) This device may
not cause harmful interference, and (2) this
device must accept any interference re-
ceived, including interference that may
cause undesired operation.
Starting and driving5-5