Page 344 of 478

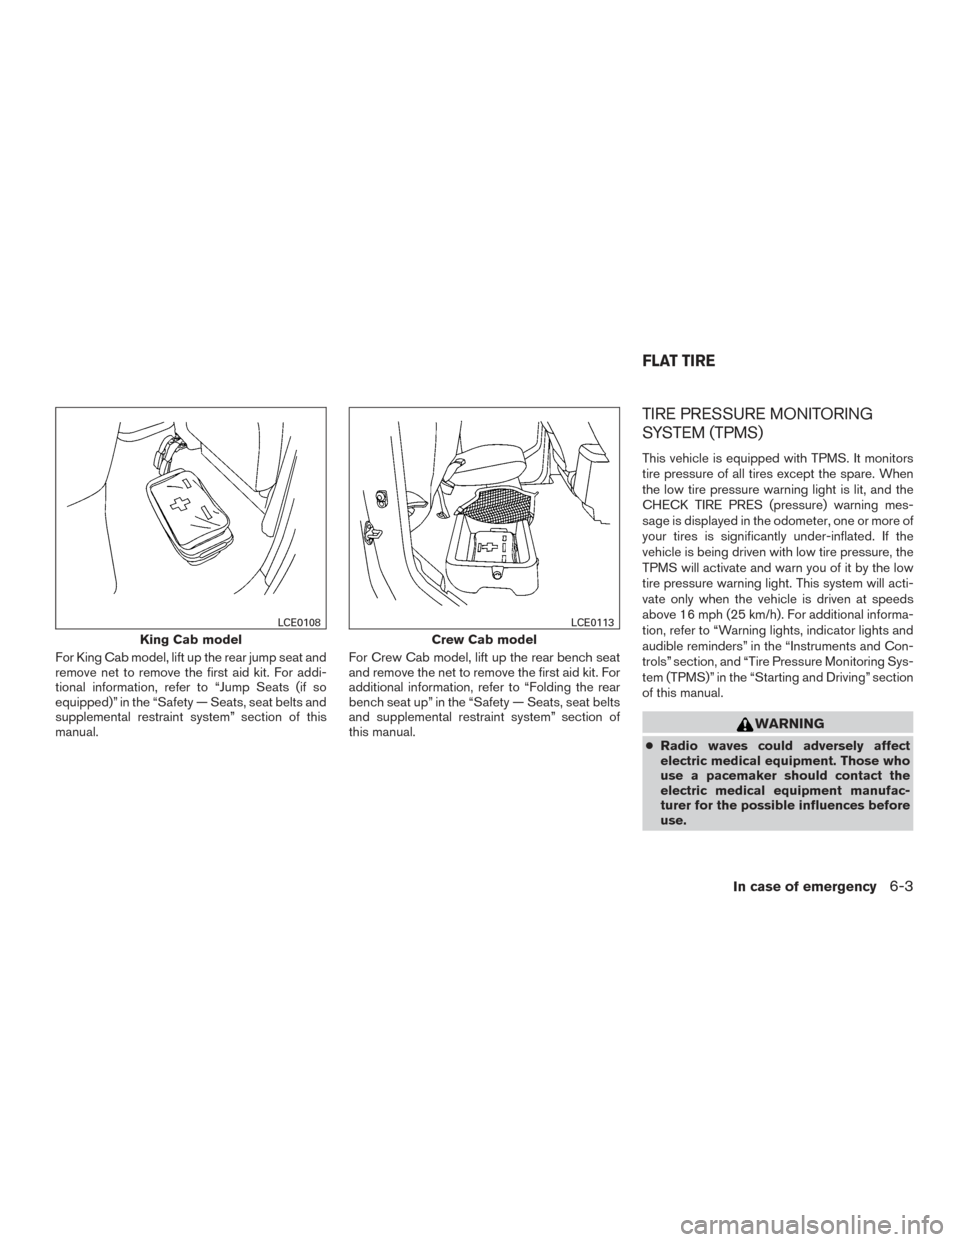
For King Cab model, lift up the rear jump seat and
remove net to remove the first aid kit. For addi-
tional information, refer to “Jump Seats (if so
equipped)” in the “Safety — Seats, seat belts and
supplemental restraint system” section of this
manual.For Crew Cab model, lift up the rear bench seat
and remove the net to remove the first aid kit. For
additional information, refer to “Folding the rear
bench seat up” in the “Safety — Seats, seat belts
and supplemental restraint system” section of
this manual.
TIRE PRESSURE MONITORING
SYSTEM (TPMS)
This vehicle is equipped with TPMS. It monitors
tire pressure of all tires except the spare. When
the low tire pressure warning light is lit, and the
CHECK TIRE PRES (pressure) warning mes-
sage is displayed in the odometer, one or more of
your tires is significantly under-inflated. If the
vehicle is being driven with low tire pressure, the
TPMS will activate and warn you of it by the low
tire pressure warning light. This system will acti-
vate only when the vehicle is driven at speeds
above 16 mph (25 km/h). For additional informa-
tion, refer to “Warning lights, indicator lights and
audible reminders” in the “Instruments and Con-
trols” section, and “Tire Pressure Monitoring Sys-
tem (TPMS)” in the “Starting and Driving” section
of this manual.
WARNING
●
Radio waves could adversely affect
electric medical equipment. Those who
use a pacemaker should contact the
electric medical equipment manufac-
turer for the possible influences before
use.
King Cab model
LCE0108
Crew Cab model
LCE0113
FLAT TIRE
In case of emergency6-3
Page 346 of 478
A. Blocks
B. Flat tire
Blocking wheels
Place suitable blocks at both the front and back
of the wheel diagonally opposite the flat tire to
prevent the vehicle from moving when it is jacked
up.
WARNING
Be sure to block the wheel as the vehicle
may move and result in personal injury.
Getting the spare tire and tools (King
Cab models)
The tool storage compartment is located be-
tween the two rear jump seats.1. Turn the knob from the lock to the unlock position and remove the lid from the tool
storage compartment.
2. Release the strap to remove the tool bag. 3. Collapse the jack to remove it from the stor-
age location by inserting the wheel-nut
wrench into the jack screw at the top of the
jack as shown. Turn the wheel-nut wrench
counterclockwise as shown until the jack
screw becomes loose. Then loosen the jack
with your fingers to free.
4. Remove the jack.
5. To reinstall the jack and tools, reverse steps 1 to 4.
LCE2142LCE0109LCE0110
In case of emergency6-5
Page 347 of 478
Getting the spare tire and tools (Crew
Cab models)
The tools and tool bag are located behind the
rear bench seat.1. Remove the head restraints/headrests and fold the rear bench seat down. For additional
information, refer to “Folding the rear bench
seat down ” in the “Safety–Seats, seat belts
and supplemental restraint system” section
of this manual.
2. Remove the tool bag and locate the wheel- nut wrench. 3. Collapse the jack to remove it from the stor-
age location by inserting the wheel-nut
wrench into the jack screw as shown and
turning the wheel-nut wrench towards you
until the jack becomes loose. Then loosen
the jack screw with your fingers until it is
free.
4. Remove the jack from behind the seat.
5. To reinstall the jack and tools, reverse steps 1 to 4.
LCE2164LCE2159LCE2165
6-6In case of emergency
Page 363 of 478

Occasionally remove loose dust from the interior
trim, plastic parts and seats using a vacuum
cleaner or soft bristled brush. Wipe the vinyl and
leather surfaces with a clean, soft cloth damp-
ened in mild soap solution, then wipe clean with a
dry, soft cloth.
Regular care and cleaning is required in order to
maintain the appearance of the leather.
Before using any fabric protector, read the manu-
facturer’s recommendations. Some fabric pro-
tectors contain chemicals that may stain or
bleach the seat material.
Use a cloth dampened only with water to clean
the meter and gauge lens.
WARNING
Do not use water or acidic cleaners (hot
steam cleaners) on the seat. This can dam-
age the seat or occupant classification
sensor (pressure sensor) . This can also
affect the operation of the air bag system
and result in serious personal injury.
CAUTION
●Never use benzine, thinner or any simi-
lar material.
● Small dirt particles can be abrasive and
damaging to leather surfaces and
should be removed promptly. Do not
use saddle soap, car waxes, polishes,
oils, cleaning fluids, solvents, deter-
gents or ammonia-based cleaners as
they may damage the leather’s natural
finish.
● Never use fabric protectors unless rec-
ommended by the manufacturer.
● Do not use glass or plastic cleaner on
meter or gauge lens covers. It may dam-
age the lens cover.
AIR FRESHENERS
Most air fresheners use a solvent that could affect
the vehicle interior. If you use an air freshener,
take the following precautions:
● Hanging-type air fresheners can cause per-
manent discoloration when they contact ve-
hicle interior surfaces. Place the air fresh-
ener in a location that allows it to hang free
and not contact an interior surface. ●
Liquid-type air fresheners typically clip on
the vents. These products can cause imme-
diate damage and discoloration when
spilled on interior surfaces.
Carefully read and follow the manufacturer’s in-
structions before using the air fresheners.
CLEANING INTERIOR
7-4Appearance and care
Page 365 of 478

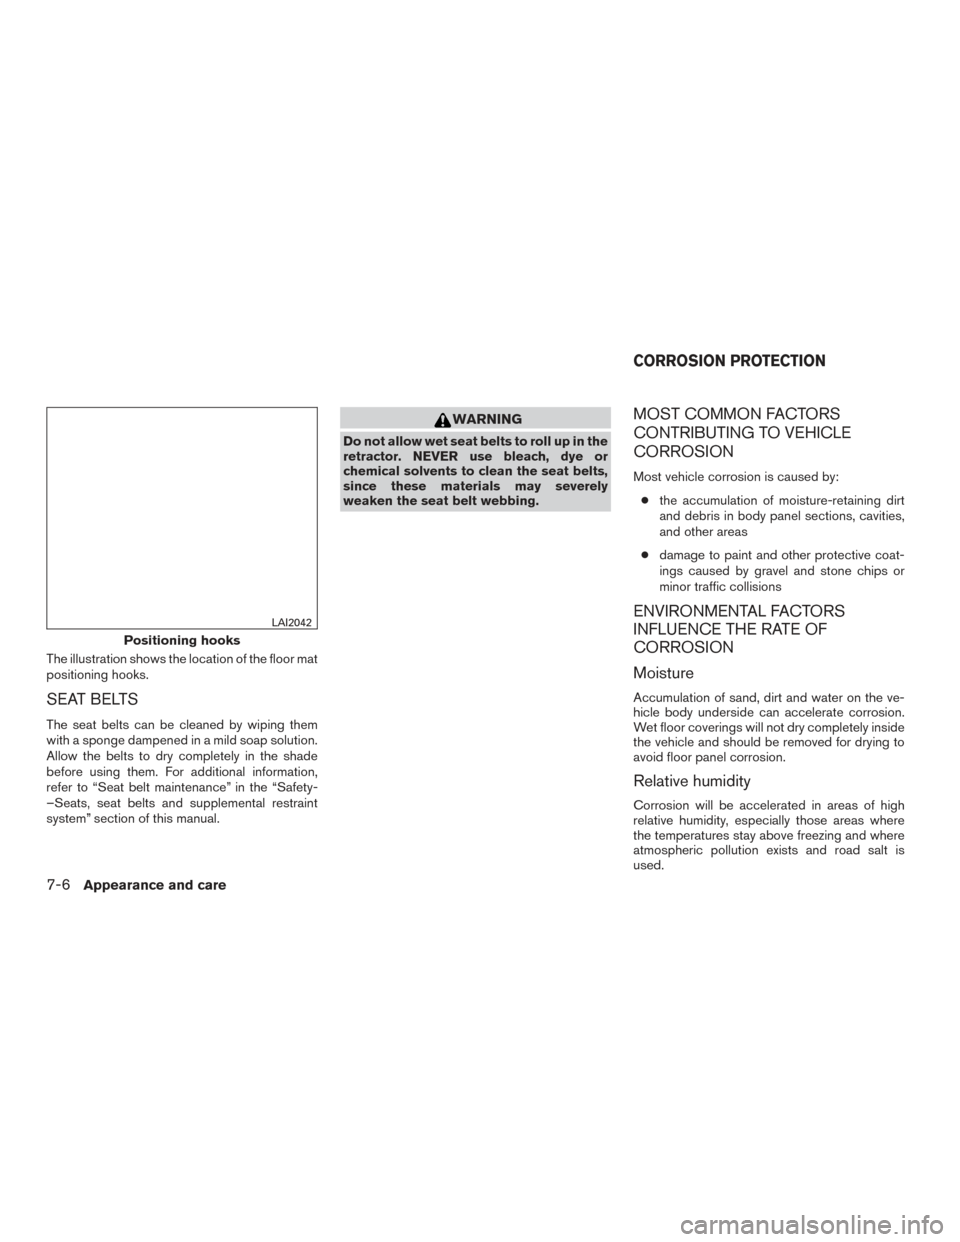
The illustration shows the location of the floor mat
positioning hooks.
SEAT BELTS
The seat belts can be cleaned by wiping them
with a sponge dampened in a mild soap solution.
Allow the belts to dry completely in the shade
before using them. For additional information,
refer to “Seat belt maintenance” in the “Safety-
–Seats, seat belts and supplemental restraint
system” section of this manual.
WARNING
Do not allow wet seat belts to roll up in the
retractor. NEVER use bleach, dye or
chemical solvents to clean the seat belts,
since these materials may severely
weaken the seat belt webbing.
MOST COMMON FACTORS
CONTRIBUTING TO VEHICLE
CORROSION
Most vehicle corrosion is caused by:● the accumulation of moisture-retaining dirt
and debris in body panel sections, cavities,
and other areas
● damage to paint and other protective coat-
ings caused by gravel and stone chips or
minor traffic collisions
ENVIRONMENTAL FACTORS
INFLUENCE THE RATE OF
CORROSION
Moisture
Accumulation of sand, dirt and water on the ve-
hicle body underside can accelerate corrosion.
Wet floor coverings will not dry completely inside
the vehicle and should be removed for drying to
avoid floor panel corrosion.
Relative humidity
Corrosion will be accelerated in areas of high
relative humidity, especially those areas where
the temperatures stay above freezing and where
atmospheric pollution exists and road salt is
used.
Positioning hooks
LAI2042
CORROSION PROTECTION
7-6Appearance and care