2017 NISSAN ALTIMA SEDAN ECO mode
[x] Cancel search: ECO modePage 95 of 497
●MIL blinking — An engine misfire has been
detected which may damage the emission
control system. To reduce or avoid emission
control system damage:
– do not drive at speeds above 45 mph (72 km/h).
– avoid hard acceleration or deceleration.
– avoid steep uphill grades.
– if possible, reduce the amount of cargo being hauled or towed.
The MIL may stop blinking and come on steady.
Have the vehicle inspected by a NISSAN dealer.
You do not need to have your vehicle towed to the
dealer.
CAUTION
Continued vehicle operation without hav-
ing the emission control system checked
and repaired as necessary could lead to
poor driveability, reduced fuel economy,
and possible damage to the emission con-
trol system.
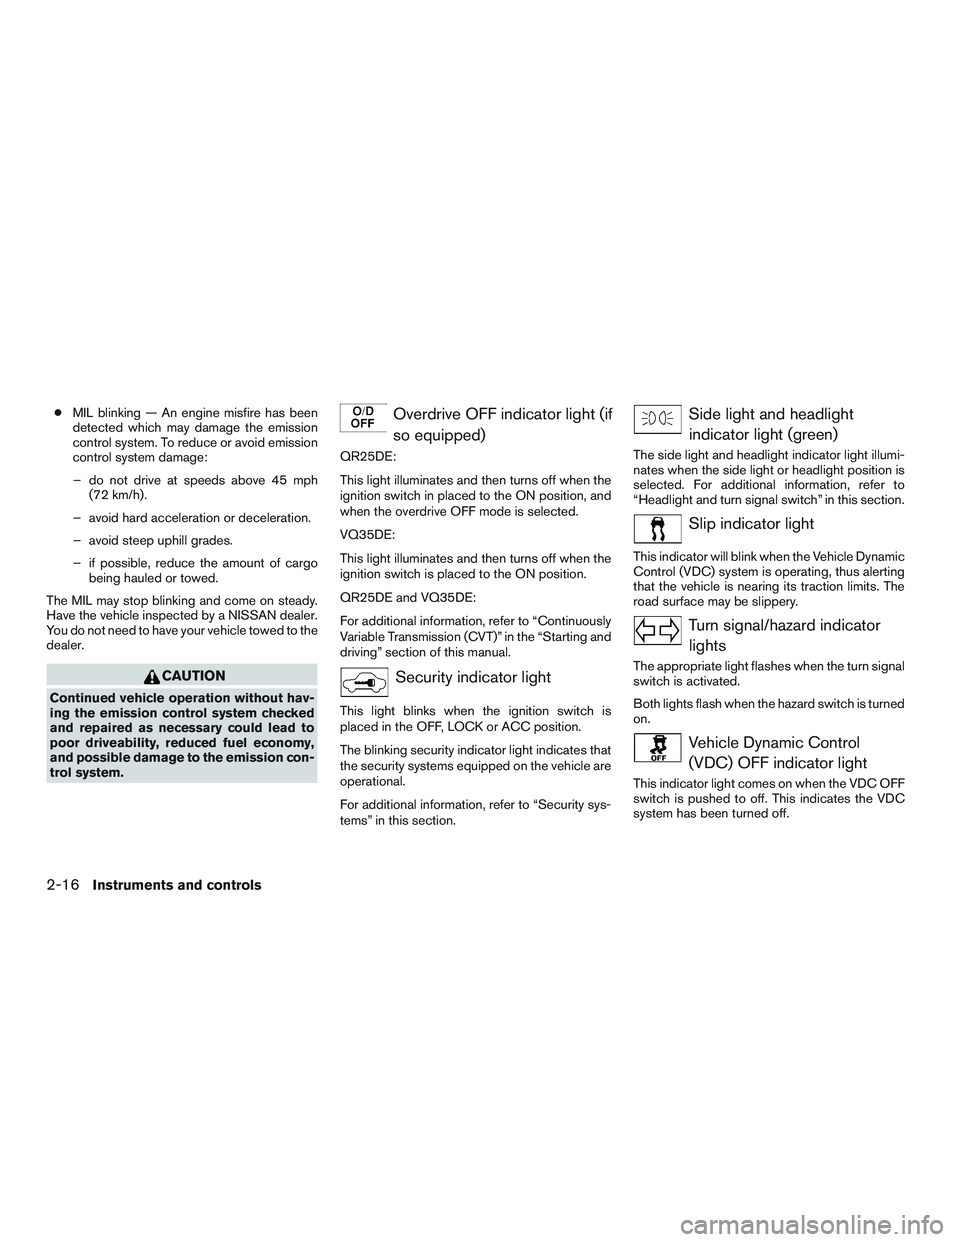
Overdrive OFF indicator light (if so equipped)
QR25DE:
This light illuminates and then turns off when the
ignition switch in placed to the ON position, and
when the overdrive OFF mode is selected.
VQ35DE:
This light illuminates and then turns off when the
ignition switch is placed to the ON position.
QR25DE and VQ35DE:
For additional information, refer to “Continuously
Variable Transmission (CVT)” in the “Starting and
driving” section of this manual.
Security indicator light
This light blinks when the ignition switch is
placed in the OFF, LOCK or ACC position.
The blinking security indicator light indicates that
the security systems equipped on the vehicle are
operational.
For additional information, refer to “Security sys-
tems” in this section.
Side light and headlightindicator light (green)
The side light and headlight indicator light illumi-
nates when the side light or headlight position is
selected. For additional information, refer to
“Headlight and turn signal switch” in this section.
Slip indicator light
This indicator will blink when the Vehicle Dynamic
Control (VDC) system is operating, thus alerting
that the vehicle is nearing its traction limits. The
road surface may be slippery.
Turn signal/hazard indicatorlights
The appropriate light flashes when the turn signal
switch is activated.
Both lights flash when the hazard switch is turned
on.
Vehicle Dynamic Control(VDC) OFF indicator light
This indicator light comes on when the VDC OFF
switch is pushed to off. This indicates the VDC
system has been turned off.
2-16Instruments and controls
Page 98 of 497
Warnings will only display if there are any pres-
ent. For additional information, refer to “Vehicle
information display warnings and indicators” in
this section.
To control what items display in the vehicle infor-
mation display, refer to “How to use the vehicle
information display” in this section.
RESETTING THE TRIP COMPUTER
1. Press thebutton until you reach the
trip computer mode.
2. Press the
button again for more than
1.5 seconds to reset average fuel consump-
tion, average speed, distance to empty, and
journey time.
SETTINGS
The setting mode allows you to change the infor-
mation displayed in the vehicle information dis-
play:
● Driver Assistance (if so equipped)
● Vehicle Settings
● Main Menu Selection
● Body Color
● Maintenance
● Alarms ●
Language
● Unit
● Welcome Effects
● Factory Reset
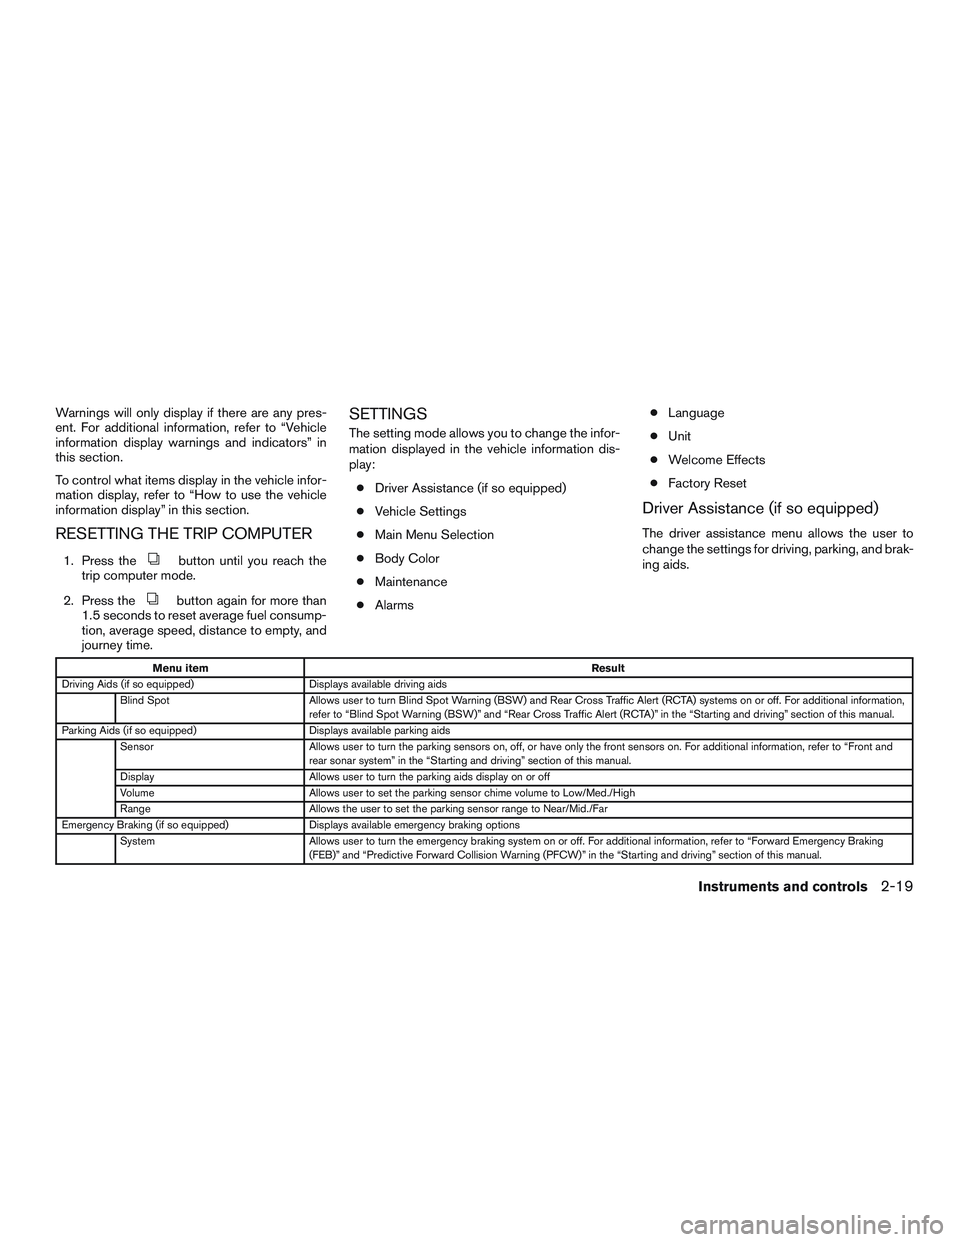
Driver Assistance (if so equipped)
The driver assistance menu allows the user to
change the settings for driving, parking, and brak-
ing aids.
Menu item Result
Driving Aids (if so equipped) Displays available driving aids
Blind Spot Allows user to turn Blind Spot Warning (BSW) and Rear Cross Traffic Alert (RCTA) systems on or off. For additional information,
refer to “Blind Spot Warning (BSW)” and “Rear Cross Traffic Alert (RCTA)” in the “Starting and driving” section of this manual.
Parking Aids (if so equipped) Displays available parking aids
Sensor Allows user to turn the parking sensors on, off, or have only the front sensors on. For additional information, refer to “Front and
rear sonar system” in the “Starting and driving” section of this manual.
Display Allows user to turn the parking aids display on or off
Volume Allows user to set the parking sensor chime volume to Low/Med./High
Range Allows the user to set the parking sensor range to Near/Mid./Far
Emergency Braking (if so equipped) Displays available emergency braking options
System Allows user to turn the emergency braking system on or off. For additional information, refer to “Forward Emergency Braking
(FEB)” and “Predictive Forward Collision Warning (PFCW)” in the “Starting and driving” section of this manual.
Instruments and controls2-19
Page 105 of 497
12. Loose Fuel Cap
13. Low Oil Pressure: See Owner’s Manual
14. Low Washer Fluid
15. Tire Pressure Low - Add Air
16. TPMS Error: See Owner’s Manual
17. Door Open
18. Trunk Open
19. Timer Alert – Have a break?
20. Low Outside Temperature
21. Power will turn off to save the battery
22. Power turned off to save the battery
23. Reminder: Turn OFF headights
24. Headlight System Error: See Owner’sManual (if so equipped)
25. Parking Sensor Error: See Owner’s Manual (if so equipped)
26. Blind Spot Warning (BSW) and Rear Cross Traffic Alert (RCTA) indicator (if so
equipped)
27. Malfunction: See Owner’s Manual (if so equipped)
28. Side Radar Obstruction (if so equipped) 29. Unavailable: Front Radar Obstruction (if so
equipped)
30. Cruise control indicator (if so equipped)
31. Intelligent Cruise Control (ICC) indicator (if so equipped)
32. Shipping Mode On Push Storage Fuse
33. Transmission Shift Position indicator
34. CVT Error: See Owner’s Manual
No Key Detected
This warning appears when the Intelligent Key is
left outside the vehicle with the ignition switch in
the ON position. Make sure the Intelligent Key is
inside the vehicle.
For additional information, refer to “NISSAN In-
telligent Key®” in the “Pre-driving checks and
adjustments” section of this manual.
Key ID Incorrect
This warning appears when the ignition switch is
placed from the OFF position and the Intelligent
Key is not recognized by the system. You cannot
start the engine with an unregistered key.
For additional information, refer to “NISSAN In-
telligent Key®” in the “Pre-driving checks and
adjustments” section of this manual. Key Battery Low
This indicator illuminates when the Intelligent Key
battery is running out of power.
If this indicator illuminates, replace the battery
with a new one. For additional information, refer
to “Battery replacement” in the “Do-it-yourself”
section of this manual.
I-Key System Error: See Owner’s Manual
After the ignition switch is pushed to the ON
position, this light comes on for a period of time
and then turns off.
The I-Key System Error message warns of a
malfunction with the Intelligent Key system. If the
light comes on while the engine is stopped, it may
be impossible to start the engine.
If the light comes on while the engine is running,
you can drive the vehicle. However in these
cases, have the system checked. It is recom-
mended that you visit a NISSAN dealer for this
service.
Key Registration Complete
This appears when a new Intelligent Key is regis-
tered to the vehicle.
2-26Instruments and controls
Page 108 of 497
Side Radar Obstruction (if so equipped)
This warning appears when there is radar block-
age detected. For additional information, refer to
“Blind Spot Warning (BSW)” in the “Starting and
driving” section of this manual.
Unavailable: Front Radar Obstruction (if
so equipped)
This message appears when the Intelligent
Cruise Control (ICC) system become unavailable
because the front radar is obstructed. For addi-
tional information, refer to “Intelligent Cruise
Control (ICC)” in the “Starting and driving” sec-
tion of this manual.
Cruise control indicator (if so equipped)
This indicator shows the cruise control system
status.
When cruise control is activated, a green circle
will illuminate to indicate it is set. The vehicle
information display will also display the speed the
cruise control was set at. If you accelerate past
the set speed, the speed will blink until you either
cancel cruise control or go back to the set speed.
If cruise control is on and canceled, the speed will
be displayed to show the speed the vehicle will
return to if the resume button is activated.Intelligent Cruise Control (ICC) indicator
(if so equipped)
This indicator shows the Intelligent Cruise Con-
trol (ICC) system status. The status is shown by
the color. For additional information, refer to “In-
telligent Cruise Control (ICC)” in the “Starting
and driving” section of this manual.
Shipping Mode On Push Storage Fuse
This warning may appear if the extended storage
switch is not pushed in. When this warning ap-
pears, push in the extended storage switch to
turn off the warning. For additional information,
refer to “Extended storage switch” in this section.
Transmission Shift Position indicator
This indicator shows the transmission shift posi-
tion.
CVT Error: See Owner’s Manual
This warning illuminates when there is a problem
with the CVT system. If this warning comes on,
have the system checked. It is recommended that
you visit a NISSAN dealer for this service.
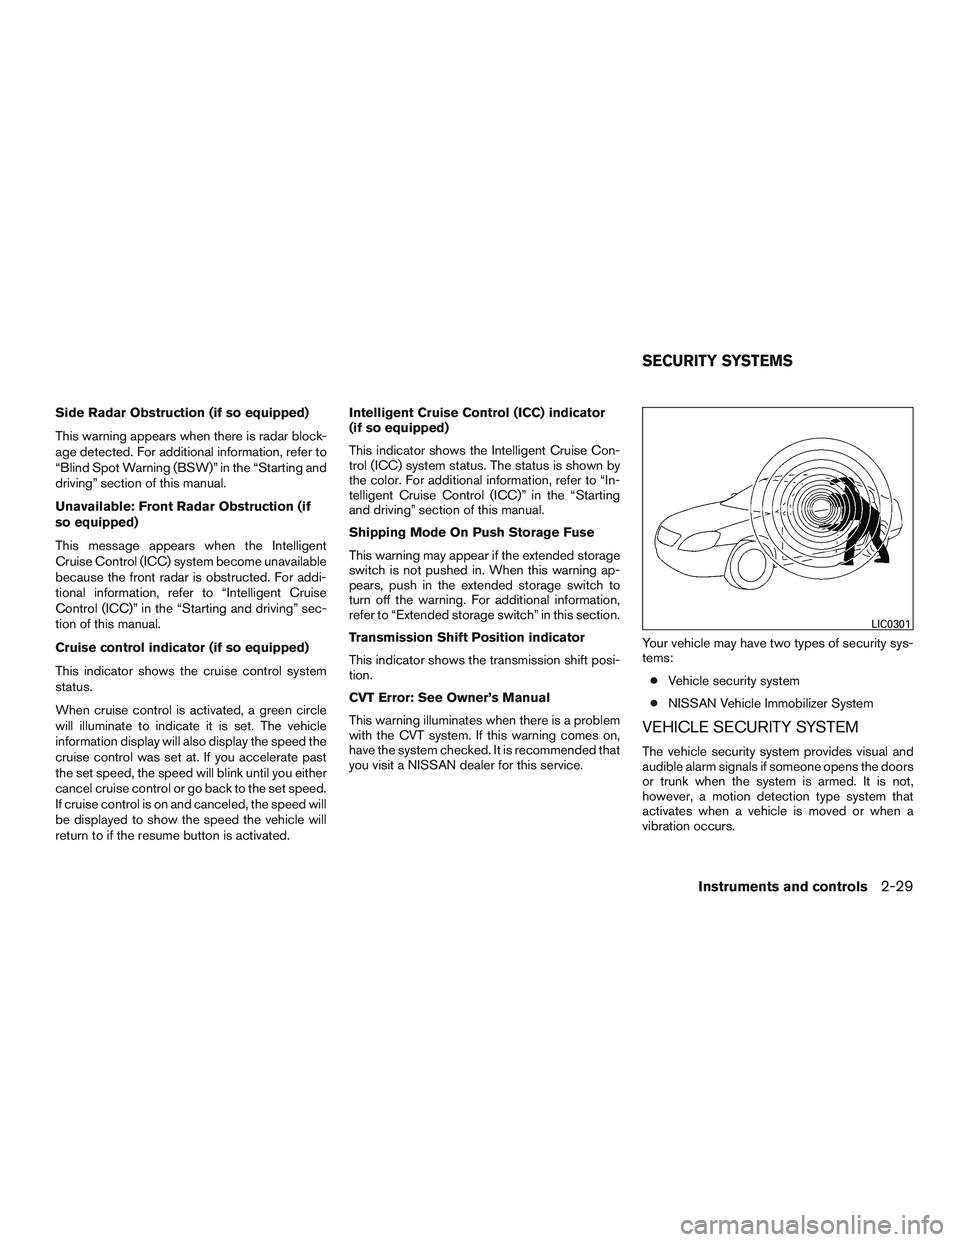
Your vehicle may have two types of security sys-
tems:
● Vehicle security system
● NISSAN Vehicle Immobilizer System
VEHICLE SECURITY SYSTEM
The vehicle security system provides visual and
audible alarm signals if someone opens the doors
or trunk when the system is armed. It is not,
however, a motion detection type system that
activates when a vehicle is moved or when a
vibration occurs.
LIC0301
SECURITY SYSTEMS
Instruments and controls2-29
Page 134 of 497
The HomeLink® Universal Transceiver provides
a convenient way to consolidate the functions of
up to three individual hand-held transmitters into
one built-in device.
HomeLink® Universal Transceiver:● Will operate most radio frequency devices
such as garage doors, gates, home and of-
fice lighting, entry door locks and security
systems.
● Is powered by your vehicle’s battery. No
separate batteries are required. If the vehi-
cle’s battery is discharged or is discon-
nected, HomeLink® will retain all program-
ming.
When the HomeLink® Universal Trans-
ceiver is programmed, retain the original
transmitter for future programming proce-
dures (Example: new vehicle purchases) .
Upon sale of the vehicle, the programmed
HomeLink® Universal Transceiver buttons
should be erased for security purposes. For
additional information, refer to “Program-
ming HomeLink®” in this section.WARNING
● Do not use the HomeLink® Universal
Transceiver with any garage door
opener that lacks safety stop and re-
verse features as required by federal
safety standards. (These standards be-
came effective for opener models
manufactured after April 1, 1982) . A ga-
rage door opener which cannot detect
an object in the path of a closing garage
door and then automatically stop and
reverse, does not meet current federal
safety standards. Using a garage door
opener without these features in-
creases the risk of serious injury or
death.
● During the programming procedure
your garage door or security gate will
open and close (if the transmitter is
within range) . Make sure that people or
objects are clear of the garage door,
gate, etc. that you are programming.
● Your vehicle’s engine should be turned
off while programming the HomeLink®
Universal Transceiver. Do not breathe
exhaust gases; they contain colorless
and odorless carbon monoxide. Carbon
monoxide is dangerous. It can cause
unconsciousness or death.
PROGRAMMING HOMELINK®
If you have any questions or are having difficulty
programming your HomeLink® buttons, refer to
the HomeLink® web site at: www.homelink.com
or call 1-800-355-3515.
NOTE:
Place the ignition switch in the ACC posi-
tion when programming HomeLink®. It is
also recommended that a new battery be
placed in the hand-held transmitter of the
device being programmed to HomeLink®
for quicker programming and accurate
transmission of the radio frequency.
HOMELINK® UNIVERSAL
TRANSCEIVER (if so equipped)
Instruments and controls2-55
Page 137 of 497
●position the hand-held transmitter 1 -
3 inches (26 - 76 mm) away from the
HomeLink® surface. Hold the transmitter in
that position for up to 15 seconds. If
HomeLink® is not programmed within that
time, try holding the transmitter in another
position – keeping the indicator light in view
at all times.
If you have any questions or are having difficulty
programming your HomeLink® buttons, refer to
the HomeLink® web site at: www.homelink.com
or call 1-800-355-3515.
CLEARING THE PROGRAMMED
INFORMATION
The following procedure clears the programmed
information from both buttons. Individual buttons
cannot be cleared. However, individual buttons
can be reprogrammed. For additional informa-
tion, refer to “Reprogramming a single
HomeLink® button” in this section.
To clear all programming: 1. Press and hold the two outer HomeLink® buttons until the indicator light begins to
flash in approximately 10 seconds. Do not
hold for longer than 20 seconds.
2. Release both buttons. HomeLink® is now in the programming mode
and can be programmed at any time beginning
with “Programming HomeLink®” - Step 1.
REPROGRAMMING A SINGLE
HOMELINK® BUTTON
To reprogram a HomeLink® Universal Trans-
ceiver button, complete the following:
1. Press and hold the desired HomeLink® but- ton. DO NOT release the button.
2. The indicator light will begin to flash after 20 seconds. Without releasing the
HomeLink® button, proceed with “Pro-
gramming HomeLink®” - Step 1.
For questions or comments, contact HomeLink®
at: www.homelink.com or 1–800–355–3515
(except Mexico) .
The HomeLink® Universal Transceiver button has
now been reprogrammed. The new device can be
activated by pressing the HomeLink® button that
was just programmed. This procedure will not af-
fect any other programmed HomeLink® buttons.
IF YOUR VEHICLE IS STOLEN
If your vehicle is stolen, you should change the
codes of any non-rolling code device that has
been programmed into HomeLink®. Consult the
Owner’s Manual of each device or call the manu-
facturer or dealer of those devices for additional
information.
When your vehicle is recovered, you will
need to reprogram the HomeLink® Univer-
sal Transceiver with your new transmitter
information.
FCC Notice:
For USA:
This device complies with Part 15 of the
FCC Rules. Operation is subject to the fol-
lowing two conditions: (1) This device may
not cause interference, and (2) this device
must accept any interference received, in-
cluding interference that may cause unde-
sired operation.
NOTE:
Changes or modifications not expressly ap-
proved by the party responsible for compli-
ance could void the user’s authority to op-
erate the equipment.
2-58Instruments and controls
Page 156 of 497
Answer back horn feature
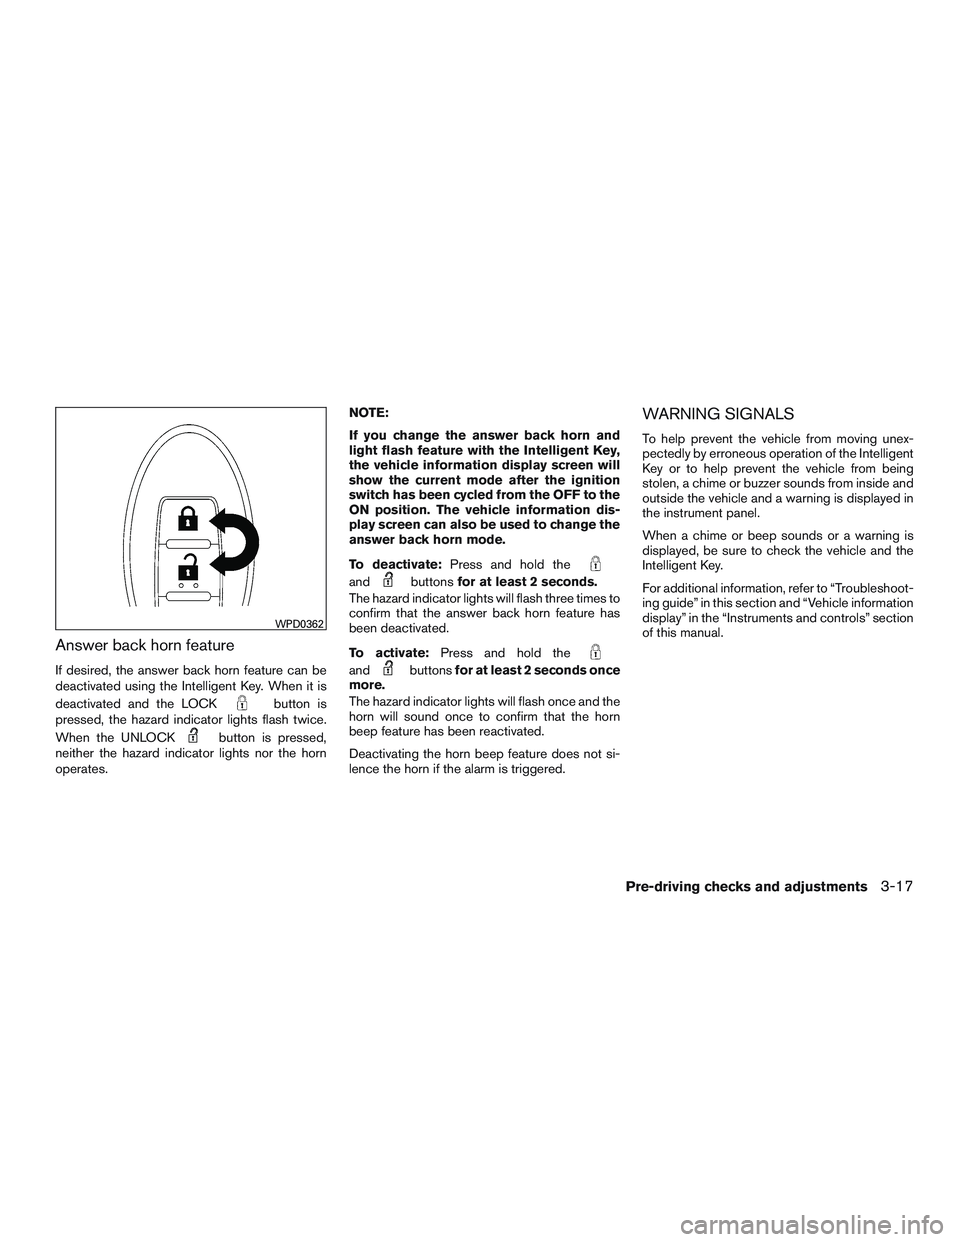
If desired, the answer back horn feature can be
deactivated using the Intelligent Key. When it is
deactivated and the LOCK
button is
pressed, the hazard indicator lights flash twice.
When the UNLOCK
button is pressed,
neither the hazard indicator lights nor the horn
operates. NOTE:
If you change the answer back horn and
light flash feature with the Intelligent Key,
the vehicle information display screen will
show the current mode after the ignition
switch has been cycled from the OFF to the
ON position. The vehicle information dis-
play screen can also be used to change the
answer back horn mode.
To deactivate:
Press and hold the
andbuttonsfor at least 2 seconds.
The hazard indicator lights will flash three times to
confirm that the answer back horn feature has
been deactivated.
To activate: Press and hold the
andbuttonsfor at least 2 seconds once
more.
The hazard indicator lights will flash once and the
horn will sound once to confirm that the horn
beep feature has been reactivated.
Deactivating the horn beep feature does not si-
lence the horn if the alarm is triggered.
WARNING SIGNALS
To help prevent the vehicle from moving unex-
pectedly by erroneous operation of the Intelligent
Key or to help prevent the vehicle from being
stolen, a chime or buzzer sounds from inside and
outside the vehicle and a warning is displayed in
the instrument panel.
When a chime or beep sounds or a warning is
displayed, be sure to check the vehicle and the
Intelligent Key.
For additional information, refer to “Troubleshoot-
ing guide” in this section and “Vehicle information
display” in the “Instruments and controls” section
of this manual.
WPD0362
Pre-driving checks and adjustments3-17
Page 163 of 497
Using the panic alarm
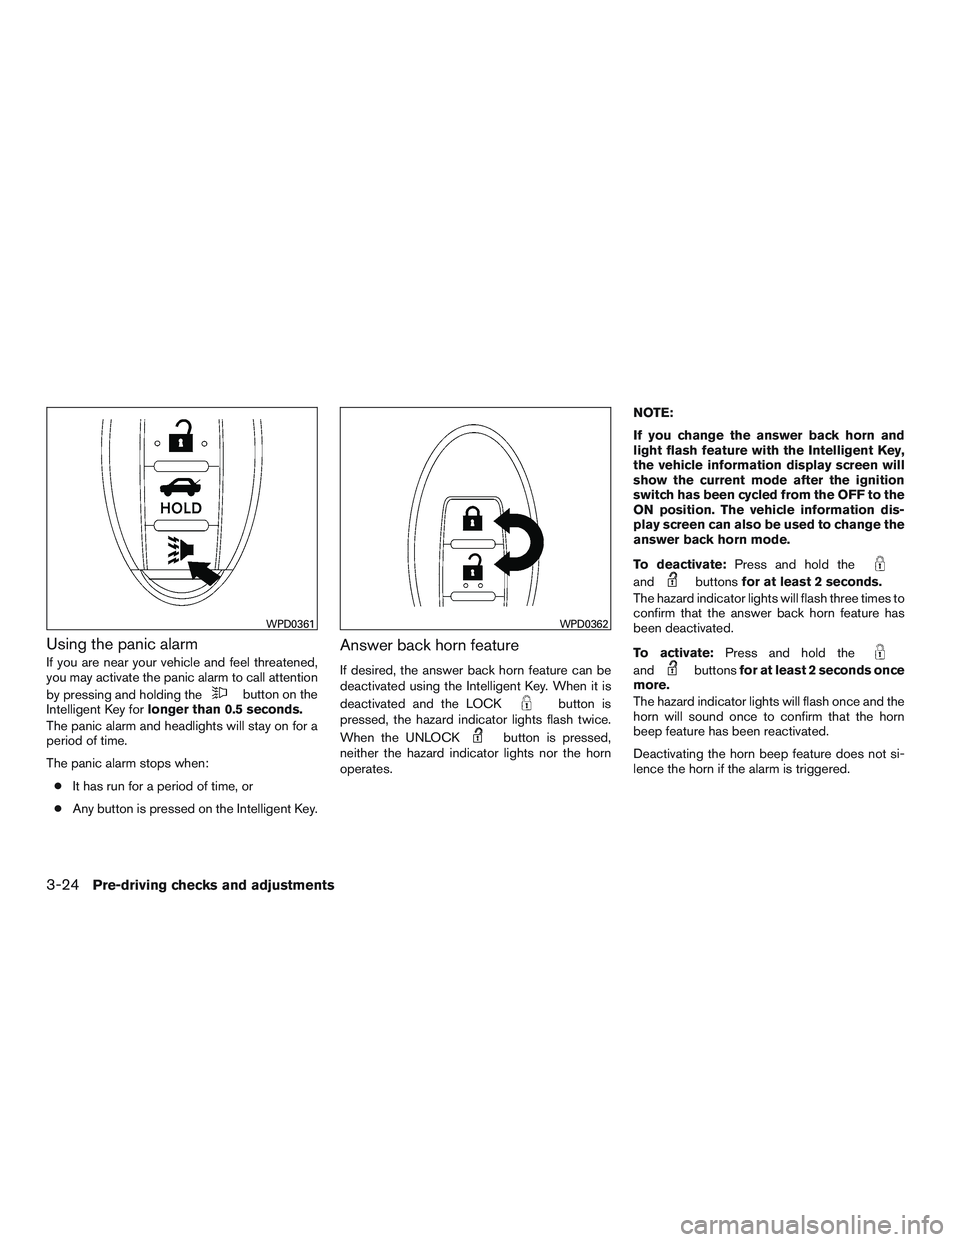
If you are near your vehicle and feel threatened,
you may activate the panic alarm to call attention
by pressing and holding the
button on the
Intelligent Key for longer than 0.5 seconds.
The panic alarm and headlights will stay on for a
period of time.
The panic alarm stops when:
● It has run for a period of time, or
● Any button is pressed on the Intelligent Key.
Answer back horn feature
If desired, the answer back horn feature can be
deactivated using the Intelligent Key. When it is
deactivated and the LOCK
button is
pressed, the hazard indicator lights flash twice.
When the UNLOCK
button is pressed,
neither the hazard indicator lights nor the horn
operates. NOTE:
If you change the answer back horn and
light flash feature with the Intelligent Key,
the vehicle information display screen will
show the current mode after the ignition
switch has been cycled from the OFF to the
ON position. The vehicle information dis-
play screen can also be used to change the
answer back horn mode.
To deactivate:
Press and hold the
andbuttonsfor at least 2 seconds.
The hazard indicator lights will flash three times to
confirm that the answer back horn feature has
been deactivated.
To activate: Press and hold the
andbuttonsfor at least 2 seconds once
more.
The hazard indicator lights will flash once and the
horn will sound once to confirm that the horn
beep feature has been reactivated.
Deactivating the horn beep feature does not si-
lence the horn if the alarm is triggered.
WPD0361WPD0362
3-24Pre-driving checks and adjustments