Page 2 of 497

Welcome to the growing family of new NISSAN
owners. This vehicle is delivered to you with
confidence. It was produced using the latest
techniques and strict quality control.
This manual was prepared to help you under-
stand the operation and maintenance of your
vehicle so that you may enjoy many miles (kilome-
ters) of driving pleasure. Please read through this
manual before operating your vehicle.
A separate Warranty Information Booklet
explains details about the warranties cov-
ering your vehicle. The “Maintenance and
schedules” section of this manual explains
details about maintaining and servicing
your vehicle. Additionally, a separate Cus-
tomer Care/Lemon Law Booklet (U.S. only)
will explain how to resolve any concerns
you may have with your vehicle, and clarify
your rights under your state’s lemon law.
When you require any service or have any ques-
tions, a NISSAN dealer will be glad to assist you
with the extensive resources available to them.
In addition to factory-installed options, your ve-
hicle may also be equipped with additional ac-
cessories installed prior to delivery. It is recom-
mended that you visit a NISSAN dealer for details
concerning the particular accessories with which
your vehicle is equipped. It is important that you
familiarize yourself with all disclosures, warnings,cautions and instructions concerning proper use
of such accessories prior to operating the vehicle
and/or accessory. It is recommended that you
visit a NISSAN dealer for details concerning the
particular accessories with which your vehicle is
equipped.
Before driving your vehicle, please read this
Owner’s Manual carefully. This will ensure famil-
iarity with controls and maintenance require-
ments assisting you in the safe operation of your
vehicle.
WARNING
IMPORTANT SAFETY INFORMATION
REMINDERS!
Follow these important driving rules to
help ensure a safe and comfortable trip
for you and your passengers!
●
NEVER drive under the influence of al-
cohol or drugs.
● ALWAYS observe posted speed limits
and never drive too fast for conditions.
●
ALWAYS give your full attention to driving
and avoid using vehicle features or taking
other actions that could distract you.
●ALWAYS use your seat belts and appro-
priate child restraint systems. Preteen
children should be seated in the rear seat.
● ALWAYS provide information about the
proper use of vehicle safety features to
all occupants of the vehicle.
● ALWAYS review this Owner’s Manual
for important safety information.
FOREWORD READ FIRST—THEN DRIVE SAFELY
Page 9 of 497
1. Top tether strap anchor (P. 1-22)
2. Rear seat belts (P. 1-12)
3. Roof-mounted curtain side-impact androllover supplemental air bag (P. 1-42)
4. Front seat-mounted side-impact supple-
mental air bag (P. 1-42)
5. Head restraints/headrests (P. 1-7)
6. Front seat belt with pretensioner(s) and
shoulder height adjuster (P. 1-12, 1-42)
7. Side-impact pressure sensor (driver’s
side shown; passenger’s side similar)
(P. 1-42)
8. Supplemental air bags (P. 1-42)
9. Front seats (P. 1-2)
10. Occupant classification sensor
(weight sensor) (P. 1-42)
11. Rear seats (P. 1-2)
12. LATCH (Lower Anchors and Tethers for
CHildren) system (P. 1-22)
Refer to the page number indicated in pa-
rentheses for operating details.
LII2377
AIR BAGS, SEAT BELTS AND CHILD
RESTRAINTS
0-2Illustrated table of contents
Page 20 of 497

CAUTION
When adjusting the seat positions, be
sure not to contact any moving parts to
avoid possible injuries and/or damage.
FRONT MANUAL SEAT
ADJUSTMENT (if so equipped)
Your vehicle seats can be adjusted manually. For
additional information about adjusting the seats,
refer to the steps outlined in this section.
Forward and backward
Pull the center of the bar up and hold it while you
slide the seat forward or backward to the desired
position. Release the bar to lock the seat in
position.
Reclining
To recline the seatback, pull the lever up and lean
back. To bring the seatback forward, pull the lever
up and lean your body forward. Release the lever
to lock the seatback in position.
The reclining feature allows adjustment of the
seatback for occupants of different sizes for
added comfort and to help obtain proper seat
belt fit. For additional information, refer to “Pre-
cautions on seat belt usage” in this section. Also,
the seatback can be reclined to allow occupants
to rest when the vehicle is stopped and the shift
lever is in the P (Park) position.
LRS2571LRS2572
Safety—Seats, seat belts and supplemental restraint system1-3
Page 22 of 497
Reclining
Move the recline switch as shown until the de-
sired angle is obtained.
The reclining feature allows adjustment of the
seatback for occupants of different sizes for
added comfort and to help obtain proper seat
belt fit. For additional information, refer to “Pre-
cautions on seat belt usage” in this section. Also,
the seatback can be reclined to allow occupants
to rest when the vehicle is stopped and the shift
lever is in the P (Park) position.
Seat lifter (driver’s seat)
Move the switch as shown to adjust the angle
and height of the seat cushion.
Lumbar support (driver’s seat)
The lumbar support feature provides adjustable
lower back support to the driver. Push the switch
as shown to adjust the seat lumbar area.
LRS2636LRS2270
Safety—Seats, seat belts and supplemental restraint system1-5
Page 24 of 497

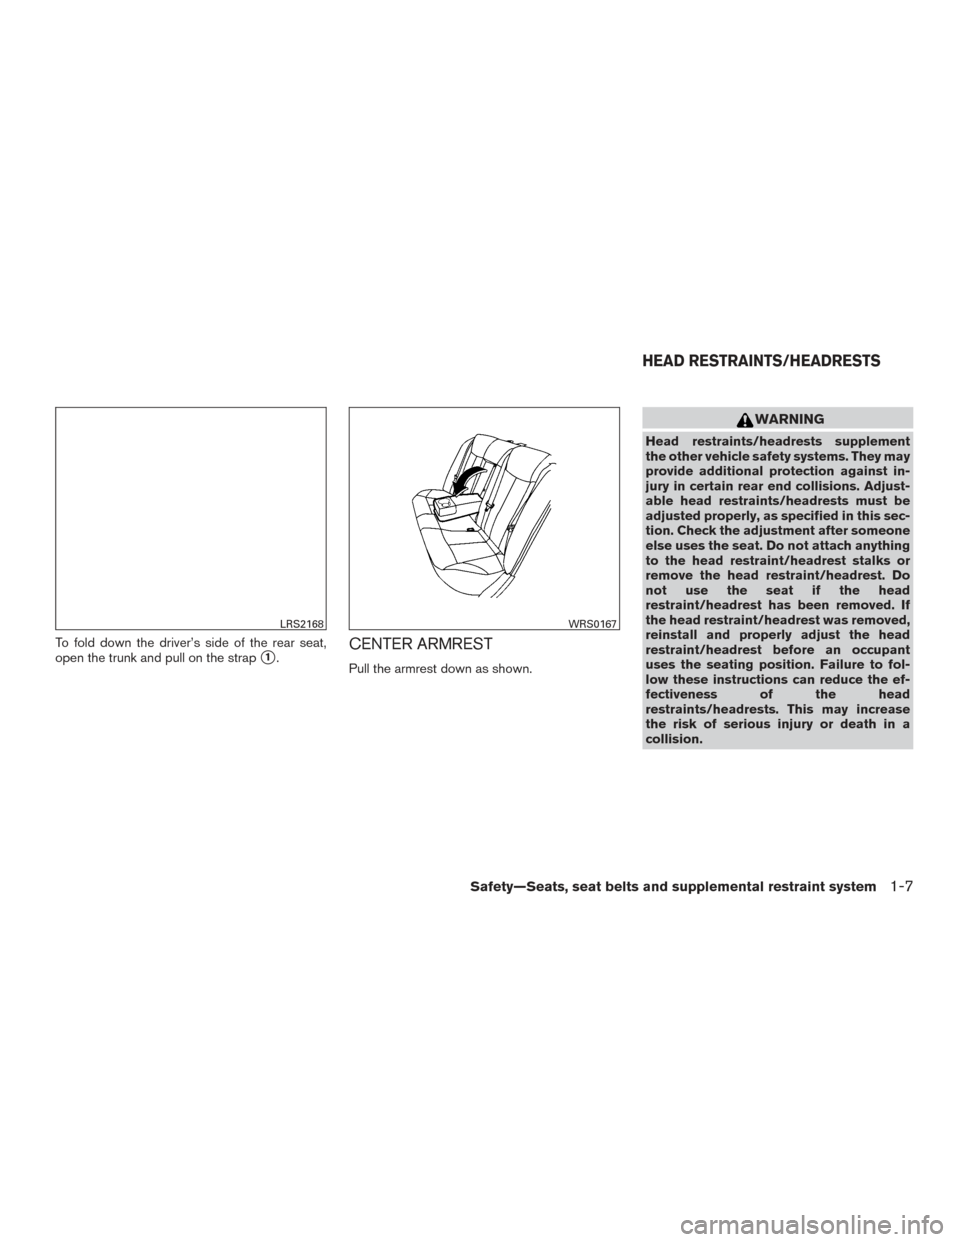
To fold down the driver’s side of the rear seat,
open the trunk and pull on the strap
�1.CENTER ARMREST
Pull the armrest down as shown.
WARNING
Head restraints/headrests supplement
the other vehicle safety systems. They may
provide additional protection against in-
jury in certain rear end collisions. Adjust-
able head restraints/headrests must be
adjusted properly, as specified in this sec-
tion. Check the adjustment after someone
else uses the seat. Do not attach anything
to the head restraint/headrest stalks or
remove the head restraint/headrest. Do
not use the seat if the head
restraint/headrest has been removed. If
the head restraint/headrest was removed,
reinstall and properly adjust the head
restraint/headrest before an occupant
uses the seating position. Failure to fol-
low these instructions can reduce the ef-
fectiveness of the head
restraints/headrests. This may increase
the risk of serious injury or death in a
collision.
LRS2168WRS0167
HEAD RESTRAINTS/HEADRESTS
Safety—Seats, seat belts and supplemental restraint system1-7
Page 26 of 497
NON-ADJUSTABLE HEAD
RESTRAINT/HEADREST
COMPONENTS
1. Removable head restraint/headrest
2. Single notch
3. Lock knob
4. Stalks
REMOVE
Use the following procedure to remove the head
restraint/headrest:1. Pull the head restraint/headrest up to the highest position.
2. Push and hold the lock knob.
3. Remove the head restraint/headrest from the seat.
4. Store the head restraint/headrest properly in a secure place so it is not loose in the
vehicle. 5. Reinstall and properly adjust the head
restraint/headrest before an occupant uses
the seating position.
LRS2299LRS2302
Safety—Seats, seat belts and supplemental restraint system1-9
Page 27 of 497
INSTALL
1. Align the head restraint/headrest stalks withthe holes in the seat. Make sure that the
head restraint/headrest is facing the correct
direction. The stalk with the notch (notches)
�1must be installed in the hole with the lock
knob
�2.
2. Push and hold the lock knob and push the head restraint/headrest down.
3. Properly adjust the head restraint/headrest before an occupant uses the seating posi-
tion.
ADJUST
For adjustable head restraint/headrest
Adjust the head restraint/headrest so the center
is level with the center of your ears. If your ear
position is still higher than the recommended
alignment, place the head restraint/headrest at
the highest position. For non-adjustable head restraint/headrest
Make sure the head restraint/headrest is posi-
tioned so the lock knob is engaged in the notch
before riding in that designated seating position.
LRS2303WRS0134LRS2351
1-10Safety—Seats, seat belts and supplemental restraint system
Page 34 of 497

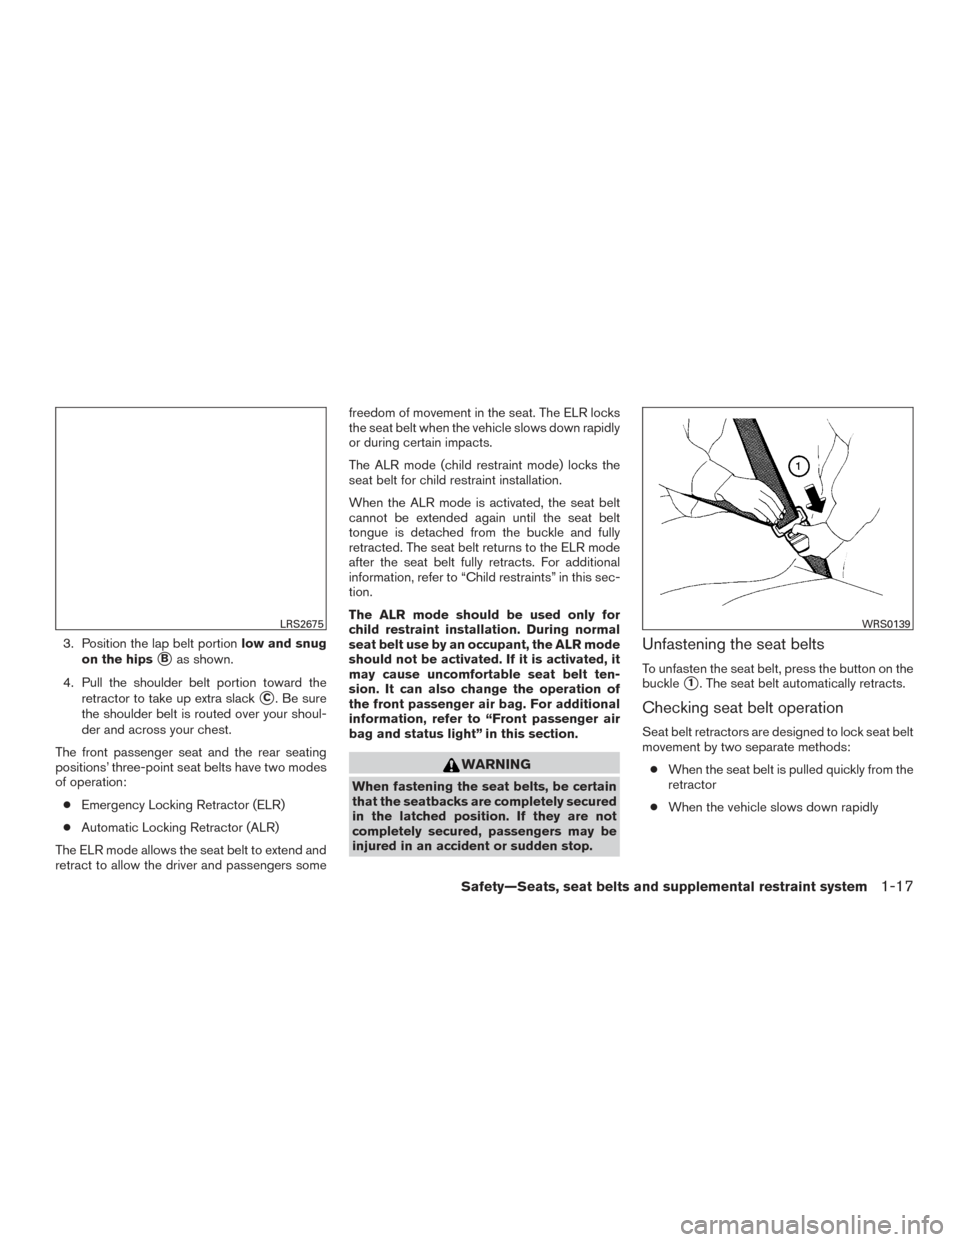
3. Position the lap belt portionlow and snug
on the hips
�Bas shown.
4. Pull the shoulder belt portion toward the retractor to take up extra slack
�C. Be sure
the shoulder belt is routed over your shoul-
der and across your chest.
The front passenger seat and the rear seating
positions’ three-point seat belts have two modes
of operation: ● Emergency Locking Retractor (ELR)
● Automatic Locking Retractor (ALR)
The ELR mode allows the seat belt to extend and
retract to allow the driver and passengers some freedom of movement in the seat. The ELR locks
the seat belt when the vehicle slows down rapidly
or during certain impacts.
The ALR mode (child restraint mode) locks the
seat belt for child restraint installation.
When the ALR mode is activated, the seat belt
cannot be extended again until the seat belt
tongue is detached from the buckle and fully
retracted. The seat belt returns to the ELR mode
after the seat belt fully retracts. For additional
information, refer to “Child restraints” in this sec-
tion.
The ALR mode should be used only for
child restraint installation. During normal
seat belt use by an occupant, the ALR mode
should not be activated. If it is activated, it
may cause uncomfortable seat belt ten-
sion. It can also change the operation of
the front passenger air bag. For additional
information, refer to “Front passenger air
bag and status light” in this section.
WARNING
When fastening the seat belts, be certain
that the seatbacks are completely secured
in the latched position. If they are not
completely secured, passengers may be
injured in an accident or sudden stop.
Unfastening the seat belts
To unfasten the seat belt, press the button on the
buckle
�1. The seat belt automatically retracts.
Checking seat belt operation
Seat belt retractors are designed to lock seat belt
movement by two separate methods:
● When the seat belt is pulled quickly from the
retractor
● When the vehicle slows down rapidly
LRS2675WRS0139
Safety—Seats, seat belts and supplemental restraint system1-17