2017 MITSUBISHI OUTLANDER SPORT lock
[x] Cancel search: lockPage 6 of 399
Interior
Overview 1-4
1
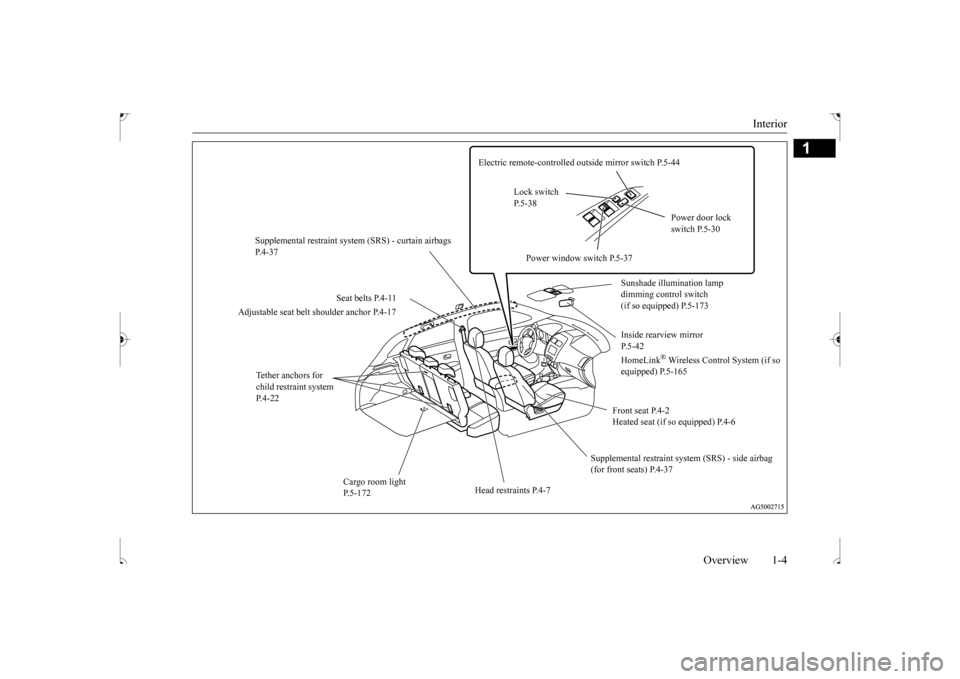
Electric remote-controlled outside mirror switch P.5-44
Lock switch P.5-38
Power door lock switch P.5-30
Supplemental restraint system (SRS) - curtain airbags P.4-37
Power window switch P.5-37
Sunshade illumination lamp dimming control switch (if so equipped) P.5-173
Seat belts P.4-11
Adjustable seat belt shoulder anchor P.4-17
Inside rearview mirror P.5-42 HomeLink
® Wireless Control System (if so
equipped) P.5-165
Tether anchors for child restraint system P.4-22
Front seat P.4-2 Heated seat (if so equipped) P.4-6
Supplemental restraint system (SRS) - side airbag (for front seats) P.4-37
Cargo room light P.5-172
Head restraints P.4-7
BK0239500US.bo
ok 4 ページ 2016年5月13日 金曜日 午前8時53分
Page 9 of 399
Outside 1-7 Overview
1
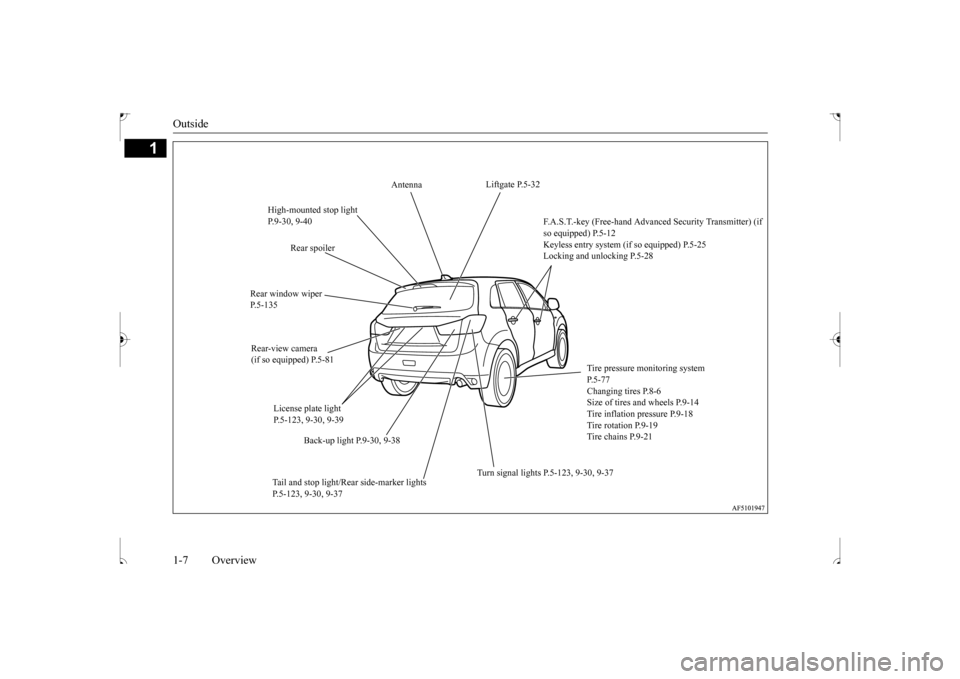
Liftgate P.5-32
Antenna
High-mounted stop light P.9-30, 9-40
F.A.S.T.-key (Free-hand Adva
nced Security Transmitter) (if
so equipped) P.5-12 Keyless entry system (if so equipped) P.5-25 Locking and unlocking P.5-28
Rear spoiler
Rear window wiper P.5-135 Rear-view camera (if so equipped) P.5-81
Tire pressure monitoring system P.5-77 Changing tires P.8-6Size of tires and wheels P.9-14 Tire inflation pressure P.9-18 Tire rotation P.9-19 Tire chains P.9-21
License plate light P.5-123, 9-30, 9-39
Back-up light P.9-30, 9-38
Turn signal lights P.5-123, 9-30, 9-37
Tail and stop light/Rear side-marker lights P.5-123, 9-30, 9-37
BK0239500US.bo
ok 7 ページ 2016年5月13日 金曜日 午前8時53分
Page 11 of 399
If this warning light comes on or
flashes while you’re driving...
2-2 Quick index
2
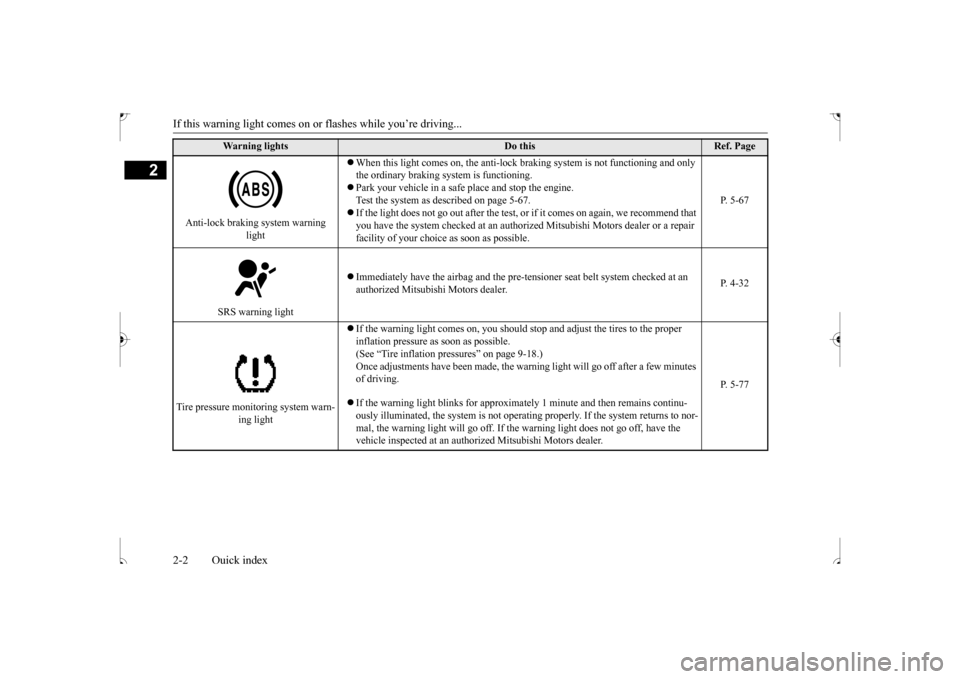
Anti-lock braking system warning
light
When this light comes on, the anti-lock braking system is not functioning and only the ordinary braking system is functioning. Park your vehicle in a safe place and stop the engine. Test the system as described on page 5-67. If the light does not go out after the test, or if it comes on again, we recommend that you have the system checked at an authorized Mitsubishi Motors dealer or a repair facility of your choice as soon as possible.
P. 5-67
SRS warning light
Immediately have the airbag and the pre-te
nsioner seat belt system checked at an
authorized Mitsubishi Motors dealer.
P. 4-32
Tire pressure monitoring system warn-
ing light
If the warning light comes on, you should stop and adjust the tires to the proper inflation pressure as soon as possible. (See “Tire inflation pressures” on page 9-18.)Once adjustments have been made, the warnin
g light will go off after a few minutes
of driving. If the warning light blinks for approxim
ately 1 minute and then remains continu-
ously illuminated, the system is not operatin
g properly. If the system returns to nor-
mal, the warning light will go off. If the warning light does not go off, have the vehicle inspected at an authori
zed Mitsubishi Motors dealer.
P. 5-77
Warning lights
Do this
Ref. Page
BK0239500US.bo
ok 2 ページ 2016年5月13日 金曜日 午前8時53分
Page 12 of 399
If this problem occurs...
Quick index 2-3
2
N00200900867
If this problem occurs...
Problem
Do this
Ref. Page
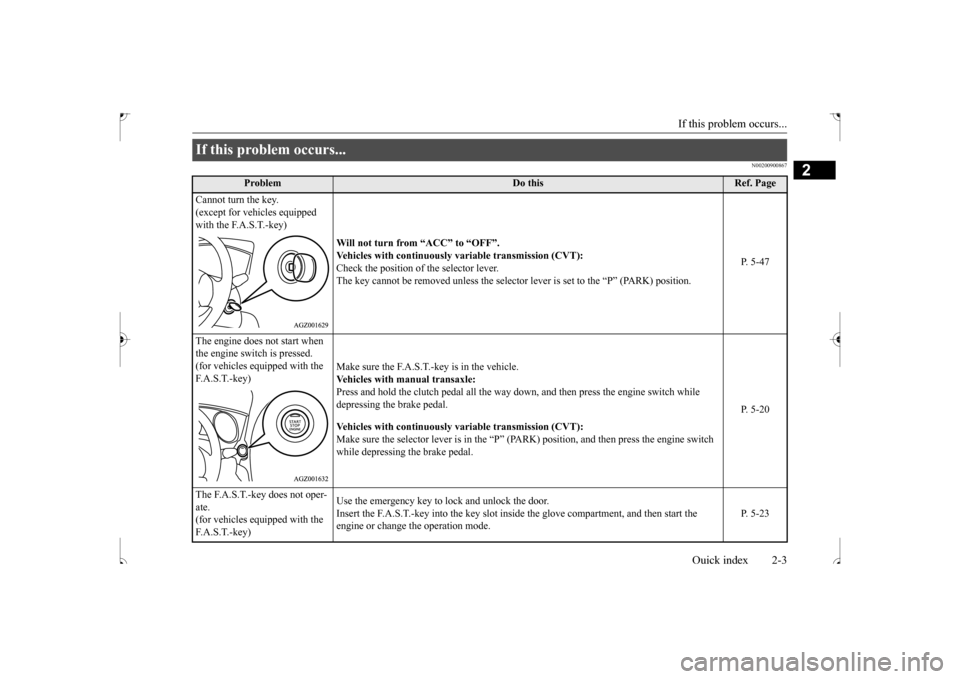
Cannot turn the key. (except for vehicles equipped with the F.A.S.T.-key)
Will not turn from “ACC” to “OFF”. Vehicles with continuously
variable transmission (CVT):
Check the position of the selector lever. The key cannot be removed unless the selector lever is set to the “P” (PARK) position.
P. 5-47
The engine does not start when the engine switch is pressed. (for vehicles equipped with the F. A . S . T. - k e y )
Make sure the F.A.S.T.-key is in the vehicle. Vehicles with manual transaxle: Press and hold the clutch pedal all the way
down, and then press the engine switch while
depressing the brake pedal. Vehicles with continuously
variable transmission (CVT):
Make sure the selector lever is in the “P” (P
ARK) position, and then press the engine switch
while depressing the brake pedal.
P. 5-20
The F.A.S.T.-key does not oper- ate. (for vehicles equipped with the F. A . S . T. - k e y )
Use the emergency key to lock and unlock the door. Insert the F.A.S.T.-key into the key slot insi
de the glove compartment, and then start the
engine or change the operation mode.
P. 5-23
BK0239500US.bo
ok 3 ページ 2016年5月13日 金曜日 午前8時53分
Page 14 of 399
If this problem occurs...
Quick index 2-5
2
Problem
Do this
Ref. Page
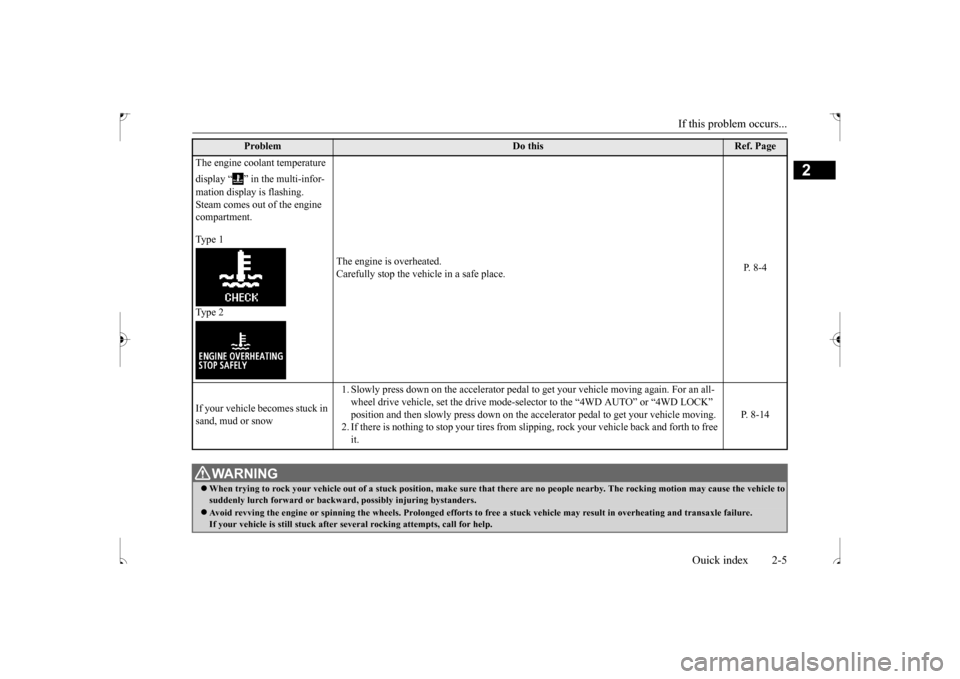
The engine coolant temperature display “ ” in the multi-infor- mation display is flashing. Steam comes out of the engine compartment. Type 1 Type 2
The engine is overheated. Carefully stop the vehicle in a safe place.
P. 8-4
If your vehicle becomes stuck in sand, mud or snow
1. Slowly press down on the accelerator pedal to
get your vehicle moving again. For an all-
wheel drive vehicle, set the drive mode-sel
ector to the “4WD AUTO” or “4WD LOCK”
position and then slowly press down on the
accelerator pedal to get your vehicle moving.
2. If there is nothing to stop your tires from sli
pping, rock your vehicle back and forth to free
it.
P. 8-14
WA R N I N G When trying to rock your vehicle out of a
stuck position, make sure that there are no
people nearby. The rocking motion may cau
se the vehicle to
suddenly lurch forward or backward, possibly injuring bystanders. Avoid revving the engine or spinning the
wheels. Prolonged efforts to free a stuck ve
hicle may result in overheating and transa
xle failure.
If your vehicle is still stuck after se
veral rocking attempts, call for help.
BK0239500US.bo
ok 5 ページ 2016年5月13日 金曜日 午前8時53分
Page 19 of 399
Filling the fuel tank 3-4 General information
3
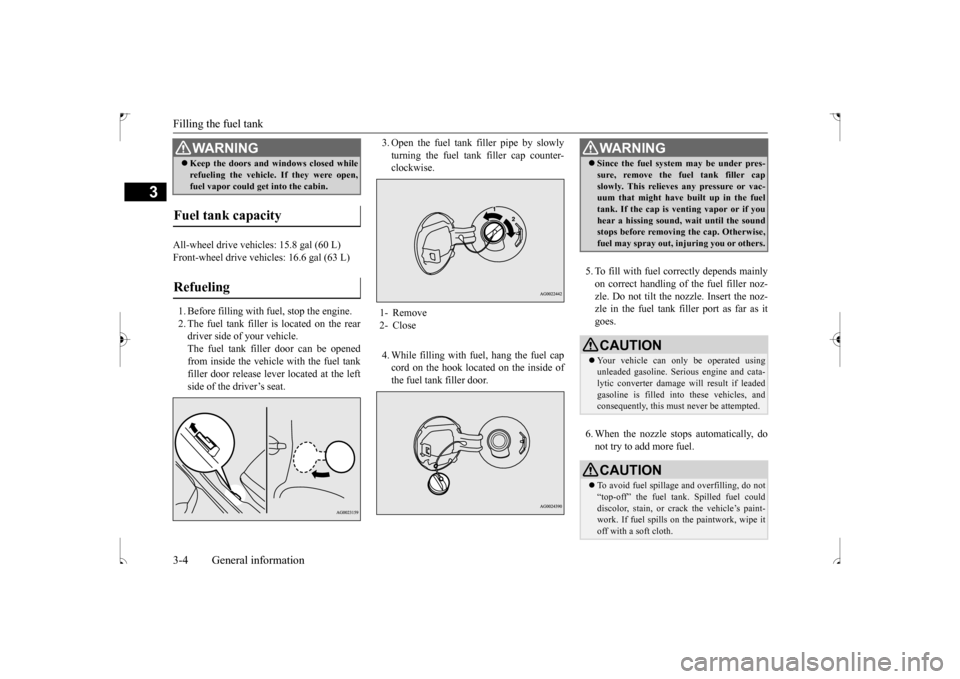
All-wheel drive vehicles: 15.8 gal (60 L) Front-wheel drive vehicles: 16.6 gal (63 L) 1. Before filling with fuel, stop the engine. 2. The fuel tank filler is located on the rear driver side of your vehicle. The fuel tank filler door can be openedfrom inside the vehicle with the fuel tank filler door release le
ver located at the left
side of the driver’s seat.
3. Open the fuel tank filler pipe by slowly turning the fuel tank filler cap counter- clockwise. 4. While filling with fuel, hang the fuel cap cord on the hook located on the inside of the fuel tank filler door.
5. To fill with fuel correctly depends mainly on correct handling of the fuel filler noz-zle. Do not tilt the nozzle. Insert the noz- zle in the fuel tank filler port as far as it goes. 6. When the nozzle stops automatically, do not try to add more fuel.
Keep the doors and windows closed while refueling the vehicle. If they were open, fuel vapor could get into the cabin.
Fuel tank capacity Refueling
WA R N I N G
1- Remove 2- Close
WA R N I N G Since the fuel system may be under pres- sure, remove the fuel tank filler cap slowly. This relieves any pressure or vac- uum that might have built up in the fuel tank. If the cap is venting vapor or if youhear a hissing sound, wait until the sound stops before removing the cap. Otherwise, fuel may spray out, injuring you or others.CAUTION Your vehicle can only be operated using unleaded gasoline. Serious engine and cata-lytic converter damage will result if leaded gasoline is filled into these vehicles, and consequently, this must never be attempted.CAUTION To avoid fuel spillage
and overfilling, do not
“top-off” the fuel tank. Spilled fuel could discolor, stain, or crack the vehicle’s paint- work. If fuel spills on the paintwork, wipe itoff with a soft cloth.
BK0239500US.bo
ok 4 ページ 2016年5月13日 金曜日 午前8時53分
Page 20 of 399
Modifications to and racing of your vehicle
General information 3-5
3
7. To close, turn the fuel tank filler pipe cap slowly clockwise until you hear clicking sounds, then gently push the fuel tank filler door closed.
N00301600149
This vehicle should not be modified withnon-Mitsubishi Motors genuine parts.Mitsubishi Motors designs and manufactures high quality vehicles
with an emphasis on
safety and durability. Modifications usingnon-Mitsubishi Motors genuine parts may affect the performance, safety and/or durabil- ity of your vehicle, and may violate applica-ble state and/or federal regulations. DAMAGE OR PERFORMANCE PROB- LEMS RESULTING FROM MODIFICA- TIONS TO OR RACING OF YOUR VEHICLE ARE NOT COVEREDUNDER WARRANTY. Examples of modifications to your vehicle that can cause damage or performance prob- lems include the following: Failure to use Mitsubishi Motors genuine parts Failure to use required fuel and fluids Failure to use proper size tires and wheels Modification of the fuel, intake, exhaust, emission, suspension, engine, drive train or electrical wiring systems
Modification of any onboard com- puter/control module, including repro- gramming, or replacing/adding chips to any onboard computer/control module
Review the Warranty and Maintenance Man- ual for further details regarding warranty cov- erage.
N00301701222
The installation of accessories, optional parts, etc., should only be carried out within the limits prescribed by law, and in accordance with the guidelines and warn-ings contained within the documents accompanying this vehicle.
WA R N I N G Make sure the fuel tank filler cap is securely closed. If the fuel cap were loose, fuel could leak, resulting in a fire.CAUTION If you need to replace the fuel tank filler cap, use only the cap specified for your model vehicle.NOTE
If the fuel tank filler cap
is not tight while
driving, the engine malfunction indicator (“SERVICE ENGINE SOON” or “Checkengine light”) may come on when the onboard diagnostic (OBD) system performs a self check. Always tighten the fuel tank filler cap until you hear at least 3 clicks.The indicator will go off after driving several times. If the indicator does not go off, con- tact your authorized Mitsubishi Motorsdealer or a repair f
acility of your choice as
soon as possible.
Modifications to and racing of your vehicle
Installation of accessories
CAUTION Before any electrical or electronic accesso- ries are installed, consult an authorized Mitsubishi Motors dealer. Your vehicle is equipped with a diagnosis connector (data link connector) for checkingand servicing the electronic control system. Mitsubishi Motors does not recommend con- necting a device other than the Scan Tool forinspections and service to this connector because an unexpected problem could result. In addition, malfunctions caused by connect-ing a device other than the Scan Tool may not be covered under warranty.
BK0239500US.bo
ok 5 ページ 2016年5月13日 金曜日 午前8時53分
Page 23 of 399
Seats 4-2 Seat and restraint systems
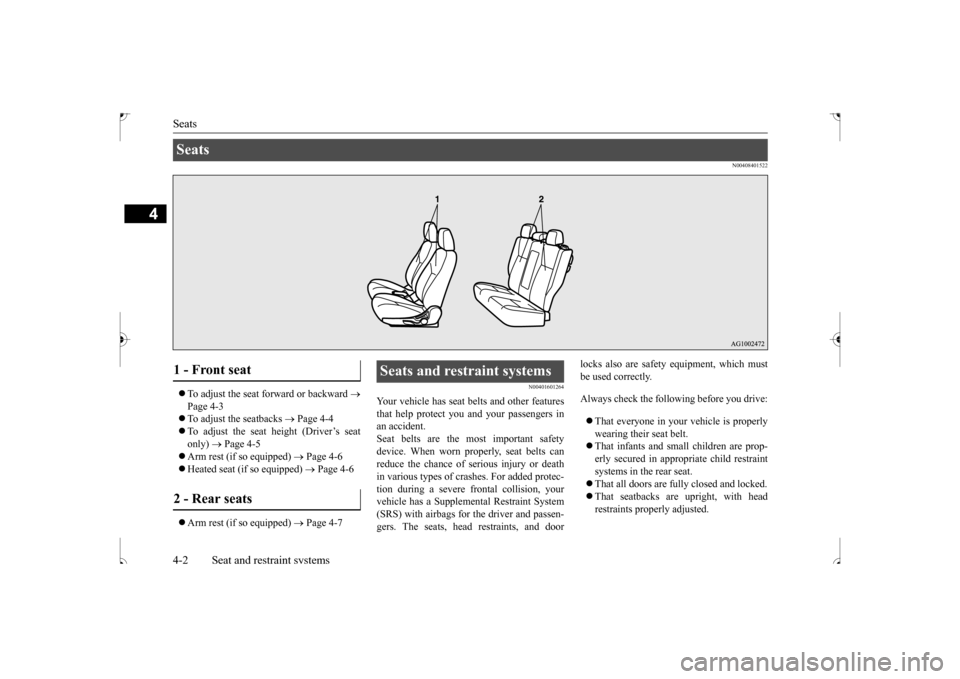
4
N00408401522
To adjust the seat forward or backward
Page 4-3 To adjust the seatbacks
Page 4-4
To adjust the seat height (Driver’s seat only)
Page 4-5
Arm rest (if so equipped)
Page 4-6
Heated seat (if so equipped)
Page 4-6
Arm rest (if so equipped)
Page 4-7
N00401601264
Your vehicle has seat belts and other features that help protect you and your passengers in an accident. Seat belts are the most important safetydevice. When worn properly, seat belts can reduce the chance of serious injury or death in various types of crashes. For added protec-tion during a severe frontal collision, your vehicle has a Supplemental Restraint System (SRS) with airbags for the driver and passen-gers. The seats, head restraints, and door
locks also are safety equipment, which must be used correctly. Always check the following before you drive: That everyone in your vehicle is properly wearing their seat belt. That infants and small children are prop- erly secured in appropriate child restraint systems in the rear seat. That all doors are fully closed and locked. That seatbacks are upright, with head restraints properly adjusted.
Seats 1 - Front seat 2 - Rear seats
Seats and restraint systems
BK0239500US.bo
ok 2 ページ 2016年5月13日 金曜日 午前8時53分