2017 MERCEDES-BENZ S CLASS Driving mode
[x] Cancel search: Driving modePage 185 of 382

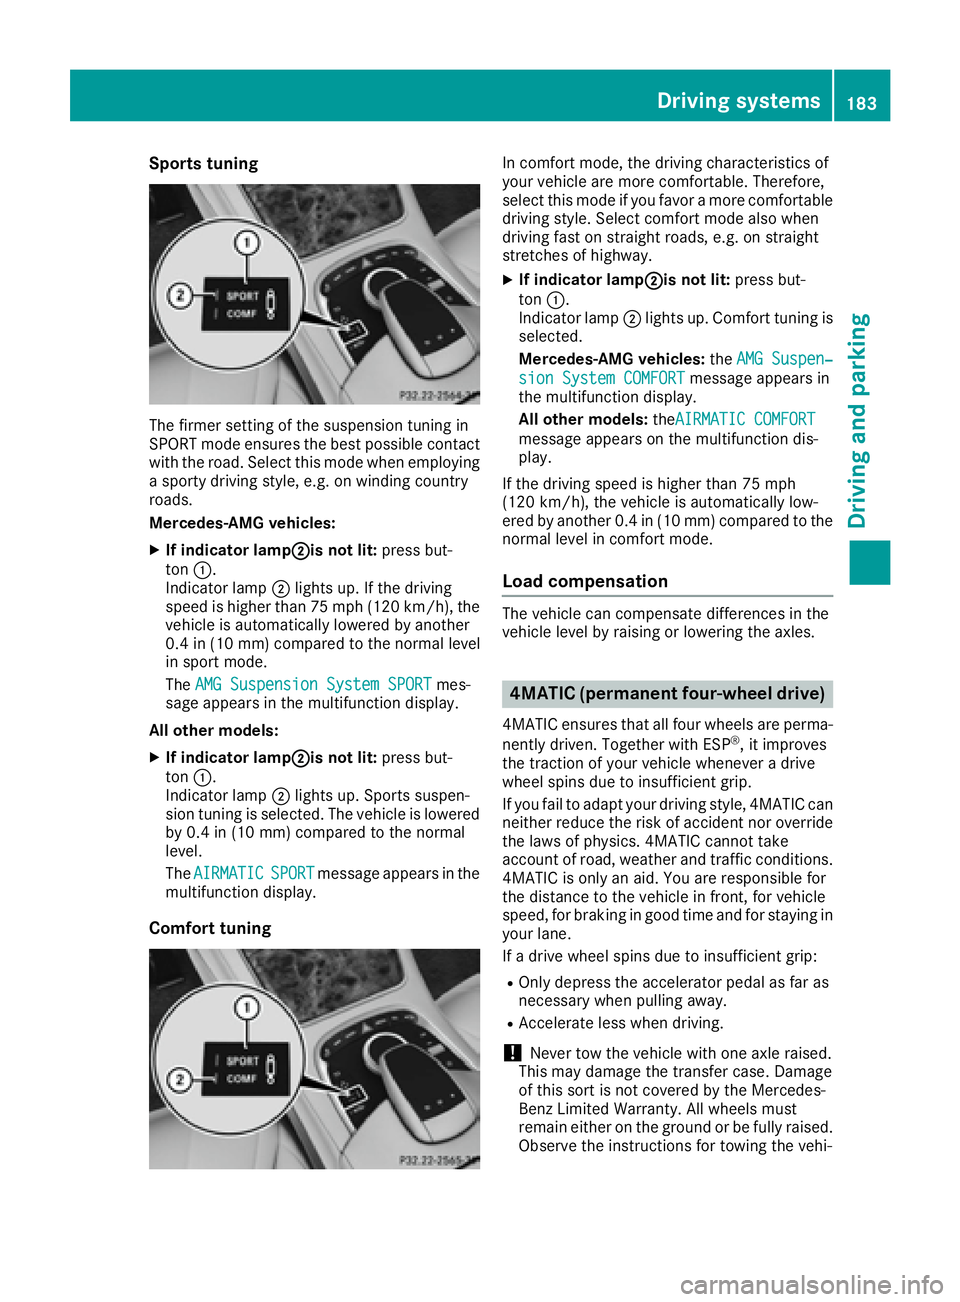
Sports tuning
The firmer setting of the suspension tuning in
SPORT mode ensures the best possible contact
with the road. Select this mode when employing
a sporty driving style, e.g. on winding country
roads.
Mercedes-AMG vehicles: X
If indicator lamp �D is not lit: press but-
ton �C .
Indicator lamp �D lights up. If the driving
speed is higher than 75 mph (120 km/h), the
vehicle is automatically lowered by another
0.4 in (10 mm) compared to the normal level
in sport mode.
The AMG Suspension System SPORT mes-
sage appears in the multifunction display.
All other models: X
If indicator lamp �D is not lit: press but-
ton �C .
Indicator lamp �D lights up. Sports suspen-
sion tuning is selected. The vehicle is lowered
by 0.4 in (10 mm) compared to the normal
level.
The AIRMATIC
SPORT message appears in the
multifunction display.
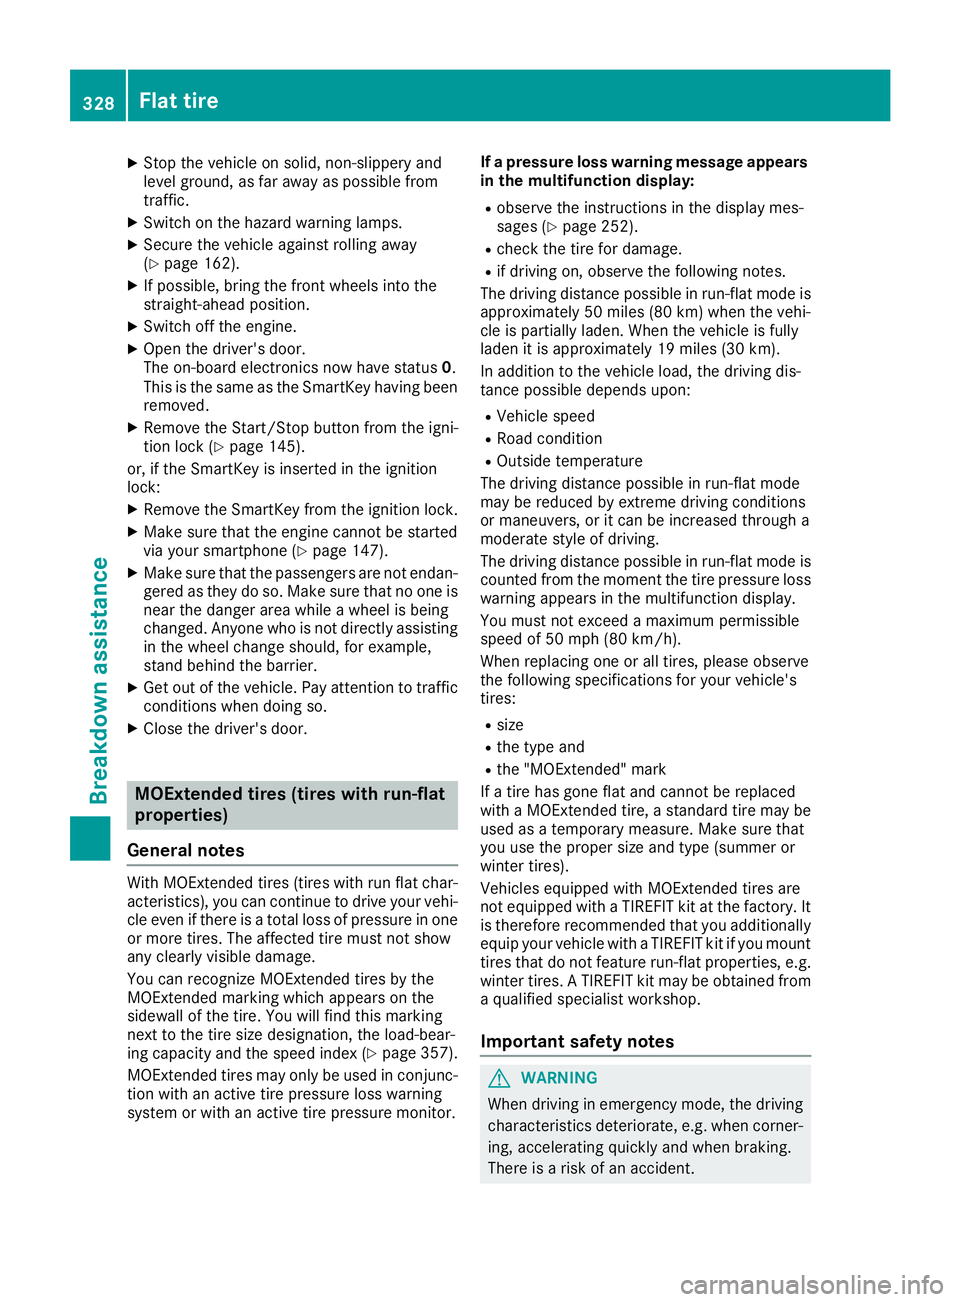
Comfort tuning In comfort mode, the driving characteristics of
your vehicle are more comfortable. Therefore,
select this mode if you favor a more comfortable
driving style. Select comfort mode also when
driving fast on straight roads, e.g. on straight
stretches of highway. X
If indicator lamp �D is not lit: press but-
ton �C .
Indicator lamp �D lights up. Comfort tuning is
selected.
Mercedes-AMG vehicles: the AMG Suspen‐
sion System COMFORT message appears in
the multifunction display.
All other models: the AIRMATIC COMFORT
message appears on the multifunction dis-
play.
If the driving speed is higher than 75 mph
(120 km/h), the vehicle is automatically low-
ered by another 0.4 in (10 mm) compared to the
normal level in comfort mode.
Load compensation The vehicle can compensate differences in the
vehicle level by raising or lowering the axles.
4MATIC (permanent four-wheel drive) 4MATIC ensures that all four wheels are perma-
nently driven. Together with ESP ®
, it improves
the traction of your vehicle whenever a drive
wheel spins due to insufficient grip.
If you fail to adapt your driving style, 4MATIC can
neither reduce the risk of accident nor override
the laws of physics. 4MATIC cannot take
account of road, weather and traffic conditions.
4MATIC is only an aid. You are responsible for
the distance to the vehicle in front, for vehicle
speed, for braking in good time and for staying in
your lane.
If a drive wheel spins due to insufficient grip: R
Only depress the accelerator pedal as far as
necessary when pulling away. R
Accelerate less when driving.
! Never tow the vehicle with one axle raised.
This may damage the transfer case. Damage
of this sort is not covered by the Mercedes-
Benz Limited Warranty. All wheels must
remain either on the ground or be fully raised.
Observe the instructions for towing the vehi-Driving systems 183
Driving and parking Z
Page 277 of 382

PLUG ‑ IN HYBRID: before getting in, the driver's
seat area or the whole vehicle interior is briefly
warmed or ventilated. The air from the vents is
pre-cooled. X
Call up the climate control menu
( Y
page 274). X
To select Pre-entry Climate Control
via Key : turn and press the controller.X
To activate or deactivate: turn the control-
ler. X
To exit the menu: press the �8 button.
Activating or deactivating pre-entry cli-
mate control at departure time This function is available for PLUG ‑ IN HYBRID
vehicles.
The driver's seat and the vehicle interior are
heated or cooled prior to the set departure time. X
Call up the climate control menu
( Y
page 274). X
To select Pre-entry Climate Ctrl. at
Departure Time : turn and press the control-
ler.
A rotary menu appears. X
To select the setting: turn the controller.
The menu symbol, text and image show the
selected setting. X
To exit the menu: press the �8 button.
Adjusting the footwell temperature X
Call up the climate control menu
( Y
page 274). X
To select Adjust Footwell : turn and press
the controller. X
To change sides: slide 1 the controller.X
To change the setting: turn the controller.X
To exit the menu: press the �8 button.
Settings in the bottom bar of the cli-
mate control menu
Switching cooling with air dehumidifica-
tion on/off
i Activating the cooling with air dehumidifi-
cation facilitates the cooling of the vehicle
interior even with high outside temperatures. X
Call up the climate control menu
( Y
page 274). X
Slide 6 the controller repeatedly until the
bottom bar is activated. X
To select �s A/C : turn and press the con-
troller. X
The cooling with air dehumidification function
is activated �s or deactivated �S .
i The current status of the cooling function is
displayed in the climate control bar: A/C ON
– activated, A/C OFF – deactivated.
i Deactivating the cooling with air dehumidi-
fication function reduces fuel consumption.
Synchronizing the climate control set-
tings Use �s Sync (synchronization) to select the cli-
mate control setting for all zones together �s or
separately �S . X
Call up the climate control menu
( Y
page 274). X
Slide 6 the controller repeatedly until the
bottom bar is activated. X
To select �s Sync : turn and press the con-
troller. X
The synchronization function is activated �s
or deactivated �S .
With the synchronization function switched off,
you can alternate between driver and front
passenger. X
To switch from the footer to the main area:
slide 5 the controller. X
To switch between left and right: slide 1
the controller.
Not all climate control functions allow switch-
ing between the driver and front passenger.
For further information on synchronizing climate
control settings, see ( Y
page 138).
Navigation mode
Important safety notes
G WARNING
If you operate information systems and com-
munication equipment integrated in the vehi-
cle while driving, you will be distracted fromOperating system 275
Multimedia system Z
Page 330 of 382

X
Stop the vehicle on solid, non-slippery and
level ground, as far away as possible from
traffic. X
Switch on the hazard warning lamps. X
Secure the vehicle against rolling away
( Y
page 162).X
If possible, bring the front wheels into the
straight-ahead position. X
Switch off the engine. X
Open the driver's door.
The on-board electronics now have status 0 .
This is the same as the SmartKey having been
removed. X
Remove the Start/Stop button from the igni-
tion lock ( Y
page 145).
or, if the SmartKey is inserted in the ignition
lock: X
Remove the SmartKey from the ignition lock. X
Make sure that the engine cannot be started
via your smartphone ( Y
page 147).X
Make sure that the passengers are not endan-
gered as they do so. Make sure that no one is
near the danger area while a wheel is being
changed. Anyone who is not directly assisting
in the wheel change should, for example,
stand behind the barrier. X
Get out of the vehicle. Pay attention to traffic
conditions when doing so. X
Close the driver's door.
MOExtended tires (tires with run-flat
properties)
General notes With MOExtended tires (tires with run flat char-
acteristics), you can continue to drive your vehi-
cle even if there is a total loss of pressure in one
or more tires. The affected tire must not show
any clearly visible damage.
You can recognize MOExtended tires by the
MOExtended marking which appears on the
sidewall of the tire. You will find this marking
next to the tire size designation, the load-bear-
ing capacity and the speed index ( Y
page 357).
MOExtended tires may only be used in conjunc-
tion with an active tire pressure loss warning
system or with an active tire pressure monitor. If a pressure loss warning message appears
in the multifunction display: R
observe the instructions in the display mes-
sages ( Y
page 252). R
check the tire for damage. R
if driving on, observe the following notes.
The driving distance possible in run-flat mode is
approximately 50 miles (80 km) when the vehi-
cle is partially laden. When the vehicle is fully
laden it is approximately 19 miles (30 km).
In addition to the vehicle load, the driving dis-
tance possible depends upon: R
Vehicle speed R
Road condition R
Outside temperature
The driving distance possible in run-flat mode
may be reduced by extreme driving conditions
or maneuvers, or it can be increased through a
moderate style of driving.
The driving distance possible in run-fla t mode is
co
unted from the moment the tire pressure loss
warning appears in the multifunction display.
You must not exceed a maximum permissible
speed of 50 mph (80 km/h).
When replacing one or all tires, please observe
the following specifications for your vehicle's
tires: R
size R
the type and R
the "MOExtended" mark
If a tire has gone flat and cannot be replaced
with a MOExtended tire, a standard tire may be
used as a temporary measure. Make sure that
you use the proper size and type (summer or
winter tires).
Vehicles equipped with MOExtended tires are
not equipped with a TIREFIT kit at the factory. It
is therefore recommended that you additionally
equip your vehicle with a TIREFIT kit if you mount
tires that do not feature run-flat properties, e.g.
winter tires. A TIREFIT kit may be obtained from
a qualified specialist workshop.
Important safety notes
G WARNING
When driving in emergency mode, the driving
characteristics deteriorate, e.g. when corner-
ing, accelerating quickly and when braking.
There is a risk of an accident.328
Flat tire
Breakdown assistance
Page 331 of 382

Do not exceed the stated maximum speed.
Avoid abrupt steering and driving maneuvers,
and driving over obstacles (curbs, potholes,
off-road). This applies in particular to a laden
vehicle.
Stop driving in emergency mode if: R
you hear banging noises. R
the vehicle starts to shake. R
you see smoke and smell rubber. R
ESP ®
is intervening constantly.R
there are tears in the sidewalls of the tire.
After driving in emergency mode, have the
wheel rims checked at a qualified specialist
workshop with regard to their further use. The
defective tire must be replaced in every case.
TIREFIT kit
Important safety notes TIREFIT is a tire sealant.
You can use TIREFIT to seal punctures of up to
0.16 in (4 mm), particularly those in the tire
tread. You can use TIREFIT at outside tempera-
tures down to �
Page 345 of 382

Important safety notes
G WARNIN G
If wheels and tires of th e wrong siz e are used,
th e whee l brakes or suspension component s
may be damaged. Ther e is a ris k of an acci-
dent.
Always replace wheels and tires wit h those
that fulfill th e specification s of th e original
part .
When replacing wheels, mak e sur e to use th e
correct: R
designation R
model
When replacing tires , mak e sur e to use th e
correct: R
designation R
manufacturer R
model
G WARNIN G
A flat tire severely impairs th e driving , steer -
ing and braking characteristics of th e vehicle.
Ther e is a ris k of accident.
Tires without run-flat characteristics :R
do no t driv e wit h a flat tire.R
immediately replace th e flat tire wit h your
emergenc y spar e whee l or spar e wheel, or
consult a qualified specialist workshop.
Tires wit h run-flat characteristics :R
pay attention to th e information and warn -
ing notice s on MOExtended tires (tire s wit h
run-flat characteristics).
Accessories that are no t approve d for your vehi-
cle by Mercedes-Ben z or are no t bein g used cor-
rectl y can impair th e operating safety.
Before purchasing and usin g non-approve d
accessories, visit a qualified specialist work-
sho p and inquire about :R
suitabilit yR
legal stipulation sR
factory recommendation s Information on th e sizes and types of wheels and
tires for your vehicl e can be foun d under
"Wheel/tire combinations" ( Y
page 367).
Information on tire pressur e can be found:R
on th e vehicle's Tir e and Loading Information
placard on th e B-pillar ( Y
page 353)R
in th e tire pressur e table in th e fuel filler flap
( Y
page 162) R
under "Tir e pressure" ( Y
page 346)
Operation
Information on driving Chec k th e tire pressur e when th e vehicl e is
heavily laden and adjust prio r to a trip.
While driving , pay attention to vibrations, noises
and unusual handlin g characteristics , e.g. pull-
ing to on e side . This may indicat e that th e
wheels or tires are damaged. If you suspec t that
a tire is defective, reduce your spee d immedi-
ately. Stop th e vehicl e as soo n as possible to
chec k th e wheels and tires for damage. Hidden
tire damag e could also be causing th e unusual
handlin g characteristics . If you fin d no sign s of
damage, hav e th e tires and wheels checke d at a
qualified specialist workshop.
When parking your vehicle, mak e sur e that th e
tires do no t get deformed by th e cur b or other
obstacles. If they canno t be avoided, driv e ove r
obstacles suc h as curbs slowly and at an obtuse
angle. Otherwise, you may damag e th e wheels
or tires .
Regular checking of wheels and tires
G WARNIN G
Damaged tires can caus e tire inflation pres-
sur e loss . As a result , you could lose control of
your vehicle. Ther e is a ris k of accident.
Chec k th e tires regularly for sign s of damag e
and replace any damaged tires immediately.
Chec k wheels and tires for damag e at least once
a month . Chec k wheels and tires after driving
off-road or on roug h roads. Damaged wheels
can caus e a loss of tire pressure.
Pay particular attention to damag e suc h as:R
cut s in th e tires R
punctures in th e tiresOperation 343
Wheels and tires Z
Page 375 of 382

If standard unleaded gasoline is unavailable
and you have to refuel with unleaded gasoline
of a lower grade, observe the following pre-
cautions: R
Only fill the fuel tank to half full with regular
unleaded gasoline and fill the rest with pre-
mium-grade unleaded gasoline as soon as
possible. R
Do not drive at the maximum speed. R
Avoid sudden acceleration and engine
speeds over 3,000 rpm.
You will usually find information about the fuel
grade on the pump. If you cannot find the label
on the pump, ask the staff for assistance.
i For further information, consult a qualified
specialist workshop or visit
http://www.mbusa.com (USA only).
As a temporary measure, if the recommended
fuel is not available, you may also use regular
unleaded gasoline with an octane rating of
87 AKI/91 RON. This may reduce engine per-
formance and increase fuel consumption. Avoid
driving at full throttle and sudden acceleration.
Never refuel using gasoline with a lower AKI.
Information on refueling ( Y
page 159).
Additives
! Operating the engine with fuel additives
added later can lead to engine failure. Do not
mix fuel additives with fuel. This does not
include additives for the removal and preven-
tion of residue buildup. gasoline must only be
mixed with additives recommended by
Mercedes-Benz. Comply with the instructions
for use on the product label. More information
about recommended additives can be
obtained from any authorized Mercedes-Benz
Center.
Mercedes-Benz recommends that you use bran-
ded fuels that have additives.
The fuel quality available in some countries may
not be sufficient. Residue could build up in the
fuel injection system as a result. In such cases,
and in consultation with an authorized
Mercedes-Benz Center, the fuel may be mixed
with the cleaning additive recommended by
Mercedes-Benz. You must observe the notes
and mixing ratios specified on the container. Engine oil
General notes
! Never use engine oil or an oil filter of a spec-
ification other than is necessary to fulfill the
prescribed service intervals. Do not change
the engine oil or oil filter in order to achieve
longer replacement intervals than those pre-
scribed. You could otherwise cause engine
damage or damage to the exhaust gas after-
treatment.
Follow the instructions in the service interval
display regarding the oil change. Otherwise,
you may damage the engine and the exhaust
gas aftertreatment.
When handling engine oil, observe the important
safety notes on service products ( Y
page 371).
The engine oils are matched to the performance
of Mercedes-Benz engines and service intervals.
You should therefore only use engine oils and oil
filters that are approved for vehicles with main-
tenance systems.
For a list of approved engine oils and oil filters,
consult an authorized Mercedes-Benz Center.
Or visit the website
http://bevo.mercedes-benz.com.
The table shows which engine oils have been
approved for your vehicle.
Model MB-Freigabe or
MB-Approval
All models
229.5
Use only SAE 0W-40 or SAE 5W-40 engine oils
for Mercedes-AMG vehicles.
i MB approval is indicated on the oil contain-
ers.Service products and filling capacities 373
Technical data Z