2017 MERCEDES-BENZ S-Class MAYBACH washer fluid
[x] Cancel search: washer fluidPage 8 of 382
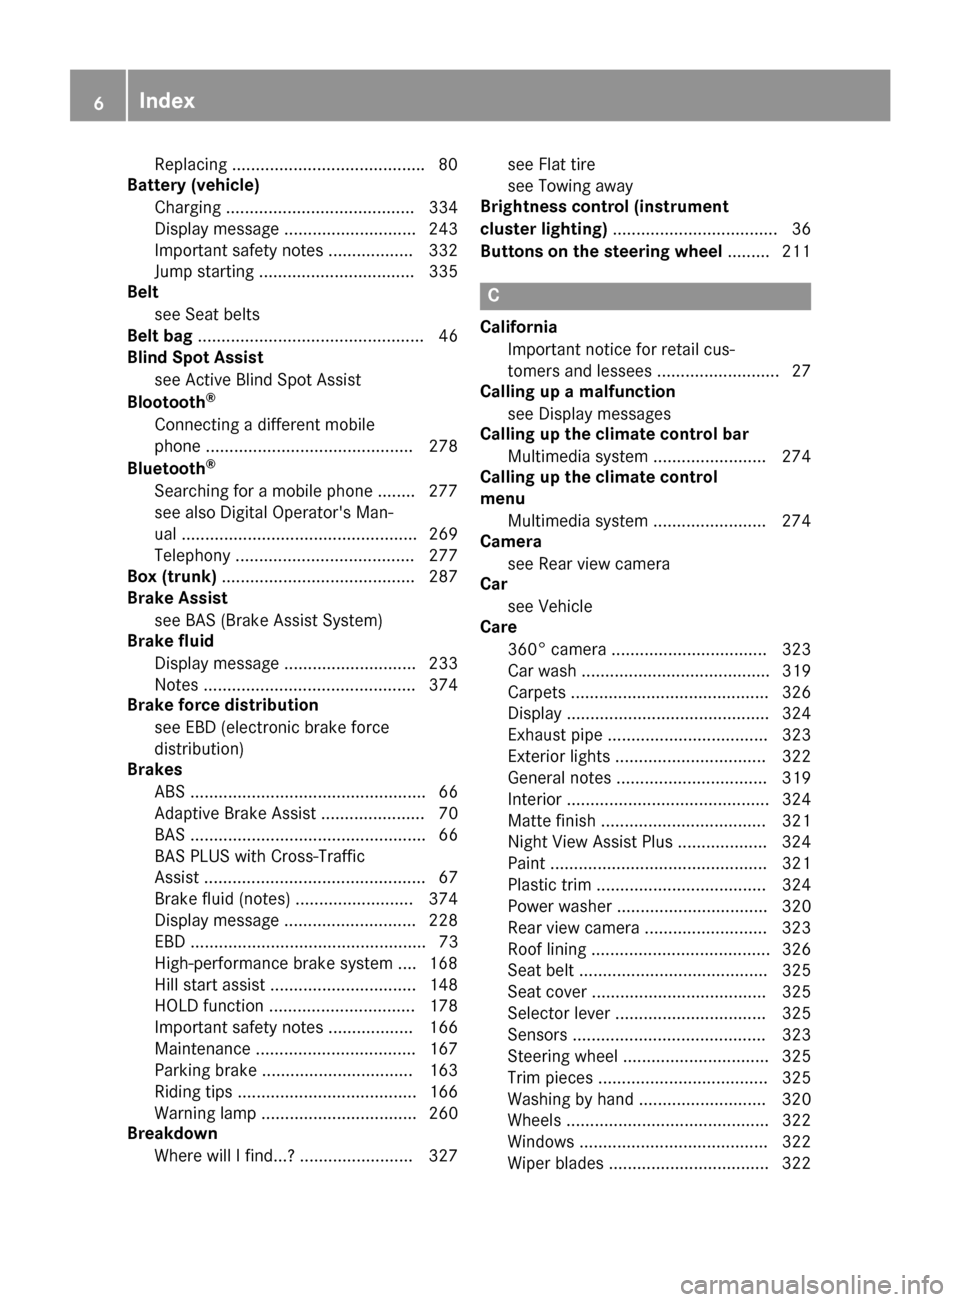
Replacing........................................ .80
Battery (vehicle)
Charging ........................................ 334
Display message ............................ 243
Important safety notes .................. 332
Jump starting ................................. 335
Belt
see Seat belts
Belt bag ................................................ 46
Blind Spot Assist
see Active Blind Spot Assist
Blootooth
®
Connecting a different mobile
phone ............................................ 278
Bluetooth
®
Searching for a mobile phone ........ 277
see also Digital Operator's Man-
ual .................................................. 269
Telephony ...................................... 277
Box (trunk) ......................................... 287
Brake Assist
see BAS (Brake Assist System)
Brake fluid
Display message ............................ 233
Notes ............................................. 374
Brake force distribution
see EBD (electronic brake force
distribution)
Brakes
ABS .................................................. 66
Adaptive Brake Assist ...................... 70
BAS .................................................. 66
BAS PLUS with Cross-Traffic
Assist ............................................... 67
Brake fluid (notes) ......................... 374
Display message ............................ 228
EBD .................................................. 73
High-performance brake system .... 168
Hill start assist ............................... 148
HOLD function ............................... 178
Important safety notes .................. 166
Maintenance .................................. 167
Parking brake ................................ 163
Riding tips ...................................... 166
Warning lamp ................................. 260
Breakdown
Where will I find...? ........................ 327 see Flat tire
see Towing away
Brightness control (instrument
cluster lighting) ................................... 36
Buttons on the steering wheel ......... 211
C
California
Important notice for retail cus-
tomers and lessees .......................... 27
Calling up a malfunction
see Display messages
Calling up the climate control bar
Multimedia system ........................ 274
Calling up the climate control
menu
Multimedia system ........................ 274
Camera
see Rear view camera
Car
see Vehicle
Care
360° camera ................................. 323
Car wash ........................................ 319
Carpets .......................................... 326
Display ........................................... 324
Exhaust pipe .................................. 323
Exterior lights ................................ 322
General notes ................................ 319
Interior ........................................... 324
Matte finish ................................... 321
Night View Assist Plus ................... 324
Paint .............................................. 321
Plastic trim .................................... 324
Power washer ................................ 320
Rear view camera .......................... 323
Roof lining ...................................... 326
Seat belt ........................................ 325
Seat cover ..................................... 325
Selector lever ................................ 325
Sensors ......................................... 323
Steering wheel ............................... 325
Trim pieces .................................... 325
Washing by hand ........................... 320
Wheels ........................................... 322
Windows ........................................ 322
Wiper blades .................................. 322
6Index
Page 20 of 382

Roof lining and carpets (cleaning
guidelines)......................................... 326
Roof load (maximum) ........................ 376
Route guidance
see also Digital Operator's Man-
ual .................................................. 269
S
SafetyChildren in the vehicle ..................... 59
see Occupant safety
see Operating safety
Safety system
see Driving safety systems
SD card
Inserting/removing ........................ 278
SD memory card
see also Digital Operator's Man-
ual .................................................. 269
Selecting ........................................ 218
Search & Send
see also Digital Operator's Man-
ual .................................................. 269
Seat
Adjusting the front-passenger
seat from the driver's seat ............. 103
Adjusting the front-passenger
seat from the rear .......................... 104
Multicontour seat in the rear com-
partment ........................................ 112
Seat belt buckle extender
Display message ............................ 235
Seat belt extender
Function/notes ................................ 47
Seat belts
Adjusting the driver's and front-
passenger seat belt ......................... 47
Adjusting the height ......................... 46
Cleaning ......................................... 325
Correct usage .................................. 45
Fastening ......................................... 46
Important safety guidelines ............. 44
Introduction ..................................... 43
Releasing ......................................... 47
Seat belt extender ........................... 47
Warning lamp ................................. 259
Warning lamp (function) ................... 47 Seating
Seating comfort package ............... 112
Seating comfort package ................. 112
Seats
Active multicontour seat ................ 112
Adjusting (electrically) ................... 101
Adjusting (rear compartment) ........ 102
Adjusting the 4-way lumbar sup-
port ................................................ 112
Adjusting the head restraint .......... 109
Calling up a stored setting (mem-
ory function) .................................. 120
Chauffeur mode ............................. 106
Cleaning the cover ......................... 325
Correct driver's seat position ........ 100
Display message ............................ 256
EASY-ENTRY/EXIT system ............. 116
Important safety notes .................. 100
Seat heating .................................. 112
Se
at heating problem .................... 114
Seat ventilation .............................. 113
Storing settings (memory func-
tion) ............................................... 120
Switching seat heating on/off ....... 112
Switching seat ventilation on/off .. 113
Section
Wheels and tires ............................ 343
Securing a load
see Securing cargo
Securing cargo .................................. 288
Selector lever
Cleaning ......................................... 325
see Automatic transmission
Sensors (cleaning instructions) ....... 323
Service menu (on-board com-
puter) .................................................. 221
Service message
see ASSYST PLUS
Service products
Brake fluid ..................................... 374
Coolant (engine) ............................ 374
Engine oil ....................................... 373
Fuel ................................................ 372
Important safety notes .................. 371
Refrigerant (air-conditioning sys-
tem) ............................................... 375
Washer fluid ................................... 375
18Index
Page 25 of 382
From inside the vehicle (central
unlocking button) ............................. 83
Upshift indicator (on-board com-
puter, Mercedes-AMG vehicles) ....... 226
USB devices
Connecting to the Media Inter-
face ............................................... 279
V
Vanity mirror (in the sun visor) ........ 292
Vehicle
Correct use ...................................... 30
Data acquisition ............................... 31
Display message ............................ 254
Equipment ....................................... 27
Individual settings .......................... 221
Limited Warranty ............................. 31
Loading .......................................... 353
Locking (in an emergency) ............... 84
Locking (SmartKey) .......................... 77
Lowering ........................................ 367
Maintenance .................................... 28
Operating safety .............................. 29
Parking .......................................... 162
Parking for a long period ................ 164
Pulling away ................................... 148
Raising ........................................... 364
Reporting problems ......................... 30
Securing from rolling away ............ 363
Towing away .................................. 338
Transporting .................................. 340
Unlocking (in an emergency) ........... 84
Unlocking (SmartKey) ...................... 77
Vehicle data ................................... 376
Vehicle dimensions ........................... 376
Vehicle emergency locking ................ 84
Vehicle identification number
see VIN
Vehicle identification plate .............. 370
Vehicle level
Active Body Control ABC ............... 180
AIRMATIC ...................................... 182
Display message ............................ 245
Vehicle tool kit .................................. 327
Video
Operating the DVD ......................... 219 see also Digital Operator's Man-
ual .................................................. 269
Video-AUX
Connecting an external video
source ............................................ 279
VIN
Type plate ...................................... 370
W
Warning and indicator lampsABS ................................................ 261
Brakes ........................................... 260
Check Engine ................................. 264
Coolant .......................................... 264
Distance warning ........................... 266
ESP
®.............................................. 261
ESP®OFF ....................................... 263
Fuel tank ........................................ 264
General notes ................................ 258
Overview .......................................... 35
Parking brake ................................ 263
PASSENGER AIR BAG ...................... 43
Reserve fuel ................................... 264
Restraint system ............................ 263
Seat belt ........................................ 259
Steering ......................................... 268
Tire pressure monitor .................... 267
Warranty .............................................. 27
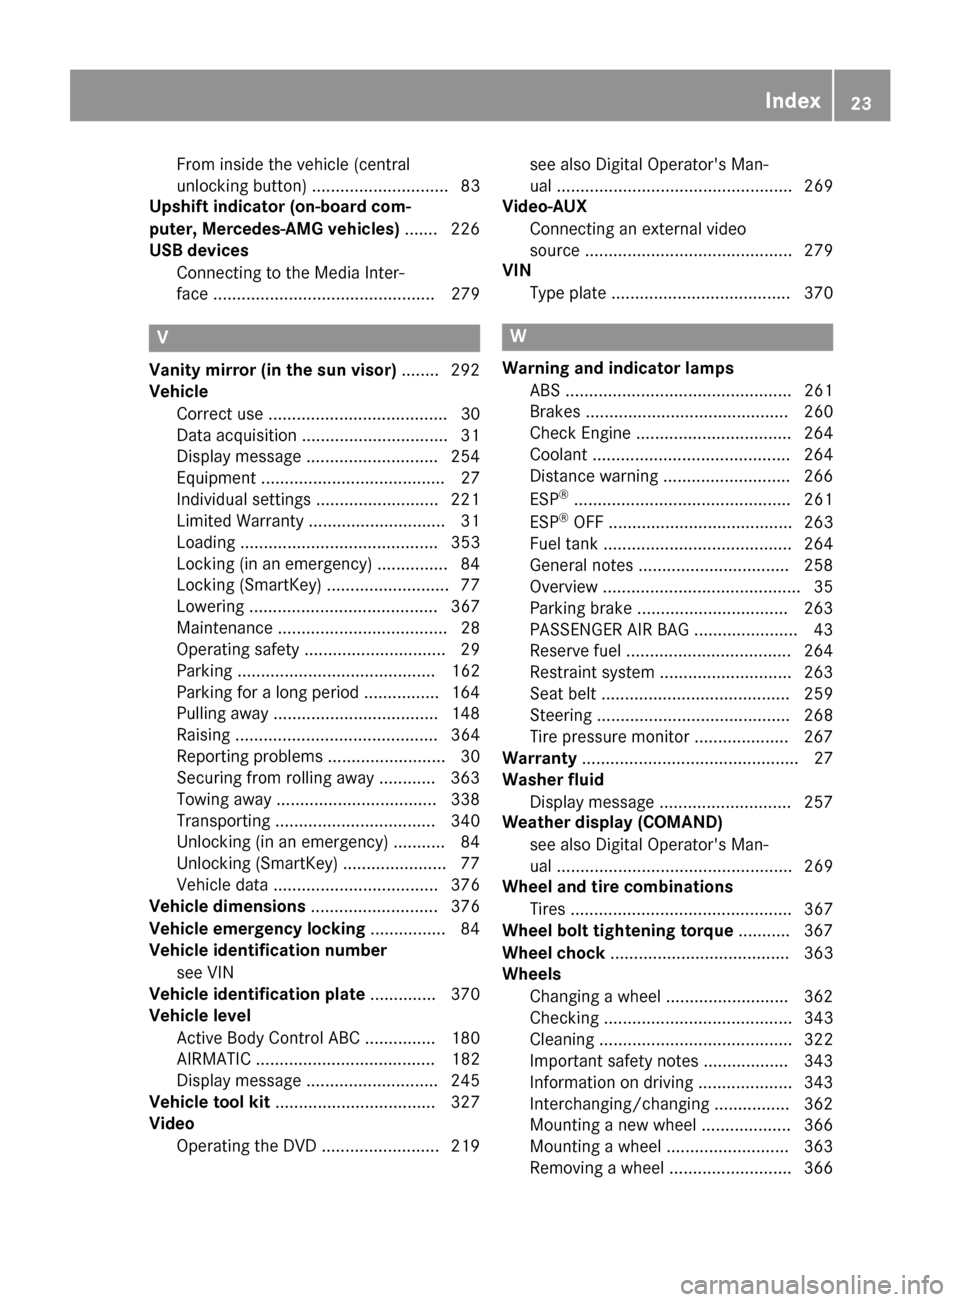
Washer fluid
Display message ............................ 257
Weather display (COMAND)
see also Digital Operator's Man-
ual .................................................. 269
Wheel and tire combinations
Tires ............................................... 367
Wheel bolt tightening torque ........... 367
Wheel chock ...................................... 363
Wheels
Changing a wheel .......................... 362
Checking ........................................ 343
Cleaning ......................................... 322
Important safety notes .................. 343
Information on driving .................... 343
Interchanging/changing ................ 362
Mounting a new wheel ................... 366
Mounting a wheel .......................... 363
Removing a wheel .......................... 366
Index23
Page 26 of 382
Snow chains .................................. 345
Storing ........................................... 363
Tightening torque ........................... 367
Wheel size/tire size ....................... 367
Window curtain air bag
Display message ............................ 238
Operation ......................................... 50
Windows
see Side windows
Windshield
Defrosting ...................................... 139
Infrared reflective .......................... 311
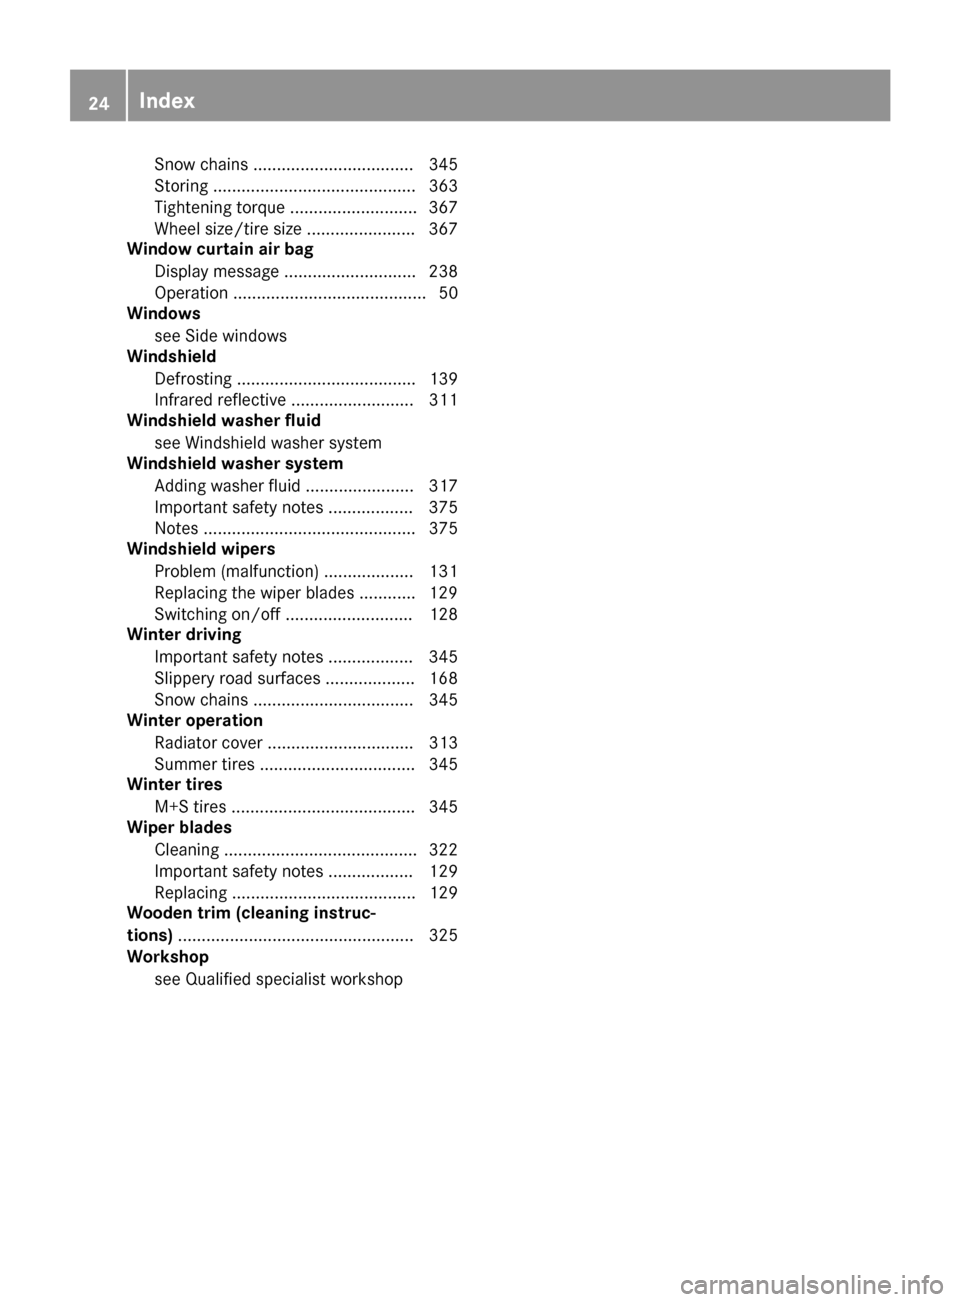
Windshield washer fluid
see Windshield washer system
Windshield washer system
Adding washer fluid ....................... 317
Important safety notes .................. 375
Notes ............................................. 375
Windshield wipers
Problem (malfunction) ................... 131
Replacing the wiper blades ............ 129
Switching on/off ........................... 128
Winter driving
Important safety notes .................. 345
Slippery road surfaces ................... 168
Snow chains .................................. 345
Winter operation
Radiator cover ............................... 313
Summer tires ................................. 345
Winter tires
M+S tires ....................................... 345
Wiper blades
Cleaning ......................................... 322
Important safety notes .................. 129
Replacing ....................................... 129
Wooden trim (cleaning instruc-
tions) .................................................. 325
Workshop
see Qualified specialist workshop
24Index
Page 131 of 382

If it is necessary to switch on the windshield
wipers in dry weather conditions, always use
washer fluid when operating the windshield
wipers.
!If the windshield wipers leave smears on the
windshield after the vehicle has been washed
in an automatic car wash, wax or other resi-
dues may be the reason for this. Clean the
windshield using washer fluid after washing
the vehicle in an automatic car wash.
!Intermittent wiping with rain sensor: due to
optical influences and the windshield becom-
ing dirty in dry weather conditions, the wind-
shield wipers may be activated inadvertently.
This could then damage the windshield wiper
blades or scratch the windshield.
For this reason, you should always switch off
the windshield wipers in dry weather.
1$ Windshield wiper off
2ÄIntermittent wiping, normal
3ÅIntermittent wiping, frequent
4°Continuous wipe, slow
5¯Continuous wipe, fast
BíSingle wipe
î Wipe with washer fluid
XSwitch on the ignition.
XTurn the combination switch to the corre-
sponding position.
In the ÅorÄ position, the appropriate
wiping frequency is set automatically according
to the intensity of the rain. In the Åposition,
the rain sensor is more sensitive than in the
Ä position, causing the windshield wiper to
wipe more frequently.
Vehicles with MAGIC VISION CONTROL:
If you push and hold the combination switch
beyond the point of resistance in direction of
arrow B, the manual wash program is activa-
ted. If you push and hold the combination switch briefly beyond the point of resistance in direc-
tion of arrow
B, the automatic wash program is
activated.
If the wiper blades are worn, the windshield will
no longer be wiped properly. This could prevent
you from observing the traffic conditions.
Replacing the wiper blades
Important safety notes
GWARNING
If the windshield wipers begin to move while
you are changing the wiper blades, you could be trapped by the wiper arm. There is a risk of
injury.
Always switch off the windshield wipers and
ignition before changing the wiper blades.
!To avoid damaging the wiper blades, make
sure that you touch only the wiper arm of the
wiper.
!Never open the hood if a windshield wiper
arm has been folded away from the wind-
shield.
Hold the windshield wiper arm firmly when
you change the wiper blade. If you release the
windshield wiper arm without a wiper blade
and it falls onto the windshield, the windshield
may be damaged by the force of the impact.
Mercedes-Benz recommends that you have
the wiper blades changed at a qualified spe-
cialist workshop.
!Always position the windshield wiper arms
vertically before folding them away from the
windshield. By doing so, you will avoid dam-
age to the hood.
Replacing the wiper blades (standard
windshield wipers)
Moving the wiper arms to a vertical posi-
tion
XSwitch off the engine.
XRemove your foot from the brake pedal.
XSet the windshield wiper to the °position
on the combination switch.
XPress the Start/Stop button repeatedly until
the windshield wiper starts.
Windshield wipers129
Lights and windshield wipers
Z
Page 133 of 382

Installing the wiper bladesXPush the new wiper blade in the direction of
arrow:onto the wiper arm until tab ;
engages.
XPush the wiper blade out of the removal posi- tion in the direction of arrow =beyond the
point of resistance.
The wiper blade disengages with an audible
clic k and isfreely movable again.
XMake sure that the wiperblade is seated cor-
rectly.
XFold the wiper arm back onto the windshield.
Problems with the windshield wipers
ProblemPossible causes/consequences and MSolutions
Thewindshield wipers
are jammed.Leaves or snow, for example, are obstructing windshield wipermove-
ment. The wipermotor has been deactivate d.
XSwitch off the engine.
XOpen the driver's door.
The veh icleelectronics now have status 0. This is the same as the
Sm artKey having been remove d.
XRemove the cause of the obstruction.
XSwitch the windshield wipers back on.
The windshield wipers
fail co mpletely.Thewindshield wiperdrive is malfunctioning.
XSelect another wiperspeed on the co mbination switch.
XHave the windshield wipers checked at a qualified specialist work-
shop.
Vehicle swit hout MAGIC
VISION CONTROL: the
win dshield washer fluid
from the spray nozzles
no longer hits the center
of the windshield.The spray nozzles are misaligned.
XHave the spray nozzles adjusted at a qualified specialist workshop.
Windshield wipers131
Lights and windshield wipers
Z
Page 259 of 382
Display messagesPossible causes/consequences andMSolutions
Ð
Power Steering Mal‐function See Opera‐tor's Manual
The powersteering is malfunctioning .
A warning tone also sounds.
GWARNIN G
You will need to use mor eforce to steer .
There is aris kof an accident.
XChec kwhether you are able to apply th eextr aforce required.
If you ar eabl eto steer safely:
XDrive on carefully.
XVisit aqualified specialist workshop immediately.
If you ar eunable to steer safely:
XDo no tdrive on .
XConsult aqualified specialist workshop .
Phone No ServiceYour vehicleis outside th enetwork provider' stransmitter/receiver
range.
XWait until th emobile phone operational readiness symbol appear s
in th emultifunction display.
¥
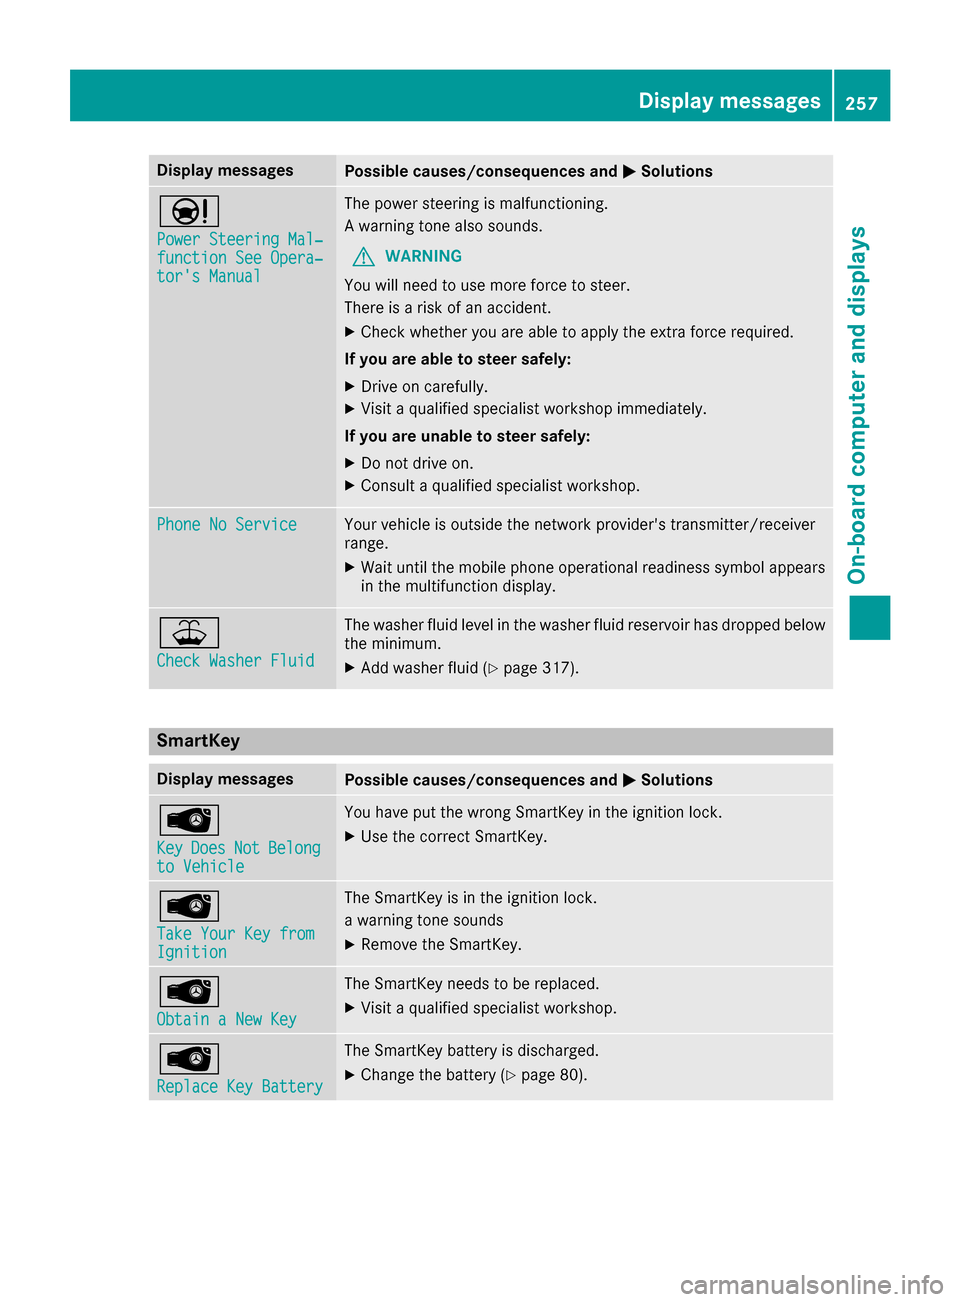
Check Washer Fluid
The washer flui dlevel in th ewasher flui dreservoir has dropped belo w
th eminimum .
XAddwasher flui d (Ypage 317).
SmartKey
Display messagesPossible causes/consequences and MSolutions
Â
KeyDoesNotBelongto Vehicl e
You haveput th ewrong SmartKey in th eignition lock.
XUse th ecorrec tSmartKey.
Â
Tak eYou rKey fro mIgnition
The SmartKey is in th eignition lock.
a warning tone sounds
XRemove th eSmartKey.
Â
Obtain aNew Key
The SmartKey needs to be replaced.
XVisit aqualified specialist workshop .
Â
ReplaceKey Batter y
The SmartKey battery is discharged.
XChange thebattery (Ypage 80) .
Display messages257
On-board computer and displays
Z
Page 319 of 382
you could be scalded if hot coolantsprays out .
There is aris kof injury.
Let th eengin ecool down before you open th e
cap .Wear gloves and eye protection .Slowly
open th ecap to reliev epressure.
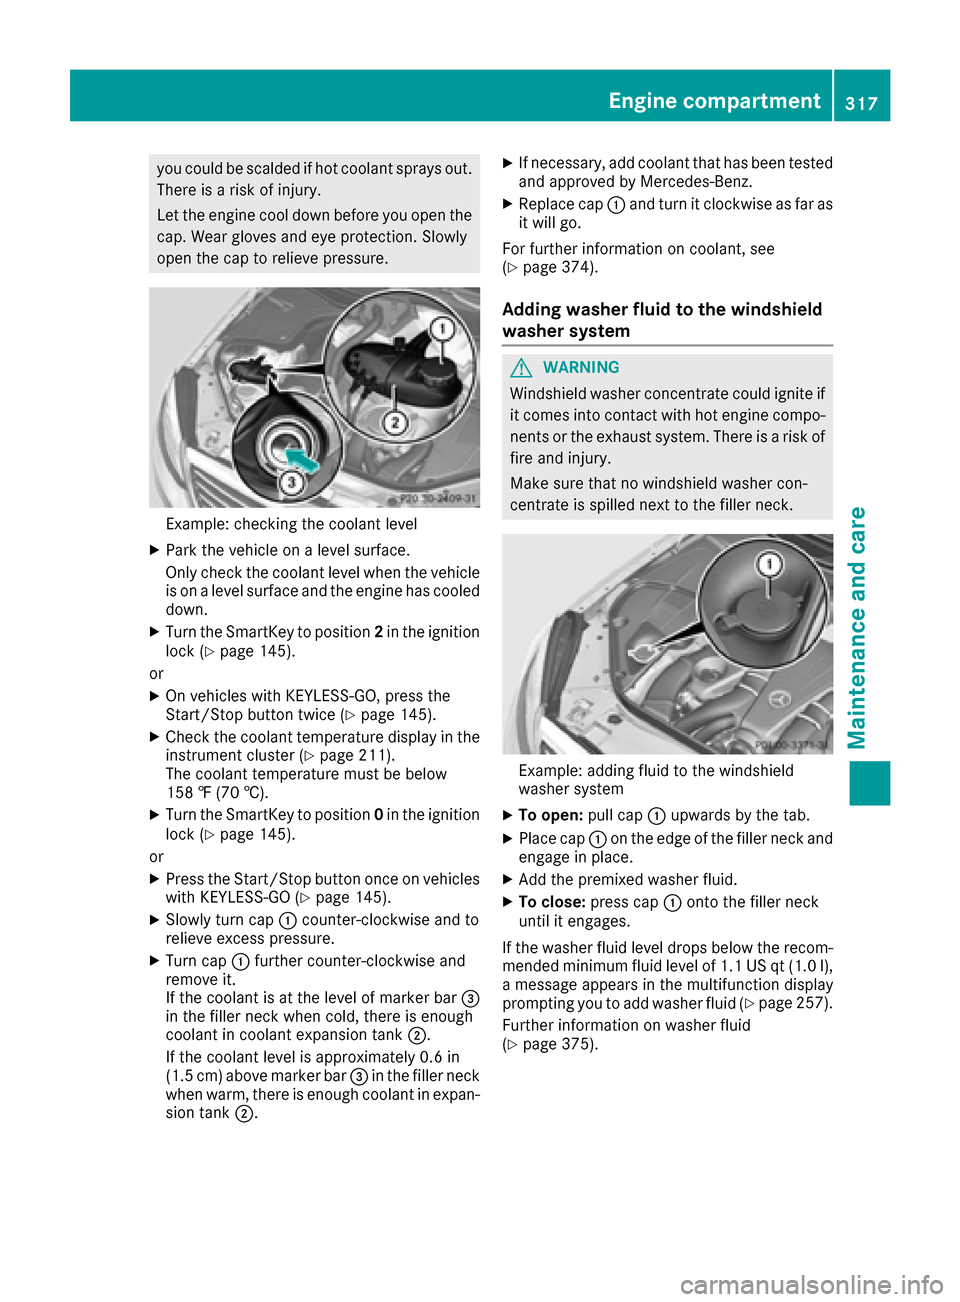
Example: checking th ecoolan tlevel
XPar kth evehicl eon alevel surface.
Only chec kth ecoolan tlevel when th evehicl e
is on alevel surfac eand th eengin ehas cooled
down .
XTurn th eSmartKey to position 2in th eignition
loc k (Ypage 145).
or
XOn vehicles wit hKEYLESS-GO ,press th e
Start/Sto pbutto ntwice (Ypage 145).
XCheckth ecoolan ttemperature display in th e
instrumen tcluste r (Ypage 211).
The coolan ttemperature mus tbe belo w
15 8 ‡ (70 †).
XTurn th eSmartKey to position 0in th eignition
loc k (Ypage 145).
or
XPress th eStart/Sto pbutto nonce on vehicles
wit hKEYLESS-GO (Ypage 145).
XSlowly turncap :counter-clockwise and to
reliev eexcess pressure.
XTurn cap :further counter-clockwise and
remove it .
If th ecoolan tis at th elevel of marke rbar =
in th efiller neck when cold, there is enough
coolan tin coolan texpansion tan k;.
If th ecoolan tlevel is approximately 0. 6in
(1.5 cm ) above marker bar =in the filler neck
when warm, there is enough coolant in expan-
sion tank ;.
XIf necessary, add coolant that has been tested
and approved by Mercedes-Benz.
XReplace cap :and turn it clockwise as far as
it will go.
For further information on coolant, see
(
Ypage 374).
Adding washer fluid to the windshield
washer system
GWARNING
Windshield washer concentrate could ignite if it comes into contact with hot engine compo-
nents or the exhaust system. There is a risk of
fire and injury.
Make sure that no windshield washer con-
centrate is spilled next to the filler neck.
Example: adding fluid to the windshield
washer system
XTo open: pull cap:upwards by the tab.
XPlace cap :on the edge of the filler neck and
engage in place.
XAdd the premixed washer fluid.
XTo close: press cap :onto the filler neck
until it engages.
If the washer fluid level drops below the recom-
mended minimum fluid level of 1.1 US qt (1.0 l),
a message appears in the multifunction display
prompting you to add washer fluid (
Ypage 257).
Further information on washer fluid
(
Ypage 375).
Engine compartment317
Maintenance and care
Z