2017 MERCEDES-BENZ GLE43AMG SUV steering
[x] Cancel search: steeringPage 215 of 366
You will see one of the following display mes-
sages in the multifunction display:
RPhone READYor the name of the network
provider: the mobile phone has found a net-
work and is ready to receive.
RPhone No Service: there is no network
available or the mobile phone is searching for
a network.
Accepting a call
If someone calls you when you are in the Telmenu, a display message appears in the multi-
function display.
You can accept a call at any time regardless of
the menu selected.
XPress the6button on the steering wheel
to accept an incoming call.
Rejecting or ending a call
You can end or reject a call even if you are not in
the Telmenu.
XPress the ~button on the steering wheel
to reject or end a call.
Selecting an entry from the telephone
book
XPress the =or; button on the steering
wheel to select the Telmenu.
XPress the9,:ora button to
switch to the phone book.
XAuthorize access to the phone book on the
phone.
XPress the 9or: button to select the
desired name.
or
XTo start rapid scrolling: press and hold the
9 or: button for longer than one sec-
ond.
Rapid scrolling stops when you release the
button or reach the end of the list.
XIf only one telephone number is stored for
a name: press the 6ora button to
start dialing.
or
XIf there is more than one number for a
particular name: press the6ora
button to display the numbers.
XPress the 9or: button to select the
number you want to dial.
XPress the 6ora button to start dialing.
or
XTo exit the telephone book: press the~
or % button.
Redialing
The on-board computer saves the last names or
numbers dialed in the redial memory.
XPress the =or; button on the steering
wheel to select the Telmenu.
XPress the6button to switch to the redial
memory.
XPress the 9or: button to select the
desired name or number.
XPress the 6ora button to start dialing.
or
XTo exit the redial memory: press the~
or % button.
Assistance menu
Introduction
Depending on the equipment installed in the
vehicle, you have the following options in the
DriveAssist
menu:
RDisplaying the assistance graphic
(Ypage 214)
RActivating or deactivating Steering Pilot
(Ypage 214)
RActivating or deactivating Active Brake Assist
(Ypage 214)
RActivating or deactivating Active Brake Assist with cross-traffic function (Ypage 214)
RActivating/deactivating ATTENTION ASSIST
(Ypage 214)
RActivating/deactivating Blind Spot Assist or
Active Blind Spot Assist (Ypage 214)
RActivating/deactivating Lane Keeping Assist
or Active Lane Keeping Assist (Ypage 215)
Menus and submenus213
On-board computer and displays
Z
Page 216 of 366
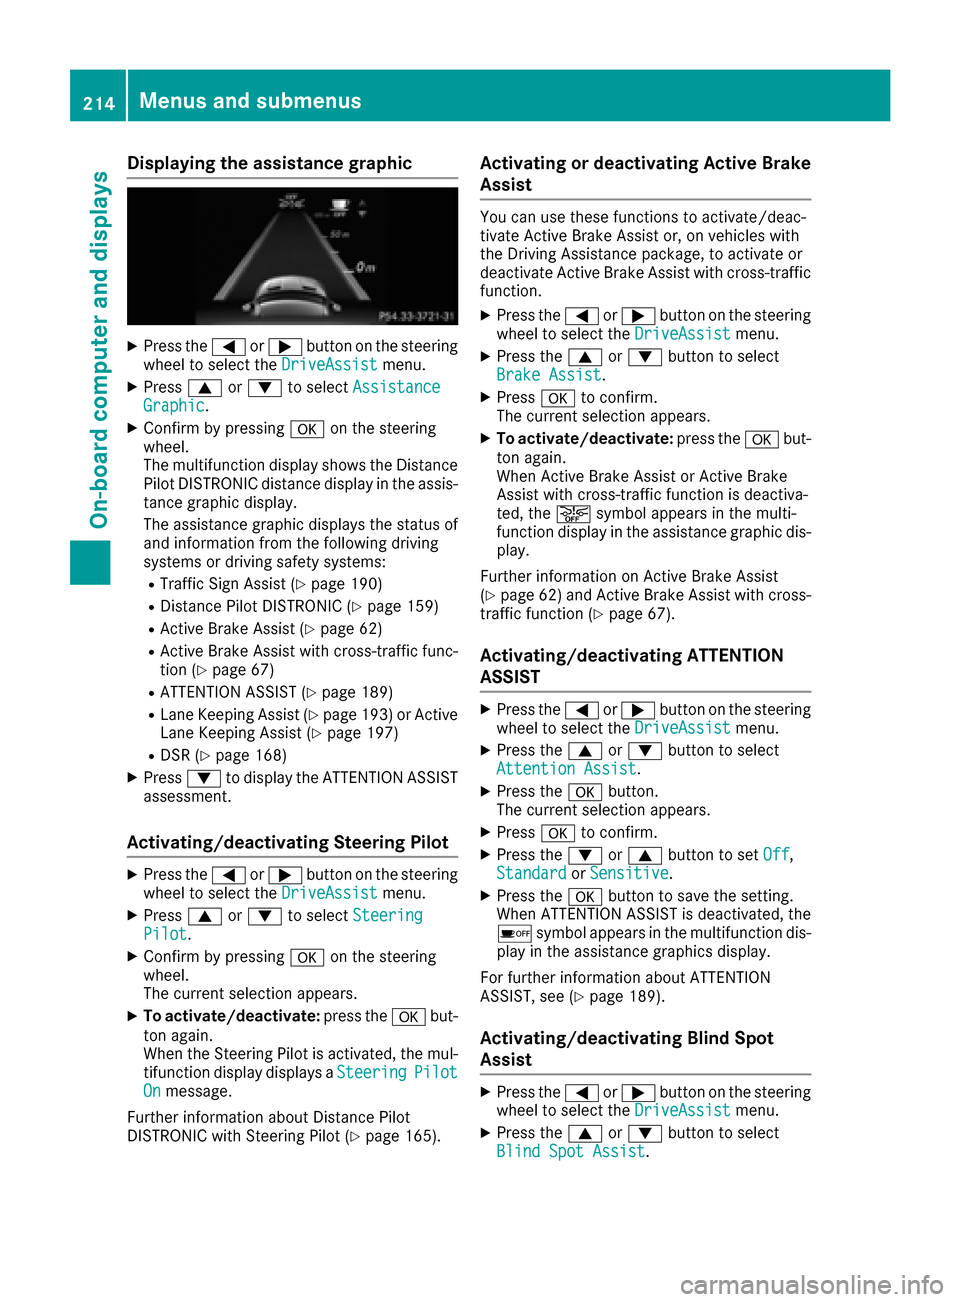
Displaying theassistance graphic
XPress th e= or; buttonon th esteerin g
whee lto selec tth eDriveAssistmenu.
XPress 9or: to selec tAssistanc eGraphic.
XConfirmby pressing aon thesteerin g
wheel.
The multifunction display shows th eDistanc e
Pilo tDISTRONIC distanc edisplay in th eassis-
tanc egraphi cdisplay.
The assistanc egraphi cdisplays th estatus of
and information from th efollowin gdrivin g
systems or drivin gsafet ysystems :
RTraffic Sign Assis t (Ypage 190)
RDistancePilo tDISTRONIC (Ypage 159)
RActive BrakeAssis t (Ypage 62)
RActive Brak eAssis twit hcross-traffic func-
tion (Ypage 67 )
RATTENTION ASSIST (Ypage 189)
RLaneKeepin gAssis t (Ypage 193) or Active
Lan eKeepin gAssis t (Ypage 197)
RDSR (Ypage 168)
XPress :to display th eATTENTION ASSIST
assessment.
Activating/deactivating Steering Pilo t
XPress the= or; buttonon th esteerin g
whee lto selec tth eDriveAssistmenu.
XPress 9or: to selec tSteeringPilot.
XConfir mby pressing aon thesteerin g
wheel.
The curren tselection appears .
XTo activate/deactivate :press th ea but-
to nagain .
Whe nth eSteerin gPilo tis activated, th emul-
tifunction display displays aSteering
PilotOnmessage.
Further information about Distanc ePilo t
DISTRONIC wit hSteerin gPilo t (
Ypage 165).
Activating or deactivating Active Brak e
Assis t
You can use these function sto activate/deac -
tivat eActive Brak eAssis tor ,on vehicles wit h
th eDriving Assistanc epackage, to activat eor
deactivat eActive Brak eAssis twit hcross-traffic
function .
XPress the= or; buttonon th esteerin g
whee lto selec tth eDriveAssistmenu.
XPress th e9 or: buttonto selec t
Brake Assist.
XPress ato confirm .
The curren tselection appears .
XTo activate/deactivate :press th ea but-
to nagain .
Whe nActive Brak eAssis tor Active Brak e
Assis twit hcross-traffic function is deactiva-
ted, th eæ symbol appears in th emulti-
function display in th eassistanc egraphi cdis -
play.
Further information on Active Brak eAssis t
(
Ypage 62) and Active Brak eAssis twit hcross -
traffic function (Ypage 67).
Activating/deactivating ATTENTIO N
ASSIS T
XPress th e= or; buttonon th esteerin g
whee lto selec tth eDriveAssistmenu.
XPress th e9 or: buttonto selec t
Attention Assist.
XPress th ea button.
The curren tselection appears .
XPressato confirm .
XPress the: or9 buttonto set Off,
Standardor Sensitive.
XPress th ea buttonto sav eth esetting .
Whe nATTENTION ASSIST is deactivated, th e
é symbol appears in th emultifunction dis -
play in th eassistanc egraphics display.
Fo rfurther information about ATTENTION
ASSIST ,see (
Ypage 189).
Activating/deactivating Blind Spot
Assist
XPress th e= or; buttonon th esteerin g
whee lto selec tth eDriveAssistmenu.
XPress th e9 or: buttonto selec t
Blind Spo tAssist.
214Menus and submenus
On-board computer and displays
Page 217 of 366

XConfirmbypressing aon the steering
wheel.
The current selection appears.
XTo activate/deactivate: press theabut-
ton again.
For further information about BlindSpo t Assist,
see (
Ypage 191).
For further information about Active BlindSpo t
Assist, see (
Ypage 194).
Activating/deactivating Lane Keeping
Assist
XPress the =or; button on the steering
wheel to select the DriveAssistmenu.
XPress the9or: button to select
Lane Keeping Assist.
XPress ato confirm.
The current selection appears.
XPress ato confirm.
XPress the :or9 button to set Off,
Standardor Adaptive.
When Lane Keeping Assist or Active Lane
Keeping Assist isactivated, the multifunction
displ ay shows the lane markings as bright
lin es inthe assistance graphic.
XPress the abutton to save the setting.
For further information about Lane Keeping
Assist, see (
Ypage 193).
For further information about Active Lane Keep-
ing Assist, see (
Ypage 197).
Service menu
Dependin g on theequipment installed inthe
veh icle, you have the foll owing options inthe
Serv.
menu:
RCallin g updisplay messages inmessage
memory (Ypage 221)
RRestarting the tire pressure loss warning sys-
tem (Ypage 328) or checking the tire pres-
sure electronically (Ypage 330)
RCallin g up the service due date
(Ypage 298)
Settings menu
Introduction
Depending on the equipment installed in the
vehicle, In the Sett.menu you have the follow-
ing options:
RChanging the instrument cluster settings
(Ypage 215)
RChanging the light settings (Ypage 216)
RChanging the vehicle settings (Ypage 216)
RChanging the convenience settings
(Ypage 217)
RRestoring the factory settings (Ypage 217)
Instrument cluster submenu
Selecting the distance unit
The Display Unit Speedometer / Odome‐ter:function allowsyou to choose whether
certain displays appear in kilometers or miles in
the multifunction display.
XPress the =or; button on the steering
wheel to select the Sett.menu.
XPress the:or9 button to select the
Instrument Clustersubmenu.
XPress ato confirm.
XPress the :or9 button to select the
Display Unit Speedometer / Odometer
function.
You willsee the selected setting: kmormiles.
XPress the abutton to save the setting.
The selected unit of measurement for distance
applies to:
RDigital speedometer in the Tripmenu
ROdometer and the trip odometer
RTrip computer
RCurrent consumption and the range
RNavigation instructions in the Navimenu
RCruise control
RDistance Pilot DISTRONIC
RASSYST PLUS service interval display
Selecting permanent display
The Permanent Display:function allowsyou
to choose whether the multifunction display
always shows the outsidetemperature or the
speed.
Menus and submenus215
On-board computer and displays
Z
Page 218 of 366
The speed display is inverse to the speedome-
ter.
XPress the=or; button on the steering
wheel to select the Sett.menu.
XPress the:or9 button to select the
Instrument Clustersubmenu.
XConfirm by pressing aon the steering
wheel.
XPress the :or9 button to select the
Permanent Display:function.
The current setting, Outside Temperature,
Speedometer [km/h]or Speedometer[mph]appears.
XTo change the setting: pressaagain.
Light submenu
Setting the daytime running lamps
This function is not available in Canada.
XPress the =or; button on the steering
wheel to select the Sett.menu.
XPress the:or9 button to select the
Lightsubmenu.
XPress ato confirm.
XPress :or9 to select the DaytimeRunning Lightsfunction.
If the DaytimeRunningLightsfunction has
been switched on, the cone of light and the
W symbol in the multifunction display are
shown in orange.
XPress the abutton to save the setting.
Further information on daytime running lamps
(
Ypage 104).
Switching the Intelligent Light System
on/off
XPress the =or; button on the steering
wheel to select the Sett.menu.
XPress the:or9 button to select the
Lightsubmenu.
XPress ato confirm.
XPress the :or9 button to select the
Intell. Light Systemfunction.
If the Intell. Light Systemfunction has
been switched on, the cone of light and the
L symbol in the multifunction display are
shown in orange.
XPress the abutton to save the setting.
When you activate Intell. Light System
,
you activate the following functions:
RHighway mode
RActive light function
RCornering light function
RExtended range fog lamps
Further information on the Intelligent Light Sys-
tem (
Ypage 106).
Vehicle submenu
Activating/deactivating the automatic
door locking mechanism
If you activate the AutomaticDoorLockfunc-
tion, the vehicle is centrally locked above a
speed of approximately 9 mph (15 km/h).
XPress the =or; button on the steering
wheel to select the Sett.menu.
XPress the:or9 button to select the
Vehiclesubmenu.
XPress ato confirm.
XPress the :or9 button to select the
Automatic Door Lockfunction.
When the Automatic Door Lockfunction is
activated, the vehicle doors are displayed in
orange in the multifunction display.
XPress the abutton to save the setting.
For further information on the automatic locking feature, see (
Ypage 78).
Activating/deactivating the acoustic
locking verification signal
If you switch on the AcousticLockfunction, an
acoustic signal sounds when you lock the vehi-
cle.
XPress the =or; button on the steering
wheel to select the Settingsmenu.
XPress the:or9 button to select the
Vehiclesubmenu.
XPress ato confirm.
XPress the :or9 button to select the
Acoustic Lockfunction.
If the Acoustic Lockfunction is activated,
the & symbol in the multifunction display
lights up orange.
XPress the abutton to save the setting.
216Menus and submenus
On-board computer and displays
Page 219 of 366
Convenience submenu
Activating/deactivating the EASY-
ENTRY/EXIT feature
GWARNING
When the EASY-ENTRY/EXIT feature adjusts
the steering wheel, you and other vehicle
occupants – particularly children – could
become trapped. There is a risk of injury.
While the EASY-ENTRY/EXIT feature is mak-
ing adjustments, make sure that no one has
any body parts in the sweep of the steering
wheel.
If somebody becomes trapped:
Rpress one of the memory function position
buttons, or
Rmove the switch for steering wheel adjust-
ment in the opposite direction to that in
which the steering wheel is moving.
The adjustment process is stopped.
XPress the =or; button on the steering
wheel to select the Sett.menu.
XPress the:or9 button to select the
Conveniencesubmenu.
XPress ato confirm.
XUsing :or9, select the EasyEntry/Exitfunction.
If the EasyEntry/Exitfunction is activated,
the vehicle steering wheel is displayed in
orange in the multifunction display.
XPress the abutton to save the setting.
Further information on the EASY-ENTRY/EXIT
feature (
Ypage 98).
Switching the seat belt adjustment on/off
XPress the =or; button on the steering
wheel to select the Settingsmenu.
XPress the:or9 button to select the
Conveniencesubmenu.
XPress ato confirm.
XPress the :or9 button to select the
Belt Adjustmentfunction.
If the BeltAdjustmentfunction is activated,
the vehicle seat belt is shown in orange in the
multifunction display.
XPress the abutton to save the setting. For further information on belt adjustment, see
(
Ypage 43).
Switching the fold-in mirrors when lock-
ing feature on/off
This function is only available when the vehicle is
equipped with the electrical fold-in function.
When you activate the
Auto.
MirrorFoldingfunction, the exterior mirrors are folded in when
the vehicle is locked. The exterior mirrors fold
out automatically again as soon as you unlock
the vehicle.
XPress the=or; button on the steering
wheel to select the Sett.menu.
XPress the:or9 button to select the
Conveniencesubmenu.
XPress ato confirm.
XPress the :or9 button to select the
Auto. Mirror Foldingfunction.
If the Auto. Mirror Foldingfunction is
switched on, the multifunction display shows
the exterior mirror in orange.
XPress the abutton to save the setting.
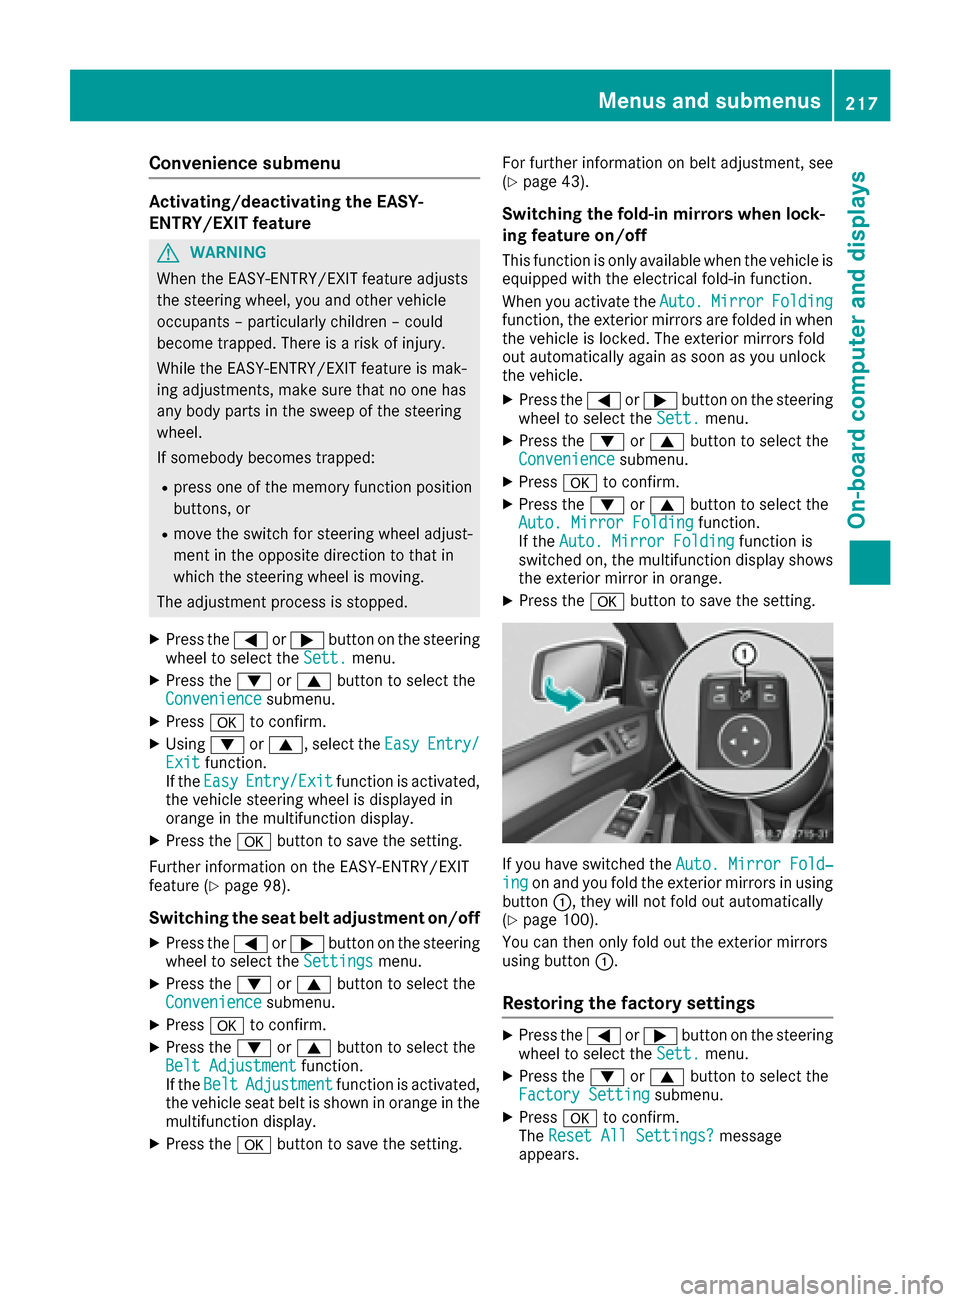
If you have switched the Auto. Mirror Fold‐ingon and you fold the exterior mirrors in using
button :, they will not fold out automatically
(
Ypage 100).
You can then only fold out the exterior mirrors
using button :.
Restoring the factory settings
XPress the=or; button on the steering
wheel to select the Sett.menu.
XPress the:or9 button to select the
Factory Settingsubmenu.
XPress ato confirm.
The Reset All Settings?message
appears.
Menus and submenus217
On-board computer and displays
Z
Page 220 of 366

XPress the:or9 button to select Noor
Yes.
XPress ato confirm the selection.
If you select Yes, the multifunction display
shows a confirmation message.
If you want to reset the Daytime Running
Lightsfunction in theLightsubmenu, you
must turn the SmartKey to position 1in the igni-
tion lock.
AMG menu (Mercedes-AMG vehicles)
Warm-up
:Digital speedometer
;Gear indicator
=Upshift indicator
?Engine oil temperature
ACoolant temperature
BTransmission oil temperature
XPress the =or; button on the steering
wheel to select the AMGmenu.
Upshift indicator: upshift indicatorUp=
indicates that the engine has reached the
overrevving range when in the manual drive
program.
Engine/transmission oil temperature:
when the engine and transmission are at nor-
mal operating temperature, oil tempera-
ture ?and Bare displayed in white in the
multifunction display.
If the multifunction display shows oil temper-
ature ?orB in blue, the engine or the
transmission are not yet at normal operating
temperature. Avoid driving at full engine out-
put during this time.
SETUP
:Engine mode (Comfort/Sport/Sport +)
;Suspension setting Comfort/Sport/
Sport +
=Transmission position D/M
?ESP®mode (ON/OFF)
SETUP displays the following information/func- tions:
Rthe digital speedometer
Rthe gear indicator
Rthe engine mode
Rthe suspension mode
Rthe transmission position
Rthe ESP®(Electronic Stability Program) mode
XPress the =or; button on the steering
wheel to select the AMGmenu.
XPress the9button repeatedly until SETUP
is displayed.
RACETIMER
Displaying and starting RACETIMER
The RACETIMER is only intended for use on a
closed race circuit. Do not use the function on
public roads.
:Lap
;RACETIMER
218Menus and submenus
On-board computer and displays
Page 221 of 366
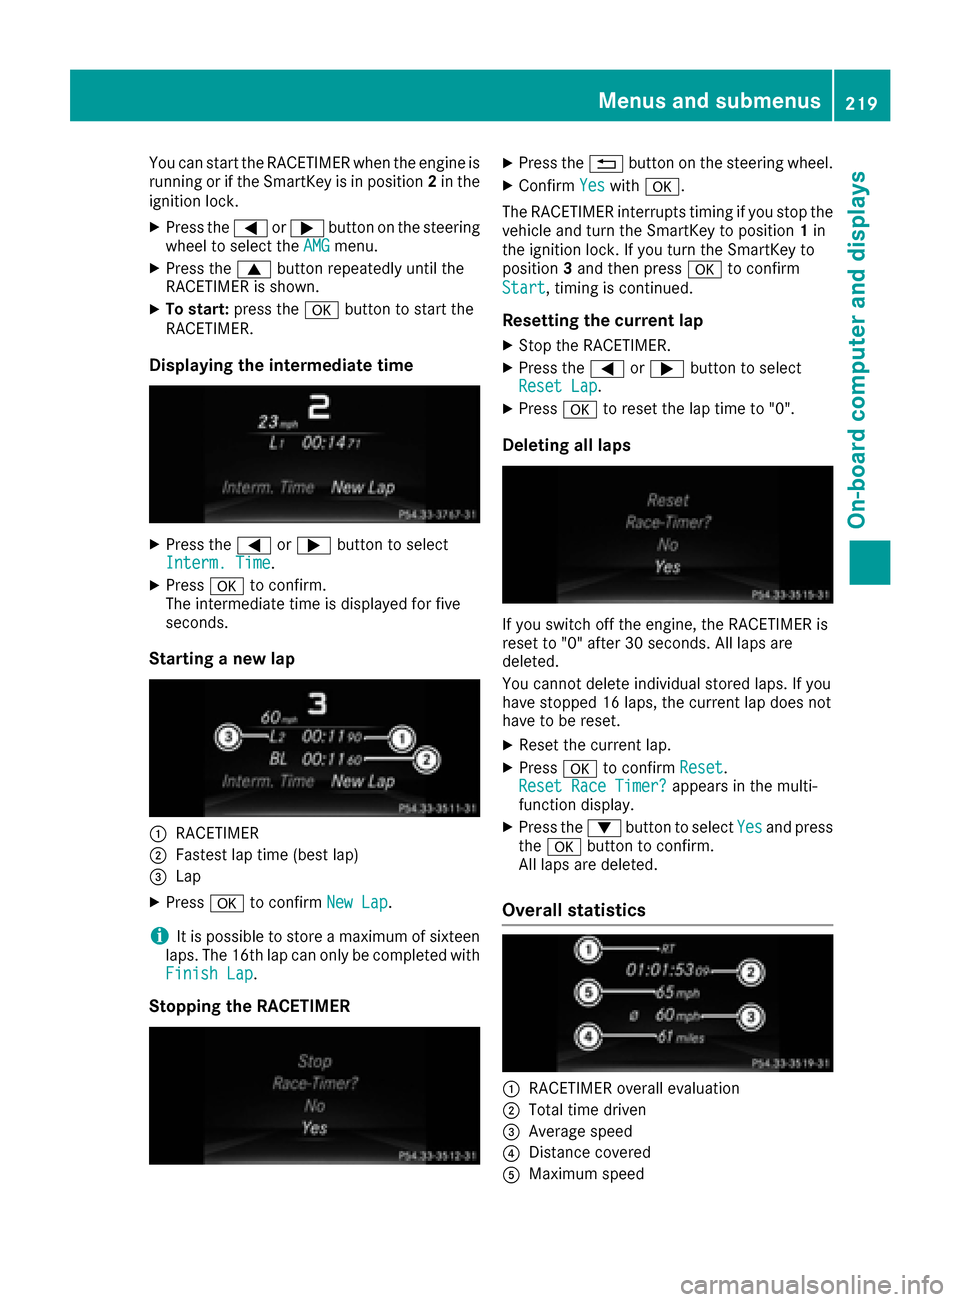
You can start the RACETIMER when the engine is
running or if the SmartKey is in position2in the
ignition lock.
XPress the =or; button on the steering
wheel to select the AMGmenu.
XPress the9button repeatedly until the
RACETIMER is shown.
XTo start: press the abutton to start the
RACETIMER.
Displaying the intermediate time
XPress the =or; button to select
Interm. Time.
XPress ato confirm.
The intermediate time is displayed for five
seconds.
Starting a new lap
:RACETIMER
;Fastest lap time (best lap)
=Lap
XPress ato confirm New Lap.
iIt is possible to store a maximum of sixteen
laps. The 16th lap can only be completed with
Finish Lap
.
Stopping the RACETIMER
XPress the %button on the steering wheel.
XConfirm Yeswitha.
The RACETIMER interrupts timing if you stop the
vehicle and turn the SmartKey to position 1in
the ignition lock. If you turn the SmartKey to
position 3and then press ato confirm
Start
, timing is continued.
Resetting the current lap
XStop the RACETIMER.
XPress the =or; button to select
Reset Lap.
XPress ato reset the lap time to "0".
Deleting all laps
If you switch off the engine, the RACETIMER is
reset to "0" after 30 seconds. All laps are
deleted.
You cannot delete individual stored laps. If you
have stopped 16 laps, the current lap does not
have to be reset.
XReset the current lap.
XPress ato confirm Reset.
Reset Race Timer?appears in the multi-
function display.
XPress the :button to select Yesand press
the a button to confirm.
All laps are deleted.
Overall statistics
:RACETIMER overall evaluation
;Total time driven
=Average speed
?Distance covered
AMaximum speed
Menus and submenus219
On-board computer and displays
Z
Page 222 of 366
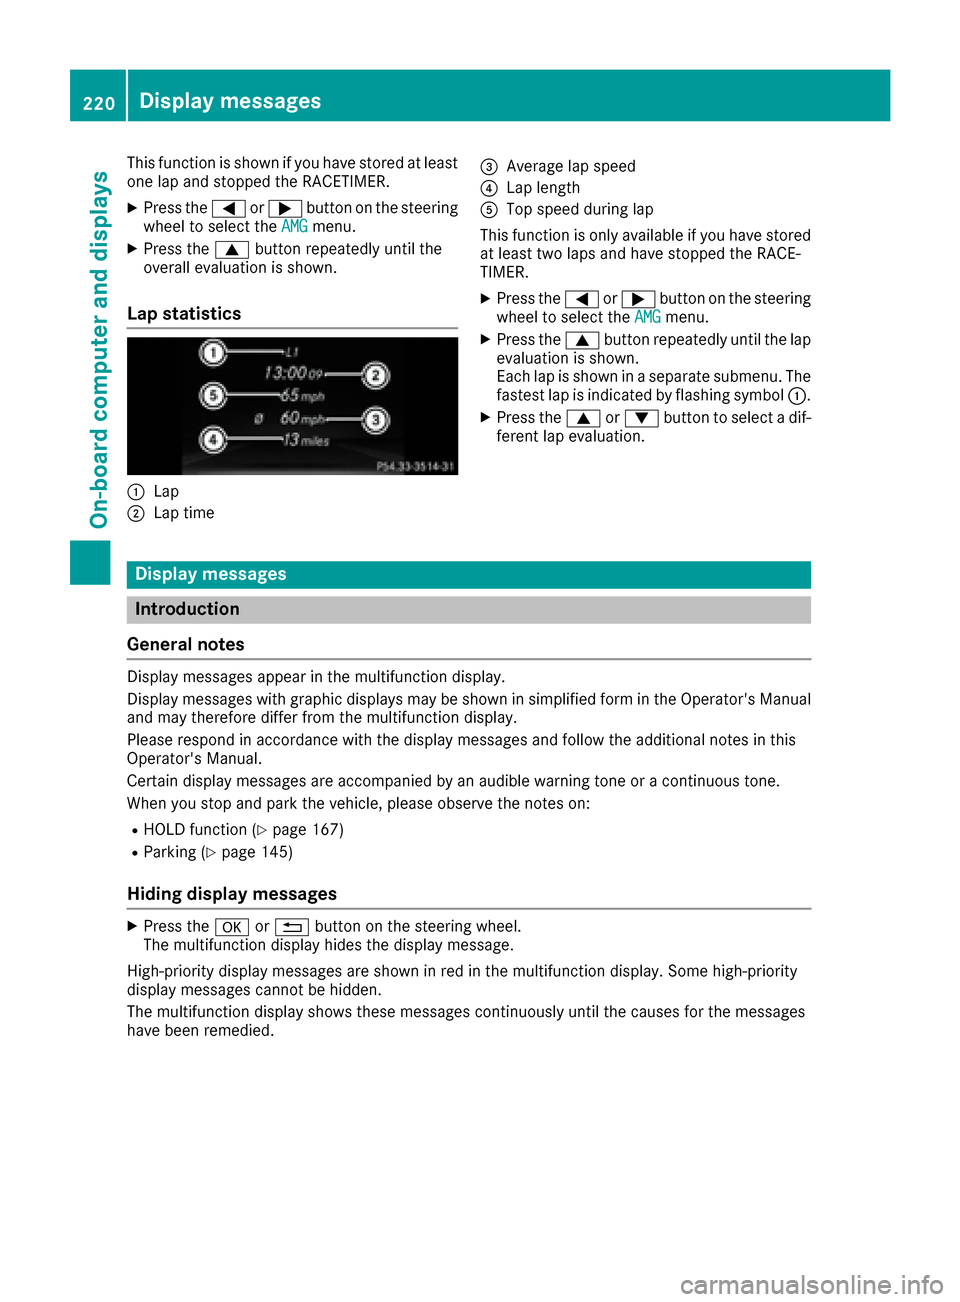
This function is shown if you have stored at least
one lap and stopped the RACETIMER.
XPress the=or; button on the steering
wheel to select the AMGmenu.
XPress the9button repeatedly until the
overall evaluation is shown.
Lap statistics
:Lap
;Lap time
=Average lap speed
?Lap length
ATop speed during lap
This function is only available if you have stored
at least two laps and have stopped the RACE-
TIMER.
XPress the =or; button on the steering
wheel to select the AMGmenu.
XPress the9button repeatedly until the lap
evaluation is shown.
Each lap is shown in a separate submenu. The
fastest lap is indicated by flashing symbol :.
XPress the9or: button to select a dif-
ferent lap evaluation.
Display messages
Introduction
General notes
Display messages appear in the multifunction display.
Display messages with graphic displays may be shown in simplified form in the Operator's Manual
and may therefore differ from the multifunction display.
Please respond in accordance with the display messages and follow the additional notes in this
Operator's Manual.
Certain display messages are accompanied by an audible warning tone or a continuous tone.
When you stop and park the vehicle, please observe the notes on:
RHOLD function (Ypage 167)
RParking (Ypage 145)
Hiding display messages
XPress the aor% button on the steering wheel.
The multifunction display hides the display message.
High-priority display messages are shown in red in the multifunction display. Some high-priority
display messages cannot be hidden.
The multifunction display shows these messages continuously until the causes for the messages
have been remedied.
220Display messages
On-board computer and displays