2017 MERCEDES-BENZ GLC change wheel
[x] Cancel search: change wheelPage 343 of 374
Important notes on tire pressure
G WARNIN G
If th e tire pressur e drops repeatedly, th e
wheel, valv e or tire may be damaged. Tir e
pressur e that is to o low may result in a tire
blow-out . Ther e is a ris k of an accident.R
Chec k th e tire for foreign objects .R
Chec k whether th e whee l is losing air or th e
valv e is leaking .
If you are unable to rectify th e damage, con-
tac t a qualified specialist workshop.
G WARNIN G
If you fit unsuitable accessories onto tire
valves, th e tire valves may be overloaded and
malfunction , whic h can caus e tire pressur e
loss . Due to their design , retrofitte d tire pres-
sur e monitors keep th e tire valv e open . This
can also result in tire pressur e loss . Ther e is a
ris k of an accident.
Only screw th e standard valv e cap or other
valv e cap s approve d by Mercedes-Ben z for
your vehicl e onto th e tire valve.
Use a suitable pressur e gauge to chec k th e tire
pressure. The outer appearanc e of a tire does
no t permit any reliable conclusio n about th e tire
pressure. On vehicles equipped wit h th e elec -
tronic tire pressur e monitor, th e tire pressur e
can be checke d in th e on-board computer.
The tire temperature and pressur e increas e
when th e vehicl e is in motion . This is dependen t
on th e driving spee d and th e load.
Therefore, you should only correc t tire pres-
sures when th e tires are cold.
The tires are cold: R
if th e vehicl e has been parked wit h th e tires
out of direct sunligh t for at least three hour s
and R
if th e vehicl e has no t been driven further than
1 mile (1. 6 km)
The tire temperature changes depending on th e
outside temperature, th e vehicl e spee d and th e
tire l oad. If th e ti
re temperature changes by
18 ‡ (10 †), th e tire pressur e changes by
approximately 10 kP a (0. 1 bar/1.5 psi) . Tak e
this int o accoun t when checkin g th e pressur e of
warm tires . Only correc t th e tire pressur e if it is to o low for th e curren t operating conditions. If
you chec k th e tire pressur e when th e tires are
warm , th e resulting value will be higher than if
th e tires were cold. This is normal. Do no t
reduce th e tire pressur e to th e value specifie d
for cold tires . The tire pressur e would otherwise
be to o low.
Observ e th e recommended tire pressures for
cold tires : R
on th e Tir e and Loading Information placard
on th e B-pillar on th e driver' s sideR
in th e tire pressur e table on th e fuel filler flap
( Y
page 149)
Underinflated or overinflated tires
Underinflated tires
G WARNIN G
Tires wit h pressur e that is to o low can over-
heat and burs t as a consequence . In addition ,
they also suffer from excessiv e and/o r irreg-
ular wear , whic h can severely impair th e brak -
ing properties and th e driving characteristics .
Ther e is a ris k of an accident.
Avoid tire pressures that are to o low in all th e
tires , includin g th e spar e wheel.
Underinflated tires may: R
overheat, leadin g to tire defects R
adversely affec t handlin gR
wear excessively and/o r unevenlyR
hav e an adverse effec t on fuel consumption
Overinflated tires
G WARNIN G
Tires wit h excessively high pressur e can burs t
because they are damaged mor e easil y by
road debris, pothole s etc. In addition , they
also suffer from irregular wear , whic h can
severely impair th e braking properties and th e
driving characteristics . Ther e is a ris k of an
accident.
Avoid tire pressures that are to o high in all th e
tires , includin g th e spar e wheel.Tire pressure 341
Wheels and tires Z
Page 344 of 374
Overinflated tires may: R
increase the braking distance R
adversely affect handling R
wear excessively and/or unevenly R
have an adverse effect on ride comfort R
be more susceptible to damage
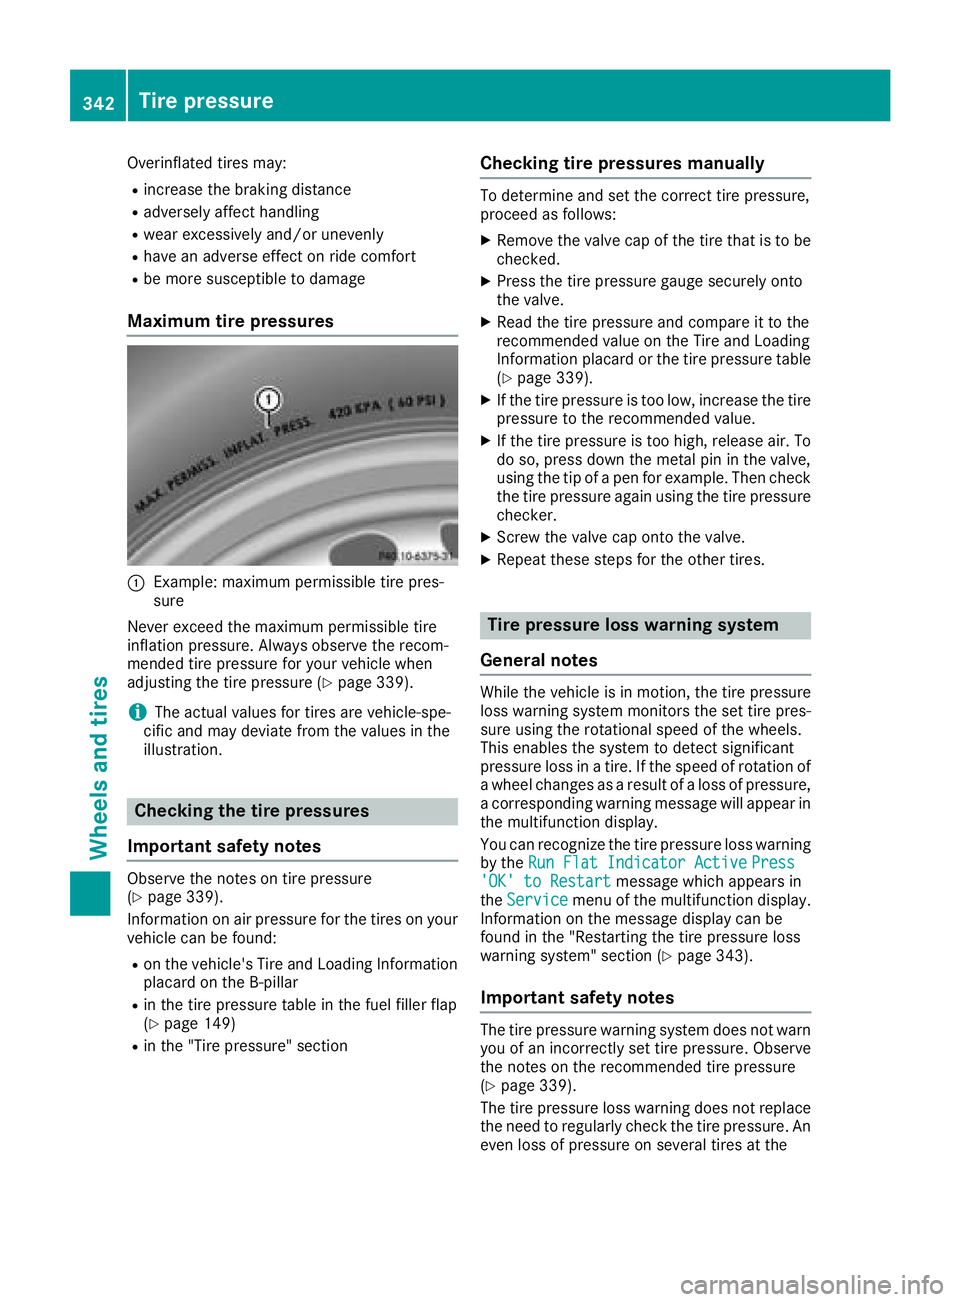
Maximum tire pressures
C
Example: maximum permissible tire pres-
sure
Never exceed the maximum permissible tire
inflation pressure. Always observe the recom-
mended tire pressure for your vehicle when
adjusting the tire pressure ( Y
page 339).
i The actual values for tires are vehicle-spe-
cific and may deviate from the values in the
illustration.
Checking the tire pressures
Important safety notes Observe the notes on tire pressure
( Y
page 339).
Information on air pressure for the tires on your
vehicle can be found: R
on the vehicle's Tire and Loading Information
placard on the B-pillar R
in the tire pressure table in the fuel filler flap
( Y
page 149)R
in the "Tire pressure" section Checking tire pressures manually To determine and set the correct tire pressure,
proceed as follows: X
Remove the valve cap of the tire that is to be
checked. X
Press the tire pressure gauge securely onto
the valve. X
Read the tire pressure and compare it to the
recommended value on the Tire and Loading
Information placard or the tire pressure table
( Y
page 339). X
If the tire pressure is too low, increase the tire
pressure to the recommended value. X
If the tire pressure is too high, release air. To
do so, press down the metal pin in the valve,
using the tip of a pen for example. Then check
the tire pressure again using the tire pressure
checker. X
Screw the valve cap onto the valve. X
Repeat these steps for the other tires.
Tire pressure loss warning system
General notes While the vehicle is in motion, the tire pressure
loss warning system monitors the set tire pres-
sure using the rotational speed of the wheels.
This enables the system to detect significant
pressure loss in a tire. If the speed of rotation of
a wheel changes as a result of a loss of pressure,
a corresponding warning message will appear in
the multifunction display.
You can recognize the tire pressure loss warning
by the Run Flat Indicator Active Press
'OK' to Restart message which appears in
the Service menu of the multifunction display.
Information on the message display can be
found in the "Restarting the tire pressure loss
warning system" section ( Y
page 343).
Important safety notes
The tire pressure warning system does not warn
you of an incorrectly set tire pressure. Observe
the notes on the recommended tire pressure
( Y
page 339).
The tire pressure loss warning does not replace
the need to regularly check the tire pressure. An
even loss of pressure on several tires at the342
Tire pressure
Wheels and tires
Page 345 of 374
same time cannot be detected by the tire pres-
sure loss warning system.
The tire pressure monitor is not able to warn you
of a sudden loss of pressure, e.g. if the tire is
penetrated by a foreign object. In the event of a
sudden loss of pressure, bring the vehicle to a
halt by braking carefully. Avoid abrupt steering
movements.
The function of the tire pressure loss warning
system is limited or delayed if: R
snow chains are mounted on your vehicle's
tires. R
road conditions are wintry. R
you are driving on sand or gravel. R
you adopt a very sporty driving style (corner-
ing at high speeds or driving with high rates of
acceleration). R
you are towing a very heavy or large trailer. R
you are driving with a heavy load (in the vehi-
cle or on the roof).
Restarting the tire pressure loss warn-
ing system Restart the tire pressure loss warning system if
you have: R
changed the tire pressure R
changed the wheels or tires R
mounted new wheels or tires X
Before restarting, make sure that the tire
pressures are set properly on all four tires for
the respective operating conditions.
The recommended tire pressure can be found
on the Tire and Loading Information placard
on the B-pillar. Additionally, a tire pressure
table is attached to the fuel filler flap. The tire
pressure loss warning system can only give
reliable warnings if you have set the correct
tire pressure. If an incorrect tire pressure is
set, these incorrect values will be monitored. X
Also observe the notes in the section on tire
pressures ( Y
page 339).X
Make sure that the SmartKey is in position H
in the ignition lock ( Y
page 132).X
Press
Page 348 of 374
for monitoring. In most cases, the tire pressure
monitor will automatically detect the new refer-
ence values after you have changed the tire
pressure. However, you can also set reference
values manually as described here. The tire
pressure monitor then monitors the new tire
pressure values. X
Set the tire pressure to the value recommen-
ded for the corresponding driving situation on
the Tire and Loading Information placard on
the B-pillar on the driver's side.
You can find more tire pressures for various
operating conditions in the tire pressure table
inside the filler flap.
Observe the information on tire pressure
when doing so ( Y
page 339).X
Make sure that the tire pressure is correct on
all four wheels. X
Make sure that the SmartKey is in position H
in the ignition lock ( Y
page 132).X
Press
Page 360 of 374

must be positioned vertically, directly under
the jacking point of the vehicle.
! Only position the jack at the appropriate
jacking point of the vehicle. Otherwise, you
could damage the vehicle.
Observe the following when raising the vehi-
cle: R
To raise the vehicle, only use the vehicle-spe-
cific jack that has been tested and approved
by Mercedes-Benz. If used incorrectly, the
jack could tip over with the vehicle raised. R
The jack is designed only to raise and hold the
vehicle for a short time while a wheel is being
changed. It must not be used for performing
maintenance work under the vehicle. R
Avoid changing the wheel on uphill and down-
hill slopes. R
Before raising the vehicle, secure it from roll-
ing away by applying the parking brake and
inserting wheel chocks. Do not disengage the
parking brake while the vehicle is raised. R
The jack must be placed on a firm, flat and
non-slip surface. On a loose surface, a large,
flat, load-bearing underlay must be used. On a
slippery surface, a non-slip underlay must be
used, e.g. rubber mats. R
Do not use wooden blocks or similar objects
as a jack underlay. Otherwise, the jack will not
be able to achieve its load-bearing capacity
due to the restricted height. R
Make sure that the distance between the
underside of the tires and the ground does not
exceed 1.2 in (3 cm). R
Do not place your hands or feet under the
raised vehicle. R
Do not lie under the vehicle. R
Do not start the engine when the vehicle is
raised. R
Never open or close a door or the tailgate
when the vehicle is raised. R
Make sure that no persons are present in the
vehicle when the vehicle is raised. X
Using lug wrench C , loosen the bolts on the
wheel you wish to change by about one full
turn. Do not unscrew the bolts completely.
The jacking points are located just behind the
front wheel housings and just in front of the rear
wheel housings (arrows). X
Take the ratchet wrench out of the tire-chang-
ing tool kit and place it on the hexagon nut of
the jack so that the letters AUF are visible.
X
Position jack
Page 362 of 374

Lowering the vehicle
G WARNING
The wheels could work loose if the wheel nuts
and bolts are not tightened to the specified
tightening torque. There is a risk of accident.
Have the tightening torque immediately
checked at a qualified specialist workshop
after a wheel is changed. X
Place the ratchet wrench onto the hexagon
nut of the jack so that the letters AB are visi-
ble. X
Turn the ratchet wrench until the vehicle is
once again standing firmly on the ground. X
Place the jack to one side.
X
Tighten the wheel bolts evenly in a crosswise
pattern in the sequence indicated ( C to