2017 MERCEDES-BENZ GLC COUPE lights
[x] Cancel search: lightsPage 192 of 370

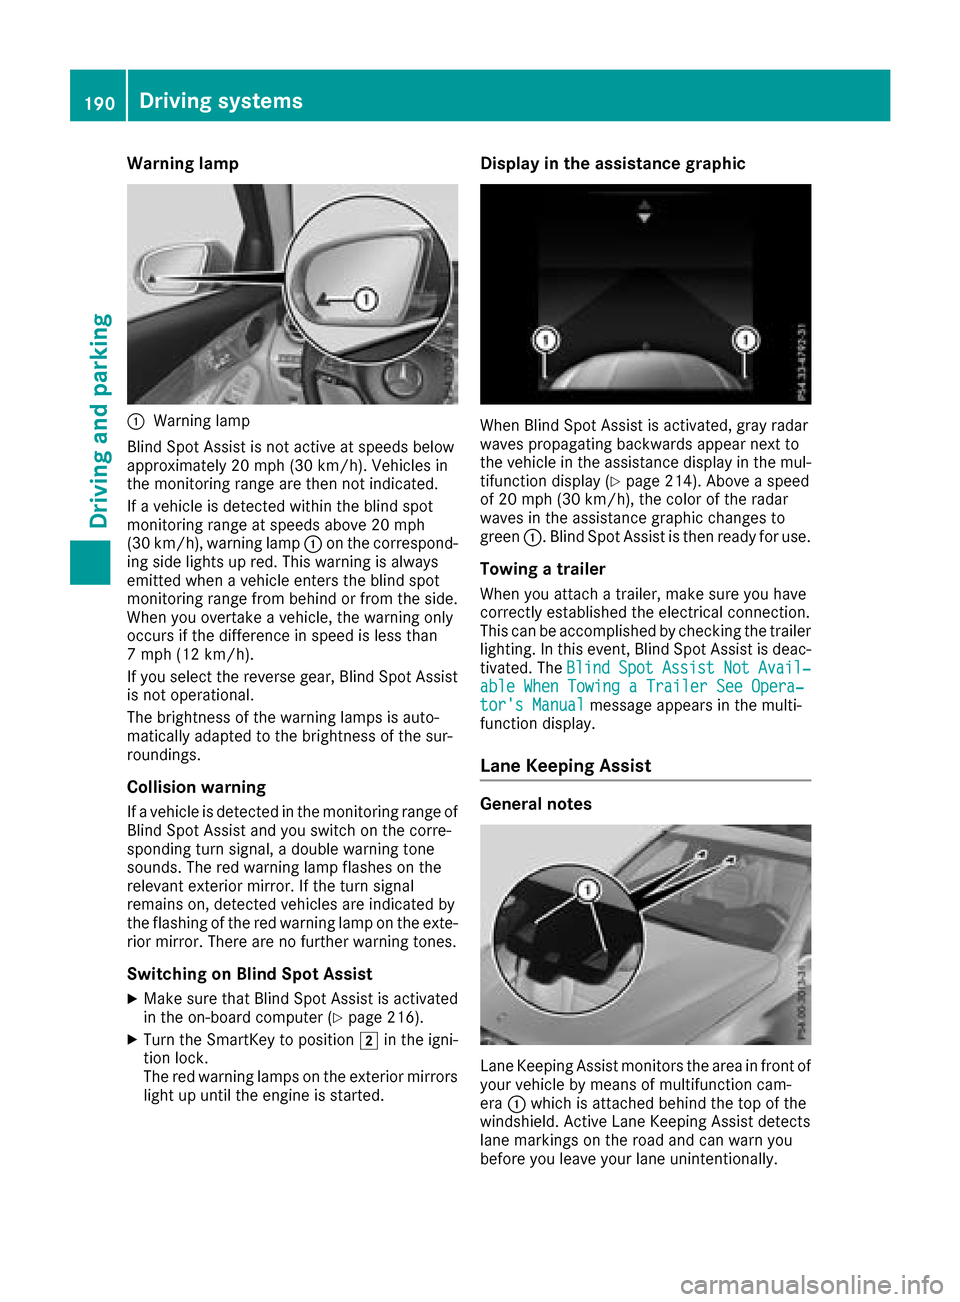
Warning lamp
:Warning lamp
Blind Spot Assist is not active at speeds below
approximately 20 mph (30 km/h). Vehicles in
the monitoring range are then not indicated.
If a vehicle is detected within the blind spot
monitoring range at speeds above 20 mph
(30 km/h), warning lamp :on the correspond-
ing side lights up red. This warning is always
emitted when a vehicle enters the blind spot
monitoring range from behind or from the side.
When you overtake a vehicle, the warning only
occurs if the difference in speed is less than
7 mph (12 km/h).
If you select the reverse gear, Blind Spot Assist is not operational.
The brightness of the warning lamps is auto-
matically adapted to the brightness of the sur-
roundings.
Collision warning
If a vehicle is detected in the monitoring range of
Blind Spot Assist and you switch on the corre-
sponding turn signal, a double warning tone
sounds. The red warning lamp flashes on the
relevant exterior mirror. If the turn signal
remains on, detected vehicles are indicated by
the flashing of the red warning lamp on the exte-
rior mirror. There are no further warning tones.
Switching on Blind Spot Assist
XMake sure that Blind Spot Assist is activated
in the on-board computer (Ypage 216).
XTurn the SmartKey to position 2in the igni-
tion lock.
The red warning lamps on the exterior mirrors
light up until the engine is started.
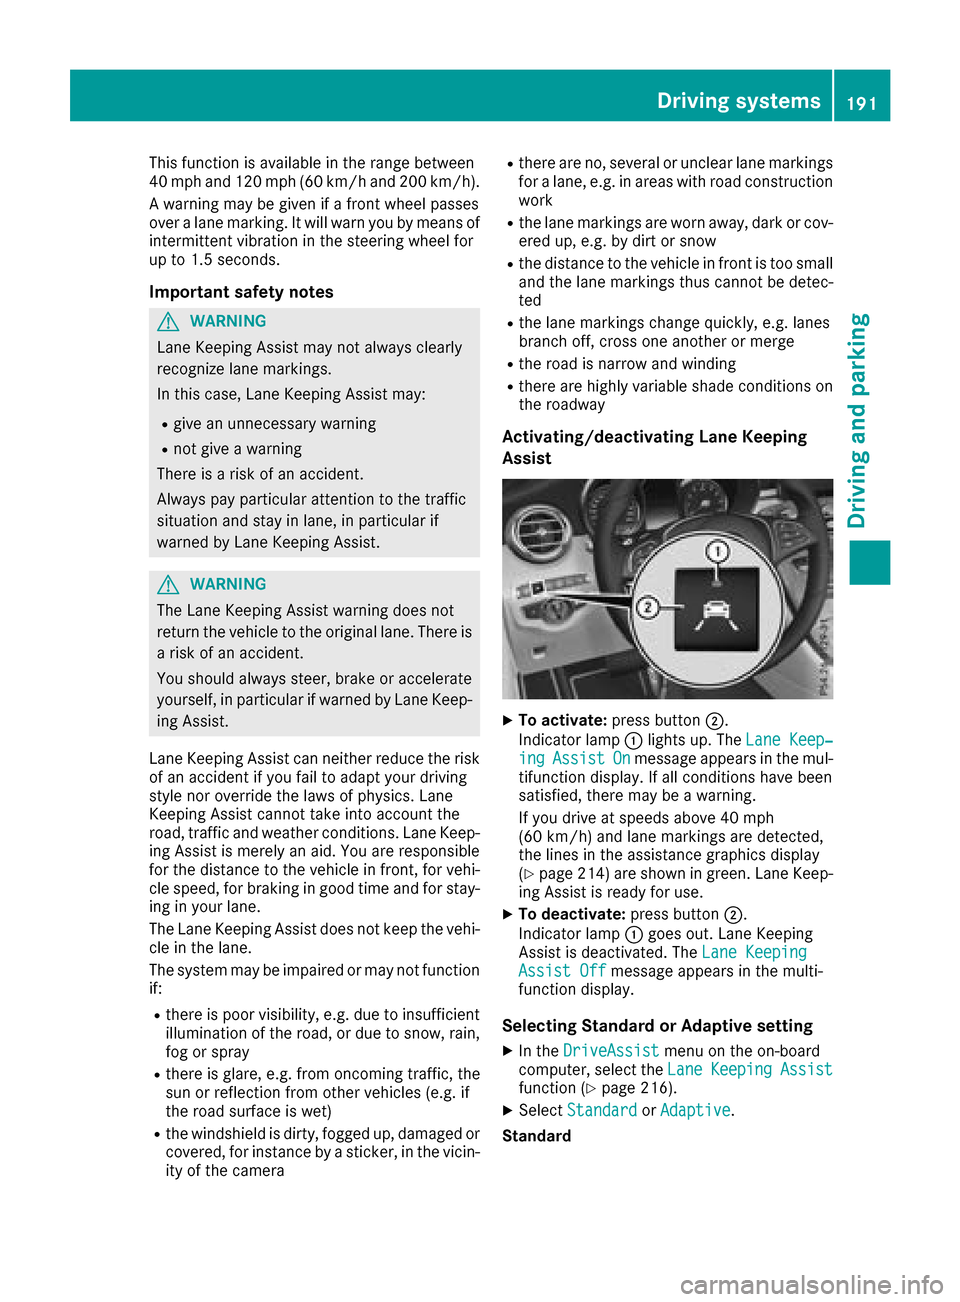
Display in the assistance graphic
When Blind Spot Assist is activated, gray radar
waves propagating backwards appear next to
the vehicle in the assistance display in the mul-
tifunction display (
Ypage 214). Above a speed
of 20 mph (30 km/h), the color of the radar
waves in the assistance graphic changes to
green :. Blind Spot Assist is then ready for use.
Towing a trailer
When you attach a trailer, make sure you have
correctly established the electrical connection.
This can be accomplished by checking the trailer
lighting. In this event, Blind Spot Assist is deac-
tivated. The Blind
SpotAssistNotAvail‐able When Towing a Trailer See Opera‐tor's Manualmessage appears in the multi-
function display.
Lane Keeping Assist
General notes
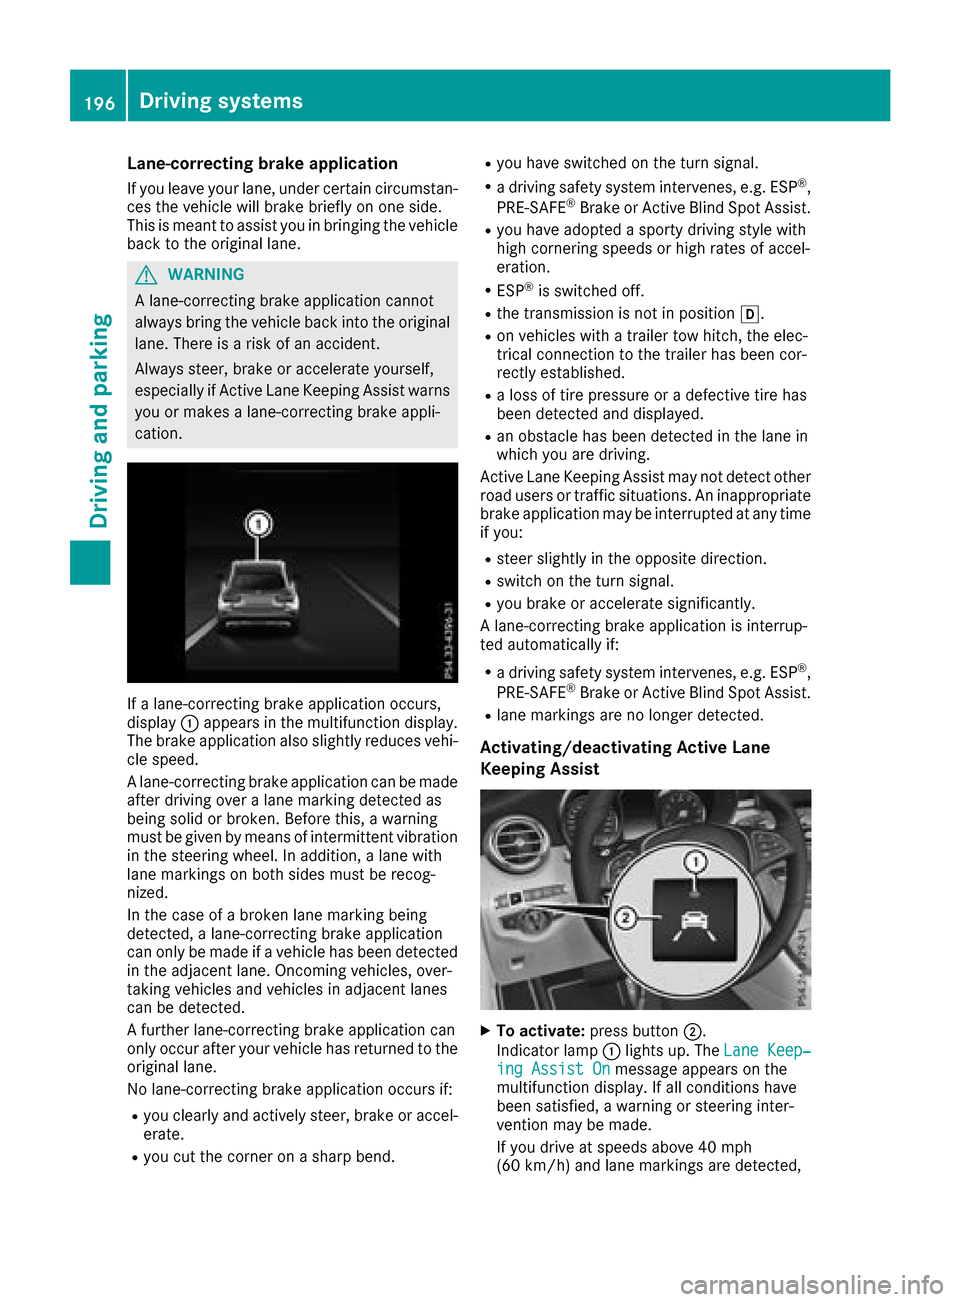
Lane Keeping Assist monitors the area in front of
your vehicle by means of multifunction cam-
era :which is attached behind the top of the
windshield. Active Lane Keeping Assist detects
lane markings on the road and can warn you
before you leave your lane unintentionally.
190Driving systems
Driving and parking
Page 193 of 370

This function is available in the range between
40 mph and 120 mph (60 km/hand 200 km/h).
A warning may be given if a front wheel passes
over a lane marking. It will warn you by means of
intermittent vibration in the steering wheel for
up to 1.5 seconds.
Important safety notes
GWARNING
Lane Keeping Assist may not always clearly
recognize lane markings.
In this case, Lane Keeping Assist may:
Rgive an unnecessary warning
Rnot give a warning
There is a risk of an accident.
Always pay particular attention to the traffic
situation and stay in lane, in particular if
warned by Lane Keeping Assist.
GWARNING
The Lane Keeping Assist warning does not
return the vehicle to the original lane. There is
a risk of an accident.
You should always steer, brake or accelerate
yourself, in particular if warned by Lane Keep-
ing Assist.
Lane Keeping Assist can neither reduce the risk of an accident if you fail to adapt your driving
style nor override the laws of physics. Lane
Keeping Assist cannot take into account the
road, traffic and weather conditions. Lane Keep-
ing Assist is merely an aid. You are responsible
for the distance to the vehicle in front, for vehi-
cle speed, for braking in good time and for stay-
ing in your lane.
The Lane Keeping Assist does not keep the vehi-
cle in the lane.
The system may be impaired or may not function
if:
Rthere is poor visibility, e.g. due to insufficient
illumination of the road, or due to snow, rain,
fog or spray
Rthere is glare, e.g. from oncoming traffic, the
sun or reflection from other vehicles (e.g. if
the road surface is wet)
Rthe windshield is dirty, fogged up, damaged or
covered, for instance by a sticker, in the vicin-
ity of the camera
Rthere are no, several or unclear lane markings
for a lane, e.g. in areas with road construction
work
Rthe lane markings are worn away, dark or cov-
ered up, e.g. by dirt or snow
Rthe distance to the vehicle in front is too small
and the lane markings thus cannot be detec-
ted
Rthe lane markings change quickly, e.g. lanes
branch off, cross one another or merge
Rthe road is narrow and winding
Rthere are highly variable shade conditions on the roadway
Activating/deactivating Lane Keeping
Assist
XTo activate: press button ;.
Indicator lamp :lights up. The Lane Keep‐
ingAssistOnmessage appears in the mul-
tifunction display. If all conditions have been
satisfied, there may be a warning.
If you drive at speeds above 40 mph
(60 km/h) and lane markings are detected,
the lines in the assistance graphics display
(
Ypage 214) are shown in green. Lane Keep-
ing Assist is ready for use.
XTo deactivate: press button;.
Indicator lamp :goes out. Lane Keeping
Assist is deactivated. The Lane Keeping
Assist Offmessage appears in the multi-
function display.
Selecting Standard or Adaptive setting
XIn the DriveAssistmenu on the on-board
computer, select the LaneKeepingAssistfunction (Ypage 216).
XSelectStandardorAdaptive.
Standard
Driving systems191
Driving an d parking
Z
Page 194 of 370

WhenStandardis selected, no warning vibra-
tion occurs if:
Ryou switch on the turn signals. In this event,
the warnings are suppressed for a certain
period of time.
Ra driving safety system intervenes, e.g. ABS,
BAS or ESP®.
Adaptive
When Adaptive
is selected, no warning vibra-
tion occurs if:
Ryou switch on the turn signals. In this event,
the warnings are suppressed for a certain
period of time.
Ra driving safety system intervenes, e.g. ABS,
BAS or ESP®.
Ryou accelerate hard, e.g. kickdown.
Ryou brake hard.
Ryou steer actively, e.g. swerve to avoid an
obstacle or change lanes quickly.
Ryou cut the corner on a sharp bend.
In order that you are warned only when neces-
sary and in good time if you cross the lane mark-
ing, the system recognizes certain conditions
and warns you accordingly.
The warning vibration occurs earlier if:
Ryou approach the outer lane marking on a
bend.
Rthe road has very wide lanes, e.g. a highway.
Rthe system detects solid lane markings.
The warning vibration occurs later if:
Rthe road has narrow lanes.
Ryou cut the corner on a bend.
Driving Assistance PLUS package
General notes
The Driving Assistance PLUS package consists
of DISTRONIC PLUS (Ypage 159), Active Blind
Spot Assist (Ypage 192) and Active Lane Keep-
ing Assist (Ypage 195).
Active Blind Spot Assist
General notes
Active Blind Spot Assist uses a radar sensor
system, pointed toward the rear of the vehicle,
to monitor the area to the sides of the vehicle
which the driver is unable to see. A warning lamp lights up in the exterior mirrors and draws your
attention to vehicles detected in the monitored
area. If you then switch on the corresponding
turn signal to change lane, you will also receive
an optical and audible warning. If a risk of lateral
collision is detected, corrective braking may
help you avoid a collision. Before a course-cor-
recting brake application, Active Blind Spot
Assist evaluates the space in the direction of
travel and at the sides of the vehicle. For this,
Active Blind Spot Assist uses the forward-facing
radar sensors.
Active Blind Spot Assist supports you from a
speed of approximately 20 mph (30 km/h).
Important safety notes
Active Blind Spot Assist is only an aid and is not
a substitute for attentive driving.
GWARNING
Active Blind Spot Assist does not react to:
Rvehicles overtaken too closely on the side,
placing them in the blind spot area
Rvehicles which approach with a large speed
differential and overtake your vehicle
As a result, Active Blind Spot Assist may nei-
ther give warnings nor intervene in such sit-
uations. There is a risk of an accident.
Always observe the traffic conditions care-
fully, and maintain a safe lateral distance.
iUSA only: This device has been approved by
the FCC as a "Vehicular Radar System". The
radar sensor is intended for use in an auto-
motive radar system only. Removal, tamper-
ing, or altering of the device will void any war-
ranties, and is not permitted by the FCC. Do
not tamper with, alter, or use in any non-
approved way.
Any unauthorized modification to this device
could void the user's authority to operate the
equipment.
iCanada only: This device complies with
RSS-210 of Industry Canada. Operation is
subject to the following two conditions:
1. This device may not cause interference,
and
2. This device must accept any interference
received, including interference that may
cause undesired operation of the device.
192Driving systems
Driving and parking
Page 195 of 370

Removal, tampering,or altering of th edevice
will voi dany warranties, and is no tpermitted.
Do no ttamper with, alter, or use in any non-
approve dway.
An yunauthorized modification to this device
could voi dth euser's authority to operate th e
equipment.
Rada rsensors
The Active Blind Spot Assist radar sensor sare
integrate dint oth efron tand rear bumpers and
behind acover in th eradiato rtrim. Mak esur e
that th ebumpers and th ecover in th eradiato r
grill are free of dirt ,ice or slush. The rear sensor s
mus tno tbe covered, for exampl eby cycle racks
or overhanging cargo. Followin g asevere impact
or in th eevent of damag eto th ebumpers ,hav e
th efunction of th eradar sensor schecke dat a
qualified specialist workshop. Active Blind Spot
Assist may otherwise no longer wor kproperly.
Monitoring area
GWARNIN G
Active Blind Spot Assist does no tdetec tall
traffic situation sand road users. There is a
ris kof an accident.
Always mak esur ethat there is sufficien tdis-
tance on th eside for other traffic or obstacles.
At adistanc eof approximately 1. 6ft (0. 5m) ;
from the vehicle, Active Blind Spot Assist mon-
itors the area up to 10 ft (3 m) next to =and
behind :your vehicle, as shown in the picture. The detection of obstacles can be impaired in
the case of:
Rthere is dirt on the sensors or anything else
covering the sensors
Rpoor visibility, e.g. due to rain, snow or spray
Vehicles in the monitoring range are then not
indicated.
Active Blind Spot Assist may not detect narrow
vehicles, such as motorcycles or bicycles, or
may only detect them too late.
If the lanes are narrow, vehicles driving in the
lane beyond the lane next to your vehicle may be
indicated, especially if the vehicles are not driv-
ing in the middle of their lane. This may be the
case if there are vehicles at the inner edge of
your lane.
Due to the nature of the system:
Rwarnings may be issued in error when driving
close to crash barriers or similar solid lane
borders.
Rwarnings may be interrupted when you are
driving alongside particularly long vehicles,
such as trucks, for a prolonged time.
Warning lamp
:Warning lamp
Active Blind Spot Assist is not operational at
speeds below approximately 20 mph (30 km/h).
Vehicles in the monitoring range are then not
indicated.
If a vehicle is detected within the blind spot
monitoring range at speeds above 20 mph
(30 km/h), warning lamp :on the correspond-
ing side lights up red. This warning is always
emitted when a vehicle enters the blind spot
monitoring range from behind or from the side.
When you overtake a vehicle, the warning only
occurs if the difference in speed is less than
7 mph (12 km/h).
Driving systems193
Driving and parking
Z
Page 198 of 370

Lane-correcting brake application
If you leave your lane, under certain circumstan-
ces the vehicle will brake briefly on one side.
This is meant to assist you in bringing the vehicle
back to the original lane.
GWARNING
A lane-correcting brake application cannot
always bring the vehicle back into the original lane. There is a risk of an accident.
Always steer, brake or accelerate yourself,
especially if Active Lane Keeping Assist warns
you or makes a lane-correcting brake appli-
cation.
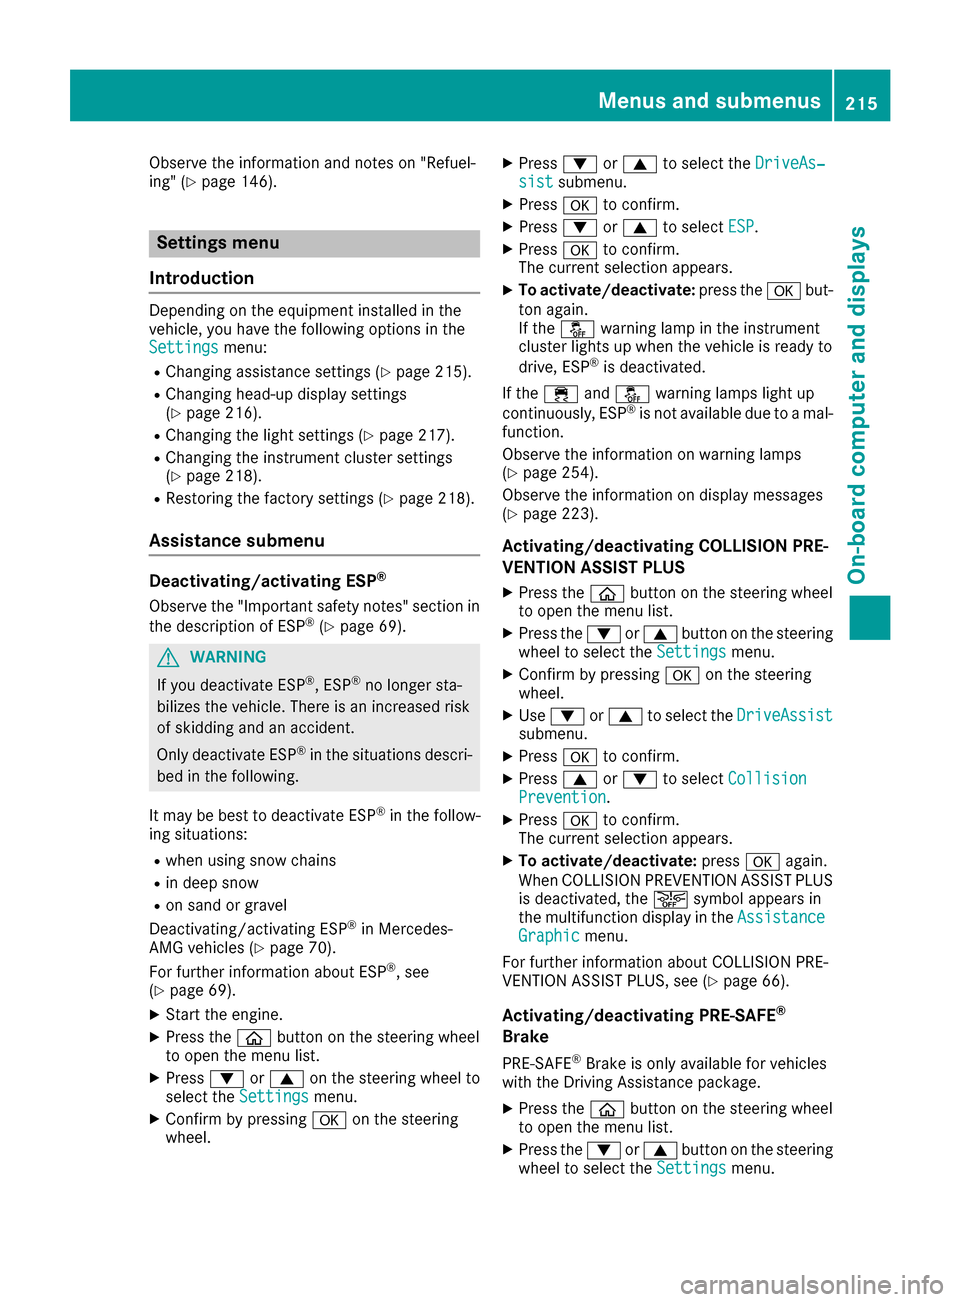
If a lane-correcting brake application occurs,
display :appears in the multifunction display.
The brake application also slightly reduces vehi-
cle speed.
A lane-correcting brake application can be made
after driving over a lane marking detected as
being solid or broken. Before this, a warning
must be given by means of intermittent vibration
in the steering wheel. In addition, a lane with
lane markings on both sides must be recog-
nized.
In the case of a broken lane marking being
detected, a lane-correcting brake application
can only be made if a vehicle has been detected
in the adjacent lane. Oncoming vehicles, over-
taking vehicles and vehicles in adjacent lanes
can be detected.
A further lane-correcting brake application can
only occur after your vehicle has returned to the
original lane.
No lane-correcting brake application occurs if:
Ryou clearly and actively steer, brake or accel-
erate.
Ryou cut the corner on a sharp bend.
Ryou have switched on the turn signal.
Ra driving safety system intervenes, e.g. ESP®,
PRE-SAFE®Brake or Active Blind Spot Assist.
Ryou have adopted a sporty driving style with
high cornering speeds or high rates of accel-
eration.
RESP®is switched off.
Rthe transmission is not in position h.
Ron vehicles with a trailer tow hitch, the elec-
trical connection to the trailer has been cor-
rect
ly established.
Ra loss of tire pressure or a defective tire has
been detected and displayed.
Ran obstacle has been detected in the lane in
which you are driving.
Active Lane Keeping Assist may not detect other
road users or traffic situations. An inappropriate
brake application may be interrupted at any time
if you:
Rsteer slightly in the opposite direction.
Rswitch on the turn signal.
Ryou brake or accelerate significantly.
A lane-correcting brake application is interrup-
ted automatically if:
Ra driving safety system intervenes, e.g. ESP®,
PRE-SAFE®Brake or Active Blind Spot Assist.
Rlane markings are no longer detected.
Activating/deactivating Active Lane
Keeping Assist
XTo activate: press button ;.
Indicator lamp :lights up. The Lane Keep‐
ing Assist Onmessage appears on the
multifunction display. If all conditions have
been satisfied, a warning or steering inter-
vention may be made.
If you drive at speeds above 40 mph
(60 km/h) and lane markings are detected,
196Driving systems
Driving and parking
Page 217 of 370

Observe the information and notes on "Refuel-
ing" (Ypage 146).
Settings menu
Introduction
Depending on the equipment installed in the
vehicle, you have the following options in the
Settings
menu:
RChanging assistance settings (Ypage 215).
RChanging head-up display settings
(Ypage 216).
RChanging the light settings (Ypage 217).
RChanging the instrument cluster settings
(Ypage 218).
RRestoring the factory settings (Ypage 218).
Assistance submenu
Deactivating/activating ESP®
Observe the "Important safety notes" section in
the description of ESP®(Ypage 69).
GWARNING
If you deactivate ESP
®, ESP®no longer sta-
bilizes the vehicle. There is an increased risk
of skidding and an accident.
Only deactivate ESP
®in the situations descri-
bed in the following.
It may be best to deactivate ESP
®in the follow-
ing situations:
Rwhen using snow chains
Rin deep snow
Ron sand or gravel
Deactivating/activating ESP®in Mercedes-
AMG vehicles (Ypage 70).
For further information about ESP®, see
(Ypage 69).
XStart the engine.
XPress the òbutton on the steering wheel
to open the menu list.
XPress :or9 on the steering wheel to
select the Settingsmenu.
XConfirm by pressing aon the steering
wheel.
XPress :or9 to select the DriveAs‐sistsubmenu.
XPressato confirm.
XPress :or9 to select ESP.
XPressato confirm.
The current selection appears.
XTo activate/deactivate: press theabut-
ton again.
If the å warning lamp in the instrument
cluster lights up when the vehicle is ready to
drive, ESP
®is deactivated.
If the ÷ andå warning lamps light up
continuously, ESP
®is not available due to a mal-
function.
Observe the information on warning lamps
(
Ypage 254).
Observe the information on display messages
(
Ypage 223).
Activating/deactivating COLLISION PRE-
VENTION ASSIST PLUS
XPress the òbutton on the steering wheel
to open the menu list.
XPress the :or9 button on the steering
wheel to select the Settingsmenu.
XConfirm by pressing aon the steering
wheel.
XUse : or9 to select the DriveAssistsubmenu.
XPressato confirm.
XPress 9or: to select CollisionPrevention.
XPressato confirm.
The current selection appears.
XTo activate/deactivate: pressaagain.
When COLLISION PREVENTION ASSIST PLUS
is deactivated, the æsymbol appears in
the multifunction display in the Assistance
Graphicmenu.
For further information about COLLISION PRE-
VENTION ASSIST PLUS, see (
Ypage 66).
Activating/deactivating PRE-SAFE®
Brake
PRE‑SAFE®Brake is only available for vehicles
with the Driving Assistance package.
XPress the òbutton on the steering wheel
to open the menu list.
XPress the :or9 button on the steering
wheel to select the Settingsmenu.
Menus and submenus215
On-board computer and displays
Z
Page 219 of 370

Using theDisplay Contentfunction, you can
choose from up to four display options depend-
ing on the vehicle's equipment. The selected
contents appear in the Head-up Display.
If you select a display with traffic signs, detected traffic signs from Traffic Sign Assist appear in
the head-up display.
XPress the òbutton on the steering wheel
to open the menu list.
XPress :or9 on the steering wheel to
select the Settingsmenu.
XConfirm by pressing aon the steering
wheel.
XPress :or9 to select the Head-upDisplaysubmenu.
XPressato confirm.
XPress :or9 to select Display Con‐tent.
XPressato confirm.
A graphic selection list appears.
XPress :or9 to select the desired dis-
play.
XPress the abutton to confirm the selec-
tion.
You can find more information on the navigation
displays in the multimedia system (see Digital
Operator's Manual).
Information on displays of Traffic Sign Assist
(
Ypage 187).
Setting the position
You can adjust the position of the Head-up Dis-
play on the windshield. You can compensate for
height differences if the seat positions are
changed, for example.
XSwitch on the Head-up Display (Ypage 206).
XPress the òbutton on the steering wheel
to open the menu list.
XPress the :or9 button on the steering
wheel to select the Settingsmenu.
XConfirm by pressing aon the steering
wheel.
XUse : or9 to select the Head-upDisplaysubmenu.
XPressato confirm.
XPress :or9 to select the Positionfunction.
XPress theabutton to save the setting.
XPress :or9 to adjust the position to a
level from Level+5(up) toLevel-5(down).
XPress the aor% button to save the
setting.
Using the Memory function, you can save and
call up the set position of the Head-up Display as
a single memory preset (
Ypage 106).
Setting the brightness
The brightness of the Head-up Display is auto-
matically adjusted to the surrounding ambient
light. You can also individually adjust the bright-
ness of the Head-up Display.
XSwitch on the Head-up Display (Ypage 206).
XPress the òbutton on the steering wheel
to open the menu list.
XPress the :or9 button on the steering
wheel to select the Settingsmenu.
XConfirm by pressing aon the steering
wheel.
XUse : or9 to select the Head-upDisplaysubmenu.
XPressato confirm.
XPress :or9 to select the Brightnessfunction.
XPress theabutton to save the setting.
XPress the :or9 button to adjust the
brightness to a level from Level+5(bright) to
Level -5(dark).
XPress the aor% button to save the
setting.
Light submenu
Switching the daytime running lamps on/
off
This function is not available in Canada.
XPress òon the steering wheel to open the
menu list.
XPress :or9 on the steering wheel to
select the Settingsmenu.
XConfirm by pressing aon the steering
wheel.
XPress :or9 to select the Lightssubmenu.
XPressato confirm.
XUsing :or9, select the DaytimeRunning Lightsfunction.
If the DaytimeRunningLightsfunction has
been switched on, the multifunction display
Menus and submenus217
On-board computer and displays
Z
Page 220 of 370

shows the cone of light and theWsymbol
in yellow.
XPress the abutton to save the setting.
Further information on daytime running
lampsDaytime
RunningLights(Ypage 108).
Instrument cluster submenu
Selecting the distance unit
The DisplayUnitSpeed-/Odometerfunction
allows you to choose whether certain displays
appear in kilometers or miles in the multifunc-
tion display.
XPress the òbutton on the steering wheel
to open the menu list.
XPress the :or9 button on the steering
wheel to select the Settingsmenu.
XConfirm by pressing aon the steering
wheel.
XUse : or9 to select the InstrumentClustersubmenu.
XPressato confirm.
XPress :or9 to select the DisplayUnit Speed-/Odometerfunction.
The current setting kmorMilesappears.
XPress the abutton to save the setting.
The selected unit of measurement for distance
applies to:
RDigital speedometer in the Tripmenu
ROdometer and the trip odometer
RTrip computer
RCurrent consumption and the range
RNavigation instructions in the Navimenu
RCruise control
RDISTRONIC PLUS with Steering Assist and
Stop&Go Pilot
RASSYST PLUS service interval display
Switching the additional speedometer
on/off
If the additional speedometer is switched on,
the speed is shown in the status bar in the mul-
tifunction display instead of the outside tem-
perature.
The speed display is inverse to the speedome-
ter.
XPress theòbutton on the steering wheel
to open the menu list.
XPress the :or9 button on the steering
wheel to select the Settingsmenu.
XConfirm by pressing aon the steering
wheel.
XUse : or9 to select the InstrumentClustersubmenu.
XPressato confirm.
XUsing :or9, select the AdditionalSpeedometer [km/h]function.
The current selection appears.
XTo activate/deactivate: press theabut-
ton again.
Restoring the factory settings
XPress the òbutton on the steering wheel
to open the menu list.
XPress the :or9 button on the steering
wheel to select the Settingsmenu.
XConfirm by pressing aon the steering
wheel.
XUse : or9 to select the FactorySettingssubmenu.
XPressato confirm.
The Reset All Settings?function
appears.
XPress :or9 to select NoorYes.
XPress ato confirm the selection.
If you have selected Yes, the multifunction
display shows a confirmation message.
For safety reasons, the Daytime Running
Lightsfunction in theLightssubmenu is only
reset when the vehicle is stationary.
218Menus and submenus
On-board computer and displays