2017 MERCEDES-BENZ GLC-Class display
[x] Cancel search: displayPage 35 of 178
Favorites
Overview of favorites
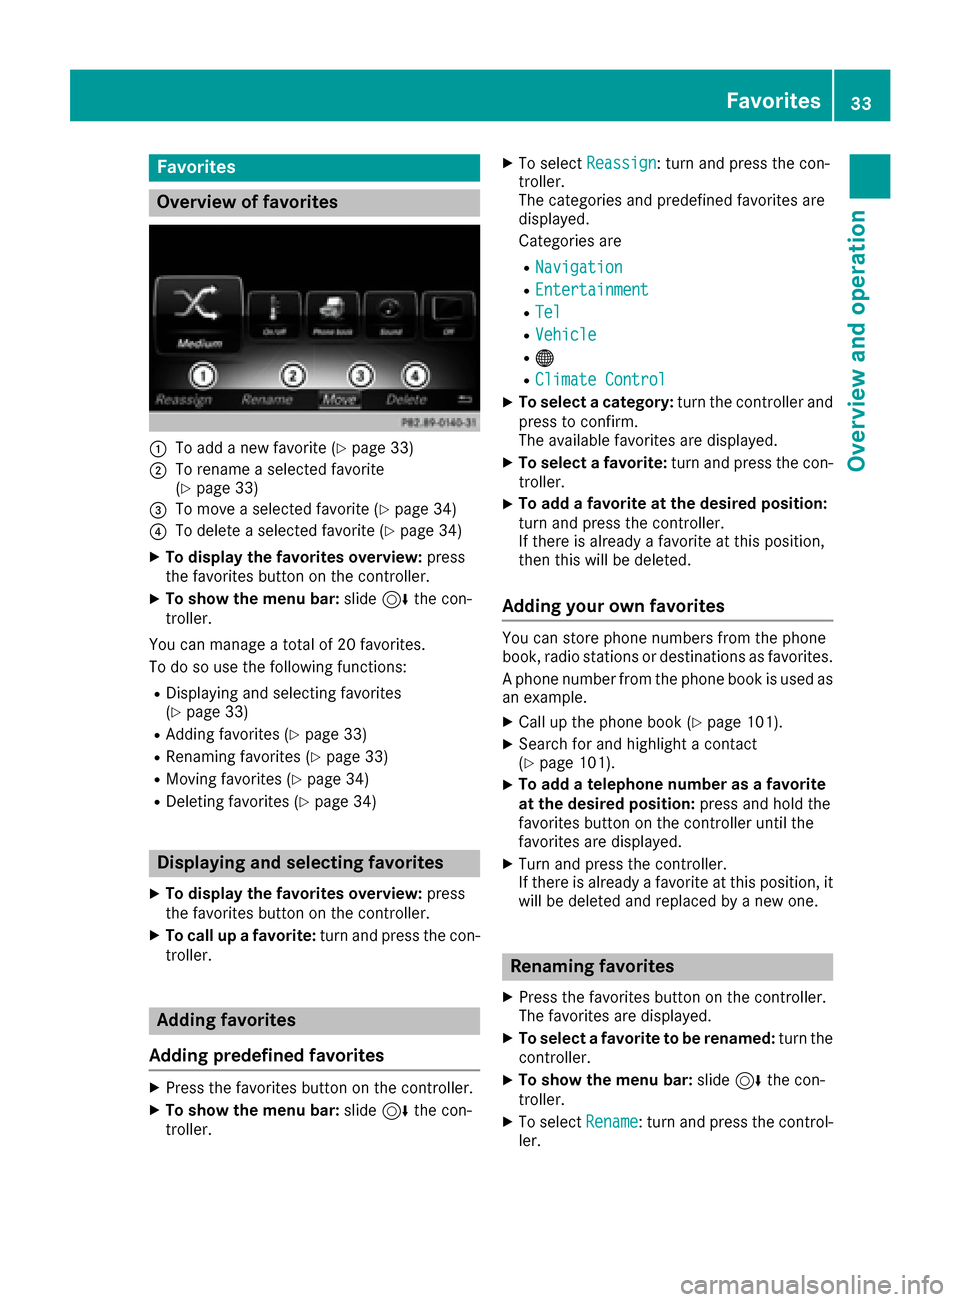
:To addane wfavorite (Ypage 33)
;To rename aselected favorite
(Ypage 33 )
=To move aselected favorite (Ypage 34)
?To delete aselected favorite (Ypage 34)
XTo displa yth efavorite soverview: press
th efavorite sbutto non th econtroller.
XTo show th emen ubar :slide 6thecon-
troller .
You can manage atotal of 20 favorites.
To do so use th efollowin gfunctions:
RDisplayin gand selecting favorite s
(Ypage 33 )
RAddingfavorite s (Ypage 33)
RRenamin gfavorite s (Ypage 33 )
RMoving favorite s (Ypage 34)
RDeleting favorite s (Ypage 34)
Displaying and selecting favorites
XTo displa yth efavorite soverview: press
th efavorite sbutto non th econtroller.
XTo call up afavorite :tur nand press th econ-
troller .
Adding favorites
Adding predefined favorites
XPress th efavorite sbutto non th econtroller.
XTo show th emen ubar :slide 6thecon-
troller .
XTo select Reassign:tur nand press th econ-
troller .
The categories and predefine dfavorite sare
displayed.
Categories are
RNavigatio n
REntertainmen t
RTel
RVehicle
R®
RClimateContro l
XTo select acategory: turnth econtroller and
press to confirm .
The available favorite sare displayed.
XTo select afavorite :tur nand press th econ-
troller .
XTo add afavorite at th edesired position:
tur nand press th econtroller.
If there is already afavorite at this position ,
then this will be deleted.
Adding your own favorites
You can store phon enumber sfrom th ephon e
book ,radi ostation sor destination sas favorites.
A phon enumber from th ephon ebook is used as
an example.
XCall up th ephon ebook (Ypage 101).
XSearc hfor and highligh t acontact
(Ypage 101).
XTo ad d atelephone number as afavorite
at th edesired position: press and hold the
favorite sbutto non th econtroller until th e
favorite sare displayed.
XTurn and press th econtroller.
If there is already afavorite at this position ,it
will be deleted and replace dby ane wone.
Renaming favorites
XPress th efavorite sbutto non th econtroller.
The favorite sare displayed.
XTo select afavorite to be renamed: turnth e
controller.
XTo show th emen ubar :slide 6thecon-
troller .
XTo select Rename:tur nand press th econtrol -
ler.
Favorites33
Overview and operation
Page 36 of 178

XEnter characters using the controller
(Ypage 30) or the touchpad (Ypage 26).
XTo finish the entry:selectOK.
The favorite has been renamed.
Moving favorites
XPress the favorites button on the controller.
The favorites are displayed.
XTo select a favorite to be moved: turn the
controller.
XTo show the menu bar: slide6the con-
troller.
XTo select Move: turn and press the controller.
XTo store a favorite in the desired order:
turn and press the controller.
If a favorite is stored over another favorite, the
favorite underneath is deleted.
Deleting favorites
XPress the favorites button on the controller.
The favorites are displayed.
XTo select a favorite to be deleted: turn the
controller.
XTo show the menu bar: slide6the con-
troller.
XTo select Delete: turn and press the control-
ler.
XTo select Yes: turn and press the controller.
The favorite is deleted.
XIf you select No, the process will be canceled.
34Favorites
Overviewand operation
Page 37 of 178
Your multimediasyste mequipment
These operatin ginstruction sdescribe all th e
standar dan doptional equipment of your multi-
media system, as available at th etime of going
to press. Country-specifi cdifference sare pos -
sible. Bear in min dthat your vehicle may no t
feature all function sdescribed here. Thi salso
applies to safety-relevan tsystems an dfunc-
tions.
Read th einformation on qualifie dspecialis t
workshop sin th evehicle Operator's Manual.
Important safet ynotes
GWARNING
If you operat emobile communication equip-
men twhil edriving, you will be distracted from
traffic conditions. You could also los econtro l
of th evehicle. There is aris kof an accident.
Only operat ethis equipment when th evehicle
is stationary.
You mus tobserv eth elegal requirements fo rth e
country in whic hyou are currentl ydrivin gwhen
operatin gmobile communication sequipment in
th evehicle.
Display settings
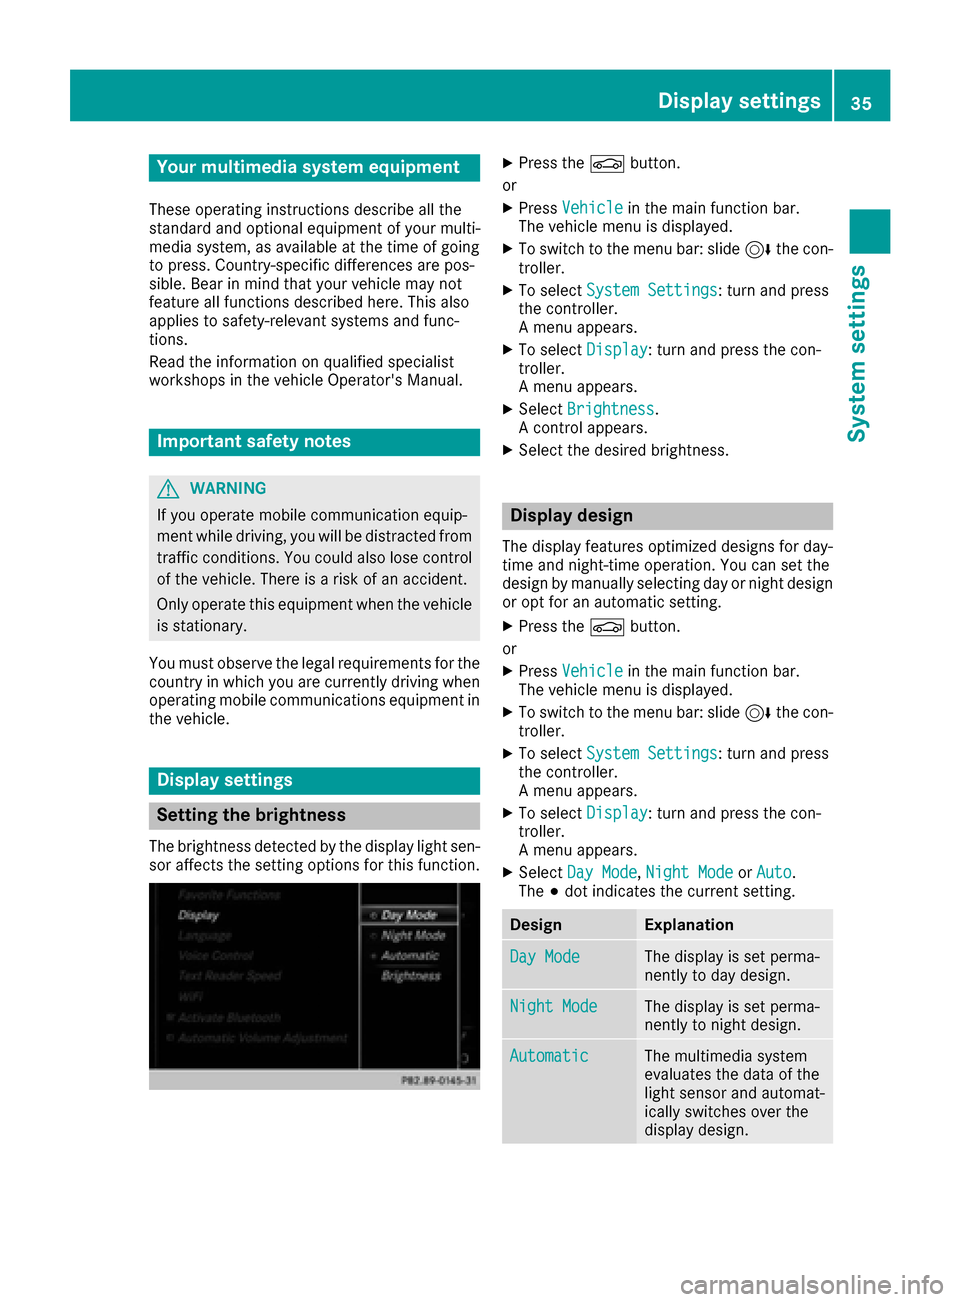
Setting th ebrightness
The brightness detecte dby th edisplay ligh tsen -
sor affects th esetting option sfo rthis function .
XPress theØ button.
or
XPress Vehicl ein themain function bar .
The vehicle men uis displayed.
XTo switch to th emen ubar :slid e6 thecon-
troller.
XTo selec tSystem Settings:turn an dpress
th econtroller .
A men uappears .
XTo selec tDispla y:turn an dpress th econ-
troller.
A men uappears .
XSelectBrightness.
A contro lappears .
XSelectth edesire dbrightness.
Display design
The display feature soptimize ddesign sfo rday-
time an dnight-time operation .You can set th e
design by manually selecting day or night design
or opt fo ran automatic setting .
XPress theØ button.
or
XPress Vehicl ein themain function bar .
The vehicle men uis displayed.
XTo switch to th emen ubar :slid e6 thecon-
troller.
XTo selec tSystem Settings:turn an dpress
th econtroller .
A men uappears .
XTo selec tDispla y:turn an dpress th econ-
troller.
A men uappears .
XSelectDa yMode,Nigh tModeor Auto.
The #dot indicates th ecurren tsetting .
DesignExplanation
DayModeThe display is set perma-
nently to day design .
NightModeThe display is set perma-
nently to night design .
AutomaticThe multimedia syste m
evaluates th edat aof th e
ligh tsensor an dautomat -
ically switches over th e
display design .
Display settings35
System settings
Z
Page 38 of 178
Switching the display on/off
To switch off the display
XPress theØbutton.
or
XPress Vehiclein the main function bar.
The vehicle menu is displayed.
XTo select Display Off: slide6, turn and
press the controller.
The display goes out.
XTo switch the display on again: press the
controller.
Time settings
General information
The multimedia system can automatically set
the time and date.
The following navigation system functions
require the time, time zone and summer/stand-
ard time to be set correctly in order to work
properly:
Rroute guidance on routes with time-depend-
ent traffic guidance
Rcalculation of expected time of arrival
Switching automatic time on and off
The Automatic Time Settingsfunction is
used to activate or deactivate the automatic
setting of the time and date. This function is
activated when the vehicle leaves the factory.
XPress the Øbutton.
or
XPress Vehiclein the main function bar.
The vehicle menu is displayed.
XTo switch to the menu bar: slide 6the con-
troller.
XTo select Time: turn and press the controller.
A menu appears.
XTo select AutomaticTimeSettings: press
the controller.
XTo switch the function on Oor off ª: press
the controller.
Setting the time zone
To set the time zone, the Automatic TimeSettingsfunction must be activated .
XPress theØbutton.
or
XPress Vehiclein the main function bar.
The vehicle menu is displayed.
XTo switch to the menu bar: slide 6the con-
troller.
XTo select Time: turn and press the controller.
A menu appears.
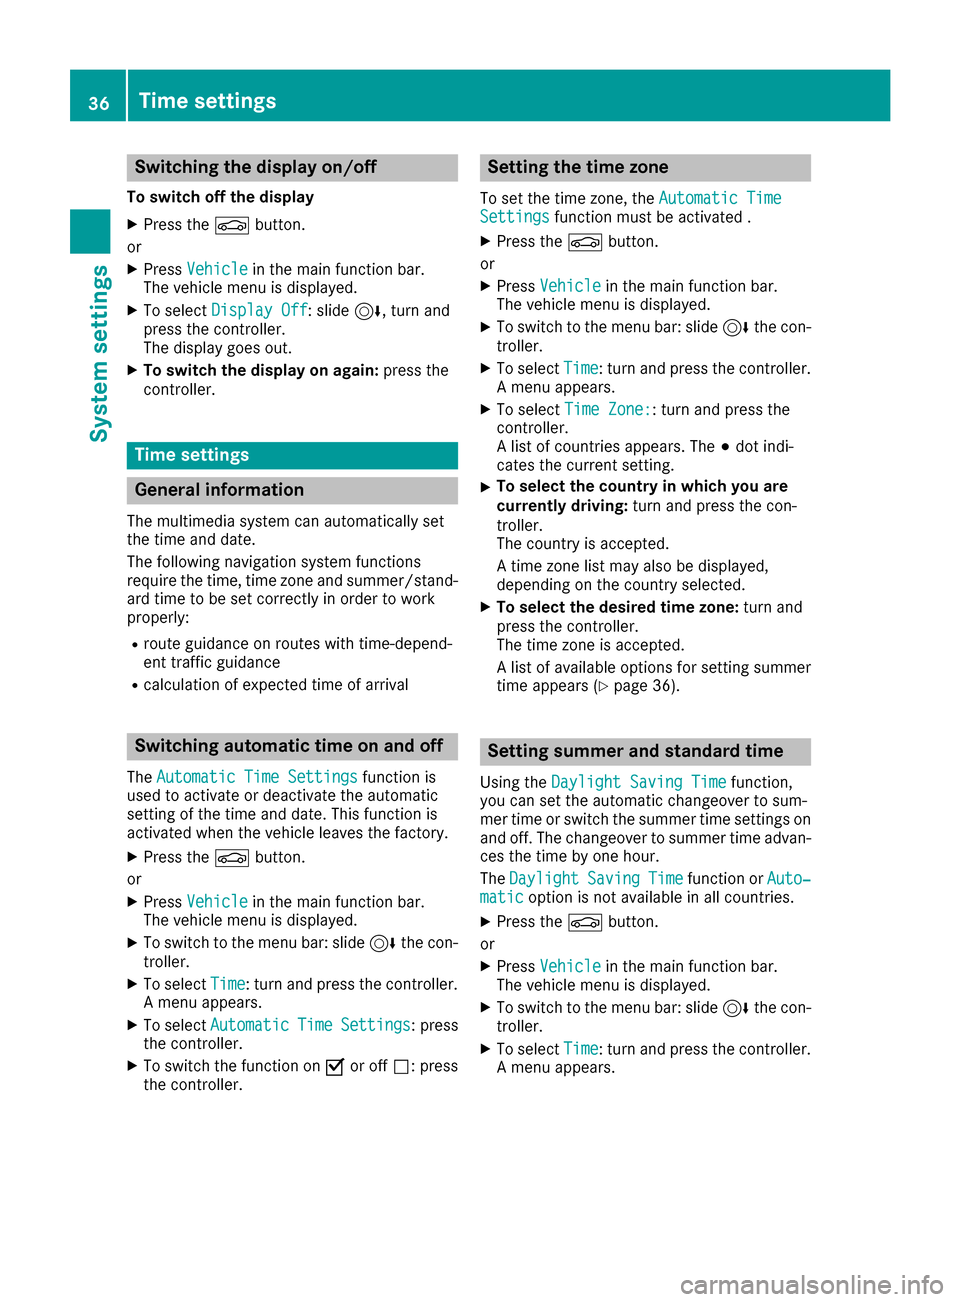
XTo select Time Zone:: turn and press the
controller.
A list of countries appears. The #dot indi-
cates the current setting.
XTo select the country in which you are
currently driving: turn and press the con-
troller.
The country is accepted.
A time zone list may also be displayed,
depending on the country selected.
XTo select the desired time zone: turn and
press the controller.
The time zone is accepted.
A list of available options for setting summer
time appears (
Ypage 36).
Setting summer and standard time
Using the Daylight Saving Timefunction,
you can set the automatic changeover to sum-
mer time or switch the summer time settings on and off. The changeover to summer time advan-
ces the time by one hour.
The Daylight
SavingTimefunction or Auto‐maticoption is not available in all countries.
XPress theØbutton.
or
XPress Vehiclein the main function bar.
The vehicle menu is displayed.
XTo switch to the menu bar: slide 6the con-
troller.
XTo select Time: turn and press the controller.
A menu appears.
36Time settings
System settings
Page 39 of 178
XTo selectDaylight Saving Time: turn and
press the controller.
A list of available options for setting summer
time appears.
XTo select Automatic,Onor Off: turn and
press the controller.
SettingFunction
AutomaticThe summer and
standard time are
automatically
changed over.
OnThe clock is advanced
one hour ahead of
standard time.
OffThe standard time for
the chosen time zone
is selected.
Manual time setting
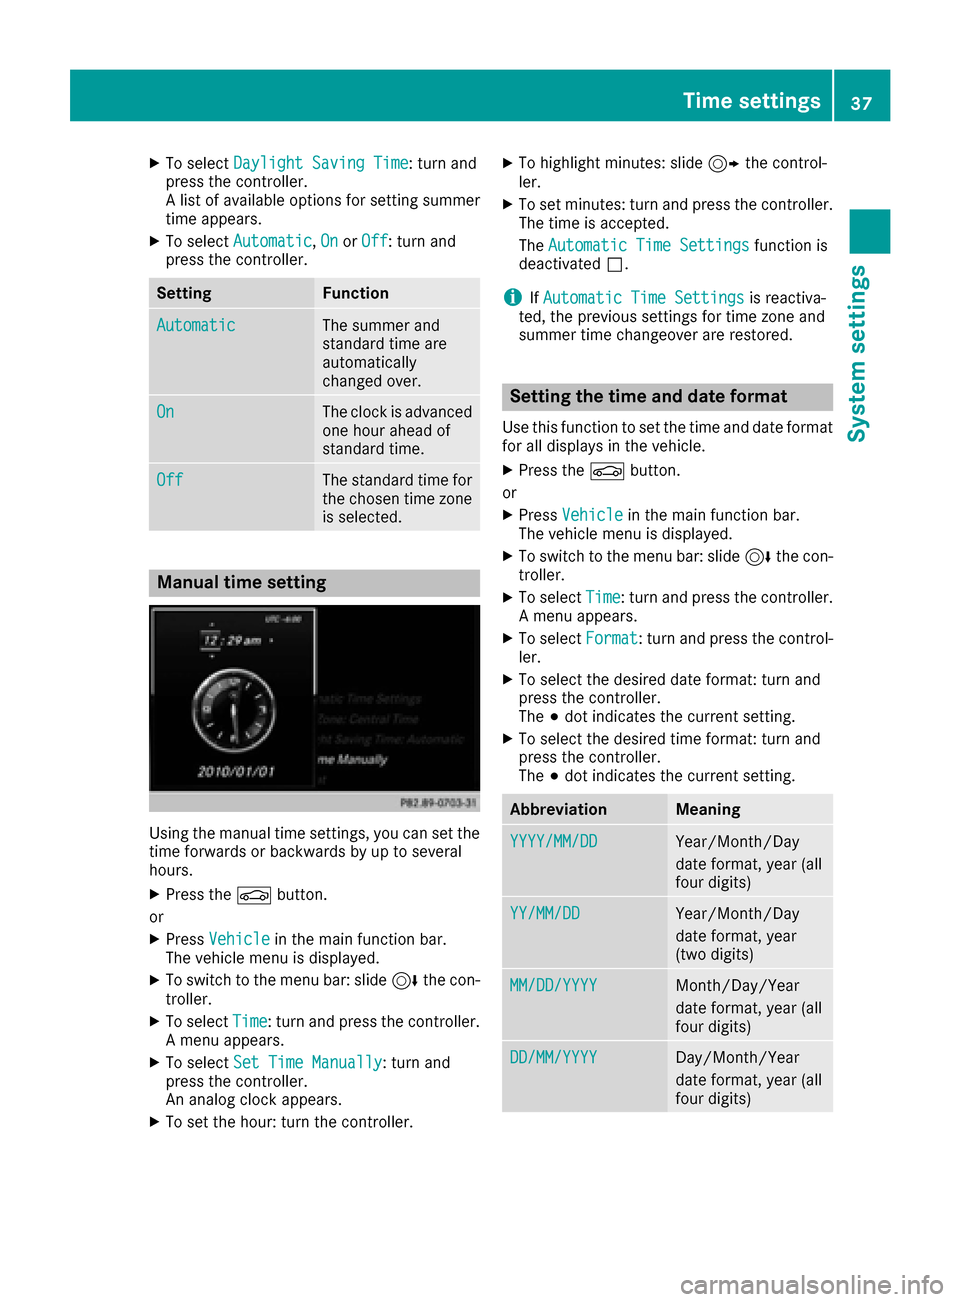
Using the manual time settings, you can set the
time forwards or backwards by up to several
hours.
XPress the Øbutton.
or
XPress Vehiclein the main function bar.
The vehicle menu is displayed.
XTo switch to the menu bar: slide 6the con-
troller.
XTo select Time: turn and press the controller.
A menu appears.
XTo select Set Time Manually: turn and
press the controller.
An analog clock appears.
XTo set the hour: turn the controller.
XTo highlight minutes: slide 9the control-
ler.
XTo set minutes: turn and press the controller. The time is accepted.
The Automatic Time Settings
function is
deactivated ª.
iIfAutomatic Time Settingsis reactiva-
ted, the previous settings for time zone and
summer time changeover are restored.
Setting the time and date format
Use this function to set the time and date format for all displays in the vehicle.
XPress the Øbutton.
or
XPress Vehiclein the main function bar.
The vehicle menu is displayed.
XTo switch to the menu bar: slide 6the con-
troller.
XTo select Time: turn and press the controller.
A menu appears.
XTo select Format: turn and press the control-
ler.
XTo select the desired date format: turn and
press the controller.
The #dot indicates the current setting.
XTo select the desired time format: turn and
press the controller.
The #dot indicates the current setting.
AbbreviationMeaning
YYYY/MM/DDYear/Month/Day
date format, year (all
four digits)
YY/MM/DDYear/Month/Day
date format, year
(two digits)
MM/DD/YYYYMonth/Day/Year
date format, year (all
four digits)
DD/MM/YYYYDay/Month/Year
date format, year (all
four digits)
Time settings37
System settings
Z
Page 41 of 178
XSelectActivate.
XPress the controller.
Switch the connection on Oor off ª,
depending on the previous setting.
Connecting the device
General notes
The exact Wi-Fi connection procedure may vary
depending on the device to be connected. Fol-
low the instructions that are shown in the dis-
play. Further information; see the manufactur-
er's operating instructions.
Connecting a device via WPS PIN
Requirement: for this type of connection, the
device to be connected must support "Connect
using WPS PIN".
XTo select Vehiclefrom the main function bar:
turn and press the controller.
XTo switch to the menu bar: slide 6the con-
troller.
XSelect System Settings.
XSelectWiFi.
The Wi-Fi menu appears.
XSelect Connect via WPS PIN.
XSelect the vehicle from the device to be con-
nected and "Connect using WPS PIN". The
vehicle is displayed with the SSID MB WLAN
XXXXX.
The device to be connected generates a PIN.
XAlso enter this PIN into the multimedia sys-
tem.
Connecting the device by pressing a
button (push button)
Requirement: for this type of connection, the
device to be connected must support "Connect
via push button".
XTo select Vehiclefrom the main function bar:
turn and press the controller.
XTo switch to the menu bar: slide 6the con-
troller.
XSelect System Settings.
XSelectWiFi.
The Wi-Fi menu appears.
XSelect Connect via WPS PBC.
XSelect the vehicle from the device to be con-
nected and ConnectviaWPSPBC. The vehi-
cle is displayed with the SSID MB WLAN
XXXXX.
XSelectContinuein the multimedia system.
Connecting the device via the security
key
XTo select Vehiclefrom the main function bar:
turn and press the controller.
XTo switch to the menu bar: slide 6the con-
troller.
XSelect System Settings.
XSelectWiFi.
The Wi-Fi menu appears.
XSelect Connect Using Security Key.
XSelect the vehicle from the device to be con-
nected. The vehicle is displayed with the SSID
MB WLAN XXXXX
.
XEnter the security key that appears on the
multimedia system display into the device to
be connected.
XConfirm the entry.
Generating a new security key
XTo select Vehiclefrom the main function bar:
turn and press the controller.
XTo switch to the menu bar: slide 6the con-
troller.
XSelect System Settings.
XSelectWiFi.
The Wi-Fi menu appears.
XSelect Generate Security Key.
XSelectRegenerate.
A new security key is generated.
XTo save the security key: turn the controller
and select Save.
The Wi-Fi menu appears. The new security key
will now be displayed and verified when a Wi-
Fi connection is established. The connection
must be re-established with the newly cre-
ated security key.
iDevice connections established using the
previous security key will no longer work after
the security key is changed. You have to
reconnect these devices (
Ypage 39).
Wi-Fi39
System settings
Z
Page 42 of 178
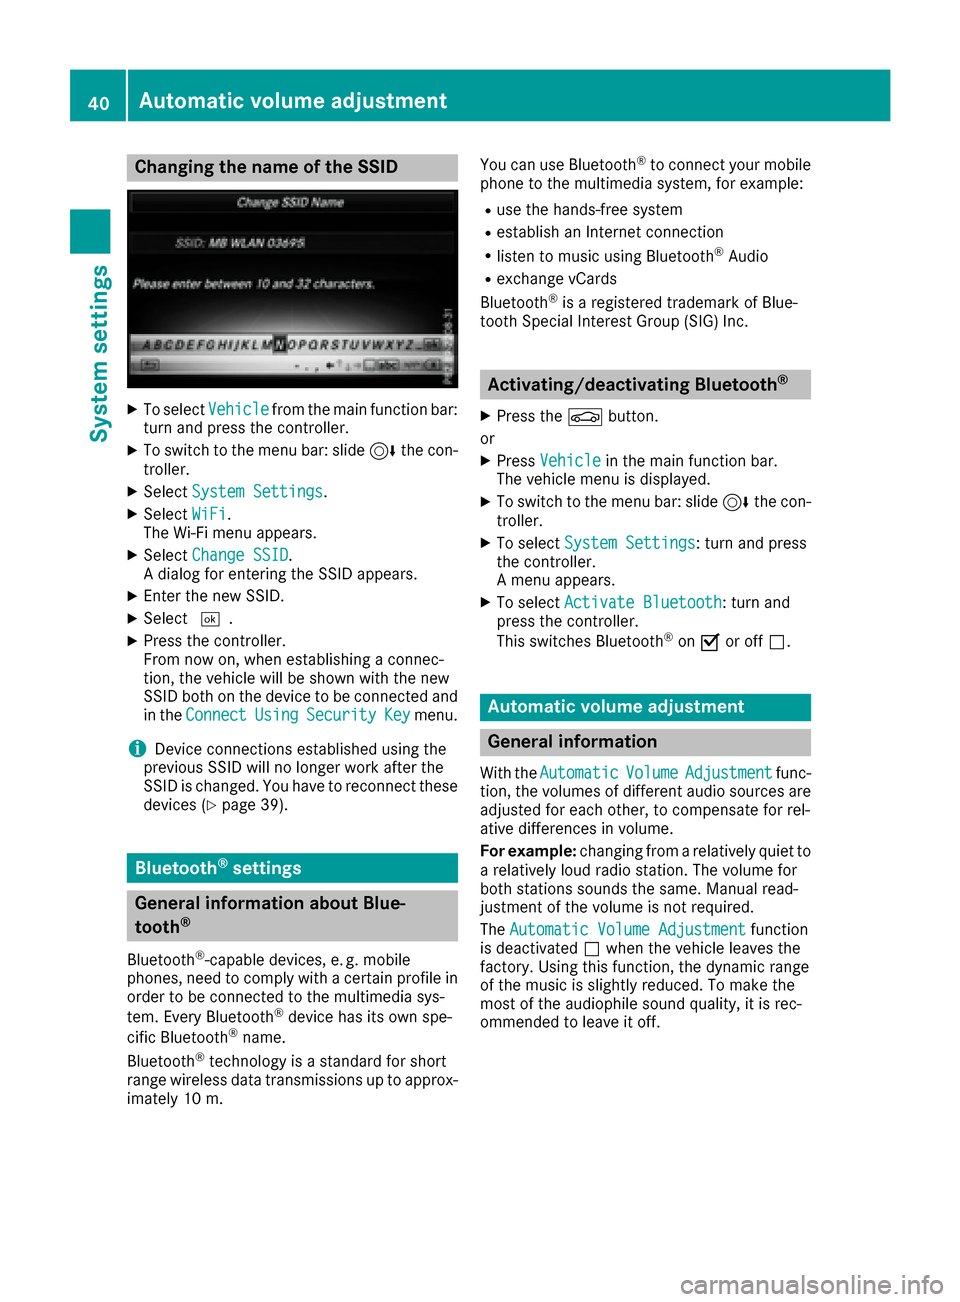
Changing the name of the SSID
XTo selectVehiclefrom the main function bar:
turn and press the controller.
XTo switch to the menu bar: slide 6the con-
troller.
XSelect System Settings.
XSelect WiFi.
The Wi-Fi menu appears.
XSelect Change SSID.
A dialog for entering the SSID appears.
XEnter the new SSID.
XSelect ¬.
XPress the controller.
From now on, when establishing a connec-
tion, the vehicle will be shown with the new
SSID both on the device to be connected and
in the Connect
UsingSecurityKeymenu.
iDevice connections established using the
previous SSID will no longer work after the
SSID is changed. You have to reconnect these
devices (
Ypage 39).
Bluetooth®settings
General information about Blue-
tooth®
Bluetooth®-capable devices, e. g. mobile
phones, need to comply with a certain profile in
order to be connected to the multimedia sys-
tem. Every Bluetooth
®device has its own spe-
cific Bluetooth®name.
Bluetooth®technology is a standard for short
range wireless data transmissions up to approx-
imately 10 m. You can use Bluetooth
®to connect your mobile
phone to the multimedia system, for example:
Ruse the hands-free system
Restablish an Internet connection
Rlisten to music using Bluetooth®Audio
Rexchange vCards
Bluetooth®is a registered trademark of Blue-
tooth Special Interest Group (SIG) Inc.
Activating/deactivating Bluetooth®
X
Press the Øbutton.
or
XPress Vehiclein the main function bar.
The vehicle menu is displayed.
XTo switch to the menu bar: slide 6the con-
troller.
XTo select System Settings: turn and press
the controller.
A menu appears.
XTo select Activate Bluetooth: turn and
press the controller.
This switches Bluetooth
®on O or off ª.
Automatic volume adjustment
General information
With the AutomaticVolumeAdjustmentfunc-
tion, the volumes of different audio sources are
adjusted for each other, to compensate for rel-
ative differences in volume.
For example: changing from a relatively quiet to
a relatively loud radio station. The volume for
both stations sounds the same. Manual read-
justment of the volume is not required.
The Automatic Volume Adjustment
function
is deactivated ªwhen the vehicle leaves the
factory. Using this function, the dynamic range
of the music is slightly reduced. To make the
most of the audiophile sound quality, it is rec-
ommended to leave it off.
40Automatic volume adjustment
System settings
Page 43 of 178
Switching the automatic volume
adjustment on/off
XPress theØbutton.
or
XPress Vehiclein the main function bar.
The vehicle menu is displayed.
XTo switch to the menu bar: slide 6the con-
troller.
XTo select System Settings: turn and press
the controller.
A menu appears.
XTo select Automatic Volume Adjustment:
turn and press the controller.
Switch the Automatic Volume Adjustment
function on Oor off ª.
Setting the system language
General information
This function allows you to determine the lan-
guage for the menu displays and the navigation
messages. The selected language affects the
characters available for entry.
iThe navigation announcements are not
available in all languages. If a language is not
available, the navigation announcements will
be in English.
iWhen you set the system language, the lan-
guage of the Voice Control System will
change accordingly. If it is not supported by
the Voice Control System, English will be
selected.
Setting the system language
XPress the Øbutton.
or
XPress Vehiclein the main function bar.
The vehicle menu is displayed.
XTo switch to the menu bar: slide 6the con-
troller.
XTo select System Settings: turn and press
the controller.
A menu appears.
XTo select Language: turn and press the con-
troller.
The list of languages appears. The #dot indi-
cates the current setting.
XSelect the desired language.
The multimedia system loads the selected
language and sets it.
Calling up and editing the Favorites
function
The Favorites function can, depending on the
vehicle equipment, be called up as follows:
Rvia the System Settingsmenu
Rvia the Favorites button on the controller
(Ypage 21)
Rvia the Favorites button on the touchpad
(Ypage 23)
Calling up the Favorites function via the sys-
tem menu
XPress the Øbutton.
or
XPress Vehiclein the main function bar.
The vehicle menu is displayed.
XTo switch to the menu bar: slide 6the con-
troller.
XTo select System Settings: turn and press
the controller.
A menu appears.
XTo select Favorite Functions: press the
controller.
The favorites are displayed.
XTo select the desired function, e.g. Phone‐book: turn and press the controller.
Calling up the Favorites function via the
controller or touchpad
XPress the Favorites button on the controller or touchpad.
The favorites are displayed.
XTo select the desired function, e.g. Phone‐book: turn and press the controller.
Exiting the Favorites function
XPress the Favorites button again.
or
XPress the %button.
Further information on favorites (
Ypage 33).
Calling up and editing the Favorites function41
System settings
Z