2017 MERCEDES-BENZ GLA SUV start stop button
[x] Cancel search: start stop buttonPage 228 of 369

Telephone menu
Introduction G
WARNING
If you operate information and communica-
tion equipment integrated in the vehicle when driving, you could be distracted from the traf-
fic situation. This could also cause you to lose control of the vehicle. There is a risk of an
accident.
Only operate this equipment when the traffic
situation permits. If you cannot be sure of this,
stop the vehicle paying attention to road and
traffic conditions and operate the equipment
with the vehicle stationary.
When using the phone, you must observe the
legal requirements for the country in which you
are currently driving.
X Switch on the mobile phone (see the manu-
facturer's operating instructions).
X Switch on the multimedia system; see the
separate operating instructions.
X Insert the mobile phone into the bracket
(Y page 300).
or
X Establish a Bluetooth ®
connection to the mul-
timedia system; see the separate operating
instructions.
X Establish a Bluetooth ®
connection to the mul-
timedia system; see the separate operating
instructions.
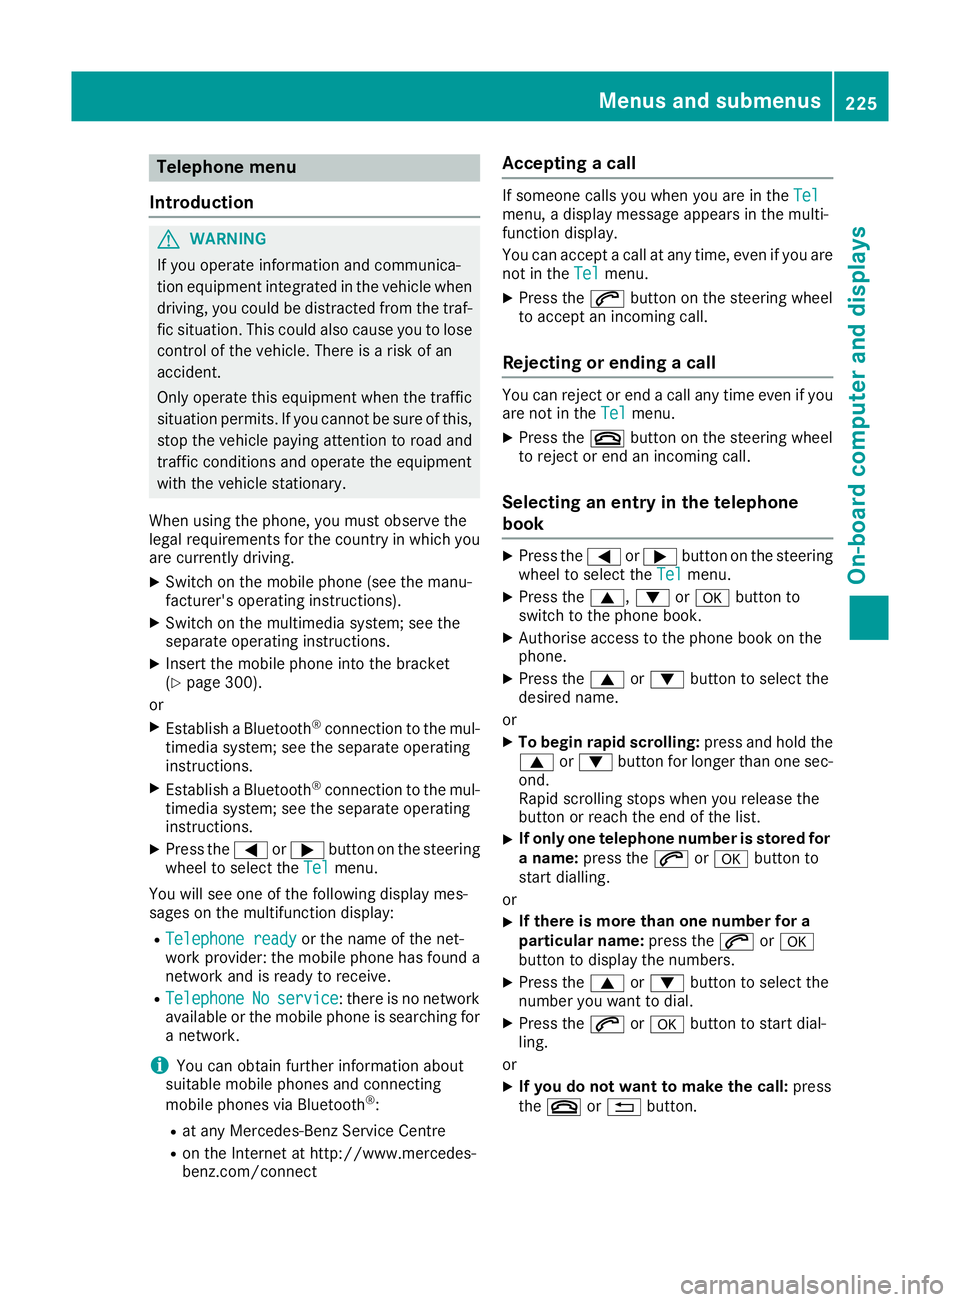
X Press the =or; button on the steering
wheel to select the Tel
Tel menu.
You will see one of the following display mes-
sages on the multifunction display: R Telephone ready Telephone ready or the name of the net-
work provider: the mobile phone has found a network and is ready to receive.
R Telephone
Telephone No
Noservice
service: there is no network
available or the mobile phone is searching for
a network.
i You can obtain further information about
suitable mobile phones and connecting
mobile phones via Bluetooth ®
:
R at any Mercedes-Benz Service Centre
R on the Internet at http://www.mercedes-
benz.com/connect Accepting a call If someone calls you when you are in the
Tel Tel
menu, a display message appears in the multi-
function display.
You can accept a call at any time, even if you are
not in the Tel
Tel menu.
X Press the 6button on the steering wheel
to accept an incoming call.
Rejecting or ending a call You can reject or end a call any time even if you
are not in the Tel Telmenu.
X Press the ~button on the steering wheel
to reject or end an incoming call.
Selecting an entry in the telephone
book X
Press the =or; button on the steering
wheel to select the Tel Telmenu.
X Press the 9,:ora button to
switch to the phone book.
X Authorise access to the phone book on the
phone.
X Press the 9or: button to select the
desired name.
or
X To begin rapid scrolling: press and hold the
9 or: button for longer than one sec-
ond.
Rapid scrolling stops when you release the
button or reach the end of the list.
X If only one telephone number is stored for
a name: press the 6ora button to
start dialling.
or
X If there is more than one number for a
particular name:
press the6ora
button to display the numbers.
X Press the 9or: button to select the
number you want to dial.
X Press the 6ora button to start dial-
ling.
or
X If you do not want to make the call: press
the ~ or% button. Menus and submenus
225On-board computer and displays Z
Page 236 of 369

Stopping the RACE TIMER
X
Press the %button on the steering wheel.
X Confirm Yes
Yes with a.
The RACE TIMER interrupts timing if you stop the
vehicle and turn the key to position 1in the
ignition lock. If you turn the key to position 3
and then press ato confirm Start
Start, timing is
continued.
Resetting the current lap
X Stop the RACE TIMER.
X Press the =or; button to select
Reset Lap Reset Lap.
X Press ato reset the lap time to "0".
Deleting all laps If you switch off the engine, the RACE TIMER is
reset to "0" after 30 seconds. All laps are
deleted.
You cannot delete individual stored laps. If you
have stopped 16 laps, the current lap does not
have to be reset.
X Reset the current lap.
X Press ato confirm Reset Reset.
Reset Race Timer?
Reset Race Timer? appears in the multi-
function display.
X Press the :button to select Yes
Yes and press
the a button to confirm.
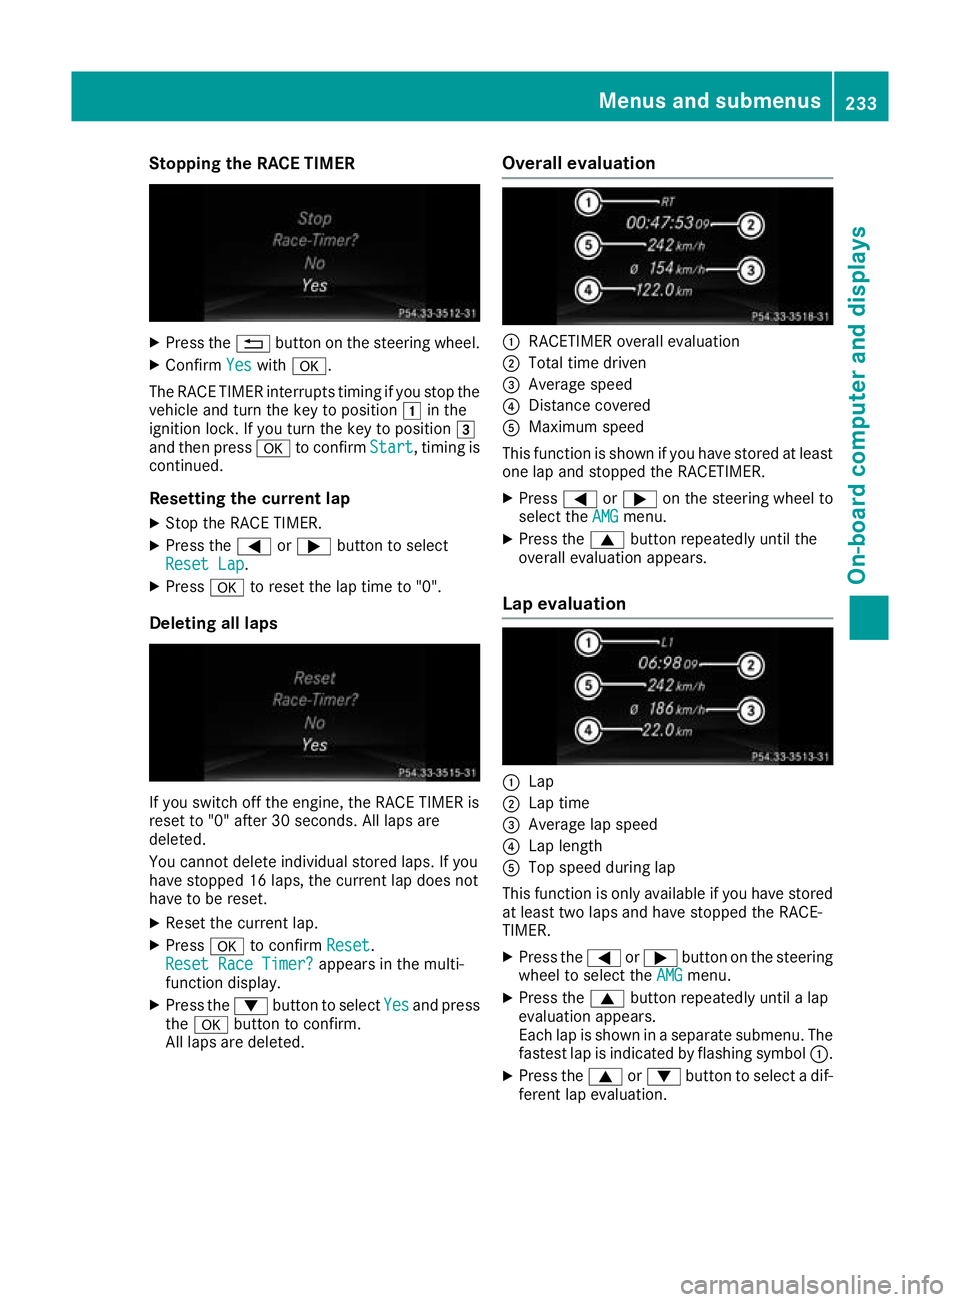
All laps are deleted. Overall evaluation :
RACETIMER overall evaluation
; Total time driven
= Average speed
? Distance covered
A Maximum speed
This function is shown if you have stored at least one lap and stopped the RACETIMER.
X Press =or; on the steering wheel to
select the AMG
AMGmenu.
X Press the 9button repeatedly until the
overall evaluation appears.
Lap evaluation :
Lap
; Lap time
= Average lap speed
? Lap length
A Top speed during lap
This function is only available if you have stored
at least two laps and have stopped the RACE-
TIMER.
X Press the =or; button on the steering
wheel to select the AMG
AMG menu.
X Press the 9button repeatedly until a lap
evaluation appears.
Each lap is shown in a separate submenu. The fastest lap is indicated by flashing symbol :.
X Press the 9or: button to select a dif-
ferent lap evaluation. Menus and submenus
233On-board computer and displays Z
Page 282 of 369

Adding favourites
Adding predefined favourites
X Press the gbutton.
X COMAND Online: slide6the controller.
X Audio 20: slide5or6 the controller.
The menu bar is displayed.
X Select Reassign
Reassign.
The categories are displayed.
X Select a category.
The favourites are displayed.
X Select a favourite.
X COMAND Online: to add the favourite to the
desired position, turn and press the control-
ler.
X Audio 20: to add the favourite to the desired
position, turn, slide 5or6 and press the
controller.
If a favourite has already been added at this
position, it will be overwritten.
Adding your own favourites You can add climate control as a favourite, for
example.
X Select Vehicle
VehicleQClimate control Climate control.
X Press and hold the gbutton until the
favourites are displayed.
X Add a favourite to the desired position.
If a favourite has already been added at this
position, it will be overwritten. Navigation mode
Important safety notes G
WARNING
If you operate information and communica-
tion equipment integrated in the vehicle when driving, you could be distracted from the traf-
fic situation. This could also cause you to lose control of the vehicle. There is a risk of an
accident.
Only operate this equipment when the traffic
situation permits. If you cannot be sure of this,
stop the vehicle paying attention to road and
traffic conditions and operate the equipment
with the vehicle stationary. You must observe the legal requirements for the
country in which you are currently driving when operating the navigation system.
General notes Correct functioning of the navigation system
depends, amongst other things, on GPS recep-
tion. In certain situations, GPS reception may be
impaired, there may be interference or there
may be no reception at all, e.g. in tunnels or
multi-storey car parks.
Audio 20 is equipped with Garmin ®
MAP PILOT
(see the manufacturer's operating instructions).
The Garmin ®
MAP PILOT operating instructions
are stored on the SD card as a PDF file. The SD card box contains a quick guide.
The following descriptions apply to navigation
with COMAND Online. Further information can
be found in the Digital Owner's Manual.
Selecting a route type and route options Multimedia system:
X Select Navi
NaviQNavigation Navigation.
The map displays the current vehicle position.
X Slide 6the controller.
X Select Options
OptionsQRoute settings Route settings.
Notes for route types:
R Eco route Eco route
R Dynamic route
Dynamic route
Traffic reports on the route for the route guid-
ance are taken into account (not available in
all countries).
R Dynamic route only after request Dynamic route only after request
You can decide whether or not current traffic
reports should be included in the route cal-
culation (not available in all countries).
R Calculate alternative routes Calculate alternative routes
Different routes are being calculated. In order
to do so, instead of Start Start, select the menu
item Continue
Continue.
X To avoid/use route options: selectAvoid
Avoid
options
options.
X Select a route option.
Notes for route options:
R Use toll roads
Use toll roads Operating system
279Multimedia system Z
Page 331 of 369

hitch. You could otherwise damage the vehi-
cle.
! Observe the following points when towing
with a tow rope:
R Secure the tow rope on the same side on
both vehicles.
R Make sure that the tow rope is not longer
than legally permitted. Mark the tow rope in the middle, e.g. with a white cloth
(30 x 30 cm). This will make other road
users aware that a vehicle is being towed.
R Only secure the tow cable to the towing
eyes or, if available, to the trailer tow hitch.
R Observe the brake lamps of the towing
vehicle while driving. Always maintain a dis-
tance a distance so that the tow rope does not sag.
R Do not use steel cables or chains to tow
your vehicle. You could otherwise damage
the vehicle.
! Do not use the towing eyes for recovery pur-
poses as this could damage the vehicle. If in
doubt, recover the vehicle with a crane.
! Pull away smoothly when towing away or
tow-starting a vehicle. If the tractive power is too high, the vehicles could be damaged.
! You may tow the vehicle for a maximum of
50km. A towing speed of 50 km/h must not
be exceeded.
For towing distances over 50 km, the front
axle or the entire vehicle must be raised and
transported.
! To tow vehicles with KEYLESS-GO, use the
key instead of the Start/Stop button. The
automatic transmission may otherwise
switch to position Pwhen you open the driv-
er's or front-passenger door which could
damage the transmission.
! Vehicles with automatic transmission must
not be tow-started. The transmission may
otherwise be damaged.
Observe the legal requirements for the relevant countries when towing and tow-starting.
It is better to have the vehicle transported than
to have it towed.
If the vehicle can no longer be driven because of an accident or breakdown, you have the follow-
ing options:
R transporting the vehicle As a rule, you should have the vehicle trans-
ported.
R towing the vehicle with a tow rope or tow bar
Only tow the vehicle in exceptional cases.
The battery must be connected and charged.
Otherwise, you:
R cannot turn the key to position 2in the igni-
tion lock
R cannot release the electric parking brake
R cannot shift the transmission to position i
on vehicles with automatic transmission
The function of the electric parking brake and
the parking lock is dependent on the on-board
voltage.
If the on-board voltage is low or if there is a sys- tem malfunction:
R it may not be possible to apply the released
parking brake or
R it may no longer be possible to shift the trans-
mission to position j
Switch off non-essential consumers, e.g. the
radio.
Deactivate the automatic locking feature before towing the vehicle (Y page 229). You could oth-
erwise be locked out when pushing or towing
the vehicle.
Deactivate tow-away protection before the vehi- cle is towed (Y page 77). Fitting/removing the towing eye
Fitting the towing eye 328
Towing away and tow-startingBreakdown assistance
Page 332 of 369

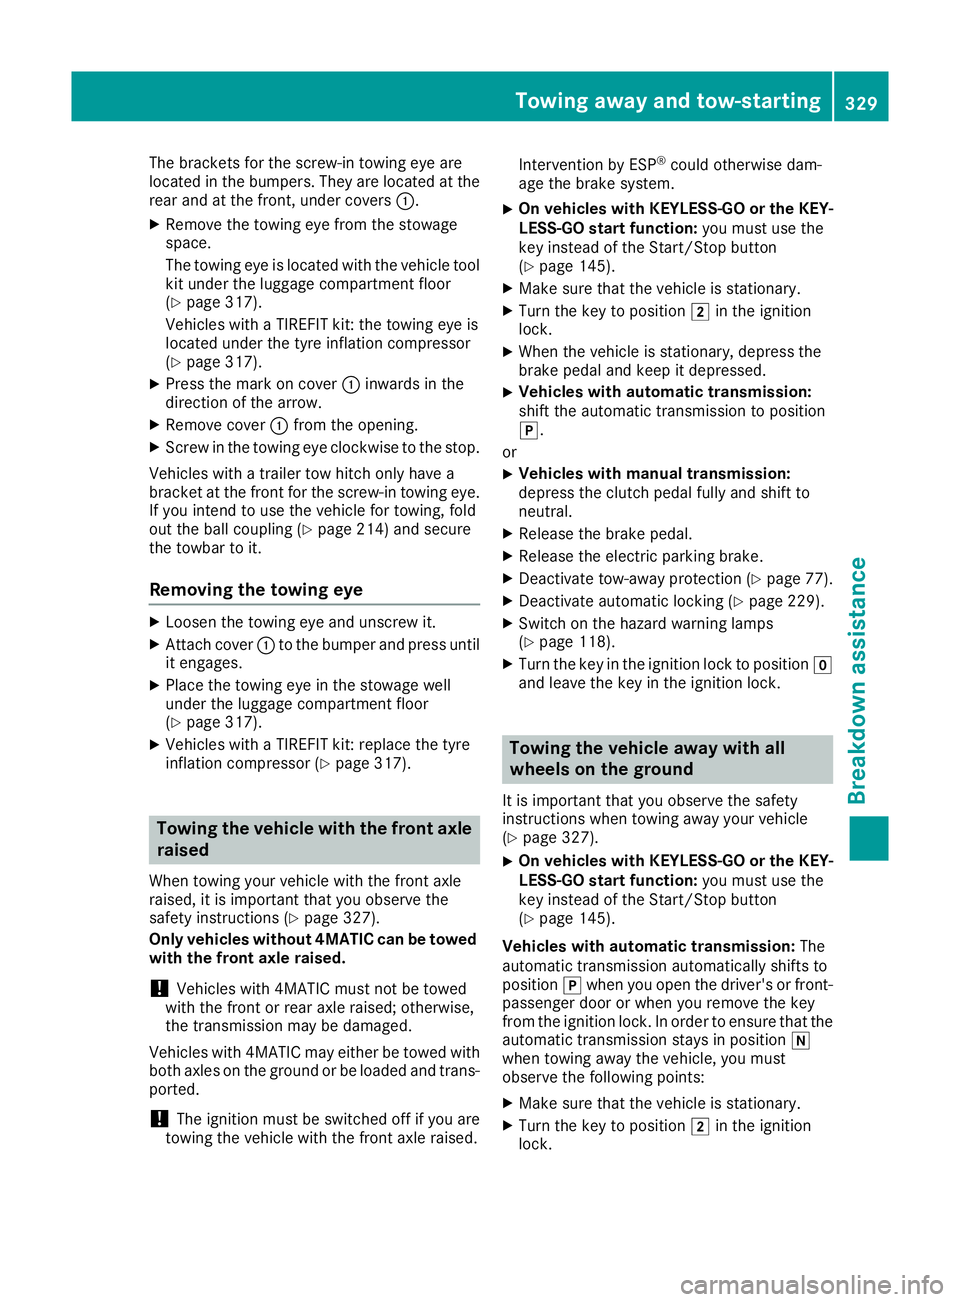
The brackets for the screw-in towing eye are
located in the bumpers. They are located at the rear and at the front, under covers :.
X Remove the towing eye from the stowage
space.
The towing eye is located with the vehicle tool
kit under the luggage compartment floor
(Y page 317).
Vehicles with a TIREFIT kit: the towing eye is
located under the tyre inflation compressor
(Y page 317).
X Press the mark on cover :inwards in the
direction of the arrow.
X Remove cover :from the opening.
X Screw in the towing eye clockwise to the stop.
Vehicles with a trailer tow hitch only have a
bracket at the front for the screw-in towing eye.
If you intend to use the vehicle for towing, fold
out the ball coupling (Y page 214) and secure
the towbar to it.
Removing the towing eye X
Loosen the towing eye and unscrew it.
X Attach cover :to the bumper and press until
it engages.
X Place the towing eye in the stowage well
under the luggage compartment floor
(Y page 317).
X Vehicles with a TIREFIT kit: replace the tyre
inflation compressor (Y page 317).Towing the vehicle with the front axle
raised
When towing your vehicle with the front axle
raised, it is important that you observe the
safety instructions (Y page 327).
Only vehicles without 4MATIC can be towed
with the front axle raised.
! Vehicles with 4MATIC must not be towed
with the front or rear axle raised; otherwise,
the transmission may be damaged.
Vehicles with 4MATIC may either be towed with
both axles on the ground or be loaded and trans- ported.
! The ignition must be switched off if you are
towing the vehicle with the front axle raised. Intervention by ESP
®
could otherwise dam-
age the brake system.
X On vehicles with KEYLESS-GO or the KEY-
LESS-GO start function: you must use the
key instead of the Start/Stop button
(Y page 145).
X Make sure that the vehicle is stationary.
X Turn the key to position 2in the ignition
lock.
X When the vehicle is stationary, depress the
brake pedal and keep it depressed.
X Vehicles with automatic transmission:
shift the automatic transmission to position
j.
or X Vehicles with manual transmission:
depress the clutch pedal fully and shift to
neutral.
X Release the brake pedal.
X Release the electric parking brake.
X Deactivate tow-away protection (Y page 77).
X Deactivate automatic locking (Y page 229).
X Switch on the hazard warning lamps
(Y page 118).
X Turn the key in the ignition lock to position g
and leave the key in the ignition lock. Towing the vehicle away with all
wheels on the ground
It is important that you observe the safety
instructions when towing away your vehicle
(Y page 327).
X On vehicles with KEYLESS-GO or the KEY-
LESS-GO start function: you must use the
key instead of the Start/Stop button
(Y page 145).
Vehicles with automatic transmission: The
automatic transmission automatically shifts to
position jwhen you open the driver's or front-
passenger door or when you remove the key
from the ignition lock. In order to ensure that the
automatic transmission stays in position i
when towing away the vehicle, you must
observe the following points:
X Make sure that the vehicle is stationary.
X Turn the key to position 2in the ignition
lock. Towing away and tow-starting
329Breakdown assistance Z