2017 MERCEDES-BENZ CLS-Class ESP
[x] Cancel search: ESPPage 156 of 206
poses an increased risk of injury or even fatalinjury.
Keep SD memory cards out of the reach of
children. If an SD memory card is swallowed,
seek immediate medical attention.
!If you are no longer using the SD memory
card, you should remove it and take it out of
the vehicle. High temperatures can damage
the card.
The multimedia system supports SD memory
cards (Secure Digital), SDHC memory cards
(Secure DigitalHighCapacity) and SDXC mem-
ory cards (Secure Digital eXtendedCapacity).
Inserting an SD memory card
XInsert the SD memory card into the slot on the
control panel until it engages in place. The
side with the contacts must face downwards.
The music is played while the files are loaded in the background. If there are no supported
audio/video files, you will see a message to
this effect.
Ejecting an SD memory card
XPress the memory card.
The memory card is ejected.
XRemove the memory card.
Connecting USB devices
There are two USB ports in the stowage space
under the armrest.
XConnect the USB device with a suitable USB
port.
If the corresponding media display is visible,
the medium is played and the files are loadedin the background. Otherwise, the system
does not automatically switch to USB. If there
are no supported audio or video files, you will
see a message to this effect.
iMP3 players must support Media Transfer
Protocol (MTP).
Playback options
XIn media mode, slide 6the controller.
The media menu bar is shown.
XTo select Options: turn and press the con-
troller.
Playing similar tracks
XTo select Play More Like This: turn and
press the controller.
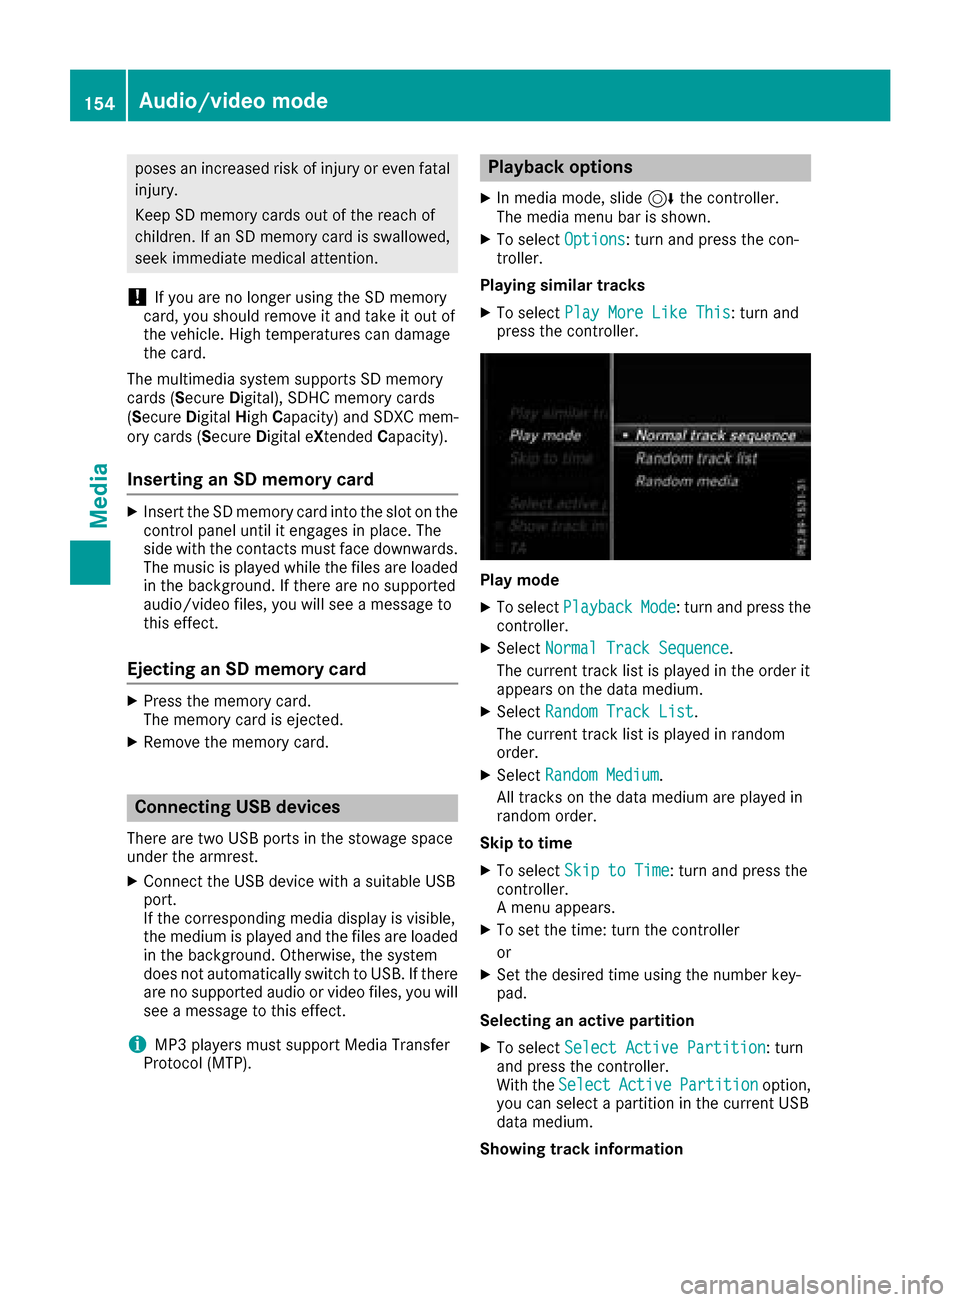
Play mode
XTo select PlaybackMode: turn and press the
controller.
XSelect Normal Track Sequence.
The current track list is played in the order it
appears on the data medium.
XSelect Random Track List.
The current track list is played in random
order.
XSelect Random Medium.
All tracks on the data medium are played in
random order.
Skip to time
XTo select Skip to Time: turn and press the
controller.
A menu appears.
XTo set the time: turn the controller
or
XSet the desired time using the number key-
pad.
Selecting an active partition
XTo select Select Active Partition: turn
and press the controller.
With the Select
ActivePartitionoption,
you can select a partition in the current USB
data medium.
Showing track information
154Audio/video mode
Media
Page 159 of 206
The tracks on the stored audio CDs can also be
found and played using other media search
functions (
Ypage 157).
Deleting stored audio CDs
If music is being played from the saved audio
CDs, the function for deleting audio CDs is avail-
able.
XIn media mode, slide6the controller.
The media menu bar appears.
XTo select Options: turn and press the con-
troller.
XTo select DeleteStoredAudioCDs: press
the controller.
A selection list for the stored audio CDs is
displayed.
XTo select the desired audio CD: turn and press
the controller.
The audio CD is deleted.
Media search
General notes
The multimedia system plays back files from the following data media:
RDisc (CD/DVD)
RMemory card
RUSB storage device
RApple®devices (folder, year and photos are
not available)
The categories are shown according to the data
available, whereby a database is created for
iPod
®and for all the other media sources (CD,
USB, SD card) respectively. During the search
the relevant database is accessed depending on
the active media source.
Starting the media search
XIn Media mode, slide 6the controller.
The media menu bar appears.
XTo select Search: turn and press the control-
ler.
The category list appears.
Category list
XIn Media mode, slide 6the controller.
The media menu bar is shown.
XTo select Search: turn and press the control-
ler.
The category list is shown.
Depending on the connected media sources and
files, the following categories are listed:
RCurrent Tracklist
RFolder
RSelect By Cover
RKeyword Search
RPlaylists
RArtists
RAlbums
RTracks
RGenres
RYear
RComposers
RStored Audio CDs
RVideos
RPhotos
iThe categories are available as soon as the
entire media content has been read and ana-
lyzed.
If the same device is reconnected with
unchanged media content, these categories
are available more quickly.
When connecting Apple
®devices, the cate-
gories “Folder”, “Year” and “Photos” are not
available.
Searching by current track list
Media search157
Media
Z
Page 165 of 206
already an active Internet connection, this can
cause the connection to be terminated.
Switching to Bluetooth®audio
XPress theÕbutton.
XTo select BluetoothAudioin the menu: turn
and press the controller.
The multimedia system activates the Blue-
tooth
®audio device. The basic display then
appears. Playback starts.
iIf the Bluetooth®audio device connected
supports metadata and corresponding data is
available, then the artist, track and album
name can be displayed.
Starting/stopping playback
XTo select Start playback Ì: turn and
press the controller.
Playback starts. Ëis selected.
XTo stop playback: select Ë.
A message appears. Ìis selected.
XTo continue playback: select Ì.
A message appears. Ëis selected.
Starting playback if the Bluetooth®
audio device has been stopped
During the search for mobile phones, the con-
nection with the Bluetooth®audio device is ter-
minated (
Ypage 95). In the Bluetooth®audio
basic display (Ypage 163) you will see the NoBluetooth Audio Device Connectedmes-
sage and the Connect Last Used Player
menu item cannot be selected.
When the search is finished, the Bluetooth®
audio device can be reconnected.
XTo select Start playback Ì: slide6
and press the controller.
Playback resumes from the beginning.
XTo select Connect Last Used Player:
press the controller.
Depending on the Bluetooth
®audio device
used, playback starts immediately or you
must start playback manually. In this case, you will see the
Bluetooth
Audio Device Pausedmessage.
iIf there is an Internet connection and the
mobile phone that is connected only supports
two Bluetooth
®profiles at the same time, the
Internet connection is interrupted.
Selecting a track
The function is not supported by all Bluetooth®
audio devices.
Some mobile phones impair function with
regard to the following criteria:
Rthe number of tracks that can be selected
Rthe time period until the next or previous track
is played
XUse the multifunction steering wheel to
switch to the media menu in the on-board
computer (see the vehicle Operator's Man-
ual).
XTo skip forwards or backwards to a track:
press the 9or: button on the multi-
function steering wheel.
XRapid scroll: press and hold the 9
or : button on the multifunction steering
wheel until the desired track is reached.
If you press and hold the 9or: but-
tons, the rapid scrolling speed increases after a short time.
Further ways to select tracks (
Ypage 155).
iIn rapid scroll, track names are not shown,
but instead only Track 1, Track 2 etc. The
playback times for the tracks played are not
displayed. This is available as an optional
function starting with AVRCP Version 1.3.
There is also no music search option available
with Bluetooth
®Audio.
Selecting playback options
If the Bluetooth®audio device supports the cor-
responding function, the following options are
available:
RNormal Track Sequence: the tracks are
played in the normal order (e.g. track 1, 2, 3
etc.).
Audio data playback is determined by the
order in which the tracks are written to the
data medium. Alphabetical order is the most
Bluetooth®audio mode163
Media
Z
Page 166 of 206
common. Once all the tracks in a folder have
been played, the tracks in the next folder are
played.
RRandomTrackList: the current track list is
played in random order (e.g. 3, 8, 5 etc.).
RRandom Medium: all tracks on the data
medium are played in random order (e.g.
track 3, 8, 5 etc.).
Playback options are optional functions and
are not, or only partially, supported by Blue-
tooth
®audio devices.
Selecting playback options
XTo select Options: turn and press the con-
troller.
XSelect Playback Mode.
A # dot indicates the current setting.
XSelect the desired option.
If you select Random Track List, you will
see a corresponding message in the display or
selection window.
Increasing the volume in the multime-
dia system
XTo select Options: slide6and press the
controller.
XTo select Volume: turn and press the control-
ler.
A menu appears. The #dot indicates the cur-
rent setting.
XSelect StandardorBoost.
Information on sound settings (
Ypage 172).
Operation with the Media Interface
General notes
Media Interface is a universal interface for the
connection of mobile audio and video devices.
Media Interface in the multimedia system has
two USB connections.
The USB connection sockets are located in the
stowage compartment under the armrest.
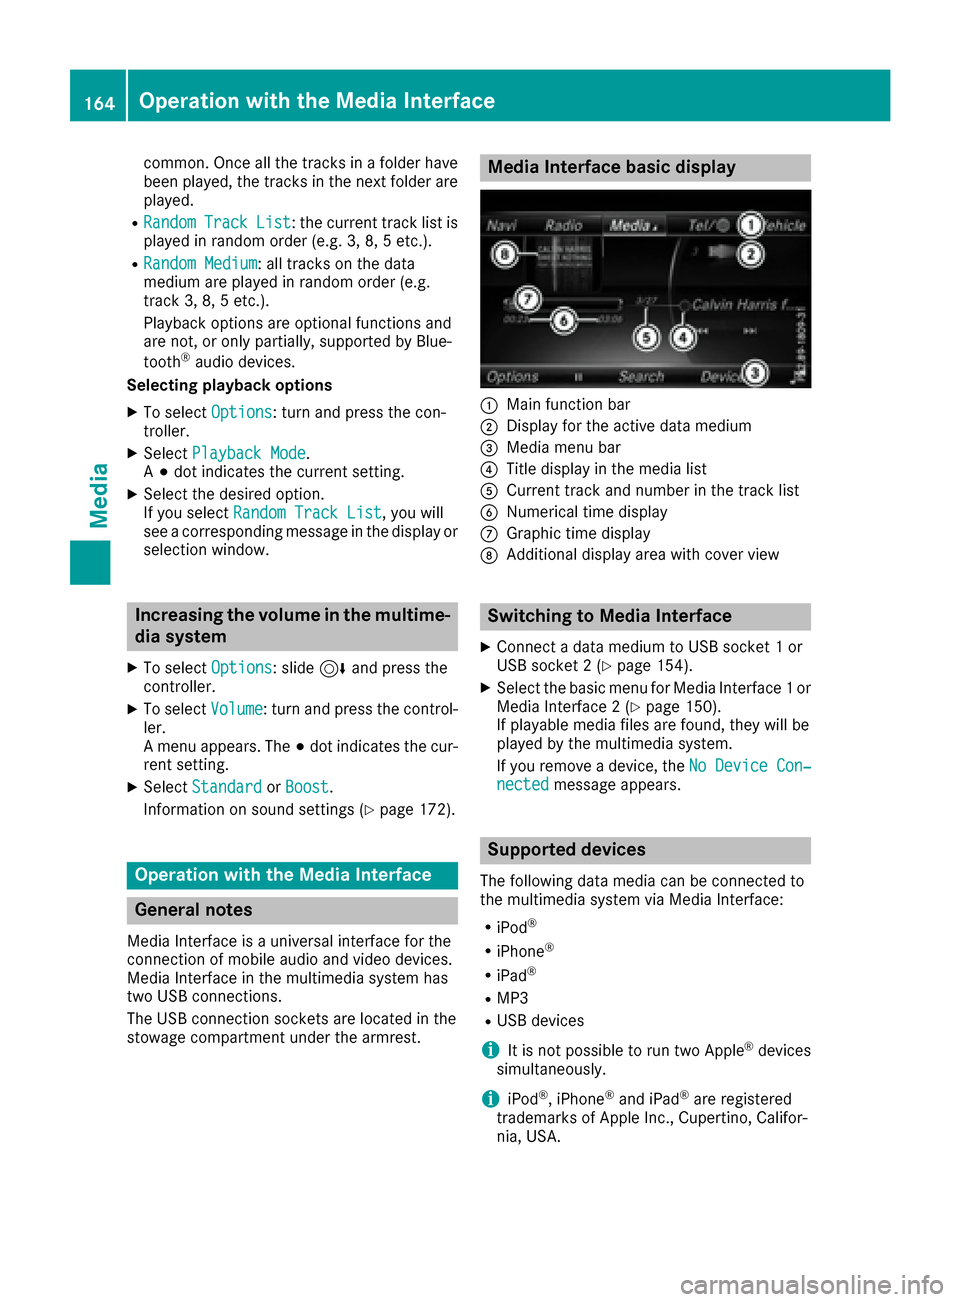
Media Interface basic display
:Main function bar
;Display for the active data medium
=Media menu bar
?Title display in the media list
ACurrent track and number in the track list
BNumerical time display
CGraphic time display
DAdditional display area with cover view
Switching to Media Interface
XConnect a data medium to USB socket 1 or
USB socket 2 (Ypage 154).
XSelect the basic menu for Media Interface 1 or
Media Interface 2 (Ypage 150).
If playable media files are found, they will be
played by the multimedia system.
If you remove a device, the No Device Con‐
nectedmessage appears.
Supported devices
The following data media can be connected to
the multimedia system via Media Interface:
RiPod®
RiPhone®
RiPad®
RMP3
RUSB devices
iIt is not possible to run two Apple®devices
simultaneously.
iiPod®, iPhone®and iPad®are registered
trademarks of Apple Inc., Cupertino, Califor-
nia, USA.
164Operation with the Media Interface
Media
Page 168 of 206
XKeyword search:using the controller, enter
the characters for the desired search term
and confirm (
Ypage 158).
Search results are sorted according to the
availab lecategories, displayed and can then
be selected.
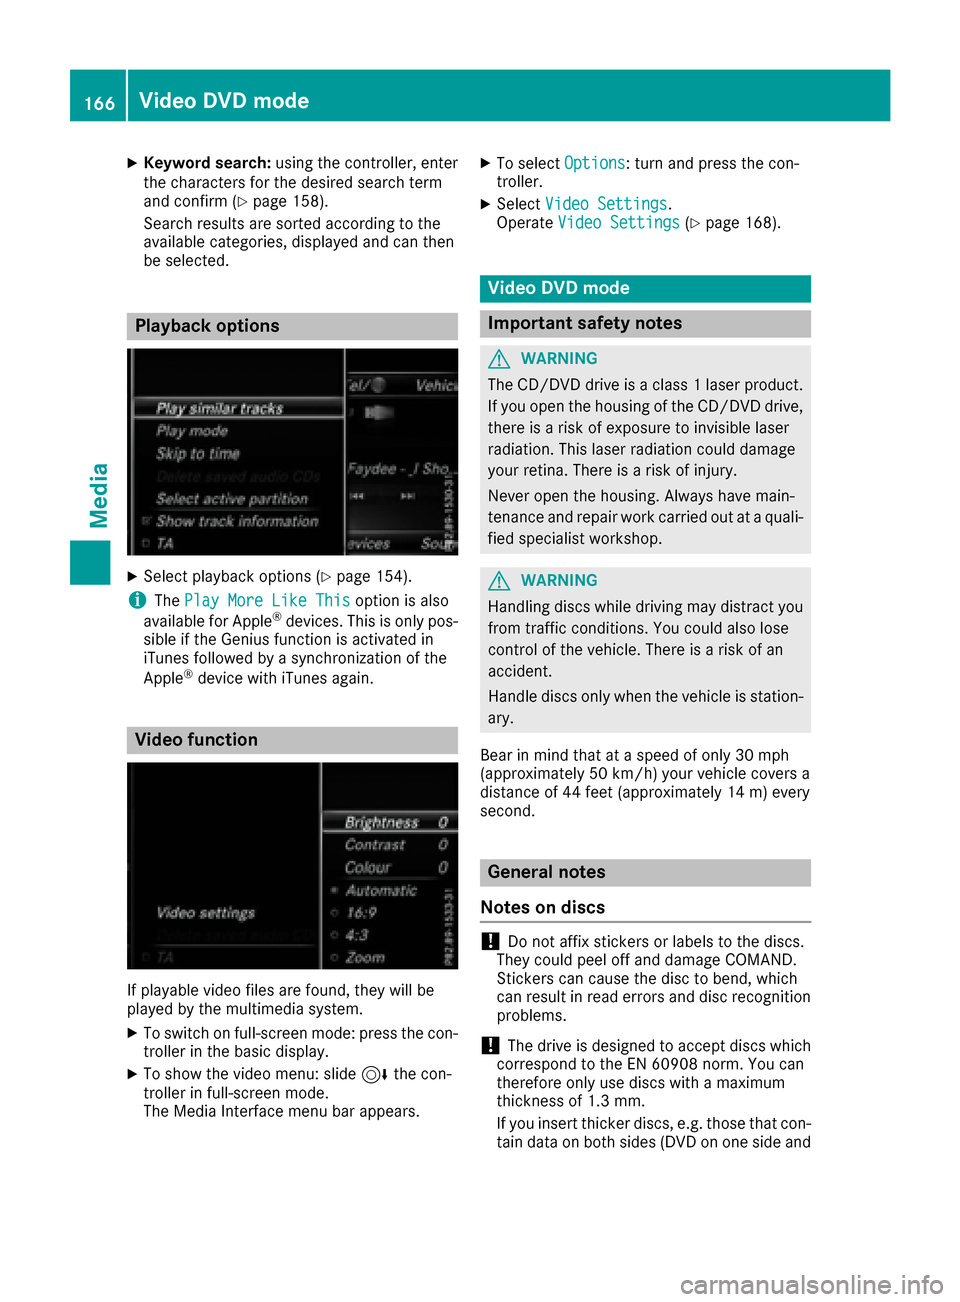
Playback options
XSelect playback options (Ypage 154).
iThe Play More Like Thisoption isalso
availab lefor Ap ple®devices. This isonly pos-
sible if the Genius function isactivated in
iTunes followed bya synchronization of the
Ap ple
®device with iTunes again.
Video function
If playable vide ofile s are foun d,they will be
played bythe multimedia system.
XToswit ch on full-screen mode: press the con-
troller inthe basic display.
XTo show the video menu: slide6the con-
troller infull-screen mode.
The Media Interface menu bar appears.
XTo select Options: turn and press the con-
troller.
XSelect Video Settings.
Operate Video Settings(Ypage 168).
Video DVD mode
Important safety notes
GWARNING
The CD/DVD drive is a class 1 laser product.
If you open the housing of the CD/DVD drive,
there is a risk of exposure to invisible laser
radiation. This laser radiation could damage
your retina. There isa risk of injury.
Never open the housing. Always have main-
tenance and repair work carried out at a quali- fied specialist workshop.
GWARNING
Handling discs while driving may distract you from traff icconditions. You could also lose
control of the vehicle. There is a risk of an
accident.
Handle discs only when the vehicleisstation-
ary.
Bear in mind that at a speed of only 30 mph
(approximately 50 km/h) your vehicle covers a
dist ance of 44 feet (approximately 14 m) every
second.
General notes
Notes on discs
!Do not affix stickers or labels to the discs.
They could peel off and damage COMAND.
St ickers can cause the disc to bend, whic h
can result inread errors and disc recognition
problems.
!The drive is designed to accept discs which
correspond to the EN 60908 norm. You can
therefore only use discswith a maximum
thickness of 1.3 mm.
If you insert thicker discs, e.g. those that con-
tain data on both sides (DVD on one sideand
166Video DVD mode
Media
Page 174 of 206
Your multimediasyste mequipment
These operatin ginstruction sdescribe all th e
standar dan doptional equipment of your multi-
media system, as available at th etime of going
to press. Country-specifi cdifference sare pos -
sible. Bear in min dthat your vehicle may no t
feature all function sdescribed here. Thi salso
applies to safety-relevan tsystems an dfunc-
tions.
Read th einformation on qualifie dspecialis t
workshop sin th evehicle Operator's Manual.
Sound settings
Calling up th esound menu
You can mak evarious sound setting sfo rth e
differen taudio an dvideo sources. It is possible
to set more bass fo rradio mode than fo raudio
CD mode, fo rexample. The respective sound
men ucan be called up from th emen uof th e
desire dmode.
XSwitch to radio mode (Ypage 140).
or
XSwitch to media mode (Ypage 149).
XTo display themen ubars: slid e6 thecon-
troller.
XTo selec tà :turn an dpress th econtroller .
The men uappears wit hth elast setting
accessed, e.g. Balance/Fade r
.
Sound men uoverview
FunctionOptions
EqualizerSets treble ,mid -
range an dbass
Balance/faderAdjust sth evolume :
right/lef tan d
front/rea r
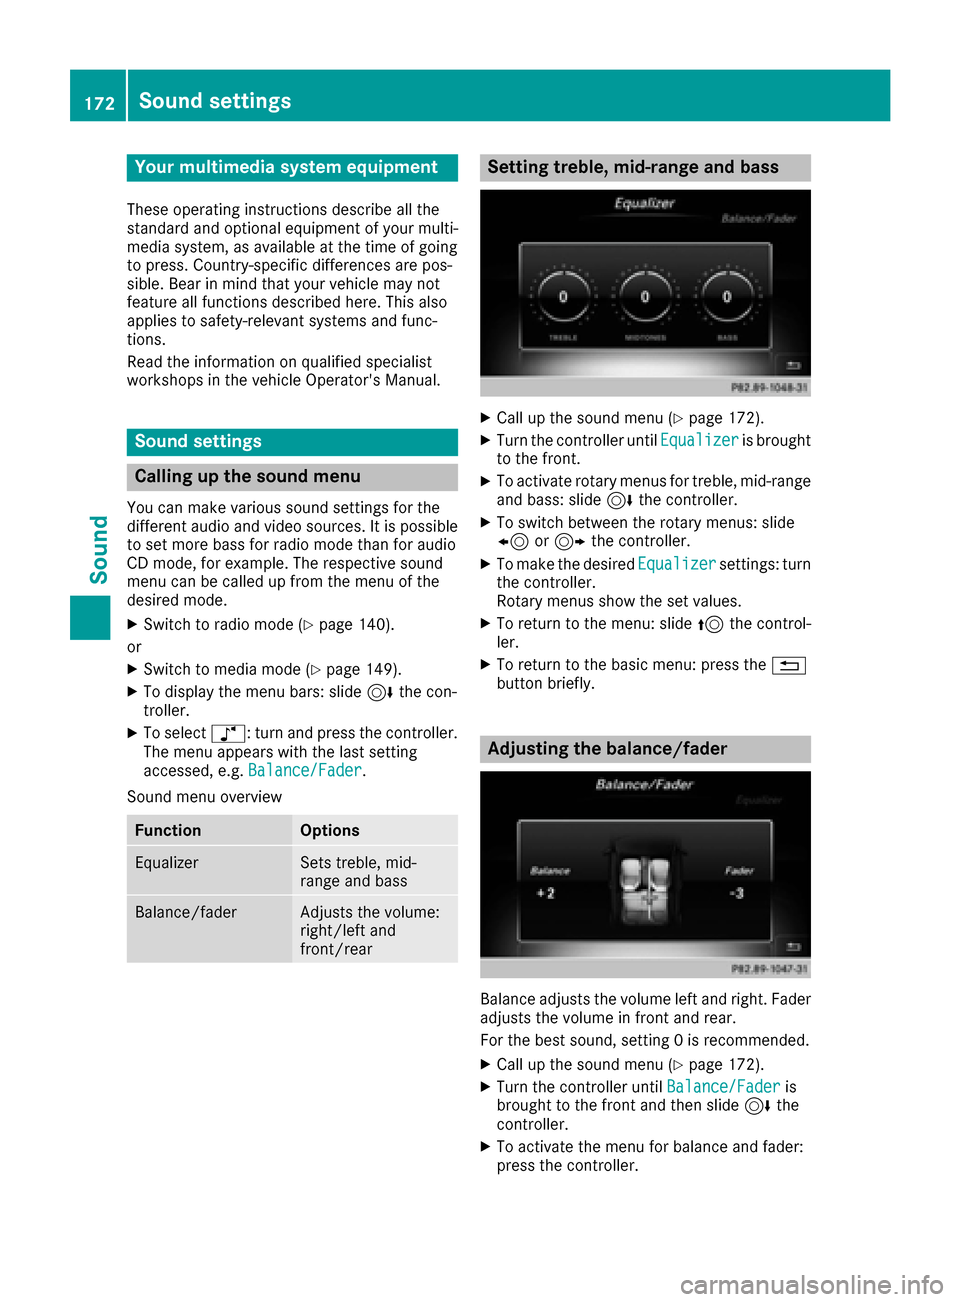
Setting treble, mid-range an dbass
XCall up th esound men u (Ypage 172).
XTurnth econtroller until Equalizeris brought
to th efront.
XTo activat erotary menus fo rtreble ,mid-range
an dbass :slid e6 thecontroller .
XTo switch between th erotary menus: slid e
8 or9 thecontroller .
XTo maketh edesire dEqualize rsettings: turn
th econtroller .
Rotary menus sho wtheset values.
XTo return to th emenu: slid e5 thecontrol-
ler .
XTo return to th ebasi cmenu: press th e%
butto nbriefly.
Adjusting th ebalance/fader
Balance adjust sth evolume lef tan dright .Fader
adjust sth evolume in fron tan drear.
Fo rth ebes tsound ,setting 0is recommended .
XCall up thesound men u (Ypage 172).
XTurnth econtroller until Balance/Faderis
brought to th efron tan dthen slid e6 the
controller .
XTo activat eth emen ufo rbalance an dfader:
press th econtroller .
172Sound settings
Sound
Page 175 of 206
XTo adjust the balance: slide8or9 the
controller.
XTo adjust the fader: slide 6or5 the con-
troller.
XTo return to the basic menu: press the %
button briefly.
Harman/kardon®Logic 7®surround
sound system
General notes
The harman/kardon®Logic7®surround sound
system is available for all functions in the radio
and media modes.
The harman/kardon
®Logic7®surround sound
system is available for the following operating
modes:
RRadio (FM only)
RSatellite radio
RAudio CD
RMP3 (including SD memory card and USB
storage device)
RMedia Interface
RBluetooth®audio mode
RVideo DVD (PCM, DTS®and Dolby®Digital
audio formats)
iFor the best sound, CD or WAV CD format is
recommended. For data-reduced media, AAC
with a data rate of 320 kbit/s is recommen-
ded.
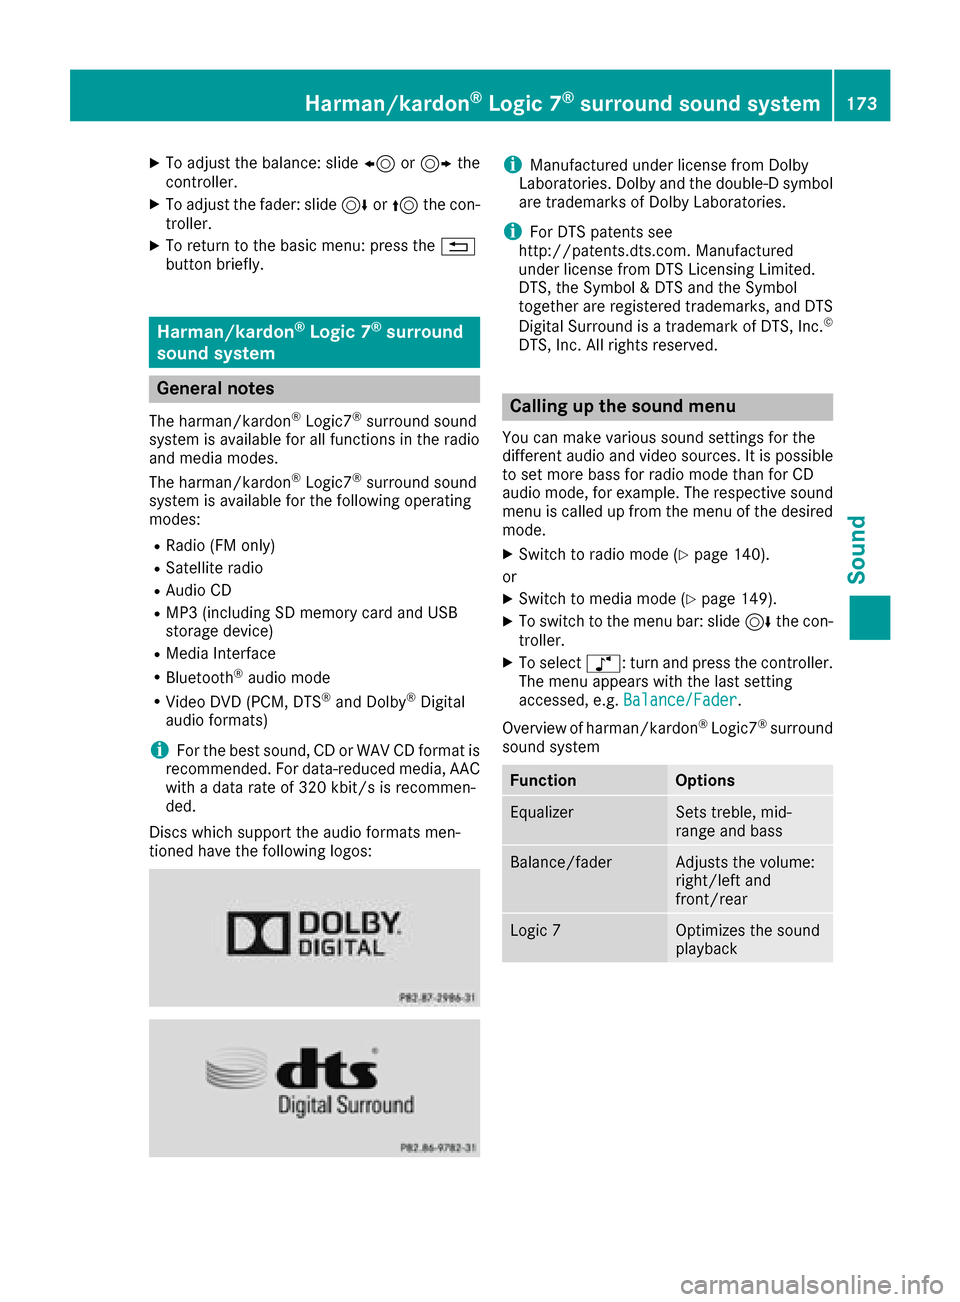
Discs which support the audio formats men-
tioned have the following logos:
iManufactured under license from Dolby
Laboratories. Dolby and the double-D symbol
are trademarks of Dolby Laboratories.
iFor DTS patents see
http://patents.dts.com. Manufactured
under license from DTS Licensing Limited.
DTS, the Symbol & DTS and the Symbol
together are registered trademarks, and DTS
Digital Surround is a trademark of DTS, Inc.
©
DTS, Inc. All rights reserved.
Calling up the sound menu
You can make various sound settings for the
different audio and video sources. It is possible
to set more bass for radio mode than for CD
audio mode, for example. The respective sound
menu is called up from the menu of the desired
mode.
XSwitch to radio mode (Ypage 140).
or
XSwitch to media mode (Ypage 149).
XTo switch to the menu bar: slide 6the con-
troller.
XTo select à: turn and press the controller.
The menu appears with the last setting
accessed, e.g. Balance/Fader
.
Overview of harman/kardon
®Logic7®surround
sound system
FunctionOptions
EqualizerSets treble, mid-
range and bass
Balance/faderAdjusts the volume:
right/left and
front/rear
Logic 7Optimizes the sound
playback
Harman/kardon®Logic 7®surround sound system173
Sound
Page 177 of 206

Bang & Olufsen BeoSound
General notes
The Bang & Olufsen BeoSound AMG sound sys-
tem is available for all functions in the radio and
media modes.
The following modes are available for the Bang &
Olufsen BeoSound AMG sound system:
RRadio (FM only)
RSatellite radio
RAudio CD
RMP3/AAC
RMedia Interface
RBluetooth®audio mode
RVideo DVD (PCM, DTS®and Dolby®Digital
audio formats)
iFor the best sound, CD or WAV CD format is
recommended. For data-reduced media, AAC
with a data rate of 320 kbit/s is recommen-
ded.
iManufactured under license from Dolby
Laboratories. Dolby and the double-D symbol
are trademarks of Dolby Laboratories.
iFor DTS patents see
http://patents.dts.com. Manufactured
under license from DTS Licensing Limited.
DTS, the Symbol & DTS and the Symbol
together are registered trademarks, and DTS
Digital Surround is a trademark of DTS, Inc.
©
DTS, Inc. All rights reserved.
Calling up the sound menu
You can make various sound settings for the
different audio and video sources. It is possible
to set more bass for radio mode than for audio
CD mode, for example. The respective sound
menu is called up from the menu of the desired
mode.
XSwitch to radio mode (Ypage 140).
or
XSwitch to media mode (Ypage 149).
XTo switch to the menu bar: slide 6the con-
troller.
XTo select à: turn and press the controller.
The menu appears with the last setting
accessed, e.g. Balance/Fader
.
Bang & Olufsen BeoSound AMG sound system
FunctionOptions
EqualizerSets treble, mid-
range and bass
Balance/faderAdjusts the volume:
right/left and
front/rear
True ImageSets a sound profile
in the vehicle
Sound ModeOptimizes the sound
playback
Setting treble, mid-range and bass
XCall up the sound menu (Ypage 175).
XTurn the controller until Equalizeris in the
center.
XSlide 6the controller.
Rotary menus for treble, mid-range and bass
are activated.
Bang & Olufsen BeoSound175
Sound