2017 MERCEDES-BENZ CLS-Class ECO mode
[x] Cancel search: ECO modePage 158 of 206
XSelect a sub-category, e.g.Rock.
XSelect a track in the sub-category for playing.
All of the tracks in this sub-category are
played.
Gracenote®Media Database
General notes
This function is available in CD audio, MP3 and
iPod®mode.
There is a version of Gracenote®music recog-
nition technology, Emeryville, California, USA on
the hard disk of the multimedia system. You will recognize this by the logo in the bottom right-
hand corner of certain audio displays. If the
audio CD does not contain any CD text informa-
tion, the multimedia system can use the Grace-
note
®Media Database to identify unknown
audio tracks when in audio CD mode.
In addition the cover art for the main display
field, the album list and the "Select by cover"
function from the Gracenote
®Media Database
are displayed for the music files and the iPod®.
This occurs when the cover art is not contained
in the files but in the Gracenote
®Media Data-
base.
Online prompt for metadata
A connection to the Gracenote®Data Server is
made automatically when an audio CD is inser-
ted. The missing data is loaded, saved in the
multimedia system and shown on the display. If
the search for metadata is unsuccessful, no data
can be displayed. If no phone is connected or
configured for data use, this function is unavail-
able.
An Internet connection is required for this
(
Ypage 129).
Saving audio CDs
General notes
iStore your audio CDs in a safe place. Any
malfunction in the multimedia system may
result in the loss of stored files. Mercedes-
Benz is not liable for any loss of data. No individual music tracks can be stored or
deleted, only a maximum of 12 complete audio
CDs.
If 12 audio CDs are stored, the
REC
option in the
Media menu bar is grayed out and has no func-
tion. One audio CD must be deleted before a
new audio CD can be copied.
Copying an audio CD
XInsert an audio CD.
XIn media mode, slide 6the controller.
The media menu bar appears.
XTo start the copying process: selectRECby
turning and pressing the controller.
XTo select Start: press the controller.
The copying procedure starts and is shown in
the progress bar.
It may take some time for the copying process
to be completed, depending on the amount of
data.
If the copying process is successful, the
Music files copied.
message appears
XTo cancel copying: selectCancel.
The files copied up to the point of cancellation
are lost.
iDuring the copying process, you can switch
to another function (e.g. radio) or to another
media source (e.g. USB). The copying proce-
dure continues in the background. It is how-
ever not possible to select another CD in the
CD changer.
Playing audio CDs
XIn Media mode, slide 6the controller.
The media menu bar appears.
XTo select Search: turn and press the control-
ler.
The category list appears.
XTo select StoredAudioCDsin the category
list: turn and press the controller.
A selection list for the copied audio CDs is
displayed.
XTo select the desired audio CD: turn and press
the controller.
The track list is displayed.
XTo select a track: turn the controller and press
to confirm.
156Audio/video mode
Media
Page 159 of 206
The tracks on the stored audio CDs can also be
found and played using other media search
functions (
Ypage 157).
Deleting stored audio CDs
If music is being played from the saved audio
CDs, the function for deleting audio CDs is avail-
able.
XIn media mode, slide6the controller.
The media menu bar appears.
XTo select Options: turn and press the con-
troller.
XTo select DeleteStoredAudioCDs: press
the controller.
A selection list for the stored audio CDs is
displayed.
XTo select the desired audio CD: turn and press
the controller.
The audio CD is deleted.
Media search
General notes
The multimedia system plays back files from the following data media:
RDisc (CD/DVD)
RMemory card
RUSB storage device
RApple®devices (folder, year and photos are
not available)
The categories are shown according to the data
available, whereby a database is created for
iPod
®and for all the other media sources (CD,
USB, SD card) respectively. During the search
the relevant database is accessed depending on
the active media source.
Starting the media search
XIn Media mode, slide 6the controller.
The media menu bar appears.
XTo select Search: turn and press the control-
ler.
The category list appears.
Category list
XIn Media mode, slide 6the controller.
The media menu bar is shown.
XTo select Search: turn and press the control-
ler.
The category list is shown.
Depending on the connected media sources and
files, the following categories are listed:
RCurrent Tracklist
RFolder
RSelect By Cover
RKeyword Search
RPlaylists
RArtists
RAlbums
RTracks
RGenres
RYear
RComposers
RStored Audio CDs
RVideos
RPhotos
iThe categories are available as soon as the
entire media content has been read and ana-
lyzed.
If the same device is reconnected with
unchanged media content, these categories
are available more quickly.
When connecting Apple
®devices, the cate-
gories “Folder”, “Year” and “Photos” are not
available.
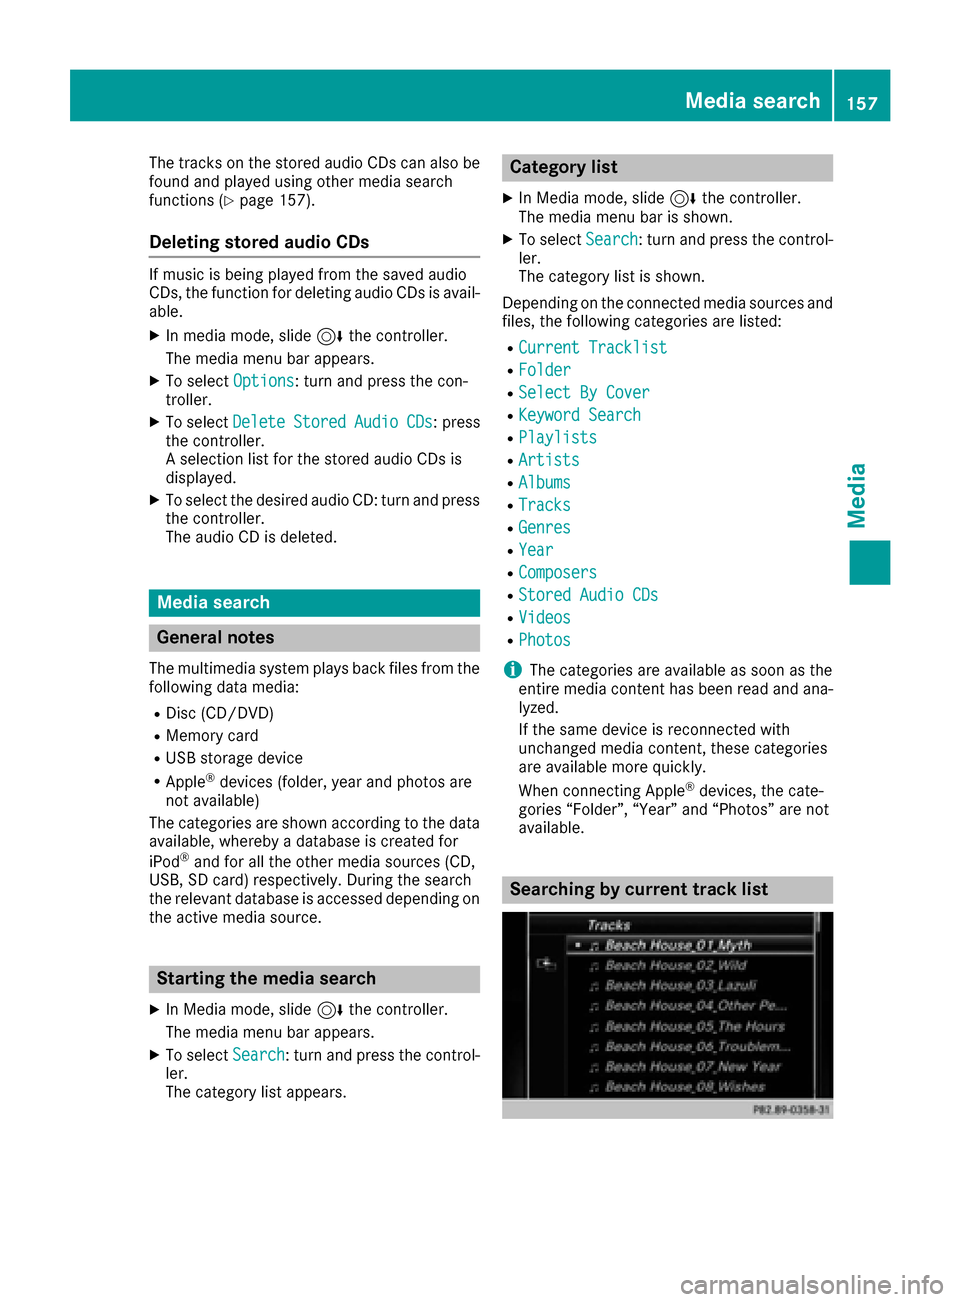
Searching by current track list
Media search157
Media
Z
Page 161 of 206
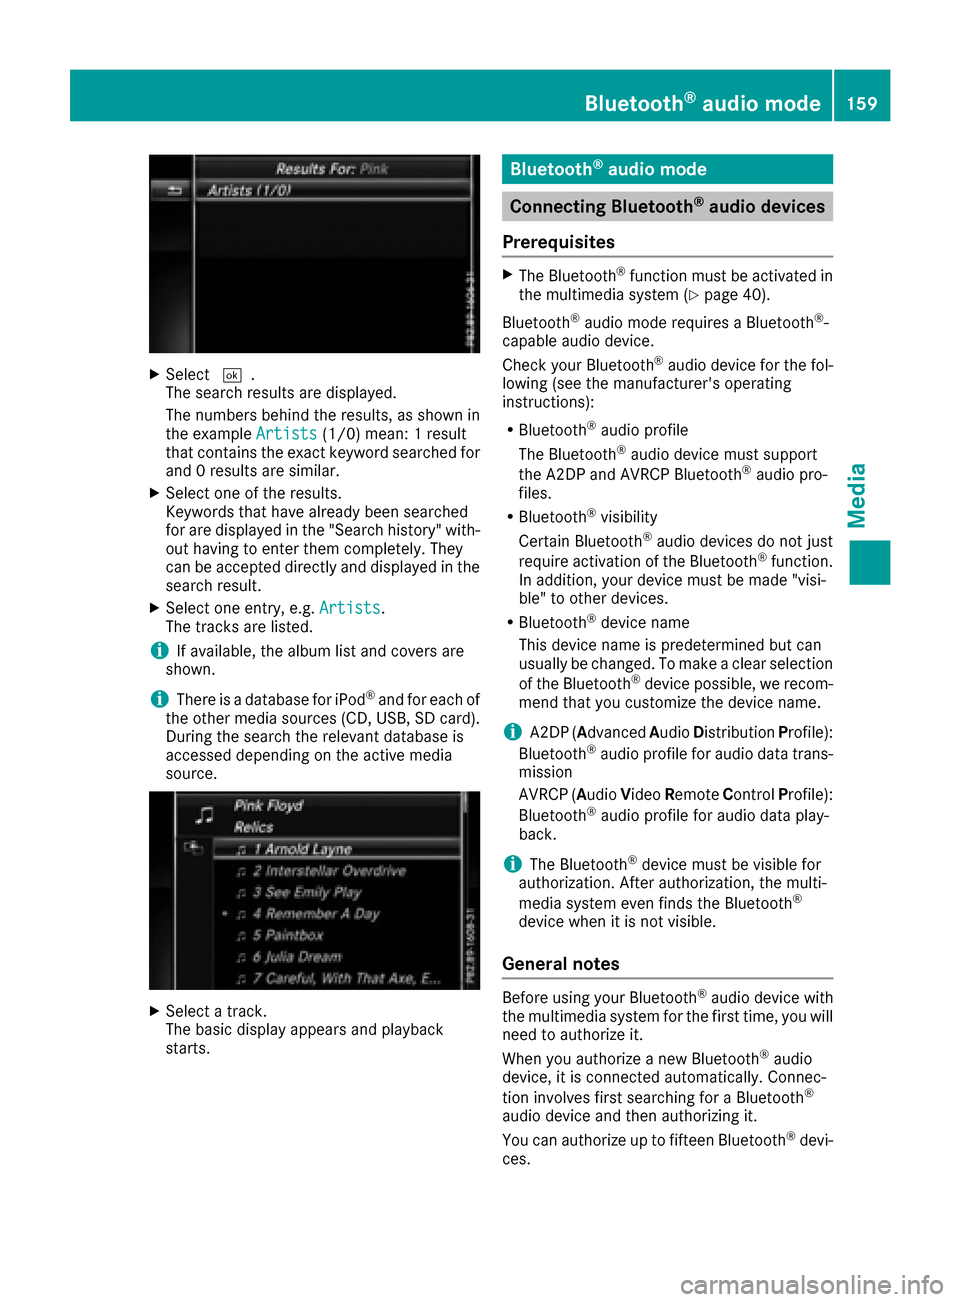
XSelect¬.
The search results are displayed.
The numbers behind the results, as shown in
the example Artists
(1/0) mean: 1 result
that contains the exact keyword searched for
and 0 results are similar.
XSelect one of the results.
Keywords that have already been searched
for are displayed in the "Search history" with- out having to enter them completely. They
can be accepted directly and displayed in the
search result.
XSelect one entry, e.g. Artists.
The tracks are listed.
iIf available, the album list and covers are
shown.
iThere is a database for iPod®and for each of
the other media sources (CD, USB, SD card).
During the search the relevant database is
accessed depending on the active media
source.
XSelect a track.
The basic display appears and playback
starts.
Bluetooth®audio mode
Connecting Bluetooth®audio devices
Prerequisites
XThe Bluetooth®function must be activated in
the multimedia system (Ypage 40).
Bluetooth
®audio mode requires a Bluetooth®-
capable audio device.
Check your Bluetooth
®audio device for the fol-
lowing (see the manufacturer's operating
instructions):
RBluetooth®audio profile
The Bluetooth®audio device must support
the A2DP and AVRCP Bluetooth®audio pro-
files.
RBluetooth®visibility
Certain Bluetooth®audio devices do not just
require activation of the Bluetooth®function.
In addition, your device must be made "visi-
ble" to other devices.
RBluetooth®device name
This device name is predetermined but can
usually be changed. To make a clear selection
of the Bluetooth
®device possible, we recom-
mend that you customize the device name.
iA2DP ( Advanced Audio Distribution Profile):
Bluetooth®audio profile for audio data trans-
mission
AVRCP ( Audio Video Remote Control Profile):
Bluetooth
®audio profile for audio data play-
back.
iThe Bluetooth®device must be visible for
authorization. After authorization, the multi-
media system even finds the Bluetooth
®
device when it is not visible.
General notes
Before using your Bluetooth®audio device with
the multimedia system for the first time, you will
need to authorize it.
When you authorize a new Bluetooth
®audio
device, it is connected automatically. Connec-
tion involves first searching for a Bluetooth
®
audio device and then authorizing it.
You can authorize up to fifteen Bluetooth®devi-
ces.
Bluetooth®audio mode159
Media
Z
Page 162 of 206
iIf you authorize a mobile phone that sup-
ports Bluetooth®audio, the A2DP and AVRCP
Bluetooth®audio profiles are connected
automatically.
The mobile phone is then entered:
Rin the Bluetooth®telephone list
(Ypage 95)
Rin the Bluetooth®audio device list
(Ypage 160)
Mercedes-Benz recommends authorizing a
mobile phone in Bluetooth
®telephony
(Ypage 96).
iIf the mobile phone that is connected only
supports two Bluetooth®profiles at the same
time, the multimedia system may behave as
follows:
Rwhen connecting to the Internet, playback
is stopped on the Bluetooth®audio device.
Rwhen starting playback on the Bluetooth®
audio device, the Internet connection is
ended.
Searching for and authorizing a Blue-
tooth®audio device
Switching to Bluetooth®audio mode
XPress the Õbutton.
XTo select BluetoothAudioin the menu: turn
and press the controller.
A menu appears.
If you see the No
BluetoothAudioDeviceAuthorizedmessage, you will need to
authorize the Bluetooth®audio device first.
XTo select Optionsin the Bluetooth audio
menu: slide 6and press the controller.
XTo select BluetoothAudioDevices: press
the controller.
A new menu appears.
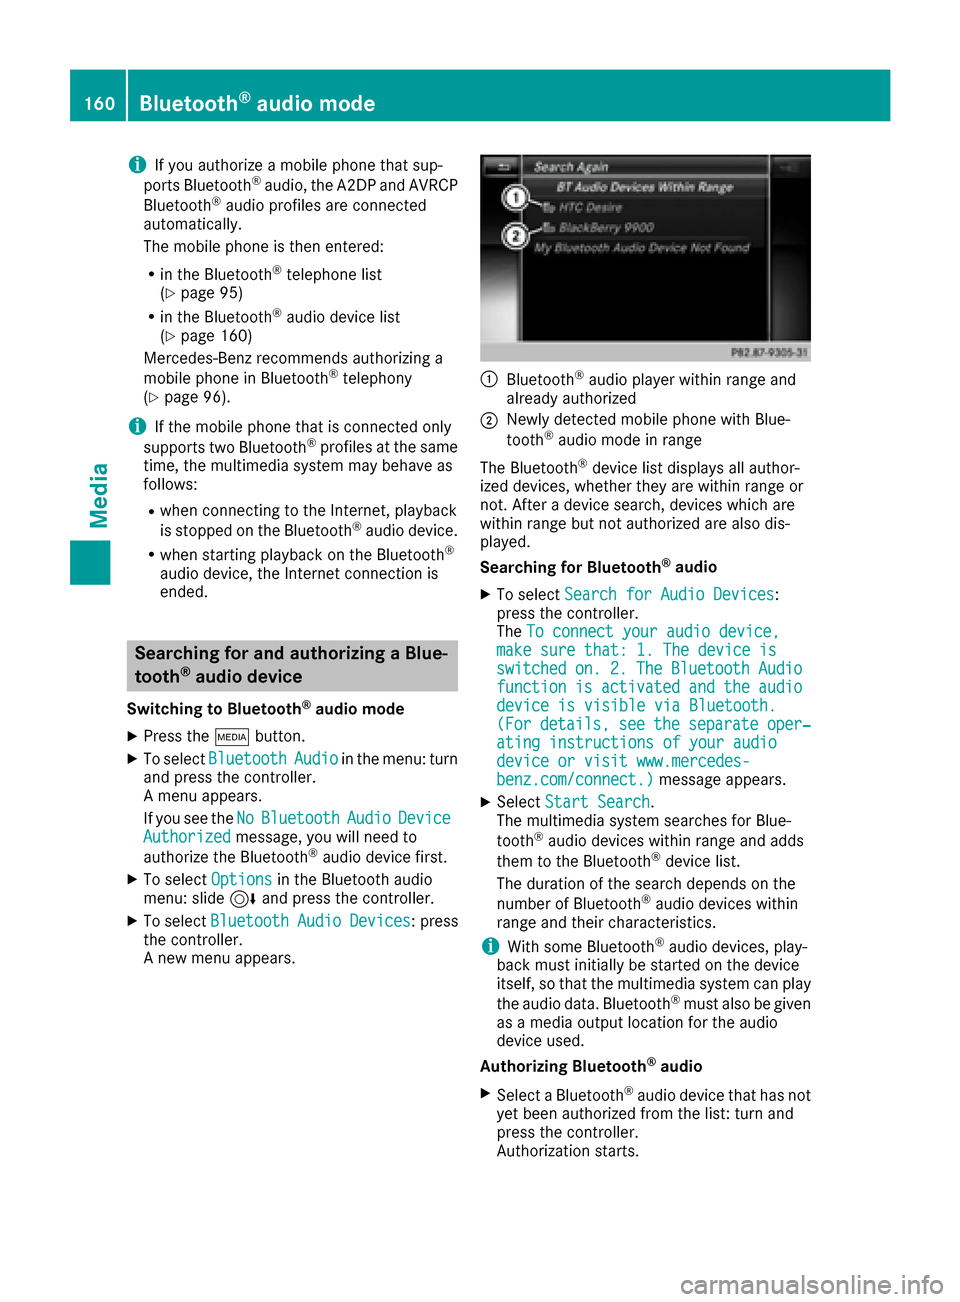
:Bluetooth®audio player within range and
already authorized
;Newly detected mobile phone with Blue-
tooth®audio mode in range
The Bluetooth
®device list displays all author-
ized devices, whether they are within range or
not. After a device search, devices which are
within range but not authorized are also dis-
played.
Searching for Bluetooth
®audio
XTo select Search for Audio Devices:
press the controller.
The To connect your audio device,
make sure that: 1. The device isswitchedon.2.TheBluetoothAudiofunctionisactivatedandtheaudiodevice is visible via Bluetooth.(Fordetails,seetheseparateoper‐ating instructions of your audiodevice or visit www.mercedes-benz.com/connect.)message appears.
XSelect Start Search.
The multimedia system searches for Blue-
tooth
®audio devices within range and adds
them to the Bluetooth®device list.
The duration of the search depends on the
number of Bluetooth
®audio devices within
range and their characteristics.
iWith some Bluetooth®audio devices, play-
back must initially be started on the device
itself, so that the multimedia system can play
the audio data. Bluetooth
®must also be given
as a media output location for the audio
device used.
Authorizing Bluetooth
®audio
XSelect a Bluetooth®audio device that has not
yet been authorized from the list: turn and
press the controller.
Authorization starts.
160Bluetooth®audio mode
Media
Page 163 of 206
Depending on the Bluetooth®audio device
used, you now have two options for continu-
ing with authorization.
Option 1: entering the passkey
XYou can find information on this in the
"Authorizing (connecting) a mobile phone"
section (
Ypage 96).
After successful authorization, the Blue-
tooth
®audio device is connected and starts
playing.
Option 2: Secure Simple Pairing
iThe Bluetooth®audio device must support
Bluetooth®version 2.1 for connection via
Secure Simple Pairing. The multimedia sys-
tem creates a six-digit code which is dis-
played simultaneously on both devices that
are to be connected.
For some Bluetooth
®audio devices, the pair-
ing must be confirmed within 10 seconds.
XIf the number code displayed on the multime-
dia system and on the Bluetooth®audio
device is the same, select Yes: press the con-
troller.
If you select Yes
, authorization continues and
the Bluetooth®audio device is connected.
Playback starts.
If you select No
, authorization will be can-
celed.
External authorization
If the multimedia system does not find your
Bluetooth®audio device, this may be due to
particular security settings on your Bluetooth®
audio device. In this case, check whether your
Bluetooth®audio device can locate the multi-
media system.
The Bluetooth
®device name of the multimedia
system is MB Bluetooth.
XSwitch on Bluetooth®audio mode
(Ypage 163).
XTo select Options: slide6and press the
controller.
XTo select BluetoothAudioDevices: press
the controller.
XTo select ConnectviaAudioDevice: turn
and press the controller.
A message appears. Authorizing
XStart the authorization on your Bluetooth®
audio device (see the manufacturer's operat-
ing instructions).
After successful authorization, the Blue-
tooth
®audio device is connected and starts
playing.
With some Bluetooth
®audio devices, playback
must initially be started on the device itself, so
that the multimedia system can play the audio
data.
Reconnecting a Bluetooth®audio
device
The Bluetooth®audio profiles are connected
automatically under the following circumstan-
ces:
Rone of the last two mobile phones to have
been connected has also been used as a Blue-
tooth
®audio player (if this function is sup-
ported by the mobile phone).
Rthe mobile phone is automatically connected.
The Bluetooth®audio player is then connec-
ted.
iFor an automatic connection with the mul-
timedia system, the telephone must be within
range.
For most Bluetooth
®audio devices, the "auto-
matic connection" must be activated by
checking a box. Depending on the device
used, this prompt often takes place when
authorizing (see the manufacturer's operat-
ing instructions).
If the No Bluetooth Audio Device Connec‐
tedmessage appears, you have two options to
reconnect the Bluetooth®audio device.
Option 1:
XTo select ConnectLastUsedPlayerin the
basic display: press the controller.
If the multimedia system can locate the Blue-
tooth
®audio device, it will be connected and
start playing.
Bluetooth®audio mode161
Media
Z
Page 165 of 206
already an active Internet connection, this can
cause the connection to be terminated.
Switching to Bluetooth®audio
XPress theÕbutton.
XTo select BluetoothAudioin the menu: turn
and press the controller.
The multimedia system activates the Blue-
tooth
®audio device. The basic display then
appears. Playback starts.
iIf the Bluetooth®audio device connected
supports metadata and corresponding data is
available, then the artist, track and album
name can be displayed.
Starting/stopping playback
XTo select Start playback Ì: turn and
press the controller.
Playback starts. Ëis selected.
XTo stop playback: select Ë.
A message appears. Ìis selected.
XTo continue playback: select Ì.
A message appears. Ëis selected.
Starting playback if the Bluetooth®
audio device has been stopped
During the search for mobile phones, the con-
nection with the Bluetooth®audio device is ter-
minated (
Ypage 95). In the Bluetooth®audio
basic display (Ypage 163) you will see the NoBluetooth Audio Device Connectedmes-
sage and the Connect Last Used Player
menu item cannot be selected.
When the search is finished, the Bluetooth®
audio device can be reconnected.
XTo select Start playback Ì: slide6
and press the controller.
Playback resumes from the beginning.
XTo select Connect Last Used Player:
press the controller.
Depending on the Bluetooth
®audio device
used, playback starts immediately or you
must start playback manually. In this case, you will see the
Bluetooth
Audio Device Pausedmessage.
iIf there is an Internet connection and the
mobile phone that is connected only supports
two Bluetooth
®profiles at the same time, the
Internet connection is interrupted.
Selecting a track
The function is not supported by all Bluetooth®
audio devices.
Some mobile phones impair function with
regard to the following criteria:
Rthe number of tracks that can be selected
Rthe time period until the next or previous track
is played
XUse the multifunction steering wheel to
switch to the media menu in the on-board
computer (see the vehicle Operator's Man-
ual).
XTo skip forwards or backwards to a track:
press the 9or: button on the multi-
function steering wheel.
XRapid scroll: press and hold the 9
or : button on the multifunction steering
wheel until the desired track is reached.
If you press and hold the 9or: but-
tons, the rapid scrolling speed increases after a short time.
Further ways to select tracks (
Ypage 155).
iIn rapid scroll, track names are not shown,
but instead only Track 1, Track 2 etc. The
playback times for the tracks played are not
displayed. This is available as an optional
function starting with AVRCP Version 1.3.
There is also no music search option available
with Bluetooth
®Audio.
Selecting playback options
If the Bluetooth®audio device supports the cor-
responding function, the following options are
available:
RNormal Track Sequence: the tracks are
played in the normal order (e.g. track 1, 2, 3
etc.).
Audio data playback is determined by the
order in which the tracks are written to the
data medium. Alphabetical order is the most
Bluetooth®audio mode163
Media
Z
Page 168 of 206
XKeyword search:using the controller, enter
the characters for the desired search term
and confirm (
Ypage 158).
Search results are sorted according to the
availab lecategories, displayed and can then
be selected.
Playback options
XSelect playback options (Ypage 154).
iThe Play More Like Thisoption isalso
availab lefor Ap ple®devices. This isonly pos-
sible if the Genius function isactivated in
iTunes followed bya synchronization of the
Ap ple
®device with iTunes again.
Video function
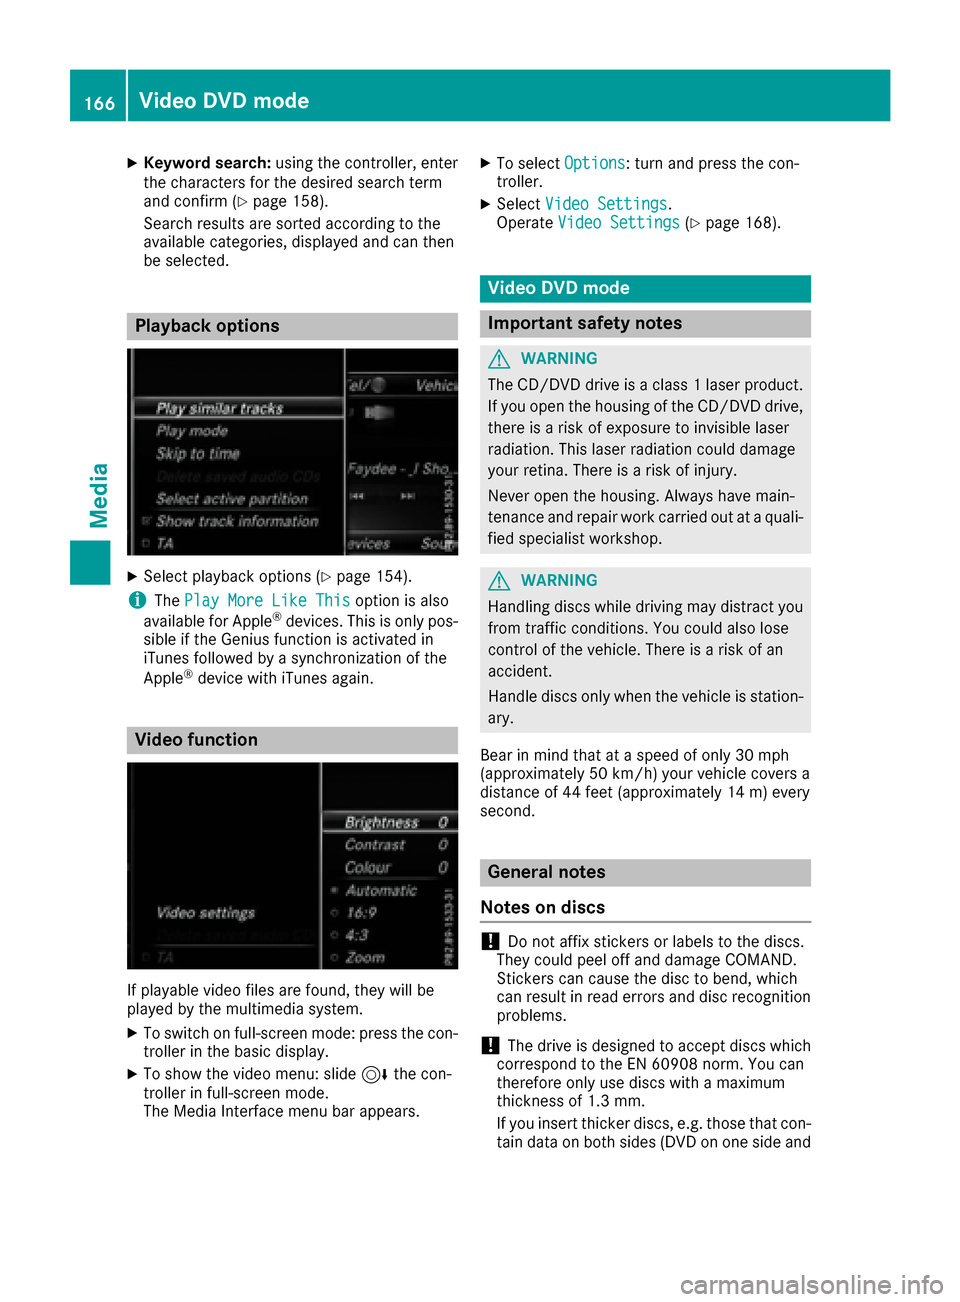
If playable vide ofile s are foun d,they will be
played bythe multimedia system.
XToswit ch on full-screen mode: press the con-
troller inthe basic display.
XTo show the video menu: slide6the con-
troller infull-screen mode.
The Media Interface menu bar appears.
XTo select Options: turn and press the con-
troller.
XSelect Video Settings.
Operate Video Settings(Ypage 168).
Video DVD mode
Important safety notes
GWARNING
The CD/DVD drive is a class 1 laser product.
If you open the housing of the CD/DVD drive,
there is a risk of exposure to invisible laser
radiation. This laser radiation could damage
your retina. There isa risk of injury.
Never open the housing. Always have main-
tenance and repair work carried out at a quali- fied specialist workshop.
GWARNING
Handling discs while driving may distract you from traff icconditions. You could also lose
control of the vehicle. There is a risk of an
accident.
Handle discs only when the vehicleisstation-
ary.
Bear in mind that at a speed of only 30 mph
(approximately 50 km/h) your vehicle covers a
dist ance of 44 feet (approximately 14 m) every
second.
General notes
Notes on discs
!Do not affix stickers or labels to the discs.
They could peel off and damage COMAND.
St ickers can cause the disc to bend, whic h
can result inread errors and disc recognition
problems.
!The drive is designed to accept discs which
correspond to the EN 60908 norm. You can
therefore only use discswith a maximum
thickness of 1.3 mm.
If you insert thicker discs, e.g. those that con-
tain data on both sides (DVD on one sideand
166Video DVD mode
Media
Page 170 of 206
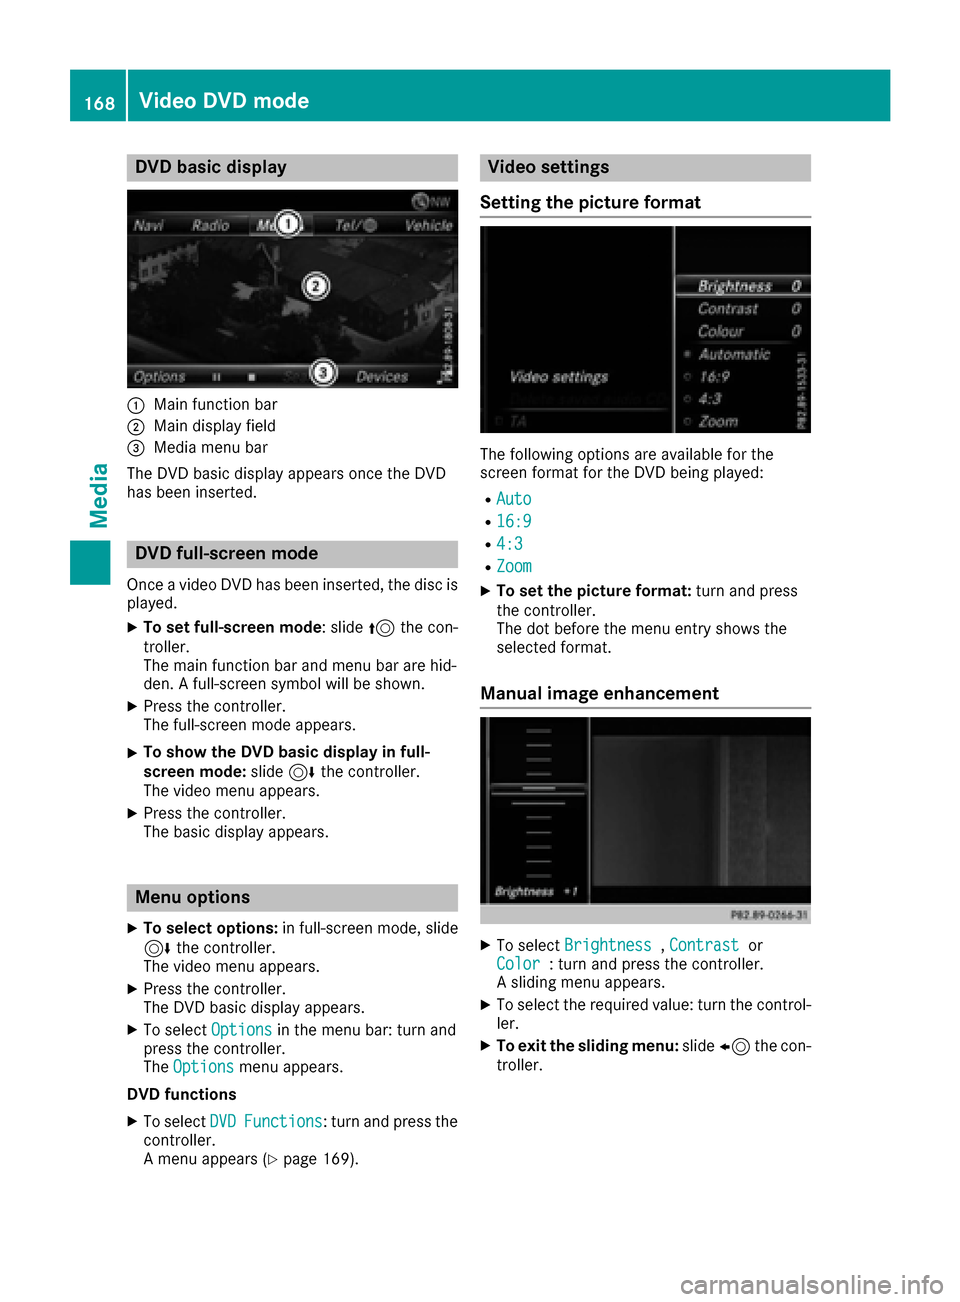
DVD basic display
:Main function bar
;Main display field
=Media menubar
The DV Dbasi cdisplay appears once th eDV D
has bee ninserted.
DVD full-screen mode
Once avideo DV Dhas bee ninserted, th edis cis
played.
XTo set full-screen mode :slid e5 thecon-
troller.
The main function bar and men ubar are hid-
den . Afull-screen symbol will be shown .
XPress thecontroller .
The full-screen mode appears .
XTo show theDVD basic display in full-
screen mode: slide6 thecontroller .
The video men uappears .
XPress th econtroller .
The basi cdisplay appears .
Menuoptions
XTo selec toptions :in full-screen mode, slid e
6 thecontroller .
The video men uappears .
XPress th econtroller .
The DV Dbasi cdisplay appears .
XTo selectOption sin themen ubar :turn and
press th econtroller .
The Option s
menuappears .
DVD functions
XTo selec tDVDFunctions:turn and press th e
controller .
A men uappears (
Ypage 169).
Video settings
Setting th epicture forma t
The followingoption sare available fo rth e
scree nformat fo rth eDV Dbein gplayed:
RAut o
R16:9
R4:3
RZoom
XTo set th epicture format: turn and press
th econtroller .
The dot befor eth emen uentr yshows th e
selecte dformat .
Manual image enhancement
XTo selec tBrightnes s,Contrastor
Color: turn and press th econtroller .
A slidin gmen uappears .
XTo selec tth erequire dvalue: turn th econtrol-
ler .
XTo exit th esliding menu :slid e8 thecon-
troller.
168Video DVD mode
Media