2017 MERCEDES-BENZ CLA instrument cluster
[x] Cancel search: instrument clusterPage 166 of 318
R
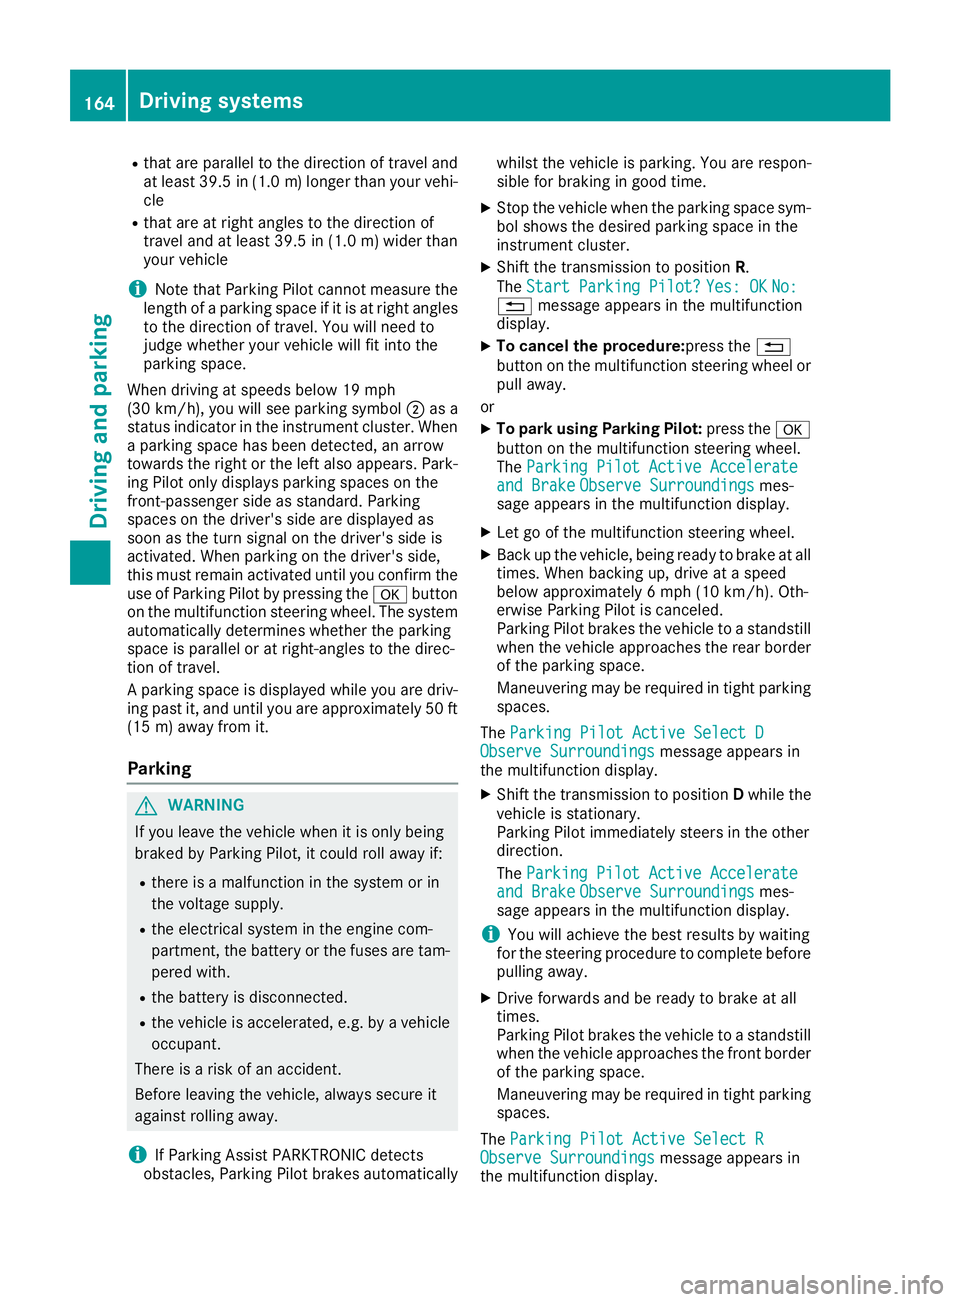
that are parallel to the direction of travel and
at least 39.5 in (1.0 m) longer than your vehi-
cle R
that are at right angles to the direction of
travel and at least 39.5 in (1.0 m) wider than
your vehicle
i Note that Parking Pilot cannot measure the
length of a parking space if it is at right angles
to the direction of travel. You will need to
judge whether your vehicle will fit into the
parking space.
When driving at speeds below 19 mph
(30 km/h), you will see parking symbol �D as a
status indicator in the instrument cluster. When
a parking space has been detected, an arrow
towards the right or the left also appears. Park-
ing Pilot only displays parking spaces on the
front-passenger side as standard. Parking
spaces on the driver's side are displayed as
soon as the turn signal on the driver's side is
activated. When parking on the driver's side,
this must remain activated until you confirm the
use of Parking Pilot by pressing the �v button
on the multifunction steering wheel. The system
automatically determines whether the parking
space is parallel or at right-angles to the direc-
tion of travel.
A parking space is displayed while you are driv-
ing past it, and until you are approximately 50 ft
(15 m) away from it.
Parking
G WARNING
If you leave the vehicle when it is only being
braked by Parking Pilot, it could roll away if: R
there is a malfunction in the system or in
the voltage supply. R
the electrical system in the engine com-
partment, the battery or the fuses are tam-
pered with. R
the battery is disconnected. R
the vehicle is accelerated, e.g. by a vehicle
occupant.
There is a risk of an accident.
Before leaving the vehicle, always secure it
against rolling away.
i If Parking Assist PARKTRONIC detects
obstacles, Parking Pilot brakes automatically whilst the vehicle is parking. You are respon-
sible for braking in good time. X
Stop the vehicle when the parking space sym-
bol shows the desired parking space in the
instrument cluster. X
Shift the transmission to position R .
The Start Parking Pilot? Yes: OK No:
�8 message appears in the multifunction
display. X
To cancel the procedure: press the �8
button on the multifunction steering wheel or
pull away.
or X
To park using Parking Pilot: press the �v
button on the multifunction steering wheel.
The Parking Pilot Active Accelerate
and Brake Observe Surroundings mes-
sage appears in the multifunction display. X
Let go of the multifunction steering wheel. X
Back up the vehicle, being ready to brake at all
times. When backing up, drive at a speed
below approximately 6 mph (10 km/h). Oth-
erwise Parking Pilot is canceled.
Parking Pilot brakes the vehicle to a standstill
when the vehicle approaches the rear border
of the parking space.
Maneuvering may be required in tight parking
spaces.
The Parking Pilot Active Select D
Observe Surroundings message appears in
the multifunction display. X
Shift the transmission to position D while the
vehicle is stationary.
Parking Pilot immediately steers in the other
direction.
The Parking Pilot Active Accelerate
and Brake Observe Surroundings mes-
sage appears in the multifunction display.
i You will achieve the best results by waiting
for the steering procedure to complete before
pulling away. X
Drive forwards and be ready to brake at all
times.
Parking Pilot brakes the vehicle to a standstill
when the vehicle approaches the front border
of the parking space.
Maneuvering may be required in tight parking
spaces.
The Parking Pilot Active Select R
Observe Surroundings message appears in
the multifunction display.164
Driving systems
Driving and parking
Page 176 of 318

Important safety notes
G WARNIN G
If you operate information systems and com-
munication equipmen t integrate d in th e vehi-
cle while driving , you will be distracte d from
traffic conditions. You could also lose control
of th e vehicle. Ther e is a ris k of an accident.
Only operate th e equipmen t when th e traffic
situation permits. If you are no t sur e that this
is possible , park th e vehicl e payin g attention
to traffic condition s and operate th e equip-
men t when th e vehicl e is stationary.
You must observ e th e legal requirements for th e
country in whic h you are currentl y driving when
operating th e on-board computer.
G WARNIN G
If th e instrumen t cluste r has faile d or mal-
functioned, you may no t recognize function
restriction s in systems relevan t to safety. The
operating safet y of your vehicl e may be
impaired . Ther e is a ris k of an accident.
Drive on carefully. Hav e th e vehicl e checke d
at a qualified specialist workshop immedi-
ately.
The on-board computer only shows message s or
warning s from certain systems in th e multifunc-
tion display. You should therefor e mak e sur e
your vehicl e is operating safely at all times .
If th e operating safet y of your vehicl e is
impaired , pull ove r as soo n as it is saf e to do so.
Contac t a qualified specialist workshop.
Fo r an overview, see th e instrumen t panel illus-
tration ( Y
page 32).
Displays and operation
Instrument cluster lighting
The ligh t sensor in th e instrumen t cluste r auto -
matically control s th e brightness of th e multi-
function display. In daylight, th e displays in th e
instrumen t cluste r are no t illuminated.
The lighting in th e instrumen t cluster, in th e dis-
plays and th e control s in th e vehicl e interior can
be adjusted usin g th e brightness control knob. The brightness control knob is locate d on th e
botto m lef t of th e instrumen t cluste r
( Y
page 32). X
Turn th e brightness control knob clockwise or
counter-clockwise.
If th e ligh t switch is set to th e �X , �` or
�X position , th e brightness is dependen t
upon th e brightness of th e ambien t light.
Speedometer with segments The speedometer is divided int o segments on
vehicles wit h Distanc e Pilot DISTRONIC.
The segments in th e speedometer indicat e
whic h spee d range is available. R
Distanc e Pilot DISTRONI C is activated
( Y
page 150):
On e or two segments in th e set spee d range
ligh t up. R
Distanc e Pilot DISTRONI C detects a vehicl e in
fron t moving mor e slowly than th e store d
speed:
The segments between th e spee d of th e vehi-
cle in fron t and th e store d spee d ligh t up.
Tachometer
! Do no t driv e in th e overrevving range, as this
could damag e th e engine.
The red ban d in th e tachometer indicates th e
engine's overrevving range.
The engin e is limite d within a range to protect
th e engin e when th e red ban d is reached.
Outside temperature display You should pay special attention to road condi-
tion s when temperatures are aroun d freezing
point.
Bea r in min d that th e outside temperature dis-
play indicates th e temperature measured and
does no t record th e road temperature.
The outside temperature display is in th e multi-
function display ( Y
page 176).
Ther e is a short delay before a chang e in outside
temperature appear s in th e multifunction dis-
play.174
Displays and operation
On-board computer and displays
Page 186 of 318

X
Press the �Y or �e button on the steering
wheel to select the Sett. menu.X
Press the �d or �c button to select the
Instrument Cluster submenu.X
Press �v to confirm.X
Press the �d or �c button to select the
Display Unit Speed-/Odometer function.
You will see the selected setting: km or miles .X
Press the �v button to save the setting.
The selected unit of measurement for distance
applies to: R
Digital speedometer in the Trip menuR
Odometer and the trip odometer R
Trip computer R
Current fuel consumption and approximate
range R
Navigation instructions in the Navi menuR
Cruise control R
Distance Pilot DISTRONIC R
ASSYST PLUS service interval display
Switching the additional speedometer
on/off If the additional speedometer is switched on,
the speed is shown in the status area of the
multifunction display instead of the outside tem-
perature.
The speed display is inverse to the speedome-
ter. X
Press the �Y or �e button on the steering
wheel to select the Sett. menu.X
Press the �d or �c button to select the
Instrument Cluster submenu.X
Press �v to confirm.X
Press the �d or �c button to select the
Speedometer [km/h] or Speedometer
[mph] function.
You will see the selected setting: On or Off .X
Press the �v button to save the setting.
Selecting permanent display
The Permanent Display: function allows you
to choose whether the multifunction display
always shows the outside temperature or the
speed.
The speed display is inverse to the speedome-
ter. X
Press the �Y or �e button on the steering
wheel to select the Sett. menu.X
Press the �d or �c button to select the
Instrument Cluster submenu.X
Press �v to confirm. X
Press the �d or �c button to select the
Permanent Display: function.
The current setting Outside Temperature
or Speedometer [km/h] / Speedometer
[mph] appears. X
Press the �v button to save the setting.
Lights Switching the daytime running lamps on/
off This function is not available in Canada. X
Press the �Y or �e button on the steering
wheel to select the Sett. menu.X
Press the �d or �c button to select the
Light submenu. X
Press �v to confirm. X
Press the �d or �c button to select the
Daytime Running Lights function.
If the Daytime Running Lights function has
been switched on, the multifunction display
shows the cone of light and the �
Page 218 of 318
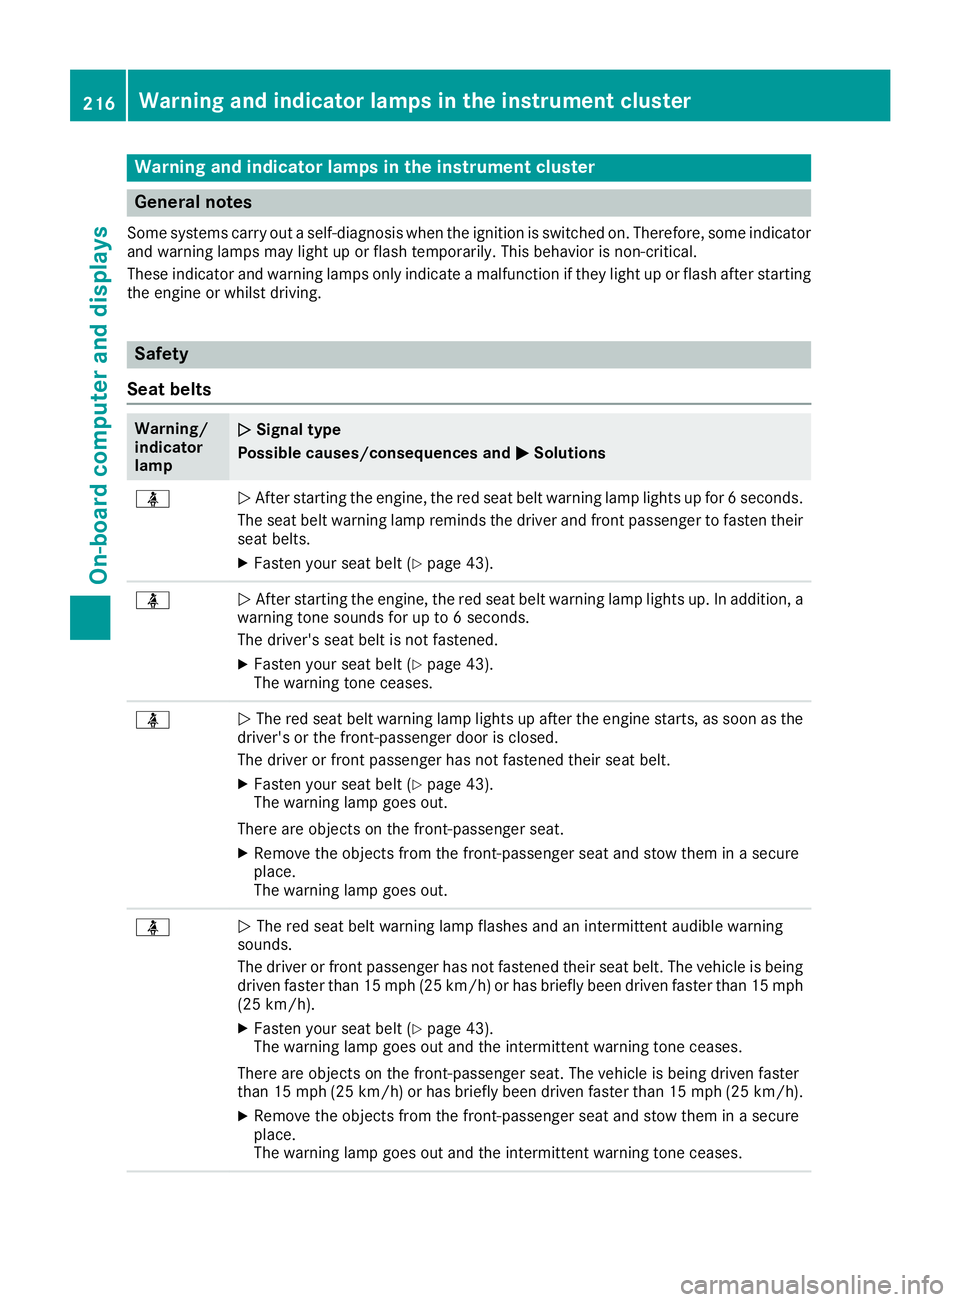
Warning and indicator lamps in the instrument cluster
General notes Some systems carry out a self-diagnosis when the ignition is switched on. Therefore, some indicator
and warning lamps may light up or flash temporarily. This behavior is non-critical.
These indicator and warning lamps only indicate a malfunction if they light up or flash after starting
the engine or whilst driving.
Safety
Seat belts Warning/
indicator
lamp �Q Signal type
Possible causes/consequences and �P Solutions
�
Page 219 of 318
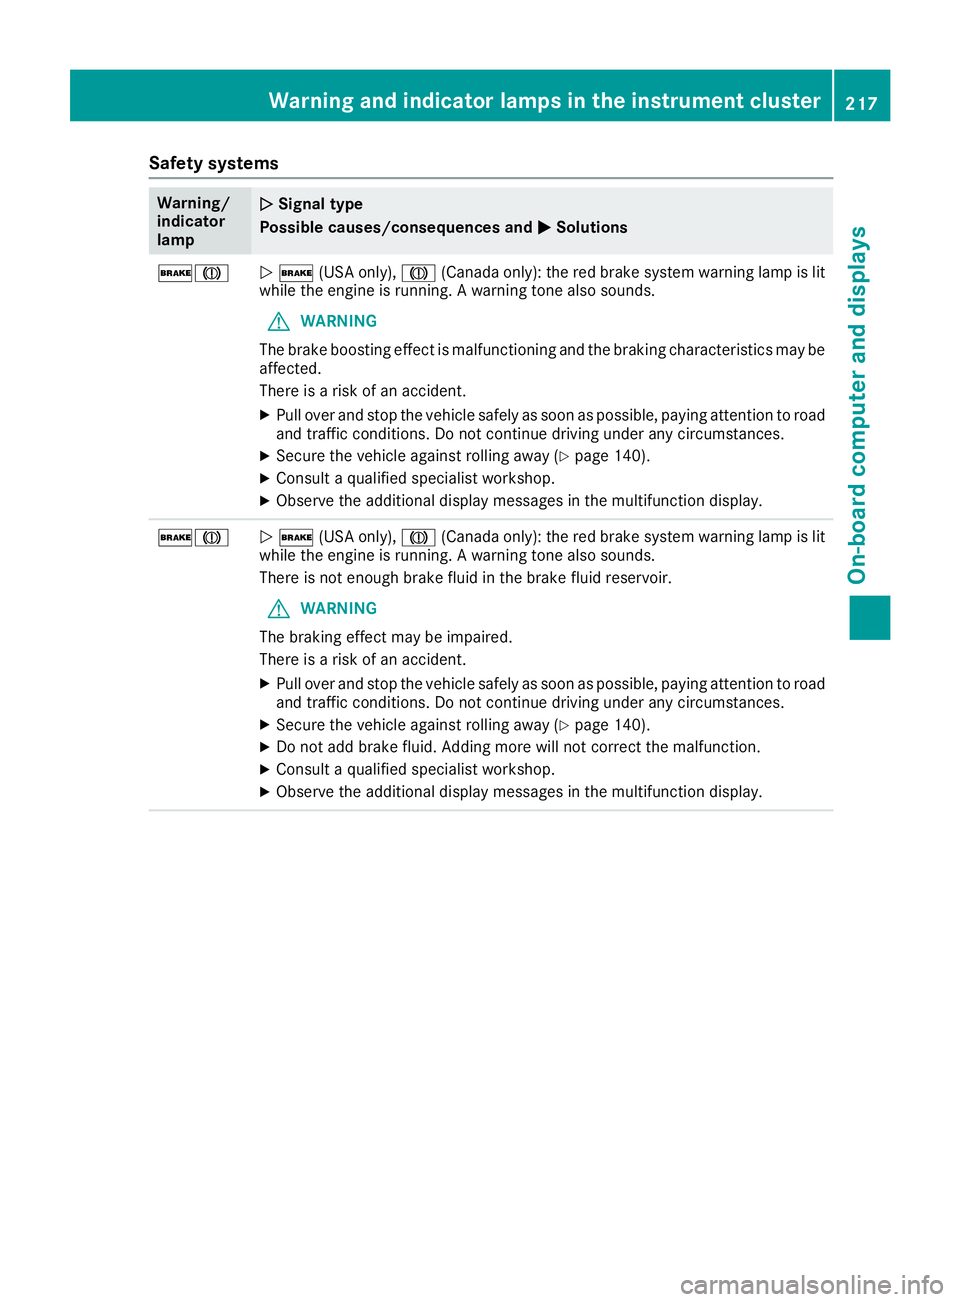
Safety systems Warning/
indicator
lamp �Q Signal type
Possible causes/consequences and �P Solutions
�'�M
�Q �' (USA only), �M (Canada only): the red brake system warning lamp is lit
while the engine is running. A warning tone also sounds.
G WARNING
The brake boosting effect is malfunctioning and the braking characteristics may be
affected.
There is a risk of an accident. X
Pull over and stop the vehicle safely as soon as possible, paying attention to road
and traffic conditions. Do not continue driving under any circumstances. X
Secure the vehicle against rolling away ( Y
page 140).X
Consult a qualified specialist workshop. X
Observe the additional display messages in the multifunction display.
�'�M
�Q �' (USA only), �M (Canada only): the red brake system warning lamp is lit
while the engine is running. A warning tone also sounds.
There is not enough brake fluid in the brake fluid reservoir.
G WARNING
The braking effect may be impaired.
There is a risk of an accident. X
Pull over and stop the vehicle safely as soon as possible, paying attention to road
and traffic conditions. Do not continue driving under any circumstances. X
Secure the vehicle against rolling away ( Y
page 140).X
Do not add brake fluid. Adding more will not correct the malfunction. X
Consult a qualified specialist workshop. X
Observe the additional display messages in the multifunction display.Warning and indicator lamps in the instrument cluster 217
On-board computer and displays Z
Page 220 of 318

Warning/
indicator
lamp �Q Signal type
Possible causes/consequences and �P Solutions
�%
�Q The yellow ABS warning lamp is lit while the engine is running.
ABS (Anti-lock Braking System) is deactivated due to a malfunction. BAS (Brake
Assist), Active Brake Assist, ESP ®
(Electronic Stability Program), the HOLD func-
tion and hill start assist are also deactivated, for example.
ATTENTION ASSIST is deactivated.
G WARNING
The brake system continues to function normally, but without the functions listed
above. The wheels could therefore lock if you brake hard, for example.
The steerability and braking characteristics may be severely affected. The braking
distance in an emergency braking situation can increase.
If ESP ®
is not operational, ESP ®
is unable to stabilize the vehicle.
There is an increased risk of skidding and an accident. X
Observe the additional display messages in the multifunction display. X
Drive on carefully. X
Visit a qualified specialist workshop immediately.
If the ABS control unit is faulty, there is also a possibility that other systems, such
as the navigation system or the automatic transmission, will not be available.
�%
�Q The yellow ABS warning lamp is lit while the engine is running.
ABS is temporarily unavailable. BAS, Active Brake Assist, ESP ®
, EBD (Electronic
Brake-force Distribution), the HOLD function and hill start assist are also deacti-
vated, for example.
Possible causes are: R
Self-diagnosis is not yet complete. R
The on-board voltage may be insufficient.
ATTENTION ASSIST is deactivated.
G WARNING
The brake system continues to function normally, but without the functions listed
above. The front and rear wheels could therefore lock if you brake hard, for exam-
ple.
The steerability and braking characteristics may be severely affected. The braking
distance in an emergency braking situation can increase.
If ESP ®
is not operational, ESP ®
is unable to stabilize the vehicle.
There is a risk of an accident. X
Carefully drive a suitable distance, making slight steering movements at a speed
above 12 mph (20 km/h).
The functions mentioned above are available again when the warning lamp goes
out.
If the warning lamp is still on: X
Observe the additional display messages in the multifunction display. X
Drive on carefully. X
Visit a qualified specialist workshop immediately.218
Warning and indicator lamps in the instrument cluster
On-board computer and displays
Page 228 of 318
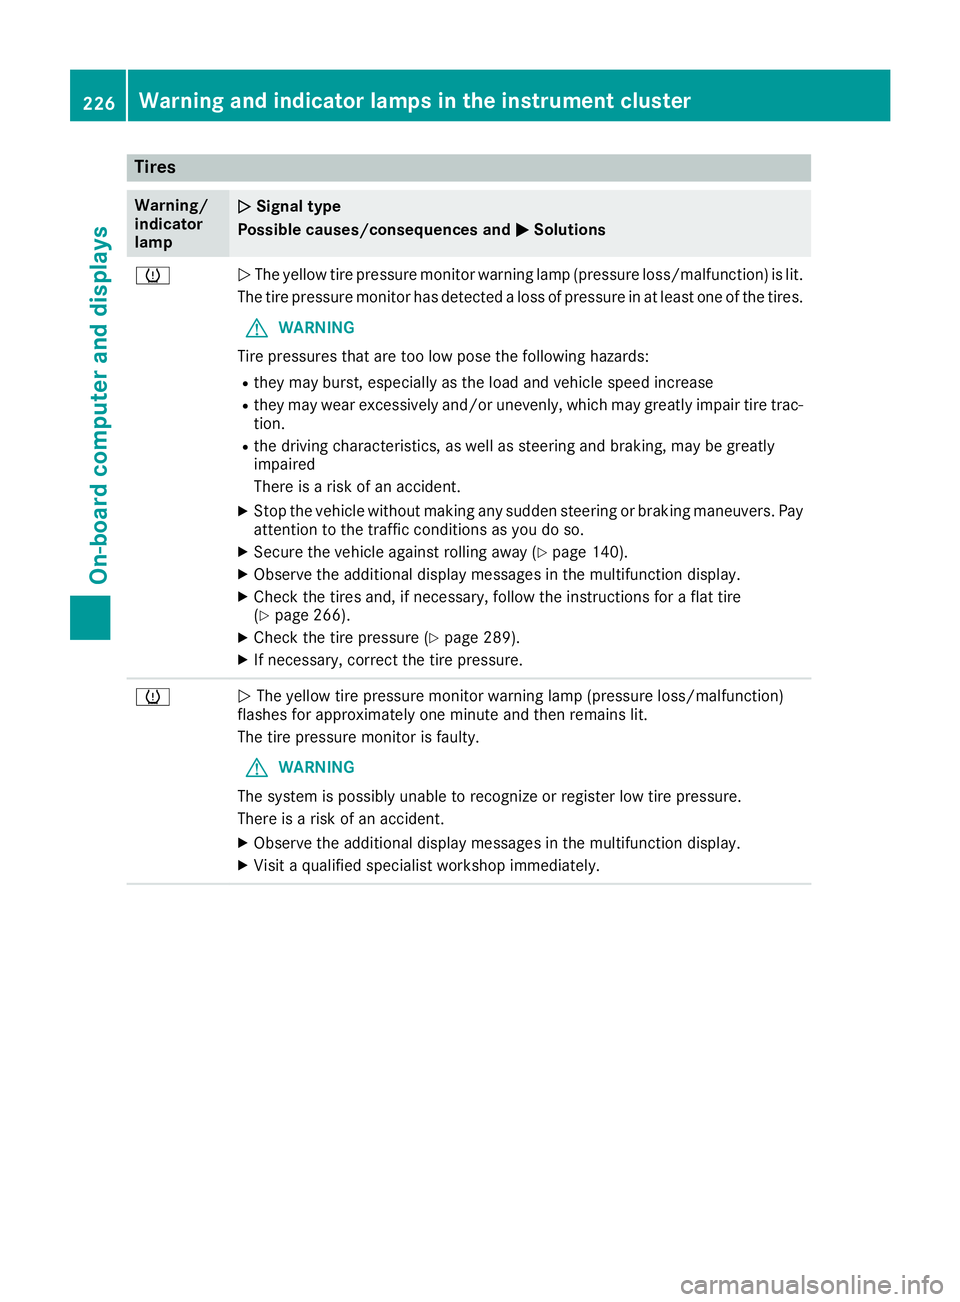
Tires Warning/
indicator
lamp �Q Signal type
Possible causes/consequences and �P Solutions
�w
�Q The yellow tire pressure monitor warning lamp (pressure loss/malfunction) is lit.
The tire pressure monitor has detected a loss of pressure in at least one of the tires.
G WARNING
Tire pressures that are too low pose the following hazards: R
they may burst, especially as the load and vehicle speed increase R
they may wear excessively and/or unevenly, which may greatly impair tire trac-
tion. R
the driving characteristics, as well as steering and braking, may be greatly
impaired
There is a risk of an accident. X
Stop the vehicle without making any sudden steering or braking maneuvers. Pay
attention to the traffic conditions as you do so. X
Secure the vehicle against rolling away ( Y
page 140).X
Observe the additional display messages in the multifunction display. X
Check the tires and, if necessary, follow the instructions for a flat tire
( Y
page 266). X
Check the tire pressure ( Y
page 289).X
If necessary, correct the tire pressure.
�w
�Q The yellow tire pressure monitor warning lamp (pressure loss/malfunction)
flashes for approximately one minute and then remains lit.
The tire pressure monitor is faulty.
G WARNING
The system is possibly unable to recognize or register low tire pressure.
There is a risk of an accident. X
Observe the additional display messages in the multifunction display. X
Visit a qualified specialist workshop immediately.226
Warning and indicator lamps in the instrument cluster
On-board computer and displays
Page 272 of 318
Tire pressure reached
G WARNING
A tire temporarily sealed with tire sealant
impairs the driving characteristics and is not
suitable for higher speeds. There is a risk of
accident.
You should therefore adapt your driving style
accordingly and drive carefully. Do not exceed
the specified maximum speed with a tire that
has been repaired using tire sealant.
The maximum permissible speed for a tire
sealed with tire sealant is 50 mph (80 km/h).
The upper part of the TIREFIT sticker must be
affixed to the instrument cluster in the driver's
field of vision.
If a tire pressure of 200 kPa (2.0 bar/29 psi) has
been attained after ten minutes: X
Switch off the tire inflation compressor. X
Unscrew the filler hose from the valve of the
faulty tire.
Note that tire sealant may escape when you
unscrew the filler hose. X
Stow the tire sealant bottle and the tire infla-
tion compressor. X
Pull away immediately .X
Stop after driving for approximately ten
minutes and check the tire pressure with the
tire inflation compressor.
The tire pressure must now be at least
130 kPa (1.3 bar/19 psi).
G WARNING
If the required tire pressure is not reached
after driving for a short period, the tire is too
badly damaged. The tire sealant cannot repair
the tire in this instance. Damaged tires and a
tire pressure that is too low can significantly
impair the vehicle's braking and driving char-
acteristics. There is a risk of accident.
Do not continue driving. Contact a qualified
specialist workshop.
i In cases such as the one mentioned above,
contact an authorized Mercedes-Benz Cen-
ter. Or call 1-800-FOR-MERCedes (in the
USA) or 1-800-387-0100 (in Canada). X
Correct the tire pressure if it is still at least
130 kPa (1.3 bar/19 psi). See the Tire and
Loading Information placard on the driver's
side B-pillar or the tire pressure table in the
fuel filler flap for values. X
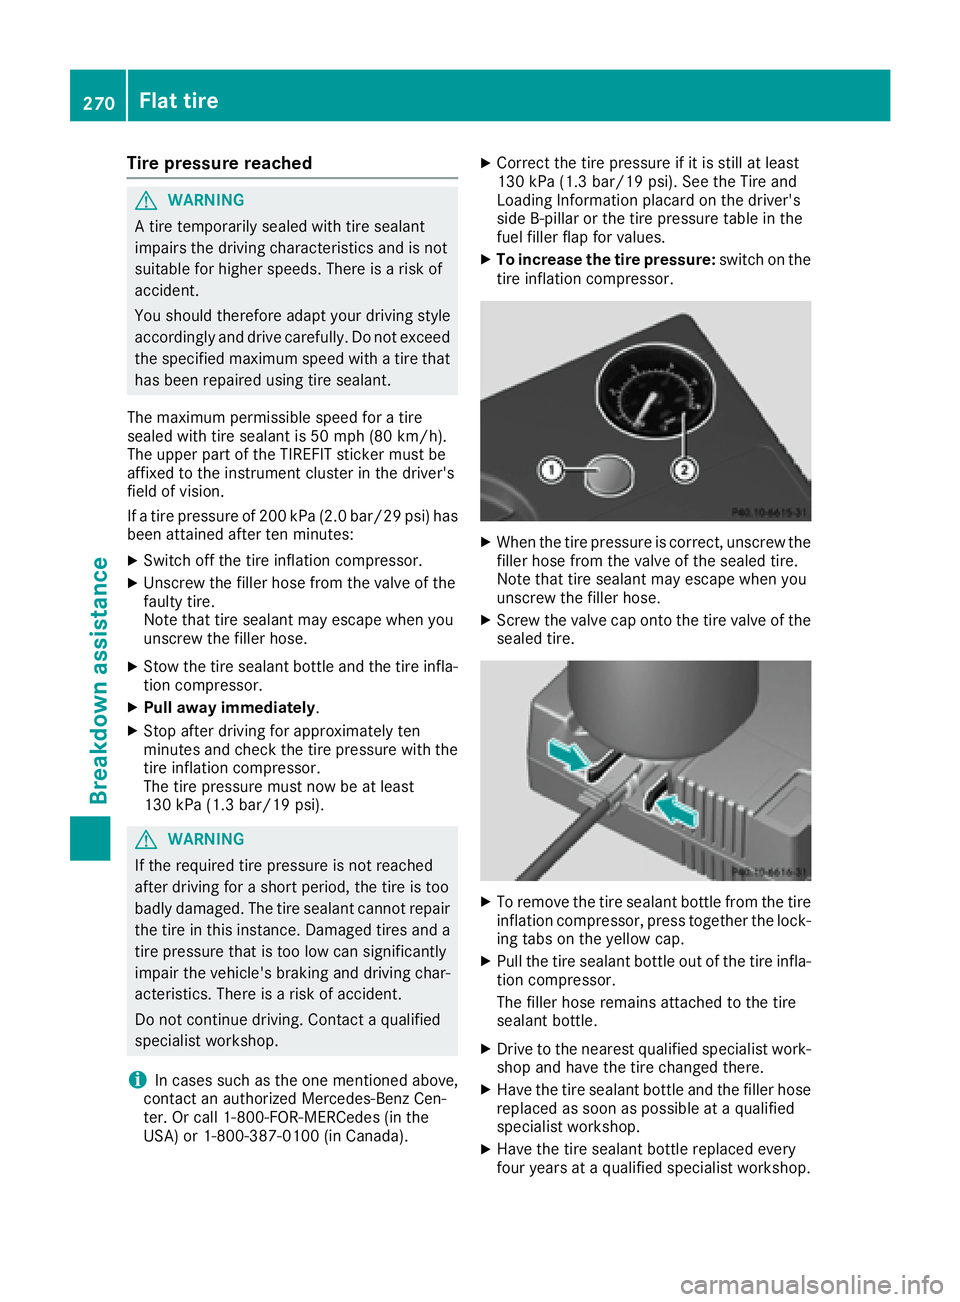
To increase the tire pressure: switch on the
tire inflation compressor.
X
When the tire pressure is correct, unscrew the
filler hose from the valve of the sealed tire.
Note that tire sealant may escape when you
unscrew the filler hose. X
Screw the valve cap onto the tire valve of the
sealed tire.
X
To remove the tire sealant bottle from the tire
inflation compressor, press together the lock-
ing tabs on the yellow cap. X
Pull the tire sealant bottle out of the tire infla-
tion compressor.
The filler hose remains attached to the tire
sealant bottle. X
Drive to the nearest qualified specialist work-
shop and have the tire changed there. X
Have the tire sealant bottle and the filler hose
replaced as soon as possible at a qualified
specialist workshop. X
Have the tire sealant bottle replaced every
four years at a qualified specialist workshop.270
Flat tire
Breakdown assistance