2017 MERCEDES-BENZ C-Class Setting time
[x] Cancel search: Setting timePage 129 of 178
You can activate or deactivate the following set-
tings:
RDownload Images Automatically
It may take some time to download the con-
tents of websites that contain a large amount
of images. Therefore, it may be useful to deac-
tivate this option.
RBlock Pop-Ups
Popups are windows (usually with advertise-
ments) which are displayed automatically
when you call up a website. You can block
these displays.
RActivate Javascript
Javascript makes it possible to display and
interact with dynamic content on the website.
RAllow Cookies
Some websites save information in small text
files (cookies) on your system. You can deter-
mine whether cookies may be stored.
REnable Internet Audio
You can switch the browser's audio playback
on or off here.
RHide Scroll Bars
You can show or hide the scroll bar here.
RShow Link Target
You can display the link's URL here.
RCharacter Size
You can select the font size which is used
when displaying the website.
RCharacter Code
You can select a different character set here,
e.g. if the characters of a website appear dis-
torted.
Changing settings
XTo select the desired setting: turn and press
the controller.
Switch the setting onOor off ª.
Changing the character size or character
code
XSelect CharacterSizeorCharacterCode.
XTo select the setting you require: turn and
press the controller.
iIf you change the settings, the websites may
not be displayed correctly.
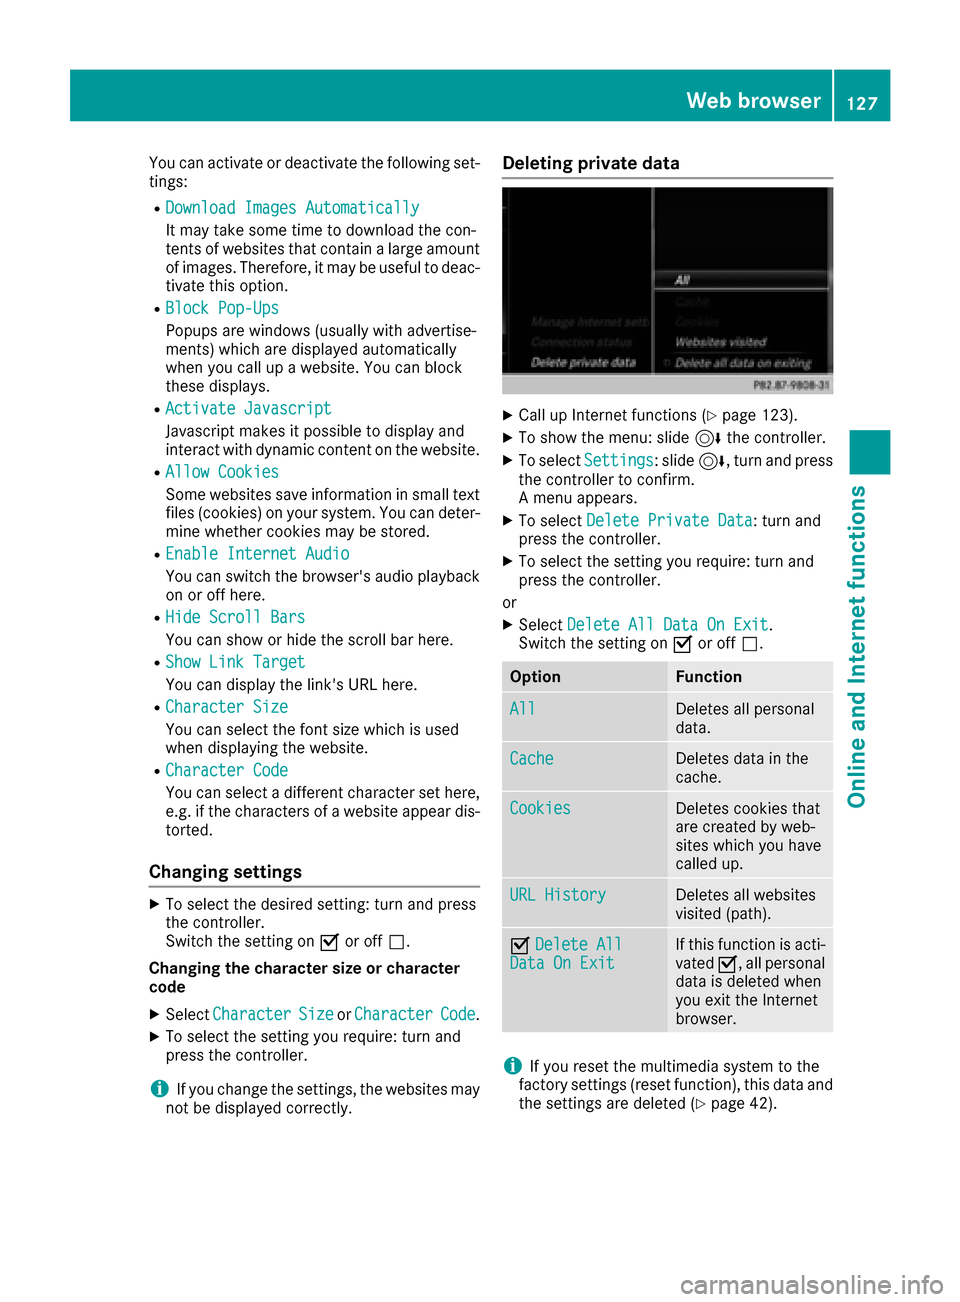
Deleting private data
XCall up Internet functions (Ypage 123).
XTo show the menu: slide 6the controller.
XTo select Settings: slide6, turn and press
the controller to confirm.
A menu appears.
XTo select Delete Private Data: turn and
press the controller.
XTo select the setting you require: turn and
press the controller.
or
XSelect Delete All Data On Exit.
Switch the setting on Oor off ª.
OptionFunction
AllDeletes all personal
data.
CacheDeletes data in the
cache.
CookiesDeletes cookies that
are created by web-
sites which you have
called up.
URL HistoryDeletes all websites
visited (path).
ODelete AllData On ExitIf this function is acti-
vated O, all personal
data is deleted when
you exit the Internet
browser.
iIf you reset the multimedia system to the
factory settings (reset function), this data and
the settings are deleted (
Ypage 42).
Web browser127
Online and Internet functions
Z
Page 131 of 178
Your multimediasyste mequipment
These operatin ginstruction sdescribe all th e
standar dan doptional equipment of your multi-
media system, as available at th etime of going
to press. Country-specifi cdifference sare pos -
sible. Bear in min dthat your vehicle may no t
feature all function sdescribed here. Thi salso
applies to safety-relevan tsystems an dfunc-
tions.
Read th einformation on qualifie dspecialis t
workshop sin th evehicle Operator's Manual.
Switchin gon th eradi o
XPress th e$ button.
The radio display appears .You will hear th e
last station playe don th elast waveban d
selected.
Switching HD Radi oon/of f
XIn radio mode: slid e6 thecontroller .
XSelectOption s.
XBy selecting Oorª in fron tof HD Radi o,
you determin ewhether HD radio is switched
on or off.
If HD Radio is switched off, th esyste mdoe sno t
switch to digita lradio an dit is no tpossible to
selec tan ysub-channels.
iHD Radio ™an dth eHD ,HD Radio ,an d“Arc ”
logos are proprietary trademark sof iBiquit y
Digital Corp.
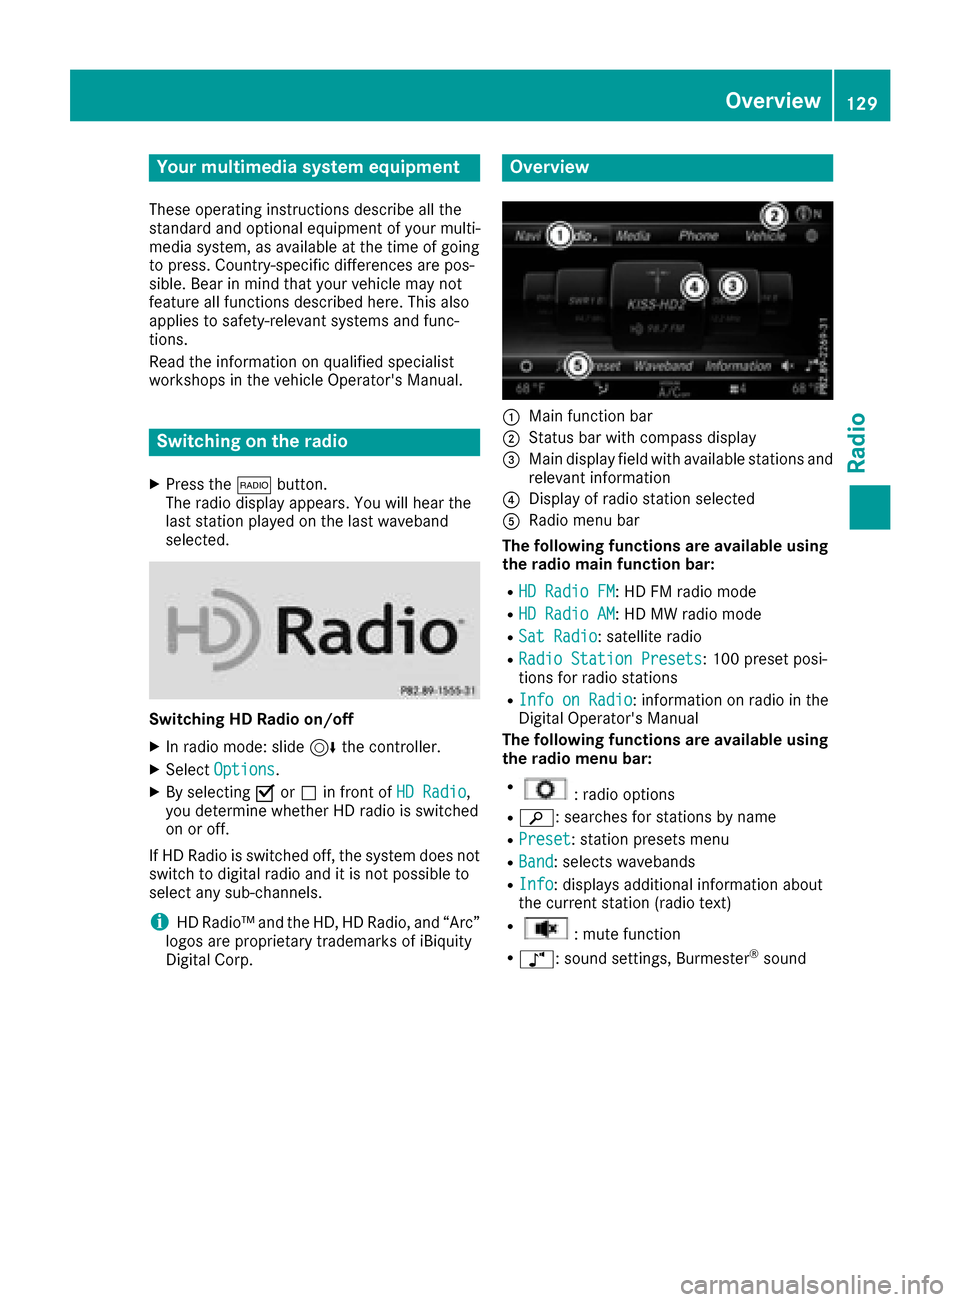
Overview
:Main function bar
;Status bar wit hcompass display
=Main display field wit havailable station san d
relevant information
?Display of radio station selecte d
ARadio menubar
Th efollowin gfunctions ar eavailable using
th eradi omain function bar:
RHD Radi oFM:HD FM radio mode
RHD Radi oAM:HD MW radio mode
RSa tRadi o:satellite radio
RRadi oStatio nPreset s:10 0preset posi-
tion sfo rradio station s
RInfo on Radi o:information on radio in th e
Digital Operator's Manual
Th efollowin gfunctions ar eavailable using
th eradi omenu bar:
R:radio option s
Rè:searches fo rstation sby name
RPreset:station preset smen u
RBand:selects wavebands
RInfo:displays additional information about
th ecurren tstation (radio text )
R:mut efunction
Rà :sound settings, Burmeste r®sound
Overview129
Radio
Page 134 of 178
XTo select the required preset entry: turn the
controller.
XSlide9the controller.
An additional menu appears.
XTo select the Move Highlighted Station/Channeloption: turn and press the control-
ler.
The list of stored stations appears again.
XTo move the highlighted station to the new
position: turn the controller and press to con-
firm.
Deleting highlighted stations
XIn radio mode: slide 6the controller.
The radio menu bar appears.
XTo select Preset: turn and press the control-
ler.
XSelect Edit Station Preset.
XTo select the required preset entry: turn the
controller.
XSlide9the controller.
XTo select the Delete Highlighted Sta‐tion/Channeloption in the additional menu:
turn and press the controller.
XTo select Yes: turn and press the controller.
The highlighted station is deleted.
or
XTo select No: turn and press the controller.
The process is canceled.
iFrequencies have already been stored in the
multimedia system. There are 100 preset
positions available.
Activating/deactivating the station
presets display
You can use this function to change to the sta-
tion presets display.
Activating
XIn radio mode: slide 6the controller.
XTo select Preset: turn and press the control-
ler.
XTo select Station Preset View: On: turn
and press the controller.
The station preset display appears.
XTo switch between the stored stations: turn
the controller. Deactivating
XIn radio mode: slide
6the controller.
XTo select Preset: turn and press the control-
ler.
XTo select StationPresetView:Off: turn
and press the controller.
A view of the last waveband you listened to
appears.
Tagging music tracks
If an Apple®device is connected, the music
tracks and artist displayed in the radio text can be stored. You have the option of purchasing
this track using iTunes Store
®. Not all radio sta-
tions support this function.
XIn radio mode: slide 6the controller.
The radio menu bar appears.
XTo select: turn and press the control-
ler.
XSelect Tag This Track.
A message appears about storing the track
information.
Displaying station information
XIn radio mode: slide 6the controller.
The radio menu bar appears.
XTo select: turn and press the control-
ler.
XYou can determine whether or not the artist,
track or station name are shown in the main
display area with Oorª before Show
Sta‐tion Information.
Calling up sound settings
XIn radio mode: slide 6the controller.
The radio menu bar appears.
XTo select à: turn and press the controller.
The sound menu appears (Ypage 163).
132Calling up sound settings
Radio
Page 137 of 178
XTo call up the category list:selectCate‐
goryin the menu bar by turning and pressing
the controller.
The category list appears.
XTo select a category: turn the controller and
press to confirm.
The category selected is shown in the display.
You hear the channel last selected for this
category.
The #dot indicates the current setting.
At the beginning of the category list, the All
Channelscategory appears. This category
enables you to browse all available channels.
Selecting a channel
Channel search
XWhen the display/section window is selec-
ted, slide 8or9 the controller.
The multimedia system searches in both
directions (ascending and descending) and
stops at the next channel found in the selec-
ted category.
Entering channel numbers directly
XTo select: turn and press the control-
ler.
XTo select Direct Entry: turn and press the
controller.
An input menu appears.
XTo select a channel number: turn and press
the controller.
XThe multimedia system sets the selected
channel.
iYou can only select currently permitted dig-
its.
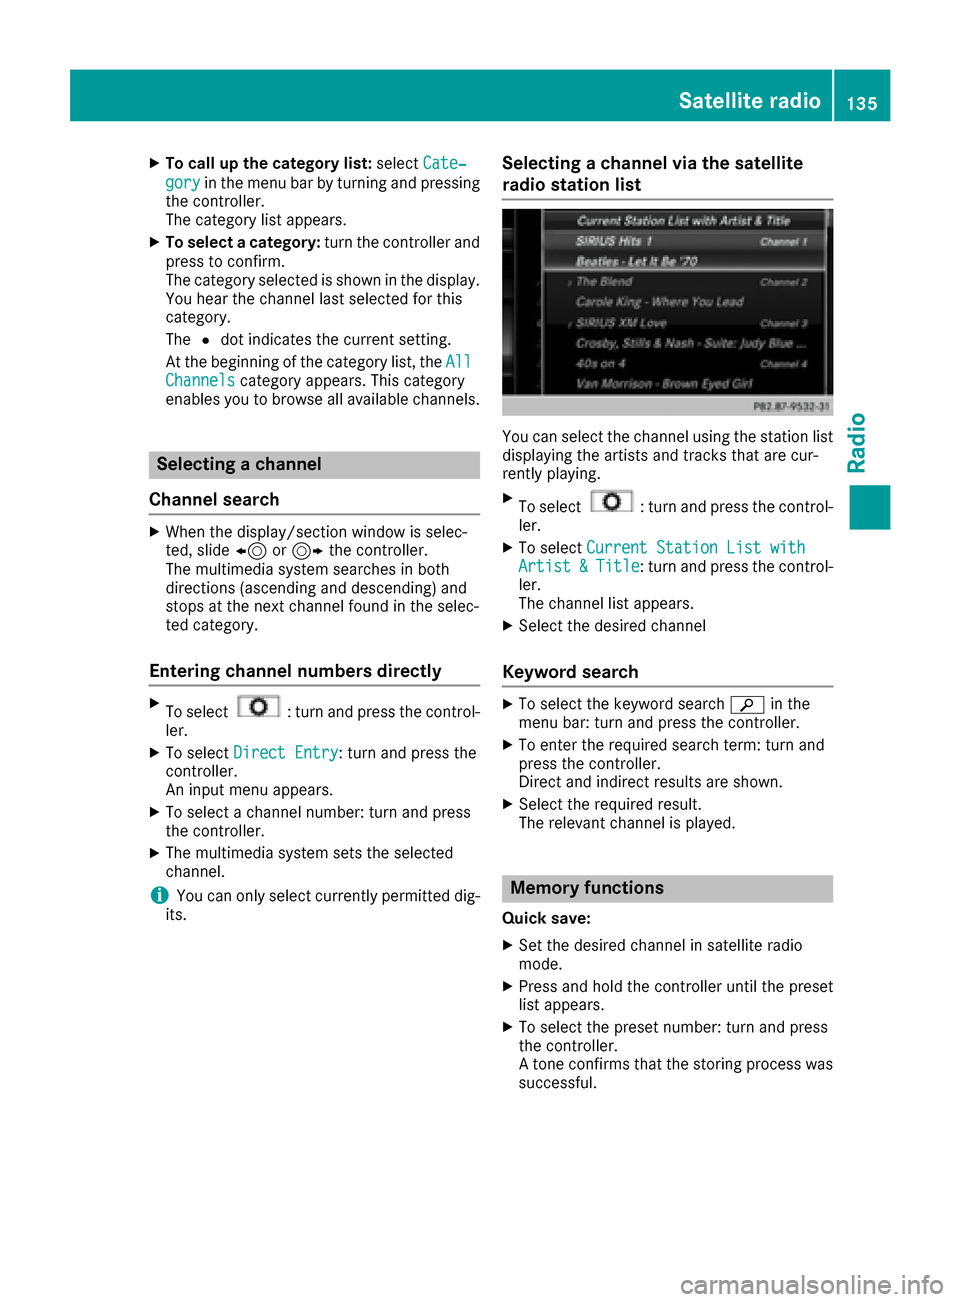
Selecting a channel via the satellite
radio station list
You can select the channel using the station list
displaying the artists and tracks that are cur-
rently playing.
XTo select: turn and press the control-
ler.
XTo select Current Station List withArtist&Title: turn and press the control-
ler.
The channel list appears.
XSelect the desired channel
Keyword search
XTo select the keyword search èin the
menu bar: turn and press the controller.
XTo enter the required search term: turn and
press the controller.
Direct and indirect results are shown.
XSelect the required result.
The relevant channel is played.
Memory functions
Quick save:
XSet the desired channel in satellite radio
mode.
XPress and hold the controller until the preset
list appears.
XTo select the preset number: turn and press
the controller.
A tone confirms that the storing process was
successful.
Satellite radio135
Radio
Page 139 of 178
XSelectSelect New Alerts.
A menu appears.
XSelect the desired team from a league, e.g.
college, NBA, NHL, NFL or MLB.
The alert function for the sports team is
added.
Editing music and sports alerts
XTo select Alert for Artist, Track &SportsEvent: turn and press the controller.
A menu appears.
XSelect Manage Music AlertsorManageSports Alerts.
A list of set alerts appears.
Tagging music tracks
If the channel supports this function, you are
able to transfer the music track currently playing
to an Apple
®device. You can then purchase it in
the iTunes®store.
XTo select: turn and press the control-
ler.
XTo select Tag This Track: turn and press
the controller.
A message about saving this music track on
the Apple
®device appears.
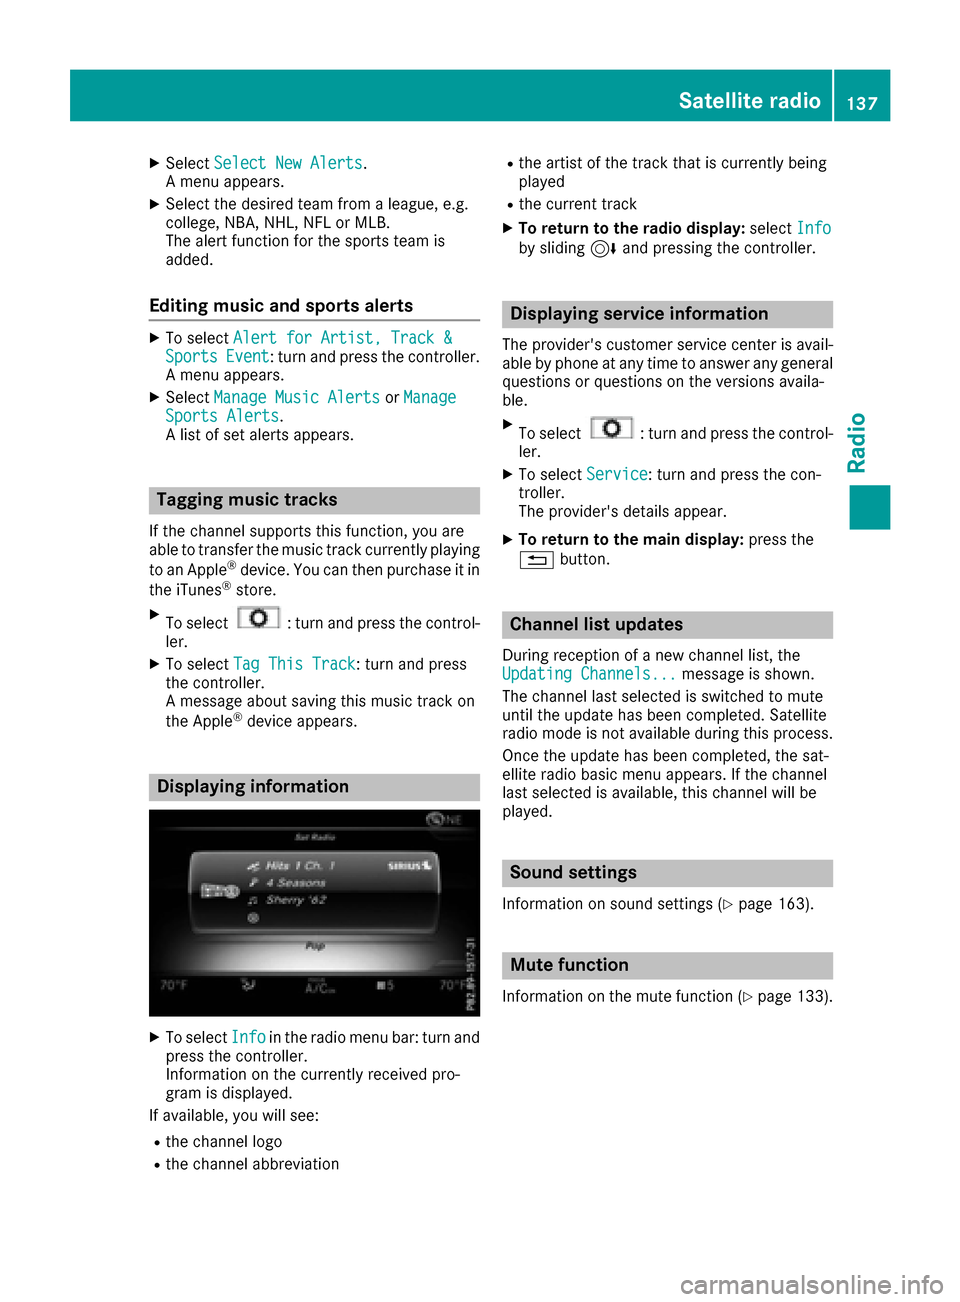
Displaying information
XTo select Infoin the radio menu bar: turn and
press the controller.
Information on the currently received pro-
gram is displayed.
If available, you will see:
Rthe channel logo
Rthe channel abbreviation
Rthe artist of the track that is currently being
played
Rthe current track
XTo return to the radio display: selectInfoby sliding 6and pressing the controller.
Displaying service information
The provider's customer service center is avail-
able by phone at any time to answer any general
questions or questions on the versions availa-
ble.
XTo select: turn and press the control-
ler.
XTo select Service: turn and press the con-
troller.
The provider's details appear.
XTo return to the main display: press the
% button.
Channel list updates
During reception of a new channel list, the
Updating Channels...message is shown.
The channel last selected is switched to mute
until the update has been completed. Satellite
radio mode is not available during this process. Once the update has been completed, the sat-
ellite radio basic menu appears. If the channel
last selected is available, this channel will be
played.
Sound settings
Information on sound settings (Ypage 163).
Mute function
Information on the mute function (Ypage 133).
Satellite radio137
Radio
Page 141 of 178
Using the device list
XIn media mode, slide6the controller.
The media menu bar is shown.
XTo select Devices: turn and press the con-
troller.
The available media sources will be shown.
The #dot indicates the current setting.
XSelect the media source.
If the media source contains music or video
files, these will be played. The corresponding
basic menu will be shown.
Switching on automatically
After inserting a CD/DVD, this media mode is
automatically switched on by the multimedia
system.
If playable music files are found, they will be
played by the multimedia system.
If a media function is already switched on in the
multimedia system, this will be interrupted and
the basic display of the CD/DVD mode will
appear. If another function, such as navigation,
is being operated, the basic display will not
change. Only the music from the last inserted
CD/DVD will be played.
Audio/video mode
Important safety notes
GWARNING
The CD/DVD drive is a class 1 laser product.
If you open the housing of the CD/DVD drive,
there is a risk of exposure to invisible laser
radiation. This laser radiation could damage
your retina. There is a risk of injury.
Never open the housing. Always have main-
tenance and repair work carried out at a quali- fied specialist workshop.
GWARNING
Handling discs while driving may distract you from traffic conditions. You could also lose
control of the vehicle. There is a risk of an
accident.
Handle discs only when the vehicle is station-
ary.
Bear in mind that at a speed of only 30 mph
(approximately 50 km/h) your vehicle covers a
distance of 44 feet (approximately 14 m) every
second.
Notes on audio/video mode
Permissible data carriers
RCD-R, CD-A and CD-RW
RDVD-R, DVD-V and DVD-RW
RSD card
RUSB storage device
Permissible file systems
RISO 9660/Joliet standard for CDs
RUDF for video DVDs
RFAT16, FAT32, exFAT and NTFS for SD card
and USB storage media
Multisession CDs
For multisession CDs, the content of the first
session determines how the multimedia system
processes the CD. The multimedia system plays
only one session and gives priority to the audio
CD session.
File structure of a data carrier
When you create a disc with compressed music
files, the tracks can be organized in folders. A
folder may also contain subfolders. The disc
may contain no more than eight directory levels.
Files beyond the eighth level will not be recog-
nized by the system.
iThe multimedia system supports up to
50,000 files from one data medium.
If more than 64 GB of the memory of a data
medium is full, only files in folders with the
following names are supported: Music, Pic-
tures, Video.
Track and file names
When you create a disc with compressed music
files, you can assign names to the tracks and
folders.
Audio/video mode139
Media
Z
Page 145 of 178
Selecting an active partition
XTo selectSelect Active Partition: turn
and press the controller.
With the Select
ActivePartitionoption,
you can select a partition in the USB data
medium.
Showing track information
XTo select Show Track Information: turn
and press the controller.
Ticking or removing the tick from the box in
front of Show Track Information
displays
or hides the information on the track, artist
and album in the main display field.
Saving files to Media Register
iWith the SaveFilestoMediaRegisteroption, you can transfer supported audio,
image or video files to the multimedia system
hard drive.
XTo select the Save Files to Media Reg‐isteroption: turn and press the controller.
A menu appears (Ypage 146).
Managing Media Register
XDelete or rename individual files in the Media
Register (Ypage 148).
XDelete all files in the Media Register
(Ypage 148).
XCall up information on the preset
(Ypage 149).
Stop and playback function
XTo pause playback: in audio/video mode,
slide 6the controller.
The media menu bar is shown.
XTo activate Ëin the media menu bar: turn
and press the controller.
Playback is interrupted here. The display
changes to Ì.
XTo continue playback: in audio/video mode,
slide 6the controller.
The media menu bar is shown.
XTo activate Ìin the media menu bar: turn
and press the controller.
Playback is continued from the point of inter- ruption. The symbol changes to Ë.
Selecting a track
Selecting using the current track list
XTo display the current track list: press the
controller in the basic display.
The category list appears.
XSelect the current track list.
XTo select a track: turn the controller and press
to confirm.
Selecting by skipping to a track
XTo skip forwards or backwards to a track: turn
or briefly slide 9or8 the controller in
the media basic display.
Search menu
XIn media mode, slide 6the controller.
The media menu bar is shown.
XTo select Search: turn and press the control-
ler.
The category list is shown.
XSelect a category, e.g. Genres.
Sub-categories appear with the selection of
the main category (depends on the multime-
dia system default settings and the music
tracks available).
XSelect a sub-category, for example Rock.
If the sub-category Rock
contains music
tracks, these will be displayed.
Gracenote®Media Database
General notes
This function is available in audio CD mode.
There is a version of
Gracenote®music recognition technology,
Emeryville, California, USA on the multimedia
system hard disk. You will recognize this by the
Audio/video mode143
Media
Z
Page 151 of 178
XTo selectYes: turn and press the controller.
The Please Wait...message appears. The
Data Deletedmessage then appears.
All files are deleted.
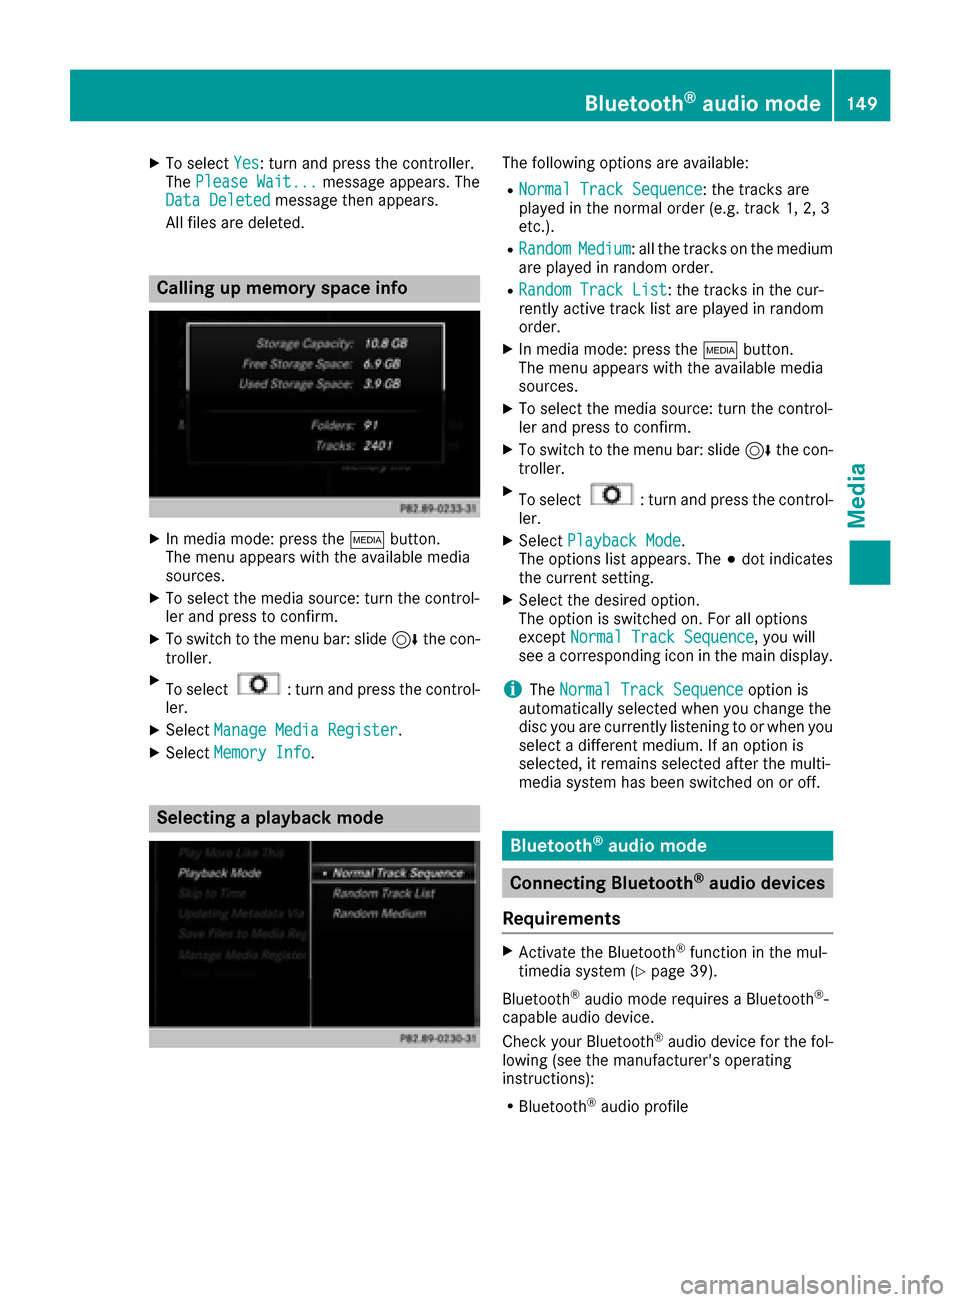
Calling up memory space info
XIn media mode: press the Õbutton.
The menu appears with the available media
sources.
XTo select the media source: turn the control-
ler and press to confirm.
XTo switch to the menu bar: slide 6the con-
troller.
XTo select: turn and press the control-
ler.
XSelect Manage Media Register.
XSelectMemory Info.
Selecting a playback mode
The following options are available:
RNormal Track Sequence: the tracks are
played in the normal order (e.g. track 1, 2, 3
etc.).
RRandomMedium: all the tracks on the medium
are played in random order.
RRandom Track List: the tracks in the cur-
rently active track list are played in random
order.
XIn media mode: press the Õbutton.
The menu appears with the available media
sources.
XTo select the media source: turn the control-
ler and press to confirm.
XTo switch to the menu bar: slide 6the con-
troller.
XTo select: turn and press the control-
ler.
XSelect Playback Mode.
The options list appears. The #dot indicates
the current setting.
XSelect the desired option.
The option is switched on. For all options
except Normal Track Sequence
, you will
see a corresponding icon in the main display.
iThe Normal Track Sequenceoption is
automatically selected when you change the
disc you are currently listening to or when you
select a different medium. If an option is
selected, it remains selected after the multi-
media system has been switched on or off.
Bluetooth®audio mode
Connecting Bluetooth®audio devices
Requirements
XActivate the Bluetooth®function in the mul-
timedia system (Ypage 39).
Bluetooth
®audio mode requires a Bluetooth®-
capable audio device.
Check your Bluetooth
®audio device for the fol-
lowing (see the manufacturer's operating
instructions):
RBluetooth®audio profile
Bluetooth®audio mode149
Media
Z