2017 MERCEDES-BENZ C-Class page 79
[x] Cancel search: page 79Page 51 of 178
XCallup the climate control menu (Ypage 48).
XTo select Pre-entry Climate Ctrl. atDepartureTime: turn and press the control-
ler.
A rotary menu appears.
XTo select the setting: turn the controller.
The menu symbol, text and image show the
selected setting.
XTo exit the menu: press the %button.
Settings in the bottom bar of the cli-
mate control menu
Activating/deactivating climate con-
trol
This setting ismade inthe bottom bar of the
clim ate control menu.
XCall up the climate control menu (Ypage 48).
XSlide6 the controller repeatedly untilthe
bottom bar is activated.
XTo select OClimate Ctrl On: turn and
press the controller.
The climate control is switched on Oor off
ª dependin g on the settings.
If the clim ate control is switched off:
Rtheclim ate control setting functions are
deactivate d.
Rtheblower is swit ched off.
Rthe air recirculation flaps are closed
Switching cooling with air dehumidifi-
cation on/off
This settingismade inthe bottom bar of the
clim ate control menu.
XCall up the climate control menu (Ypage 48).
XSlide6 the controller repeatedly untilthe
bottom bar isactivated.
XTo select OA/C: turn and press the control-
ler.
XSwit ch co olingwit h air dehumidif ication on
O or off ª.
iThe current status of the co oling function is
displ ayed inthe clim ate control bar: A/C ON
– activated, A/C OFF – deactivated
(
Ypage 47).
iDeactivating the cooling with air dehumidi-
fication function reduces fuel consumption.
Synchronizing the climate control set-
tings
Use OSync(synchronization) to select the cli-
mate control setting for all zones together Oor
separate lyª.
This setting is made in the bottom bar of the
clim ate control menu.
XCall up the climate control menu (Ypage 48).
XSlide 6the controller repeatedly until the
bottom bar is activated.
XTo select OSync: turn and press the con-
troller.
XSwit ch the synchronization function on Oor
off ª.
For further information on synchronizing climate
control settings (see the vehicle Operator's
Manual).
DYNAMIC SELECT
General notes
You can use DYNAMIC SELECTto configure the
foll owin g settings for the Individual drive pro-
gram:
RDrive system
RSuspension
RSt eering
RClimate control
RECO start/stop function
In addition, current vehicle and engine data is
visualized via the two further Vehicle
Dataand
Engine Datamenus.
iIn a few countries, the ECO start/stop func-
tion isdeactivated at the factory due to the
availab lefuel grade. In this case, the ECO
start /stop function is not availab leregardless
of the display in the multimedia system dis-
play.
The ECO Assist setting is availab leon
PLUG‑ IN HYBRID vehicles.
In Mercedes-AMG vehicles, you can use
DYNAMIC
SELECTto configure the foll owing set-
tings for the Individual drive program:
RDrive system
RSuspension
DYNAMIC SELECT49
Vehicle functions
Z
Page 55 of 178
Rentering POIs in the vicinity of a city or via a
name search
Rediting entries
Other entries are possible, such as entering
points of interest in the vicinity of the destina-
tion or current position.
Switching to navigation mode
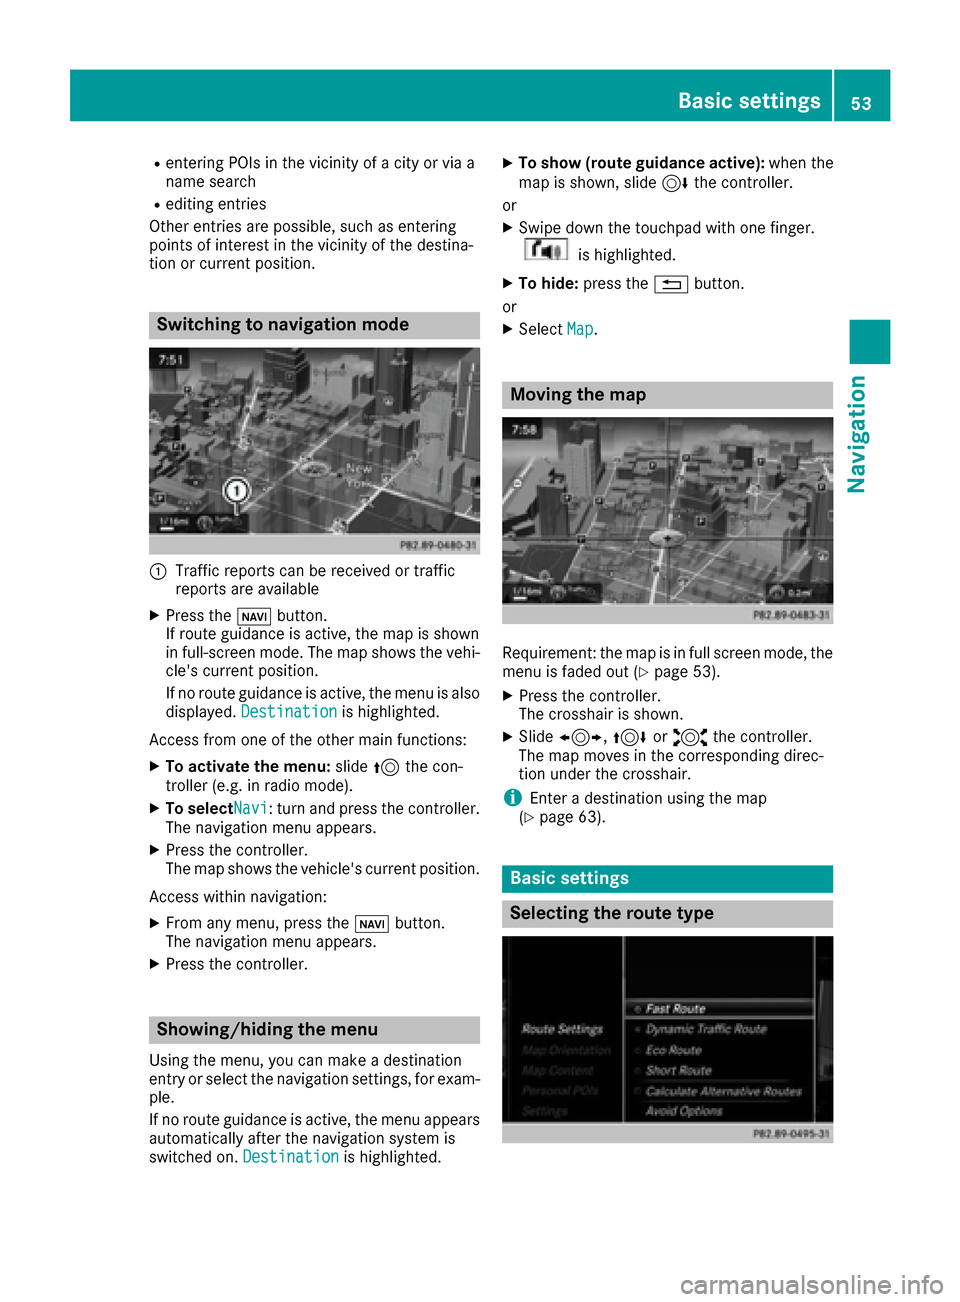
:Traffic reports can be received or traffic
reports are available
XPress the ßbutton.
If route guidance is active, the map is shown
in full-screen mode. The map shows the vehi-
cle's current position.
If no route guidance is active, the menu is also
displayed. Destination
is highlighted.
Access from one of the other main functions:
XTo activate the menu: slide5the con-
troller (e.g. in radio mode).
XTo selectNavi: turn and press the controller.
The navigation menu appears.
XPress the controller.
The map shows the vehicle's current position.
Access within navigation:
XFrom any menu, press the ßbutton.
The navigation menu appears.
XPress the controller.
Showing/hiding the menu
Using the menu, you can make a destination
entry or select the navigation settings, for exam-
ple.
If no route guidance is active, the menu appears
automatically after the navigation system is
switched on. Destination
is highlighted.
XTo show (route guidance active): when the
map is shown, slide 6the controller.
or
XSwipe down the touchpad with one finger.
is highlighted.
XTo hide: press the %button.
or
XSelect Map.
Moving the map
Requirement: the map is in full screen mode, the
menu is faded out (Ypage 53).
XPress the controller.
The crosshair is shown.
XSlide1, 4or2 the controller.
The map moves in the corresponding direc-
tion under the crosshair.
iEnter a destination using the map
(Ypage 63).
Basic settings
Selecting the route type
Basic settings53
Navigation
Z
Page 56 of 178
XTo switch to navigation mode:press the
Ø button.
XIf no route guidance is active, select.
iIf route guidance is active, first slide 6the
controller and show the menu.
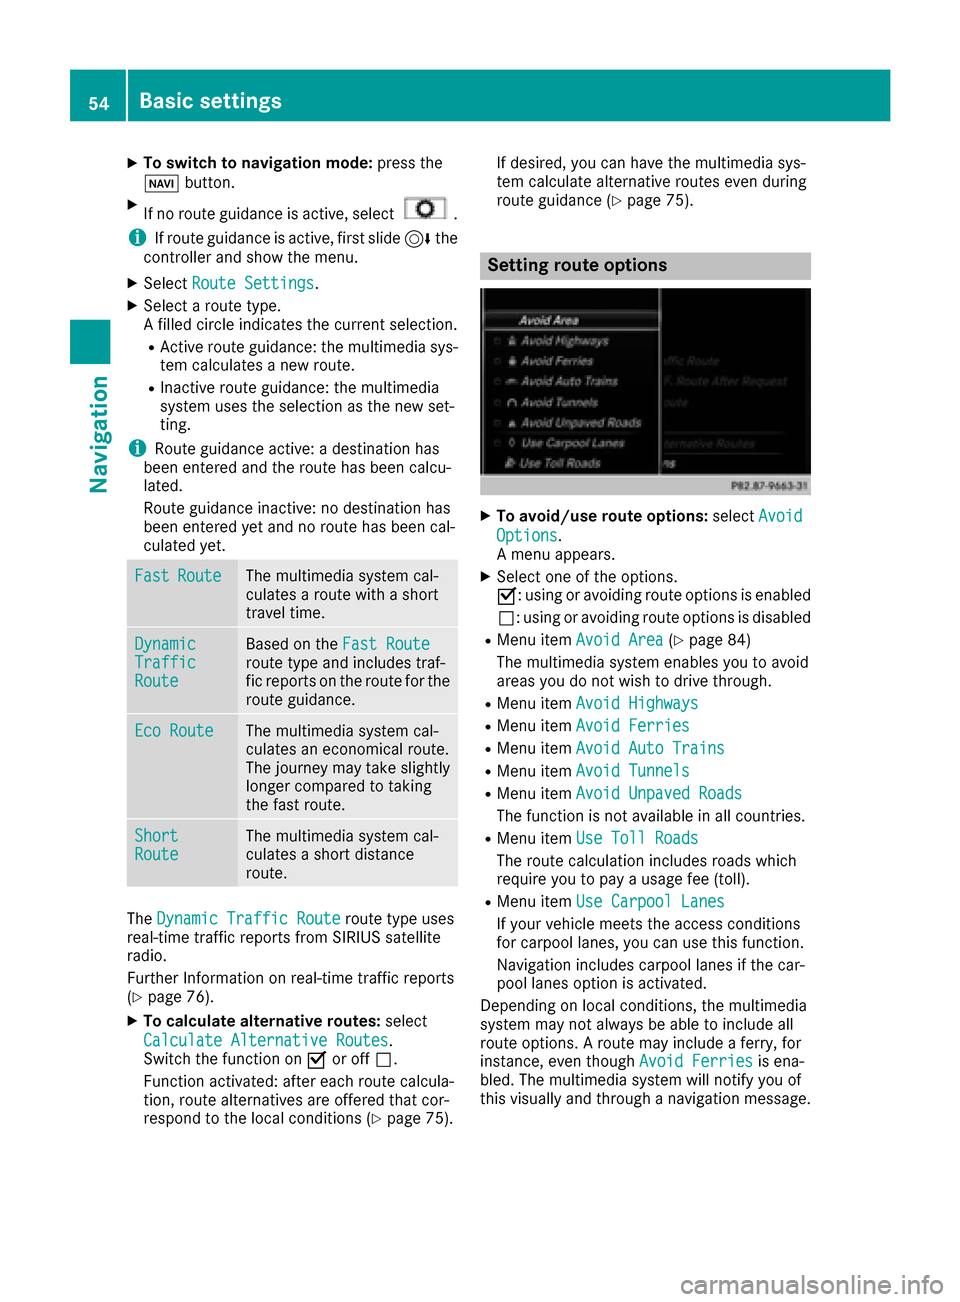
XSelect Route Settings.
XSelect a route type.
A filled circle indicates the current selection.
RActive route guidance: the multimedia sys-
tem calculates a new route.
RInactive route guidance: the multimedia
system uses the selection as the new set-
ting.
iRoute guidance active: a destination has
been entered and the route has been calcu-
lated.
Route guidance inactive: no destination has
been entered yet and no route has been cal-
culated yet.
FastRouteThe multimedia system cal-
culates a route with a short
travel time.
DynamicTrafficRoute
Based on the Fast Routeroute type and includes traf-
fic reports on the route for the
route guidance.
Eco RouteThe multimedia system cal-
culates an economical route.
The journey may take slightly
longer compared to taking
the fast route.
ShortRouteThe multimedia system cal-
culates a short distance
route.
TheDynamic Traffic Routeroute type uses
real-time traffic reports from SIRIUS satellite
radio.
Further Information on real-time traffic reports
(
Ypage 76).
XTo calculate alternative routes: select
Calculate Alternative Routes
.
Switch the function on Oor off ª.
Function activated: after each route calcula-
tion, route alternatives are offered that cor-
respond to the local conditions (
Ypage 75). If desired, you can have the multimedia sys-
tem calculate alternative routes even during
route guidance (
Ypage 75).
Setting route options
XTo avoid/use route options:
selectAvoid
Options.
A menu appears.
XSelect one of the options.
O: using or avoiding route options is enabled
ª: using or avoiding route options is disabled
RMenu item Avoid Area(Ypage 84)
The multimedia system enables you to avoid
areas you do not wish to drive through.
RMenu item Avoid Highways
RMenu itemAvoid Ferries
RMenu itemAvoid Auto Trains
RMenu itemAvoid Tunnels
RMenu itemAvoid Unpaved Roads
The function is not available in all countries.
RMenu itemUse Toll Roads
The route calculation includes roads which
require you to pay a usage fee (toll).
RMenu itemUse Carpool Lanes
If your vehicle meets the access conditions
for carpool lanes, you can use this function.
Navigation includes carpool lanes if the car-
pool lanes option is activated.
Depending on local conditions, the multimedia
system may not always be able to include all
route options. A route may include a ferry, for
instance, even though Avoid Ferries
is ena-
bled. The multimedia system will notify you of
this visually and through a navigation message.
54Basic settings
Navigation
Page 58 of 178
iIf route guidance is active, first slide6the
controller and show the menu.
XSelect Route Settings.
XSelectAvoid Options.
XSelectUse Carpool Lanes.
Carpool lanes will either be used Oor avoi-
ded ªwhen calculating the route.
Destination entry
Important safety notes
GWARNING
If you operate information systems and com-
munication equipment integrated in the vehi-
cle while driving, you will be distracted from
traffic conditions. You could also lose control
of the vehicle. There is a risk of an accident.
Only operate the equipment when the traffic
situation permits. If you are not sure that this
is possible, park the vehicle paying attention
to traffic conditions and operate the equip-
ment when the vehicle is stationary.
You must observe the legal requirements for the
country in which you are currently driving when
operating the multimedia system.
Destination entry may be blocked while driving,
depending on the country specifications.
General notes
The various character entry options are descri-
bed for the controller. Alternatively you can use
the touchpad to enter characters and select
menus (
Ypage 22).
Using an address
Calling up the address entry menu
XTo switch to navigation mode: press the
Ø button.
XIf no route guidance is active, select Desti‐nation.
iIf route guidance is active, first slide6the
controller and show the menu.
XSelect Address Entry.
Address entry options
Examples of how you can enter an address:
RCity/ZIP code, street, house number
RCity/ZIP code, street
RCity/ZIP code, center
RCity/ZIP code, street, intersection
RStreet, City/ZIP code, house number
RStreet, City/ZIP code, intersection
The address can be entered faster by entering
the street before the city if the address has an
unusual street name.
While entering an address, you can also switch
to other destination entry options:
RFree destination search (Ypage 58)
RMap (Ypage 63)
RPOI (Ypage 61)
Entering an address
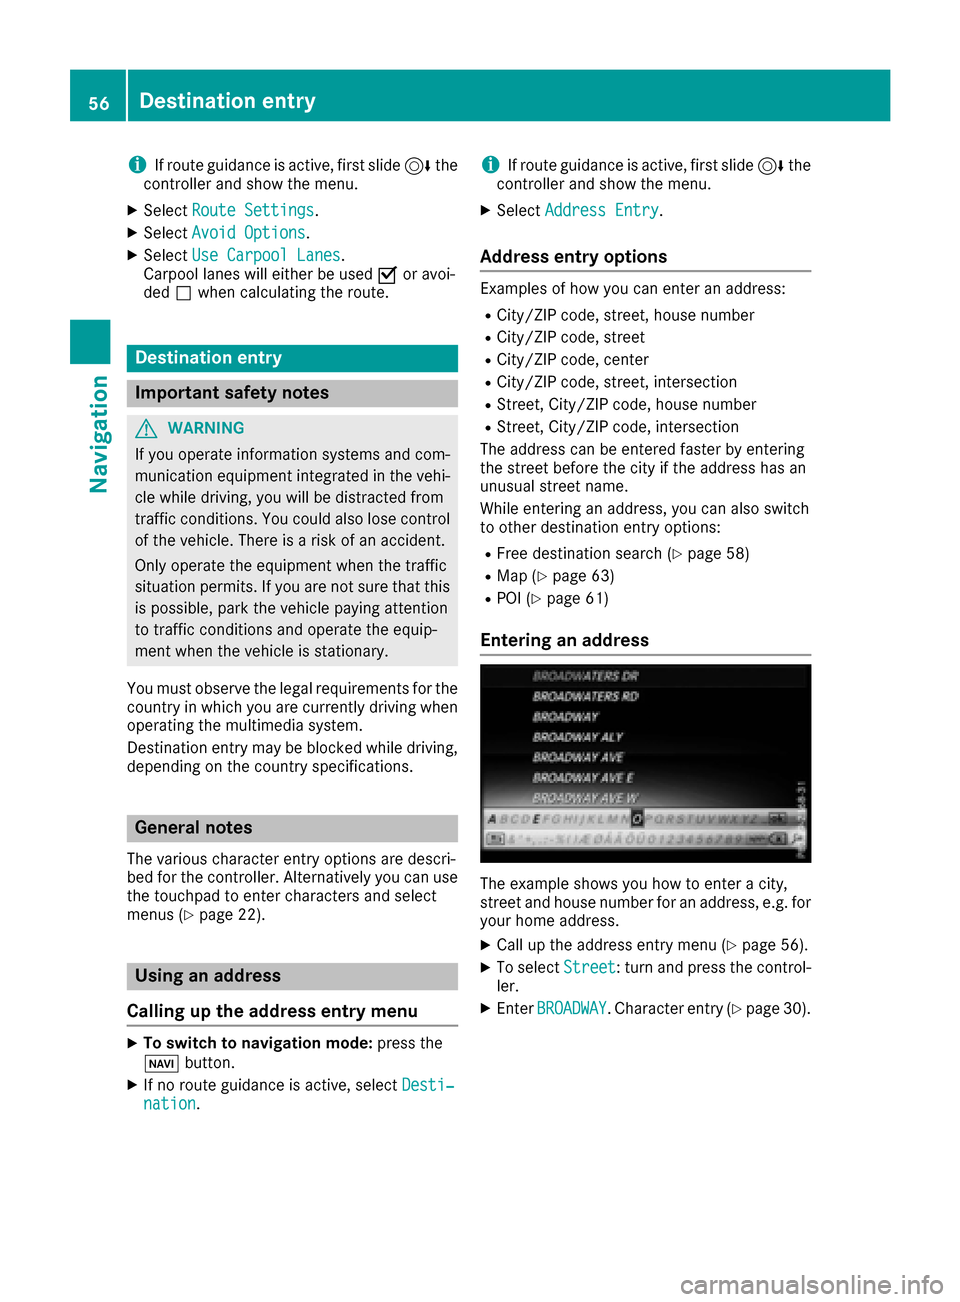
The example shows you how to enter a city,
street and house number for an address, e.g. for
your home address.
XCall up the address entry menu (Ypage 56).
XTo select Street: turn and press the control-
ler.
XEnter BROADWAY. Character entry (Ypage 30).
56Destination entry
Navigation
Page 59 of 178
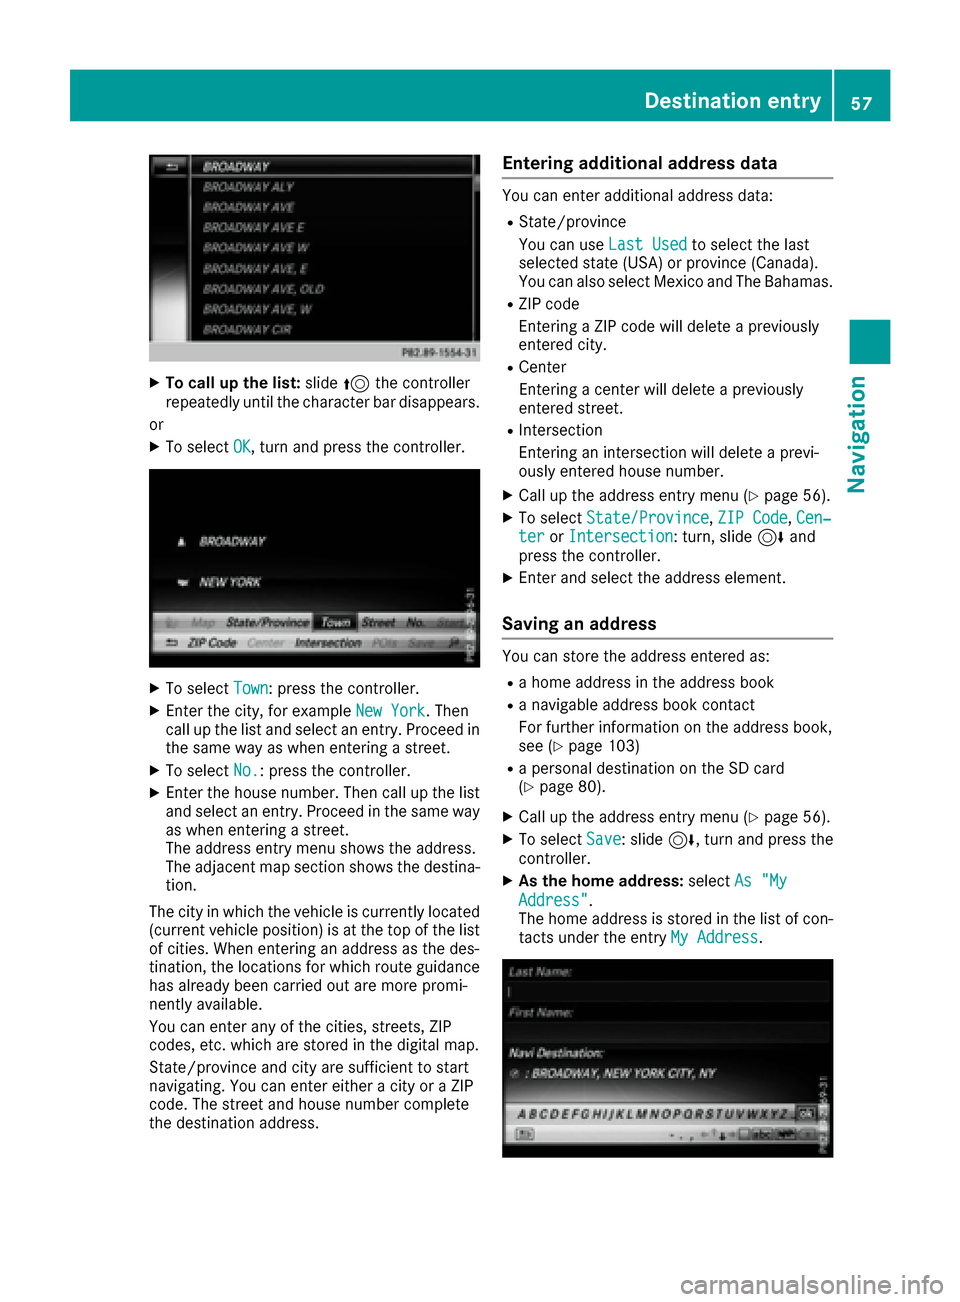
XTo call up the list:slide5the controller
repeatedly until the character bar disappears.
or
XTo select OK, turn and press the controller.
XTo selectTown: press the controller.
XEnter the city, for example New York. Then
call up the list and select an entry. Proceed in
the same way as when entering a street.
XTo select No.: press the controller.
XEnter the house number. Then call up the list
and select an entry. Proceed in the same way
as when entering a street.
The address entry menu shows the address.
The adjacent map section shows the destina-
tion.
The city in which the vehicle is currently located
(current vehicle position) is at the top of the list
of cities. When entering an address as the des-
tination, the locations for which route guidance
has already been carried out are more promi-
nently available.
You can enter any of the cities, streets, ZIP
codes, etc. which are stored in the digital map.
State/province and city are sufficient to start
navigating. You can enter either a city or a ZIP
code. The street and house number complete
the destination address.
Entering additional address data
You can enter additional address data:
RState/province
You can use Last Used
to select the last
selected state (USA) or province (Canada).
You can also select Mexico and The Bahamas.
RZIP code
Entering a ZIP code will delete a previously
entered city.
RCenter
Entering a center will delete a previously
entered street.
RIntersection
Entering an intersection will delete a previ-
ously entered house number.
XCall up the address entry menu (Ypage 56).
XTo select State/Province,ZIP Code,Cen‐teror Intersection: turn, slide 6and
press the controller.
XEnter and select the address element.
Saving an address
You can store the address entered as:
Ra home address in the address book
Ra navigable address book contact
For further information on the address book,
see (
Ypage 103)
Ra personal destination on the SD card
(Ypage 80).
XCall up the address entry menu (Ypage 56).
XTo select Save: slide6, turn and press the
controller.
XAs the home address: selectAs "My
Address".
The home address is stored in the list of con-
tacts under the entry My Address
.
Destination entry57
Navigation
Z
Page 60 of 178
XAsa contact: selectAs New Contact.
XSelect Not Classified,Homeor Work.
XEnter a surname and first name (Ypage 29).
XTo select OK: turn and press the controller.
The destination address issaved inthe
address book as a nav igablecontact.
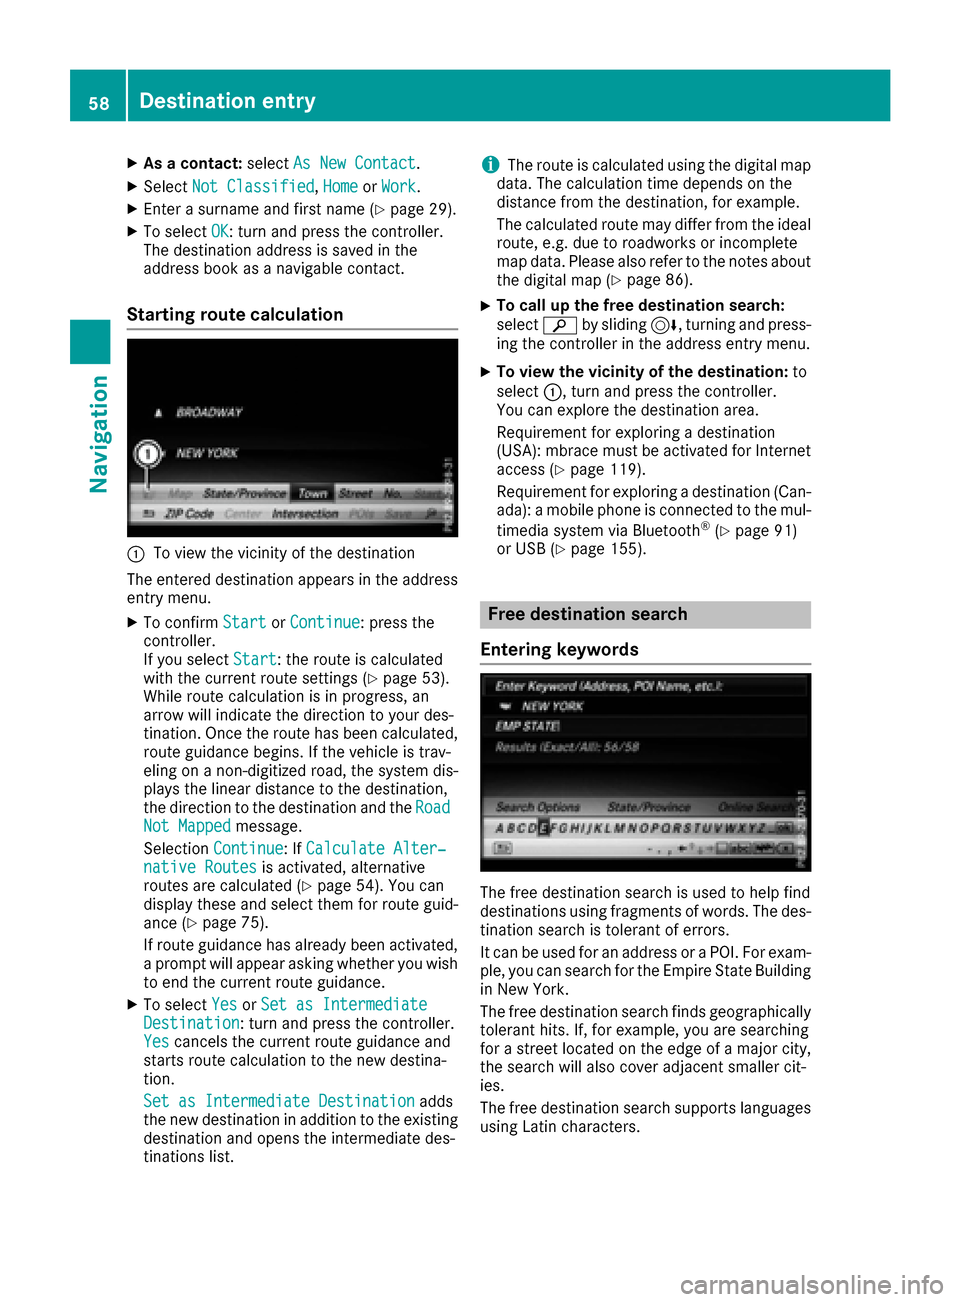
Starting route calculation
:To view the vicinity of the destination
The entered destination appears inthe address
entry menu.
XTo confirm StartorContinue: press the
controller.
If you select Start
: the route iscalculated
wit h the current route settings (Ypage 53).
While route calculation is inprogress, an
arrow willindicate the direction to your des-
tination. Once the route has been calculate d,
route guidance begins. Ifthe veh icle istrav-
elin g on a non- digitized road, the system dis-
plays the linear distance to the destination,
the dire ction to the destination and the Road
Not Mappedmessage.
Selection Continue
:If Calculate Alter‐native Routesis activated, alternative
routes are calculated (Ypage 54). You can
displ ay these and select them for route guid-
ance (
Ypage 75).
If route guidance has already been activated,
a prompt willappear asking whether you wish
to end the current route guidance.
XTo select YesorSet as IntermediateDestination: turn and press the controller.
Yescancels the current route guidance and
starts route calculation to the new destina-
tion.
Set as Intermediate Destination
adds
the new destination in addition to the existing
destination and opens the intermediate des-
tinations list.
iThe route is calculated using the digital map
data. The calculation time depends on the
distance from the destination, for example.
The calculated route may differ from the ideal
route, e.g. due to roadworks or incomplete
map data. Please also refer to the notes about the digital map (
Ypage 86).
XTo call up the free destination search:
select èby sliding 6, turning and press-
ing the controller inthe address entry menu.
XTo view the vicinity of the destinat ion:to
select :, turn and press the controller.
You can explore the destination area.
Requirement for exploring a destination
(USA): mbrace must beactivated for Internet
access (
Ypage 119).
Requirement for exploring a destination (Can-
ada): a mobile phone is connected to the mul-
tim edia system via Bluetooth
®(Ypage 91)
or USB (Ypage 155).
Free destination search
Entering keywords
The free destination search isused to help find
destinations using fragments of words. The des-
tination search istolerant of errors.
It can be used for an address or a POI. For exam-
ple, you can search for the Empire State Building
in New York.
The free destination search fin dsgeographically
tolerant hits. If, for example, you are searching
for a street located on the edge of a major city, the search will also cover adjacent smaller cit-
ies.
The free destination search supports languages
using Latin characters.
58Destination entry
Navigation
Page 61 of 178
XTo switch to navigation mode:press the
Ø button.
XIf no route guidance is active, select Desti‐nation.
iIf route guidance is active, first slide6the
controller and show the menu.
XSelect Free Destination Search.
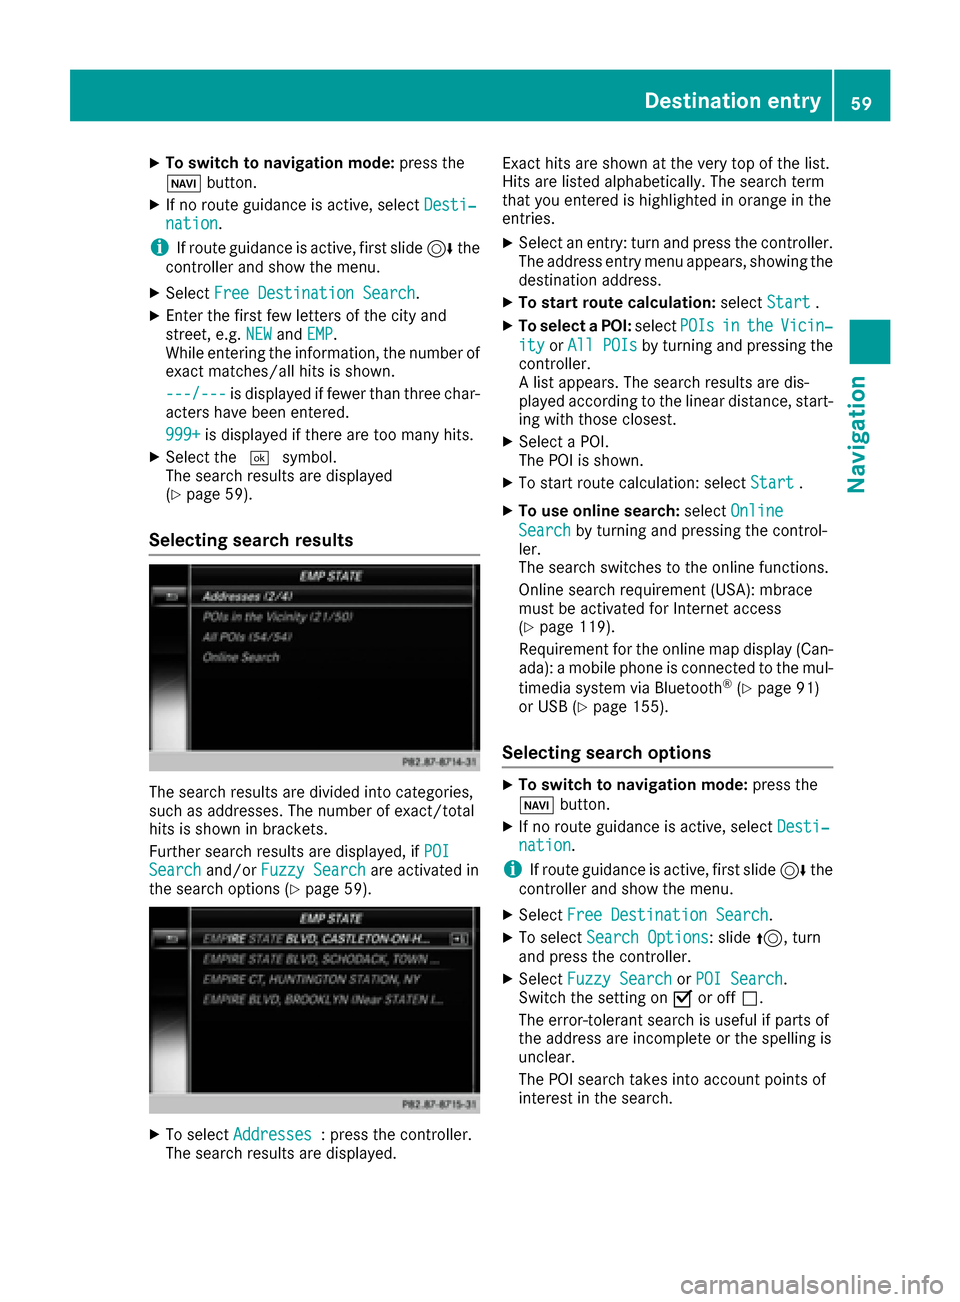
XEnter the first few letters of the city and
street, e.g. NEWandEMP.
While entering the information, the number of
exact matches/all hits is shown.
---/---
is displayed if fewer than three char-
acters have been entered.
999+
is displayed if there are too many hits.
XSelect the ¬symbol.
The search results are displayed
(
Ypage 59).
Selecting search results
The search results are divided into categories,
such as addresses. The number of exact/total
hits is shown in brackets.
Further search results are displayed, if POI
Searchand/orFuzzy Searchare activated in
the search options (Ypage 59).
XTo select Addresses: press the controller.
The search results are displayed. Exact hits are shown at the very top of the list.
Hits are listed alphabetically. The search term
that you entered is highlighted in orange in the
entries.
XSelect an entry: turn and press the controller.
The address entry menu appears, showing the
destination address.
XTo start route calculation:
selectStart.
XTo select a POI: selectPOIsintheVicin‐
ityorAll POIsby turning and pressing the
controller.
A list appears. The search results are dis-
played according to the linear distance, start-
ing with those closest.
XSelect a POI.
The POI is shown.
XTo start route calculation: select Start.
XTo use online search:selectOnline
Searchby turning and pressing the control-
ler.
The search switches to the online functions.
Online search requirement (USA): mbrace
must be activated for Internet access
(
Ypage 119).
Requirement for the online map display (Can-
ada): a mobile phone is connected to the mul-
timedia system via Bluetooth
®(Ypage 91)
or USB (Ypage 155).
Selecting search options
XTo switch to navigation mode: press the
Ø button.
XIf no route guidance is active, select Desti‐nation.
iIf route guidance is active, first slide6the
controller and show the menu.
XSelect Free Destination Search.
XTo select Search Options: slide5, turn
and press the controller.
XSelect Fuzzy SearchorPOI Search.
Switch the setting on Oor off ª.
The error-tolerant search is useful if parts of
the address are incomplete or the spelling is
unclear.
The POI search takes into account points of
interest in the search.
Destination entry59
Navigation
Z
Page 62 of 178
Selecting a state/province
XTo switch to navigation mode:press the
Ø button.
XIf no route guidance is active, select Desti‐nation.
iIf route guidance is active, first slide6the
controller and show the menu.
XSelect Free Destination Search.
XTo select State/Province: slide5, turn
and press the controller.
States/provinces are sorted alphabetically.
XTo select a state/province: turn and press the
controller.
Using online search
Requirement (USA): mbrace must be activated
for Internet access (Ypage 119).
Requirement (Canada): a mobile phone is con-
nected to the multimedia system via Bluetooth
®
(Ypage 91) or USB (Ypage 155).
XTo switch to navigation mode: press the
Ø button.
XIf no route guidance is active, select Desti‐nation.
iIf route guidance is active, first slide6the
controller and show the menu.
XSelect Free Destination Search.
XTo select OnlineSearch: slide5, turn and
press the controller.
The search switches to the online functions.
Online search
XTo switch to navigation mode: press the
Ø button.
XIf no route guidance is active, select Desti‐nation.
iIf route guidance is active, first slide6the
controller and show the menu.
XSelect Online Search.
The search switches to the online functions.
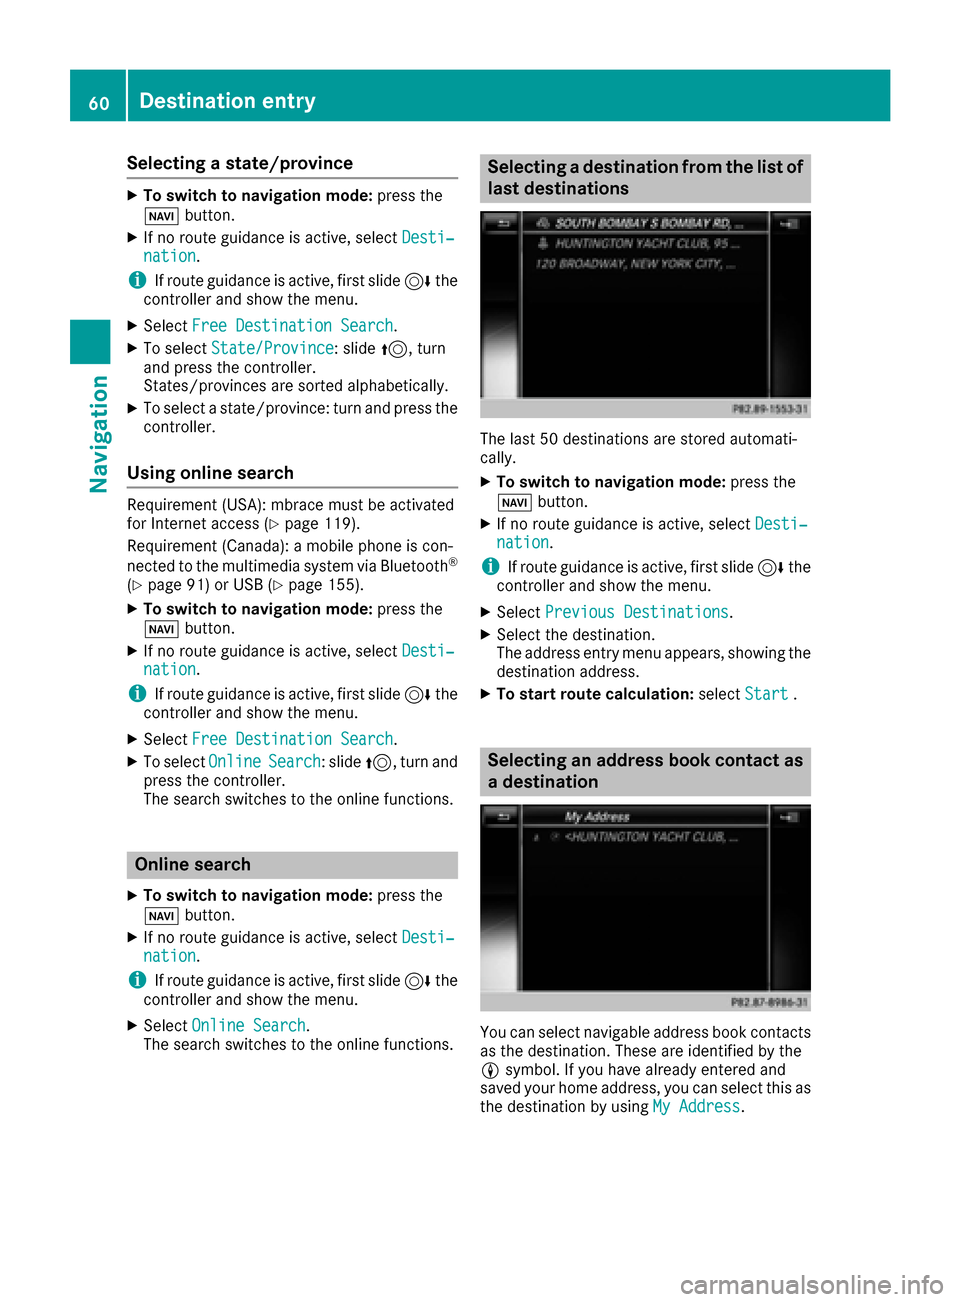
Selecting a destination from the list of
last destinations
The last 50 destinations are stored automati-
cally.
XTo switch to navigation mode: press the
Ø button.
XIf no route guidance is active, select Desti‐nation.
iIf route guidance is active, first slide6the
controller and show the menu.
XSelect Previous Destinations.
XSelect the destination.
The address entry menu appears, showing the
destination address.
XTo start route calculation: selectStart.
Selecting an address book contact as
a destination
You can select navigable address book contacts
as the destination. These are identified by the
Lsymbol. If you have already entered and
saved your home address, you can select this as
the destination by using My Address
.
60Destination entry
Navigation