2017 MERCEDES-BENZ C-Class USB
[x] Cancel search: USBPage 148 of 178

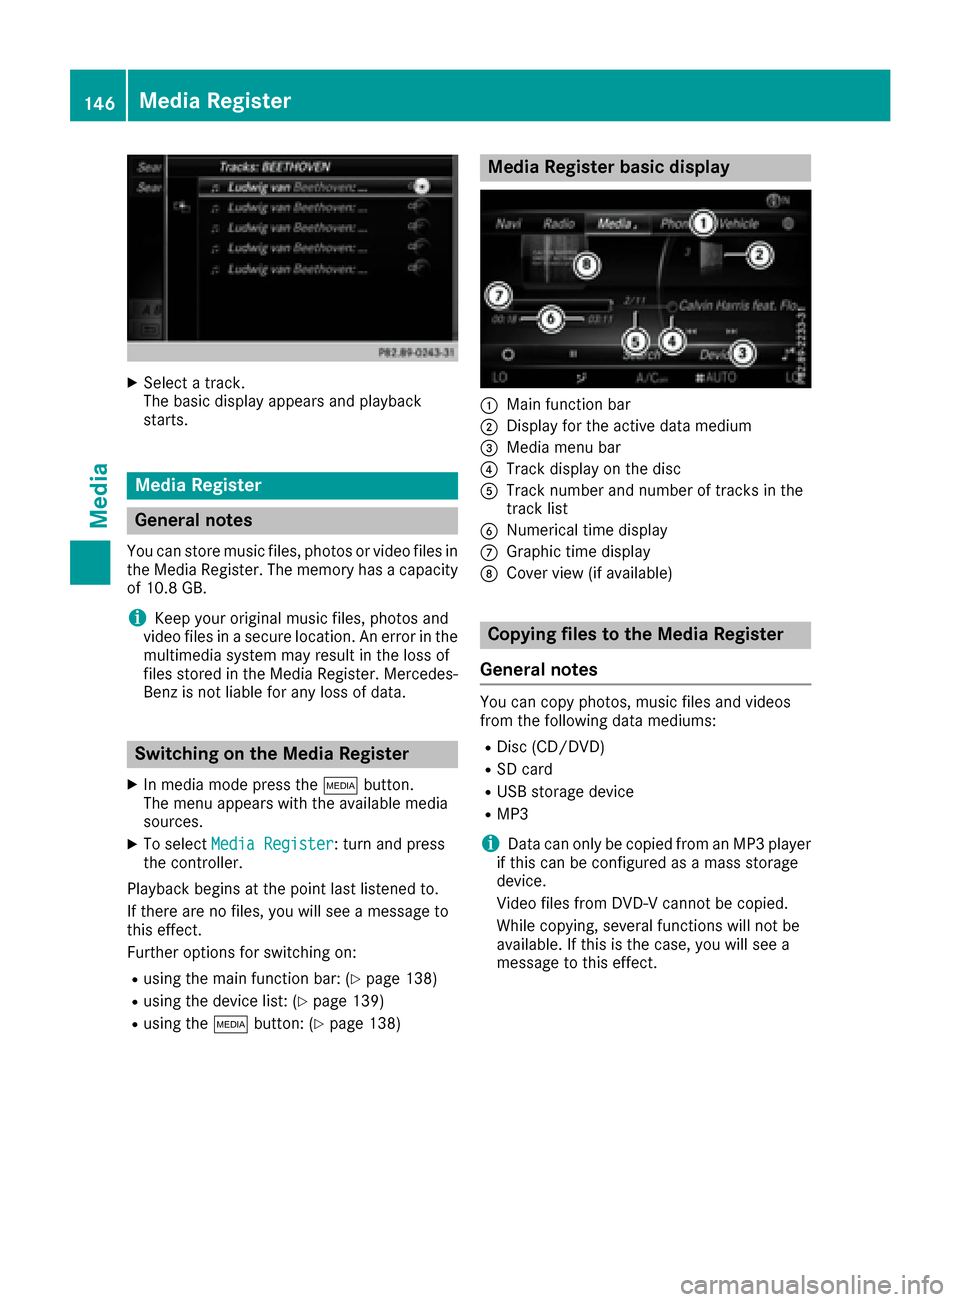
XSelect a track.
The basic display appears and playback
starts.
Media Register
General notes
You can store music files, photos or video files inthe Media Register. The memory has a capacity
of 10.8 GB.
iKeep your original music files, photos and
video files in a secure location. An error in the multimedia system may result in the loss of
files stored in the Media Register. Mercedes-
Benz is not liable for any loss of data.
Switching on the Media Register
XIn media mode press the Õbutton.
The menu appears with the available media
sources.
XTo select Media Register: turn and press
the controller.
Playback begins at the point last listened to.
If there are no files, you will see a message to
this effect.
Further options for switching on:
Rusing the main function bar: (Ypage 138)
Rusing the device list: (Ypage 139)
Rusing the Õbutton: (Ypage 138)
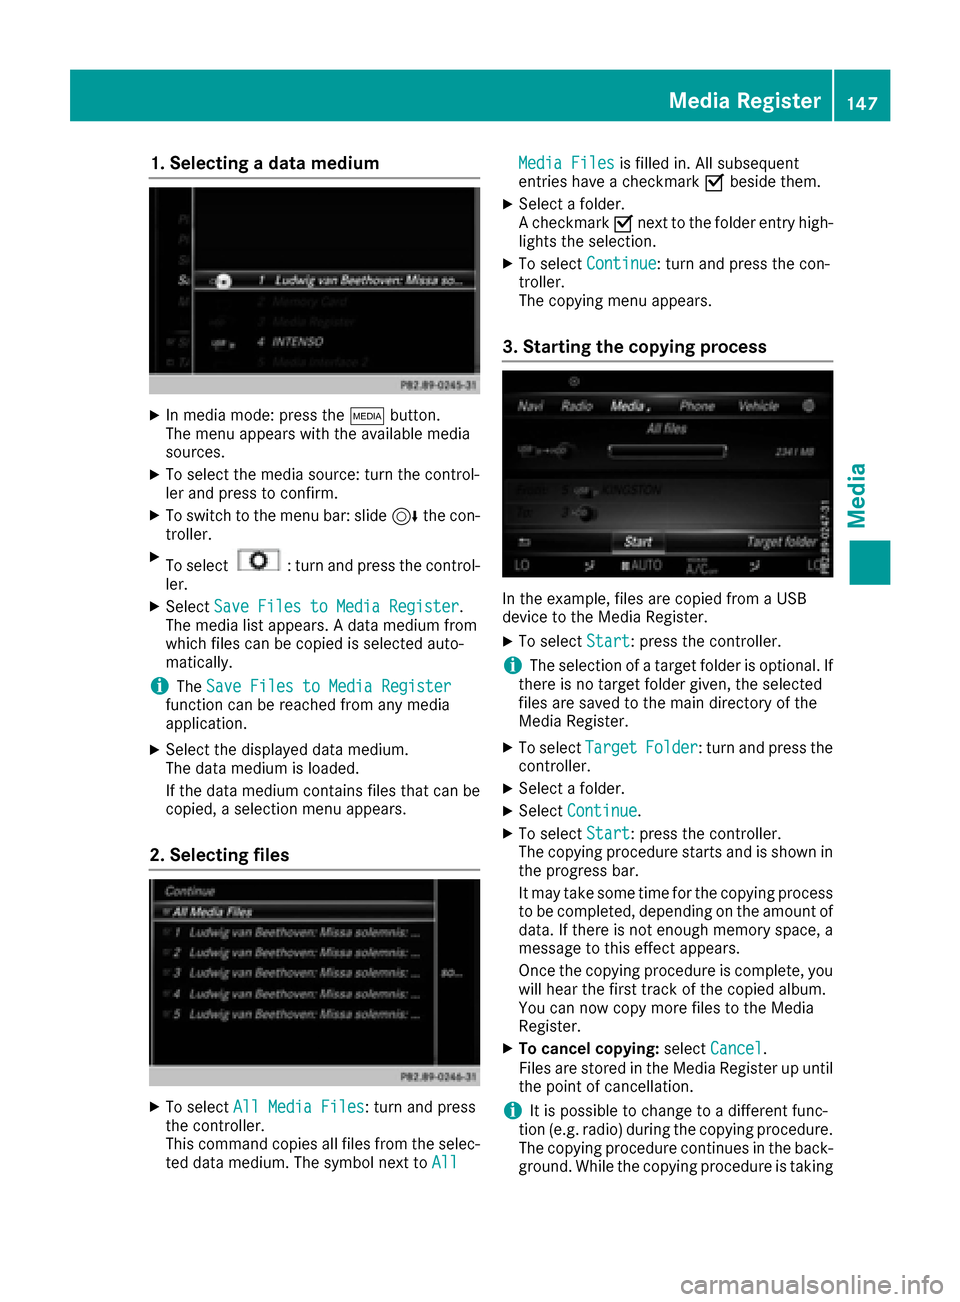
Media Register basic display
:Main function bar
;Display for the active data medium
=Media menu bar
?Track display on the disc
ATrack number and number of tracks in the
track list
BNumerical time display
CGraphic time display
DCover view (if available)
Copying files to the Media Register
General notes
You can copy photos, music files and videos
from the following data mediums:
RDisc (CD/DVD)
RSD card
RUSB storage device
RMP3
iData can only be copied from an MP3 player
if this can be configured as a mass storage
device.
Video files from DVD-V cannot be copied.
While copying, several functions will not be
available. If this is the case, you will see a
message to this effect.
146Media Register
Media
Page 149 of 178

1. Selecting a data medium
XIn media mode: press theÕbutton.
The menu appears with the available media
sources.
XTo select the media source: turn the control-
ler and press to confirm.
XTo switch to the menu bar: slide 6the con-
troller.
XTo select: turn and press the control-
ler.
XSelect Save Files to Media Register.
The media list appears. A data medium from
which files can be copied is selected auto-
matically.
iThe Save Files to Media Registerfunction can be reached from any media
application.
XSelect the displayed data medium.
The data medium is loaded.
If the data medium contains files that can be
copied, a selection menu appears.
2. Selecting files
XTo select All Media Files: turn and press
the controller.
This command copies all files from the selec-
ted data medium. The symbol next to All
Media Filesis filled in. All subsequent
entries have a checkmark Obeside them.
XSelect a folder.
A checkmark Onext to the folder entry high-
lights the selection.
XTo select Continue: turn and press the con-
troller.
The copying menu appears.
3. Starting the copying process
In the example, files are copied from a USB
device to the Media Register.
XTo select Start: press the controller.
iThe selection of a target folder is optional. If
there is no target folder given, the selected
files are saved to the main directory of the
Media Register.
XTo select TargetFolder: turn and press the
controller.
XSelect a folder.
XSelect Continue.
XTo select Start: press the controller.
The copying procedure starts and is shown in
the progress bar.
It may take some time for the copying process
to be completed, depending on the amount of
data. If there is not enough memory space, a
message to this effect appears.
Once the copying procedure is complete, you
will hear the first track of the copied album.
You can now copy more files to the Media
Register.
XTo cancel copying: selectCancel.
Files are stored in the Media Register up until
the point of cancellation.
iIt is possible to change to a different func-
tion (e.g. radio) during the copying procedure.
The copying procedure continues in the back-
ground. While the copying procedure is taking
Media Register147
Media
Z
Page 156 of 178

This is available as an optional function start-
ing with AVRCP Version 1.3.
Selecting playback options
If the Bluetooth®audio device supports the cor-
responding function, the following options are
available:
RNormal Track Sequence: the tracks are
played in the normal order (e.g. track 1, 2, 3
etc.).
Audio data playback is determined by the
order in which the tracks are written to the
data medium. Alphabetical order is the most
common. Once all the tracks in a folder have
been played, the tracks in the next folder are
played.
RRandomTrackList: the current track list is
played in random order (e.g. 3, 8, 5 etc.).
RRandom Medium: all tracks on the data
medium are played in random order (e.g.
track 3, 8, 5 etc.).
Playback options are optional functions and
are not, or only partially, supported by Blue-
tooth
®audio devices.
Selecting playback options
XSlide 6the controller.
XTo select: turn and press the control-
ler.
XSelect Playback Mode.
A # dot indicates the current setting.
XSelect the desired option.
If you select Random Track List, a corre-
sponding message appears in the display or
selection window.
Search function
Selecting Search using media menu bar
XSlide 6the controller.
The media menu bar is shown.
XTo select Search: turn and press the control-
ler.
The category list appears.
XTo select the desired category: turn and press
the controller.
Increasing the volume in the multime-
dia system
XSlide 6the controller.
XTo select: turn and press the control-
ler.
XTo select Volume: turn and press the control-
ler.
A menu appears. The #dot indicates the cur-
rent setting.
XSelect StandardorBoost.
iIf play back on the Bluetooth®audio player
is too quiet, the Boostfunction may be used.
It is recommended however, that you
increase the volume on the Bluetooth
®audio
player directly.
Operation with the Media Interface
General notes
Media Interface is a universal interface for the
connection of mobile audio and video devices.
Media Interface in the multimedia system has
two USB connections.
The USB connection sockets are located in the
stowage compartment under the armrest
(
Ypage 138).
Media Interface basic display
:Main function bar
;Display for the active data medium
=Media menu bar
?Track display on the disc
ATrack number and number of tracks in the
track list
BNumerical time display
154Operation with the Media Interface
Media
Page 157 of 178

CGraphic time display
DCover view (if available)
Switching to Media Interface
XConnect the data medium to USB port 1 or
USB port 2 (Ypage 142).
XSelect the basic menu for Media Interface 1 or
Media Interface 2 (Ypage 139).
If playable media files are found, they will be
played by the multimedia system.
If you remove a device, the No Device Con‐
nectedmessage appears.
Supported devices
The following data media can be connected to
the multimedia system via Media Interface:
RiPod®
RiPhone®
RiPad®
RMP3 player
RUSB devices
iiPod®, iPhone®and iPad®are registered
trademarks of Apple Inc., Cupertino, Califor-
nia, USA.
For details and a list of supported devices, visit
http://www.mercedes-benz.com/connect .
Then follow the instructions in the "Media Inter-
face" section.
Or call the Mercedes-Benz Customer Assistance
Center at 1-800-FOR-MERCedes
(1-800-367-6372) (for the USA) or Customer
Relations at 1-800-387-0100 (for Canada).
Supported data formats
Musicmp3, wma, aac
Videompeg, wmv, mov, avi,
mp4
Imagesjpg, jpeg, bmp, png
iVideo files from Apple®devices cannot be
played.
Selecting a music file
Selecting with the controller
XTo display the current track list: press the
controller in the basic display.
XSelect Current Tracklist.
The track list for the active data medium
appears.
XTo select a track: turn the controller and press
to confirm.
XTo skip forwards or backwards to a track:
turn the controller in the basic display.
The selected track is played.
Fast forward/rewind
XWith the media source active in the basic dis- play, slide 8or9 the controller and
hold it until the desired position has been
reached.
Search function
Selecting Search using media menu bar
XIn media mode, slide 6the controller.
The media menu bar is shown.
XTo select Search: turn and press the control-
ler.
The category list appears.
Overview
The following categories are listed:
RCurrent Tracklist
RFolder
RSelect By Cover
RKeyword Search
RPlaylists
RArtists
RAlbums
RTrack
RGenres
RYear
RComposers
RVideos
RPhotos
Operation with the Media Interface155
Media
Z
Page 163 of 178

It may also be possible to select the scene and
chapter from the functions stored on the DVD.
XTo skip forwards or back:in the video menu,
turn the controller.
The next or previous scene in the film is skip-
ped to.
iThe DVD functions can also be used to make
selections (Ypage 159).
Picture viewer
General notes
If there are pictures on the active data medium,
you can view them on the multimedia system.
The following data media and picture formats
are supported:
RData media: Media Register, CD, DVD, USB
devices, SD cards
RPicture formats: jpeg, jpg, bmp, png
The maximum image resolution is 20 megapix-
els
It is not possible to view a picture from the driv-
er's side while the vehicle is in motion.
Displaying pictures
XIn media mode, slide 6the controller.
The media menu bar is shown.
XTo select Search: turn and press the control-
ler.
The category list appears.
XTo select Photos: turn and press the control-
ler.
A directory list appears. Folders and picture
files can be shown.
XSelect a folder or picture.
If there is no picture on the data medium, an
empty list is shown.
Searching for pictures on other data media
XYou can search for pictures on other data
media.
In the directory list, slide 8the controller.
The device list appears.
XTo select a data medium with picture files:
turn the controller and press to confirm.
A directory list appears. Folders and picture
files can be shown.
XSelect a folder or picture.
Starting a slide show
XWhile viewing a picture, press the controller.
The image menu appears.
XTo select Start Slideshow: turn and press
the controller.
The slide show starts.
XTo end the slide show: press the controller.
The image menu appears.
XSelect End Slide Show.
Changing the picture view
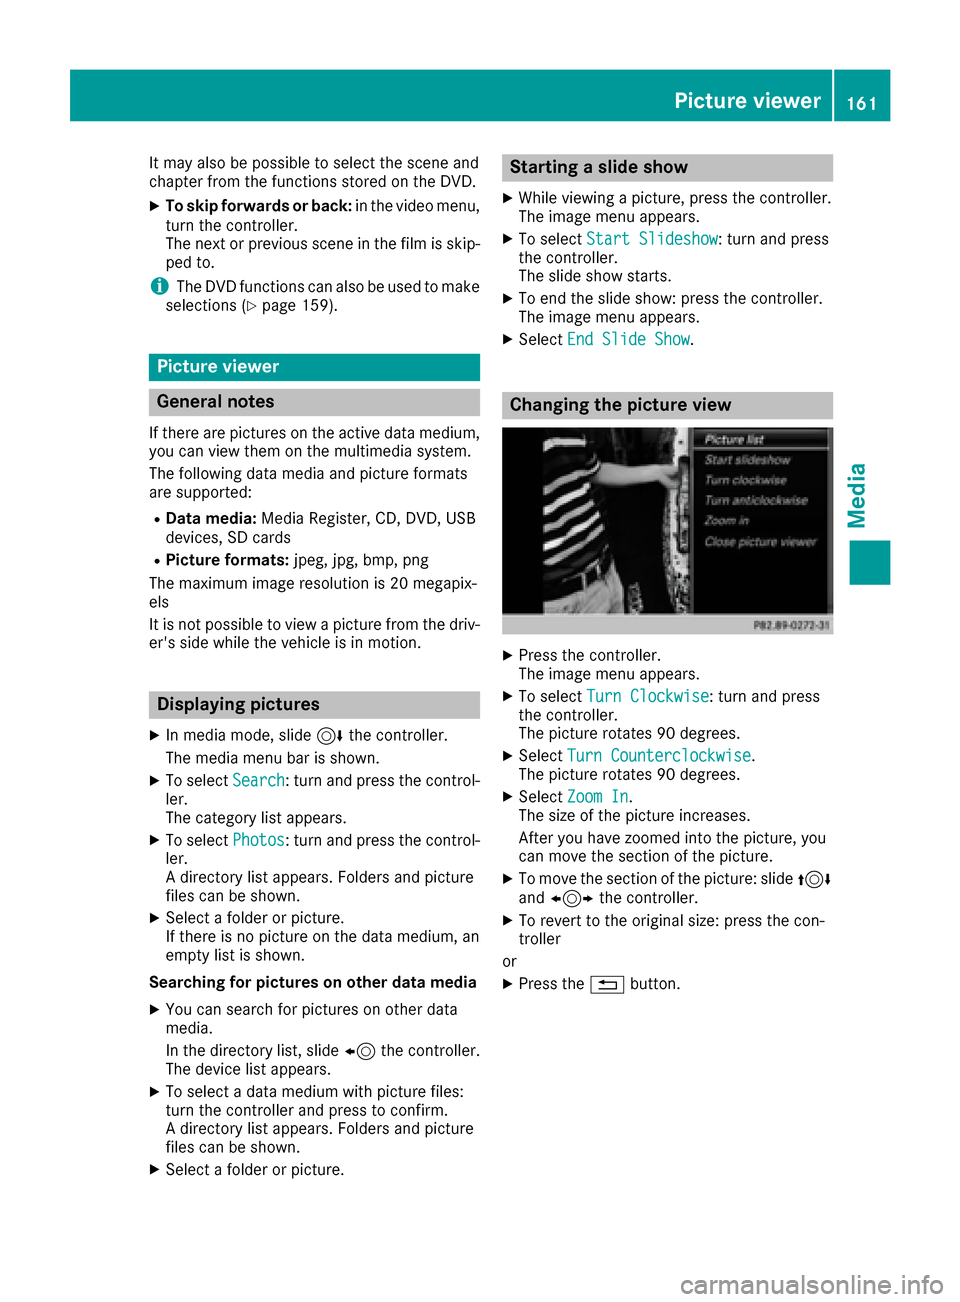
XPress the controller.
The image menu appears.
XTo select Turn Clockwise: turn and press
the controller.
The picture rotates 90 degrees.
XSelect Turn Counterclockwise.
The picture rotates 90 degrees.
XSelect Zoom In.
The size of the picture increases.
After you have zoomed into the picture, you
can move the section of the picture.
XTo move the section of the picture: slide 4
and 1 the controller.
XTo revert to the original size: press the con-
troller
or
XPress the %button.
Picture viewer161
Media
Z