Page 245 of 564

Lincoln Drive Control consists of the
following systems:
•
Continuously controlled damping
dynamically adjusts the shock absorbers
stiffness in real time to match the road
surface and driver inputs. This system
continuously monitors your vehicle ’s
motion (roll, pitch, bounce), suspension
position, load, speed, road conditions,
and steering to adjust the suspension
damping for optimal vehicle control.
• Electronically power-assisted steering
adjusts steering effort and feel based on
your vehicle speed and your inputs.
• Active noise control utilizes your vehicle
electronics to enhance the acoustic
experience.
• Electronic stability control and traction
control maintain your vehicle control in
adverse conditions or high performance
driving.
• Electronic throttle control enhances the
powertrain response to your inputs. Using Lincoln Drive Control
You can configure which of the Drive Control
modes are active when your vehicle is in
drive (D) or in sport (S). The configuration
remains active until modified from the main
menu on the information display.
These systems have a range of modes which
you can choose from in order to customize
your ideal driving experience:
•
Comfort – Provides a more relaxed
driving experience, maximizing comfort.
Your steering effort decreases and the
suspension movement is more fluid.
Comfort mode is ideal when you desire
enhanced traveling comfort.
• Normal – Delivers a balanced
combination of comfortable, controlled
ride and confident handling. This mode
provides an engaging drive experience
and a direct connection to the road
without sacrificing any of the composure
demanded from a luxury vehicle.
• Sport – Provides a sportier driving
experience. The suspension stiffens, with
an emphasis on handling and control.
The engine responds more directly to
your inputs and takes on a more powerful
tone. Sport mode is ideal for use during
more spirited driving.
You can change your vehicle's Drive Control
settings from the menu on the display
screen. See General Information (page 108).
242
MKZ (CC9) Canada/United States of America, enUSA, First Printing Driving Aids
Page 246 of 564
Note:
Not all settings may be available.
Note: Lincoln Drive Control has diagnostic
checks that continuously monitor the system
to ensure proper operation. Certain types of
system errors will gray out the mode
selections within the information display,
preventing you from changing states when
the gear position is changed. Other types of
errors produce a temporary message in the
information display. See Information
Messages (page 114). If either condition
persists for multiple key cycles, have your
vehicle checked by an authorized dealer.
243
MKZ (CC9) Canada/United States of America, enUSA, First Printing Driving Aids
Page 258 of 564

Vehicles Equipped with a 3.0L Engine
You can tow your vehicle with all four wheels
on the ground using the Neutral Tow feature,
or with all four wheels off the ground using
a vehicle transport trailer. If you are using a
vehicle transport trailer, follow the instruction
specified by the equipment provider.
If you tow your vehicle with all four wheels
on the ground:
•
Tow only in the forward direction.
• Release the parking brake.
Neutral Tow
Enter Neutral Tow mode by doing the
following:
1. Put the ignition in accessory mode by pressing the engine START button
without pressing the brake pedal.
2. Select the neutral tow option under the vehicle settings menu in the information
display. See General Information (page
108).
3. Press and hold the OK button to start the
neutral tow process. 4. Press the brake pedal and select
N on
the push-button transmission.
5. Turn the ignition off by pressing the engine START button without pressing
the brake pedal.
If the process completes successfully:
• the
N on the push-button transmission
blinks slowly
• A confirmation message appears in the
information display.
Note: If the parking brake is applied, a
message appears in the information display.
Note: Do not exceed 65 mph (105 km/h).
Note: Start the engine and allow it to run for
five minutes at the beginning of each day
and every six hours (or fewer). Shut the
engine off and verify that a message
appears indicating neutral tow has been
engaged, before continuing to tow.
Exit Neutral Tow mode, make sure the
ignition is on (engine can be on or off ), press
the brake pedal and select
P on the
push-button transmission. If the process is completed successfully, a
message appears indicating that neutral tow
has disengaged in both the instrument
cluster and push-button transmission display
P
.
255
MKZ (CC9) Canada/United States of America, enUSA, First Printing Towing
Page 281 of 564
Protected components
Fuse amp rating
Fuse or relay number
Non-emissions components.
Not used.
-
13
Not used.
-
14
Run-start relay.
-
15
Power point 2 - console.
20A 3
16
Not used.
-
17
Right hand side headlamp ballast.
20A 1
18
Run-start electronic power assist steering.
10A 1
19
Run-start lighting.
10A 1
20
Adaptive cruise control.
Run-start transmission control.
15A 1
21
Transmission oil pump start-stop.
Air conditioner clutch solenoid.
10A 1
22
Run-start: Blind spot information system, Rear view camera,
All-wheel drive (3.0L engine), Heads-up display, shifter.
15A 1
23
Voltage stability module.
278
MKZ (CC9) Canada/United States of America, enUSA, First Printing Fuses
Page 294 of 564
Protected components
Fuse amp rating
Fuse or relay number
Voice control.
10A 1
32
Radio frequency receiver.
Display.
Radio.
20A 1
33
Active noise control.
CD changer.
Run-start bus (fuse #19, 20, 21, 22, 35, 36, 37, circuit breaker).
30A 1
34
Not used (spare).
5A 1
35
Continuous control damping suspension module.
15A 1
36
Auto dimming rear view mirror.
Rear heated seats.
Heated steering wheel.
20A 1
37
Not used (spare).
30A
38
1 Micro fuse.
2 Dual micro fuse.
291
MKZ (CC9) Canada/United States of America, enUSA, First Printing Fuses
Page 299 of 564
2.
Go to the front of the vehicle and find the
secondary release lever, which is located
under the front of the hood, near the
Lincoln badge.
3. Release the hood latch by pushing the secondary release lever to your left,
toward the passenger side of the vehicle. 4. Raise the hood. A gas strut will support
the hood.
5. To close the hood, lower the hood and apply closing force to the hood as it
drops the last 8 to 11 inches (20 to 30
centimeters). Note:
Make sure that the hood is closed fully
before operating your vehicle. A warning
indicator will appear in the information
display if not closed properly.
296
MKZ (CC9) Canada/United States of America, enUSA, First Printing Maintenance
Page 305 of 564

Note:
The oil consumption of new engines
reaches its normal level after approximately
3,100 mi (5,000 km).
Adding Engine Oil WARNING
Do not remove the filler cap when the
engine is running.
Do not use supplemental engine oil additives
because they are unnecessary and could
lead to engine damage that may not be
covered by the vehicle Warranty. Only use oils certified for gasoline engines
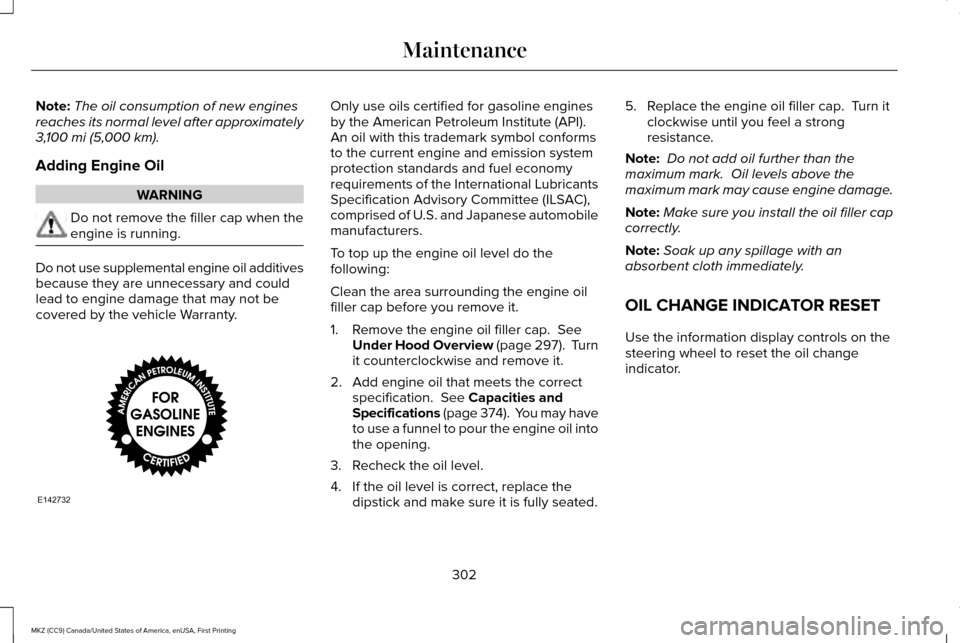
by the American Petroleum Institute (API).
An oil with this trademark symbol conforms
to the current engine and emission system
protection standards and fuel economy
requirements of the International Lubricants
Specification Advisory Committee (ILSAC),
comprised of U.S. and Japanese automobile
manufacturers.
To top up the engine oil level do the
following:
Clean the area surrounding the engine oil
filler cap before you remove it.
1. Remove the engine oil filler cap.
See
Under Hood Overview (page 297). Turn
it counterclockwise and remove it.
2. Add engine oil that meets the correct specification.
See Capacities and
Specifications (page 374). You may have
to use a funnel to pour the engine oil into
the opening.
3. Recheck the oil level.
4. If the oil level is correct, replace the dipstick and make sure it is fully seated. 5. Replace the engine oil filler cap. Turn it
clockwise until you feel a strong
resistance.
Note: Do not add oil further than the
maximum mark. Oil levels above the
maximum mark may cause engine damage.
Note: Make sure you install the oil filler cap
correctly.
Note: Soak up any spillage with an
absorbent cloth immediately.
OIL CHANGE INDICATOR RESET
Use the information display controls on the
steering wheel to reset the oil change
indicator.
302
MKZ (CC9) Canada/United States of America, enUSA, First Printing MaintenanceE142732
Page 306 of 564

From the main menu scroll to:
Action and description
Message
Press the right arrow button,
then from this menu scroll to
the following message.
Settings
Press the right arrow button,
then from this menu scroll to
the following message.
Vehicle
Press the right arrow button,
then from this menu scroll to
the following message.
Oil Life
Press and hold the OK button
until the instrument cluster
displays the following
message.
Hold OK to
Reset
Reset Successful
When the oil change indicator
resets the instrument cluster
displays 100%.
Remaining Life
{00}% Action and description
Message
If the instrument cluster
displays one of the following
messages, repeat the
process.
Not Reset
Reset Cancelled
ENGINE COOLANT CHECK WARNINGS
Do not add engine coolant when the
engine is hot. Steam and scalding
liquids released from a hot cooling system
can burn you badly. Also, spilling coolant on
hot engine parts can burn you. Do not put engine coolant in the
windshield washer fluid container. If
sprayed on the windshield, engine coolant
could make it difficult to see through the
windshield. WARNINGS
To reduce the risk of personal injury,
make sure the engine is cool before
unscrewing the coolant pressure relief cap.
The cooling system is under pressure. Steam
and hot liquid can come out forcefully when
you loosen the cap slightly. Do not add coolant further than the
MAX mark.
When the engine is cold, check the
concentration and level of the coolant at the
intervals listed in the scheduled maintenance
information.
See Scheduled Maintenance
(page 495).
Note: Make sure that the coolant level is
between the
MIN and MAX marks on the
coolant reservoir.
Note: Coolant expands when it is hot. The
level may extend beyond the
MAX mark.
303
MKZ (CC9) Canada/United States of America, enUSA, First Printing Maintenance