2017 LINCOLN MKC ECO mode
[x] Cancel search: ECO modePage 259 of 538

WARNING
Do not connect the end of the second
cable to the negative (-) terminal of the
battery to be jumped. A spark may cause an
explosion of the gases that surround the
battery. Jump Starting
1. Start the engine of the booster vehicle
and rev the engine moderately, or press
the accelerator gently to keep your
engine speed between 2000 and 3000
rpms, as shown in your tachometer.
2. Start the engine of the disabled vehicle.
3. After starting the disabled vehicle, run both vehicle engines for an additional
three minutes before disconnecting the
jumper cables.
Removing the Jumper Cables
Remove the jumper cables in the reverse
order that they were connected. 1. Remove the jumper cable from the
ground metal surface or connecting
point, if available.
2. Remove the jumper cable on the negative (-) terminal of the booster
vehicle's battery.
3. Remove the jumper cable from the positive (+) terminal of the booster
vehicle's battery.
4. Remove the jumper cable from the positive (+) terminal of the disabled
vehicle's battery.
After starting your disabled vehicle and
removing the jumper cables, allow your
vehicle to idle for several minutes so the
battery can recharge.
POST-CRASH ALERT SYSTEM
The system flashes the direction indicators
and sounds the horn (intermittently) in the
event of a serious impact that deploys an
airbag (front, side, side curtain or Safety
Canopy) or the safety belt pretensioners.
256
MKC (TME) Canada/United States of America, enUSA, Edition date: 01/2016, First Printing Roadside Emergencies4
1
3
2
E142665
Page 298 of 538

You have limited engine power when in the
fail-safe mode, so drive your vehicle with
caution. Your vehicle will not be able to
maintain high-speed operation and the
engine will run rough. Remember that the
engine is capable of completely shutting
down automatically to prevent engine
damage, therefore:
1. Pull off the road as soon as safely
possible and switch the engine off.
2. Arrange for your vehicle to be taken to an authorized dealer.
3. If this is not possible, wait a short period
for the engine to cool.
4. Check the coolant level and replenish if low.
5. Re-start the engine and take your vehicle
to an authorized dealer.
Note: Driving your vehicle without repairing
the engine problem increases the chance of
engine damage. Take your vehicle to an
authorized dealer as soon as possible. AUTOMATIC TRANSMISSION
FLUID CHECK
The automatic transmission does not have
a transmission fluid dipstick.
The automatic transmission does not
consume fluid. However, the fluid level
should be checked if the transmission is not
working properly, for example if the
transmission slips or shifts slowly or if you
notice some sign of fluid leakage.
Note:
Transmission fluid should be checked
by an authorized dealer. If required, fluid
should be added by an authorized dealer.
Do not use supplemental transmission fluid
additives, treatments or cleaning agents. The
use of these materials may affect
transmission operation and result in damage
to internal transmission components. BRAKE FLUID CHECK WARNINGS
Do not use any fluid other than the
recommended brake fluid as this will
reduce brake efficiency. Use of incorrect fluid
could result in the loss of vehicle control,
serious personal injury or death. Only use brake fluid from a sealed
container. Contamination with dirt,
water, petroleum products or other materials
may result in brake system damage or failure.
Failure to adhere to this warning could result
in the loss of vehicle control, serious
personal injury or death. Do not allow the fluid to touch your
skin or eyes. If this happens, rinse the
affected areas immediately with plenty of
water and contact your physician. A fluid level between the MAX and
MIN lines is within the normal
operating range and there is no need to add
fluid. A fluid level not in the normal operating
range could compromise the performance
of the system. Have your vehicle checked
immediately. 295
MKC (TME) Canada/United States of America, enUSA, Edition date: 01/2016, First Printing Maintenance
Page 366 of 538

Do not expose discs to direct sunlight or heat
sources for extended periods.
MP3 and WMA Track and Folder
Structure
Audio systems capable of recognizing and
playing MP3 and WMA individual tracks and
folder structures work as follows:
•
There are two different modes for MP3
and WMA disc playback: MP3 and WMA
track mode (system default) and MP3 and
WMA folder mode.
• MP3 and WMA track mode ignores any
folder structure on the MP3 and WMA
disc. The player numbers each MP3 and
WMA track on the disc (noted by the MP3
or WMA file extension) from T001 to a
maximum of T255. The maximum number
of playable MP3 and WMA files may be
less depending on the structure of the
CD and exact model of radio present. •
MP3 and WMA folder mode represents
a folder structure consisting of one level
of folders. The CD player numbers all
MP3 and WMA tracks on the disc (noted
by the MP3 or WMA file extension) and
all folders containing MP3 and WMA files,
from F001 (folder) T001 (track) to F253
T255.
• Creating discs with only one level of
folders helps with navigation through the
disc files.
If you are burning your own MP3 and WMA
discs, it is important to understand how the
system reads the structures you create. While
various files may be present (files with
extensions other than MP3 and WMA), only
files with the MP3 and WMA extension are
played; other files are ignored by the system.
This enables you to use the same MP3 and
WMA disc for a variety of tasks on your work
computer, home computer and your
in-vehicle system. In track mode, the system displays and plays
the structure as if it were only one level deep
(all MP3 and WMA files play, regardless of
being in a specific folder). In folder mode,
the system only plays the MP3 and WMA files
in the current folder.
AUDIO UNIT - VEHICLES WITH:
PREMIUM AM/FM/CD
WARNING
Driving while distracted can result in
loss of vehicle control, crash and injury.
We strongly recommend that you use
extreme caution when using any device that
may take your focus off the road. Your
primary responsibility is the safe operation
of your vehicle. We recommend against the
use of any hand-held device while driving
and encourage the use of voice-operated
systems when possible. Make sure you are
aware of all applicable local laws that may
affect the use of electronic devices while
driving. 363
MKC (TME) Canada/United States of America, enUSA, Edition date: 01/2016, First Printing Audio System
Page 410 of 538
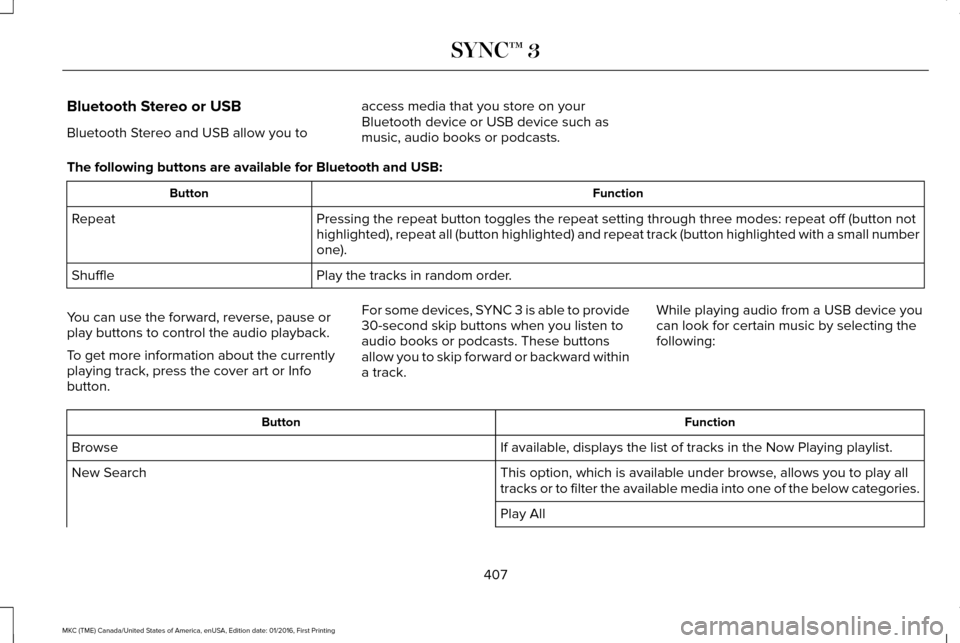
Bluetooth Stereo or USB
Bluetooth Stereo and USB allow you to
access media that you store on your
Bluetooth device or USB device such as
music, audio books or podcasts.
The following buttons are available for Bluetooth and USB: Function
Button
Pressing the repeat button toggles the repeat setting through three mode\
s: repeat off (button not
highlighted), repeat all (button highlighted) and repeat track (butt\
on highlighted with a small number
one).
Repeat
Play the tracks in random order.
Shuffle
You can use the forward, reverse, pause or
play buttons to control the audio playback.
To get more information about the currently
playing track, press the cover art or Info
button. For some devices, SYNC 3 is able to provide
30-second skip buttons when you listen to
audio books or podcasts. These buttons
allow you to skip forward or backward within
a track.
While playing audio from a USB device you
can look for certain music by selecting the
following: Function
Button
If available, displays the list of tracks in the Now Playing playlist.
Browse
This option, which is available under browse, allows you to play all
tracks or to filter the available media into one of the below categories\
.
New Search
Play All
407
MKC (TME) Canada/United States of America, enUSA, Edition date: 01/2016, First Printing SYNC™ 3
Page 416 of 538
PHONE
WARNING
Driving while distracted can result in
loss of vehicle control, crash and injury.
We strongly recommend that you use
extreme caution when using any device that
may take your focus off the road. Your
primary responsibility is the safe operation
of your vehicle. We recommend against the
use of any hand-held device while driving
and encourage the use of voice-operated
systems when possible. Make sure you are
aware of all applicable local laws that may
affect the use of electronic devices while
driving. Hands-free calling is one of the main features
of the system. Once you pair your cell phone,
you can access many options using the
touchscreen or voice commands. While the
system supports a variety of features, many
are dependent on your cell phone
’s
functionality. Pairing Your Cell Phone for the First
Time
Pair your Bluetooth-enabled phone with the
system before using the functions in
hands-free mode.
Switch on Bluetooth on your device to begin
pairing. See your phone
’s manual if
necessary.
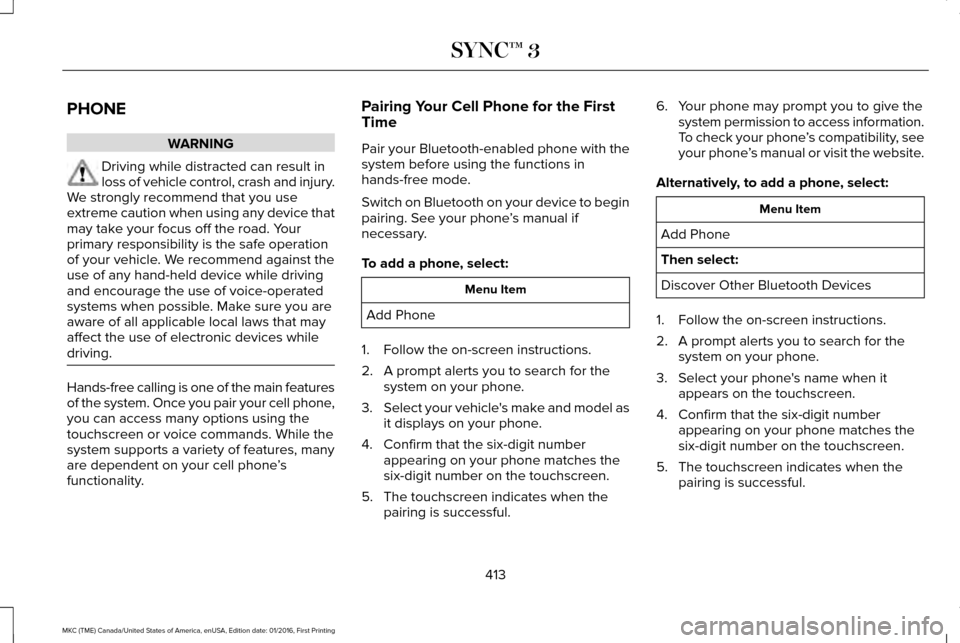
To add a phone, select: Menu Item
Add Phone
1. Follow the on-screen instructions.
2. A prompt alerts you to search for the system on your phone.
3. Select your vehicle's make and model as
it displays on your phone.
4. Confirm that the six-digit number appearing on your phone matches the
six-digit number on the touchscreen.
5. The touchscreen indicates when the pairing is successful. 6. Your phone may prompt you to give the
system permission to access information.
To check your phone ’s compatibility, see
your phone ’s manual or visit the website.
Alternatively, to add a phone, select: Menu Item
Add Phone
Then select:
Discover Other Bluetooth Devices
1. Follow the on-screen instructions.
2. A prompt alerts you to search for the system on your phone.
3. Select your phone's name when it appears on the touchscreen.
4. Confirm that the six-digit number appearing on your phone matches the
six-digit number on the touchscreen.
5. The touchscreen indicates when the pairing is successful.
413
MKC (TME) Canada/United States of America, enUSA, Edition date: 01/2016, First Printing SYNC™ 3
Page 423 of 538
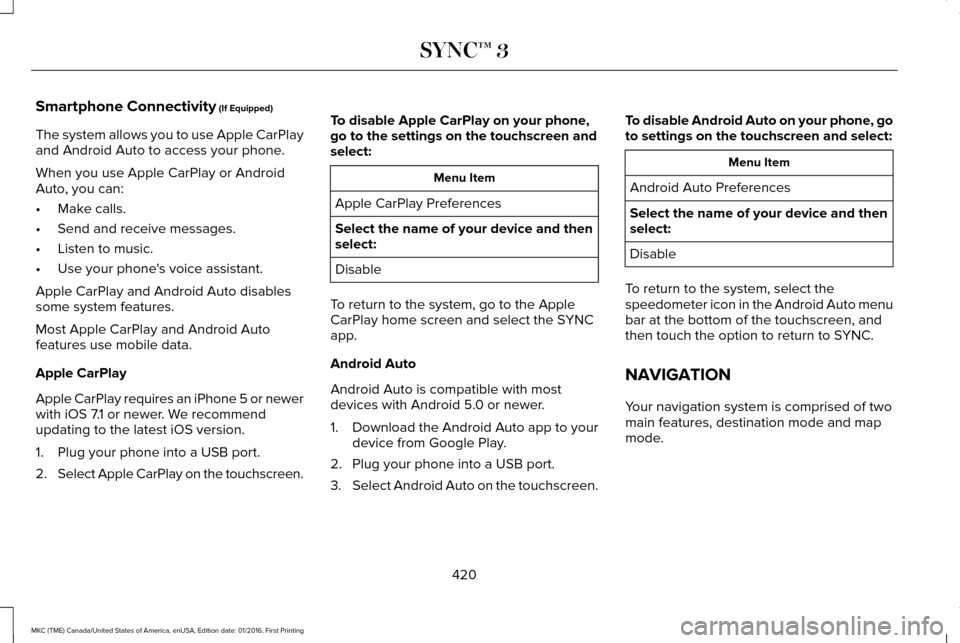
Smartphone Connectivity (If Equipped)
The system allows you to use Apple CarPlay
and Android Auto to access your phone.
When you use Apple CarPlay or Android
Auto, you can:
• Make calls.
• Send and receive messages.
• Listen to music.
• Use your phone's voice assistant.
Apple CarPlay and Android Auto disables
some system features.
Most Apple CarPlay and Android Auto
features use mobile data.
Apple CarPlay
Apple CarPlay requires an iPhone 5 or newer
with iOS 7.1 or newer. We recommend
updating to the latest iOS version.
1. Plug your phone into a USB port.
2. Select Apple CarPlay on the touchscreen. To disable Apple CarPlay on your phone,
go to the settings on the touchscreen and
select: Menu Item
Apple CarPlay Preferences
Select the name of your device and then
select:
Disable
To return to the system, go to the Apple
CarPlay home screen and select the SYNC
app.
Android Auto
Android Auto is compatible with most
devices with Android 5.0 or newer.
1. Download the Android Auto app to your
device from Google Play.
2. Plug your phone into a USB port.
3. Select Android Auto on the touchscreen. To disable Android Auto on your phone, go
to settings on the touchscreen and select: Menu Item
Android Auto Preferences
Select the name of your device and then
select:
Disable
To return to the system, select the
speedometer icon in the Android Auto menu
bar at the bottom of the touchscreen, and
then touch the option to return to SYNC.
NAVIGATION
Your navigation system is comprised of two
main features, destination mode and map
mode.
420
MKC (TME) Canada/United States of America, enUSA, Edition date: 01/2016, First Printing SYNC™ 3
Page 424 of 538
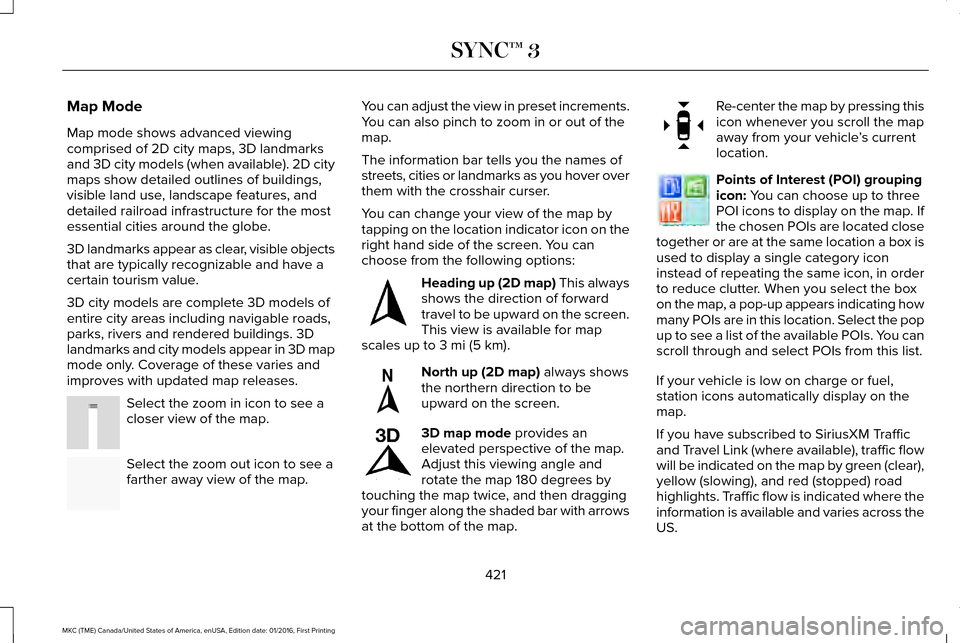
Map Mode
Map mode shows advanced viewing
comprised of 2D city maps, 3D landmarks
and 3D city models (when available). 2D city
maps show detailed outlines of buildings,
visible land use, landscape features, and
detailed railroad infrastructure for the most
essential cities around the globe.
3D landmarks appear as clear, visible objects
that are typically recognizable and have a
certain tourism value.
3D city models are complete 3D models of
entire city areas including navigable roads,
parks, rivers and rendered buildings. 3D
landmarks and city models appear in 3D map
mode only. Coverage of these varies and
improves with updated map releases.
Select the zoom in icon to see a
closer view of the map.
Select the zoom out icon to see a
farther away view of the map. You can adjust the view in preset increments.
You can also pinch to zoom in or out of the
map.
The information bar tells you the names of
streets, cities or landmarks as you hover over
them with the crosshair curser.
You can change your view of the map by
tapping on the location indicator icon on the
right hand side of the screen. You can
choose from the following options:
Heading up (2D map) This always
shows the direction of forward
travel to be upward on the screen.
This view is available for map
scales up to
3 mi (5 km). North up (2D map)
always shows
the northern direction to be
upward on the screen. 3D map mode
provides an
elevated perspective of the map.
Adjust this viewing angle and
rotate the map 180 degrees by
touching the map twice, and then dragging
your finger along the shaded bar with arrows
at the bottom of the map. Re-center the map by pressing this
icon whenever you scroll the map
away from your vehicle
’s current
location. Points of Interest (POI) grouping
icon:
You can choose up to three
POI icons to display on the map. If
the chosen POIs are located close
together or are at the same location a box is
used to display a single category icon
instead of repeating the same icon, in order
to reduce clutter. When you select the box
on the map, a pop-up appears indicating how
many POIs are in this location. Select the pop
up to see a list of the available POIs. You can
scroll through and select POIs from this list.
If your vehicle is low on charge or fuel,
station icons automatically display on the
map.
If you have subscribed to SiriusXM Traffic
and Travel Link (where available), traffic flow
will be indicated on the map by green (clear),
yellow (slowing), and red (stopped) road
highlights. Traffic flow is indicated where the
information is available and varies across the
US.
421
MKC (TME) Canada/United States of America, enUSA, Edition date: 01/2016, First Printing SYNC™ 3E207752 E207753 E207750 E207749 E207748 E207751 E207754
Page 429 of 538
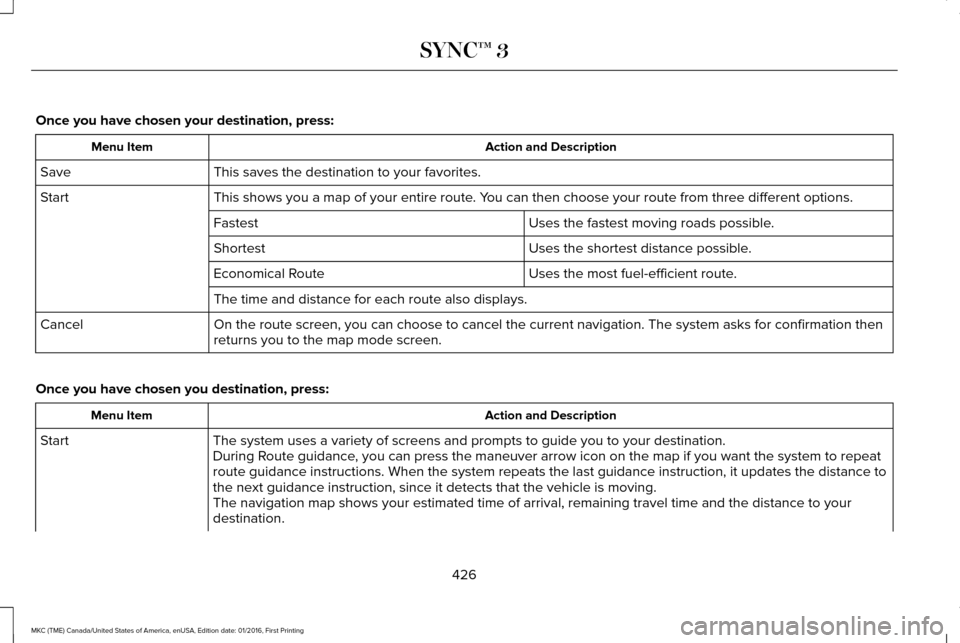
Once you have chosen your destination, press:
Action and Description
Menu Item
This saves the destination to your favorites.
Save
This shows you a map of your entire route. You can then choose your route from three different options.
Start
Uses the fastest moving roads possible.
Fastest
Uses the shortest distance possible.
Shortest
Uses the most fuel-efficient route.
Economical Route
The time and distance for each route also displays.
On the route screen, you can choose to cancel the current navigation. Th\
e system asks for confirmation then
returns you to the map mode screen.
Cancel
Once you have chosen you destination, press: Action and Description
Menu Item
The system uses a variety of screens and prompts to guide you to your de\
stination.
Start
During Route guidance, you can press the maneuver arrow icon on the map if you want the syste\
m to repeat
route guidance instructions. When the system repeats the last guidance i\
nstruction, it updates the distance to
the next guidance instruction, since it detects that the vehicle is movi\
ng.
The navigation map shows your estimated time of arrival, remaining trave\
l time and the distance to your
destination.
426
MKC (TME) Canada/United States of America, enUSA, Edition date: 01/2016, First Printing SYNC™ 3