Page 358 of 640
3585-2. Setup
RC300h_EE(OM24740E)
Go to “Display”: “Display”
Turn off screen.
Adjust screen quality.
Adjust screen quality of the Lexus
parking assist monitor camera. (if
equipped)
Change to day mode.
This setting turns the screen off. To turn it on, press any button such as or .
If a screen off image has been se t, the set image will be displayed.
When the headlights are turned on, the screen dims.
However, the screen can be switched to day mode by selecting “Day mode”.
The screen will stay in day mode when the headlights are turned on until “Day mode”
is selected again.
Display settings
Settings are available for adjusting the contrast and brightness of the screen.
The display can also be turned off.
Screen for display settings
1
2
3
4
Screen off
Day mode
Page 360 of 640
360
RC300h_EE(OM24740E)
5-3. Using the audio system
Press the button to display the “Source” screen.
If the “Source” screen is not displayed, press the button again.
Select the desired audio source.
The audio source can be selected by pressing the “RADIO” or “MEDIA” button.
Press the “MODE” switch when the audio system is turned on. The audio source
changes each time the “MODE” switch is pressed.
■Rearranging the list
The listing order of the source list can be rearranged.
Move the controller to the left while on the “Source” screen.
Select “Audio source select”.
Select an item you wish to move and then select where to move the item to.
Selecting the audio source
Switching between audio sources such as radio and CD are explained in this
section.
Changing audio source
Using the steering wheel switches to change audio sources
1
2
1
2
3
Page 369 of 640
369
5
Lexus Display Audio system
RC300h_EE(OM24740E)
5-4. Using the radio
Pressing the “RADIO” button displays the radio top screen from any screen of
the selected source.
■Menu screen
P. 366
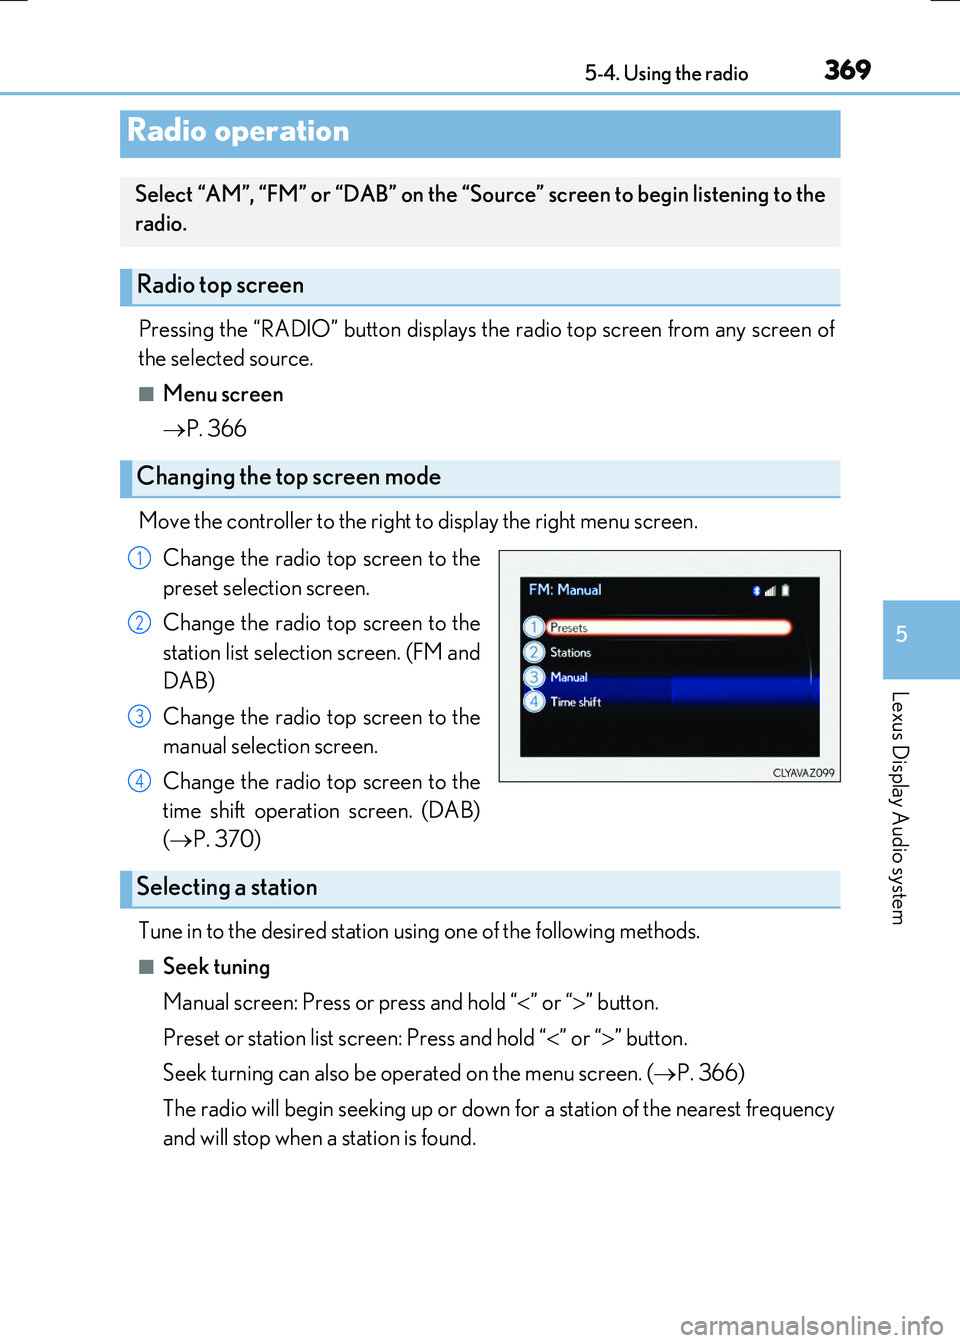
Move the controller to the right to display the right menu screen.
Change the radio top screen to the
preset selection screen.
Change the radio top screen to the
station list selection screen. (FM and
DAB)
Change the radio top screen to the
manual selection screen.
Change the radio top screen to the
time shift operation screen. (DAB)
( P. 370)
Tune in to the desired station using one of the following methods.
■Seek tuning
Manual screen: Press or press and hold “ ” or “” button.
Preset or station list screen: Press and hold “ ” or “” button.
Seek turning can also be operated on the menu screen. ( P. 366)
The radio will begin seeking up or down for a station of the nearest frequency
and will stop when a station is found.
Radio operation
Select “AM”, “FM” or “DAB” on the “Source” screen to begin listening to the
radio.
Radio top screen
Changing the top screen mode
1
2
3
4
Selecting a station
Page 370 of 640
3705-4. Using the radio
RC300h_EE(OM24740E)
■Manual tuning (manual screen)
Turn the right side knob (left-hand drive vehicle), left side knob (right-hand
drive vehicle) on the audio panel or turn the controller.
■Station list (preset or station list screen)
Select the desired station by pressing “ ” or “” button, turn the right side
knob (left-hand drive vehicle), left side knob (right-hand drive vehicle) on the
audio panel or controller.
Radio stations can be preset.
Search for desired stations.
Turn the controller to select one of the stations and then press the controller
until you hear a beep while on the preset selection screen.
The broadcast you are currently listening to can be re-listened to at any time.
Move the controller to the right and then select “Time shift”.
Turn the right side knob (left-hand drive vehicle) or left side knob (right-hand
drive vehicle) on the audio panel to set the desired offset.
An offset playback time can also be set on the menu screen. ( P. 366)
To cancel the time shift operation while in time shift mode, move the controller to the left and select “Time shift off”. If the time shift display is left showing “-0' 00”” for 6
seconds without any operation, the time shift operation will be canceled.
■Reception sensitivity
●Maintaining perfect radio recept ion at all times is difficult due to the continually chang- ing position of the antenna, differences in signal strength and surrounding objects, suchas trains, transmitters, etc.
●The radio antenna is mounted inside the rear window. To maintain clear radio reception, do not attach metallic window tinting or other metallic objects to the antenna wire mounted inside the rear window.
■Traffic announcement operation
When traffic announcement is set to on, “TP” will appear on the screen and the radio will begin seeking a TP station. If the radio seeks out a TP station, the program name will
appear on the screen. If a traffic announcement station is received, the radio will be switched to the traffic information program automatically. When the program ends, theinitial operation will resume.
Setting station presets (preset screen)
Time shift operation (DAB)
1
2
1
2
Page 371 of 640
371
5
Lexus Display Audio system
RC300h_EE(OM24740E)
5-5. Playing an audio CD and MP3/WMA/AAC discs
Pressing the “MEDIA” button displays the audio disc top screen from any screen
of the selected source.
■Menu screen
P. 366
■Selecting a track/file
Press the “ ” or “” button, turn the right side knob (left-hand drive vehicle) or
left side knob (right-hand drive vehicle) on the audio panel to select the
desired track/file number.
To fast-forward or rewind, press and hold the “ ” or “” button.
■Selecting the track by the list (CD)
Move the controller to the right and then select the desired track.
■Selecting a folder (MP3/WMA/AAC disc)
Move the controller to the right and then select “Folders”.
Select the desired folder. Then select a file to begin using the selected
folder.
■Selecting a file by the selected folder (MP3/WMA/AAC disc)
Move the controller to the right and then select “Files”.
Select the desired file.
CD player operation
Insert a disc, press the “MEDIA” button or select “DISC” on the “Source”
screen with a disc inserted to begin listening to a disc.
Audio disc top screen
1
2
1
2
Page 377 of 640
377
5
Lexus Display Audio system
RC300h_EE(OM24740E)
5-6. Using an external device
P. 351
Pressing the “MEDIA” button displays the iPod top screen from any screen of the
selected source.
■Menu screen
P. 366
■Selecting a song
Press the “ ” or “” button, turn the right side knob (left-hand drive vehicle) or
left side knob (right-hand drive vehicle) on the audio panel to select the
desired song number.
To fast-forward or rewind, press and hold the “ ” or “” button.
■Selecting a play mode
Move the controller to the right and then select “Browse”.
Select the desired play mode, and th en select a song to begin using the
selected play mode.
■Displaying the now playing list
Move the controller to the right and then select “Now playing list”.
Listening to an iPod
Connecting an iPod enables you to enjoy music from the vehicle speakers.
Press the “MEDIA” button or select “iPod” on the “Source” screen.
Connecting an iPod
iPod top screen
1
2
Page 381 of 640
3815-6. Using an external device
5
Lexus Display Audio system
RC300h_EE(OM24740E)
P. 351
Pressing the “MEDIA” button displays the USB top screen from any screen of the
selected source.
Moving the controller to the right and selecting “Play music” while the USB video
screen is displayed changes to USB audio mode.
■Menu screen
P. 366
■Selecting a file
Press the “ ” or “” button, turn the right side knob (left-hand drive vehicle) or
left side knob (right-hand drive vehicle) on the audio panel to select the
desired file number.
To fast-forward or rewind, press and hold the “ ” or “” button.
■Selecting a play mode
Move the controller to the right and select “Browse”.
Select the desired play mode, and select a file to begin the selected play
mode.
■Displaying the now playing list
Move the controller to the right and select “Now playing list”.
Using USB memory device
Connecting a USB memory device enables you to enjoy music from the vehi-
cle speakers.
Select “USB1” or “USB2” on the “Source” screen.
Connecting a USB memory device
USB top screen
USB audio
1
2
Page 382 of 640
3825-6. Using an external device
RC300h_EE(OM24740E)
Moving the controller to the right and selecting “Play video” while the USB video
screen is displayed changes to USB video mode.
This function cannot be used while USB photo or MirrorLink is in use.
■Menu screen
P. 366
■Selecting a file
Press the “ ” or “” button, turn the right side knob (left-hand drive vehicle) or
left side knob (right-hand drive vehicle) on the audio panel to select the
desired file number.
To fast-forward or reverse, press and hold the “ ” or “” button.
■Selecting a folder
Move the controller to the right and select “Browse”.
Select the desired folder, then select a file to begin using the selected
folder.
■Displaying the now playing list
Move the controller to the right and select “Now playing list”.
■USB memory functions
●Depending on the USB memory device that is connected to the system, the device
itself may not be operable and certain functions may not be available. If the device is inoperable or a function is unavailable du e to a malfunction (as opposed to a system specification), disconnecting the device and reconnecting it may resolve the problem.
●If the USB memory device still does not begin operation after being disconnected and reconnected, format the device.
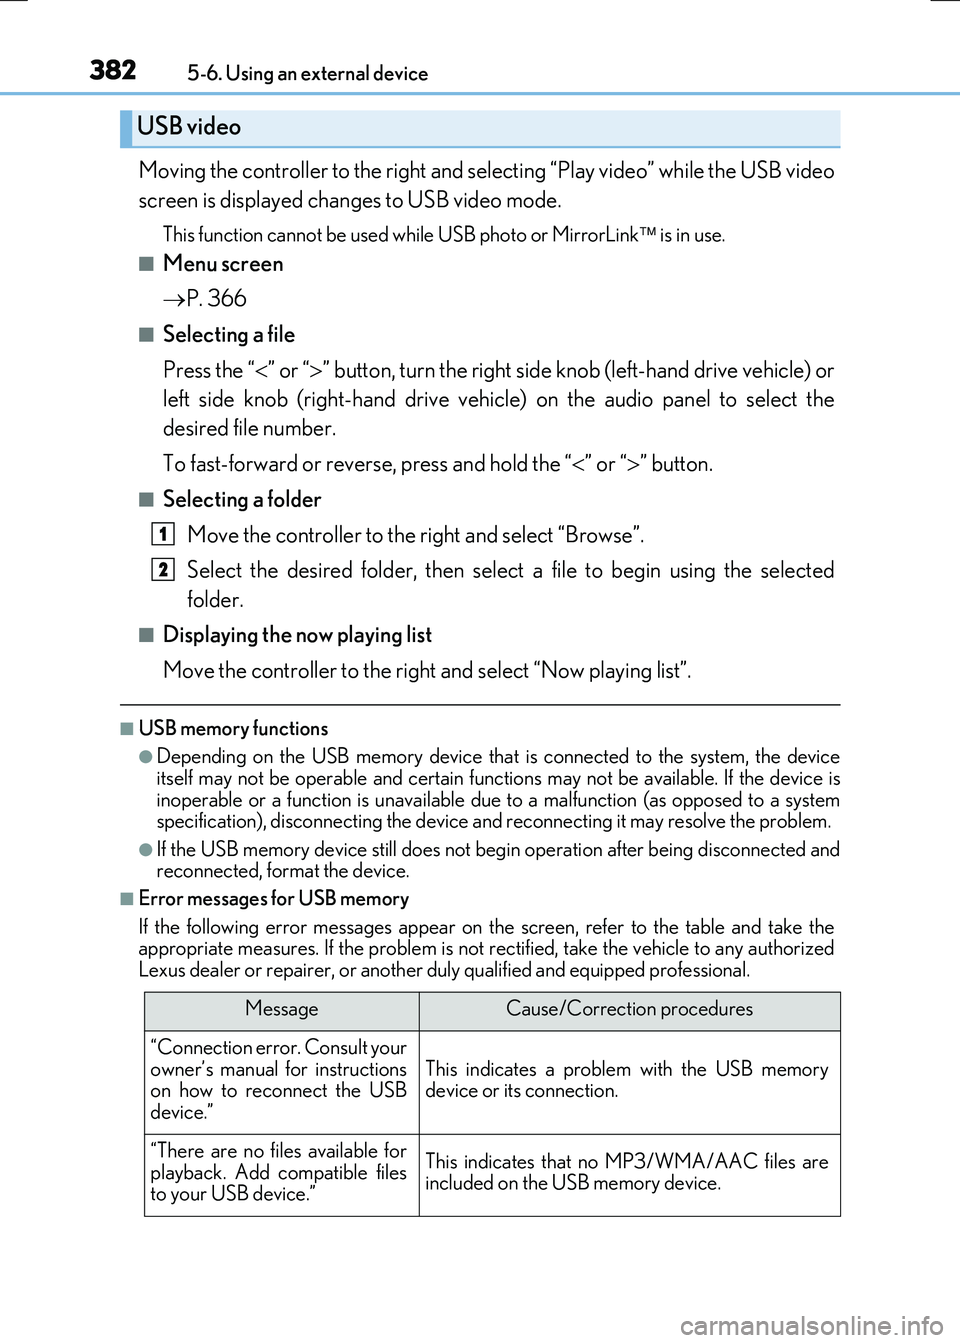
■Error messages for USB memory
If the following error messages appear on the screen, refer to the table and take the appropriate measures. If the problem is not rectified, take the vehicle to any authorizedLexus dealer or repairer, or another duly qualified and equipped professional.
USB video
MessageCause/Correction procedures
“Connection error. Consult your
owner’s manual for instructions on how to reconnect the USBdevice.”
This indicates a problem with the USB memorydevice or its connection.
“There are no files available for
playback. Add compatible files to your USB device.”
This indicates that no MP3/WMA/AAC files areincluded on the USB memory device.
1
2