Page 416 of 724

4165-4. Using the radio
RC200t_RC F_EE(OM24728E)
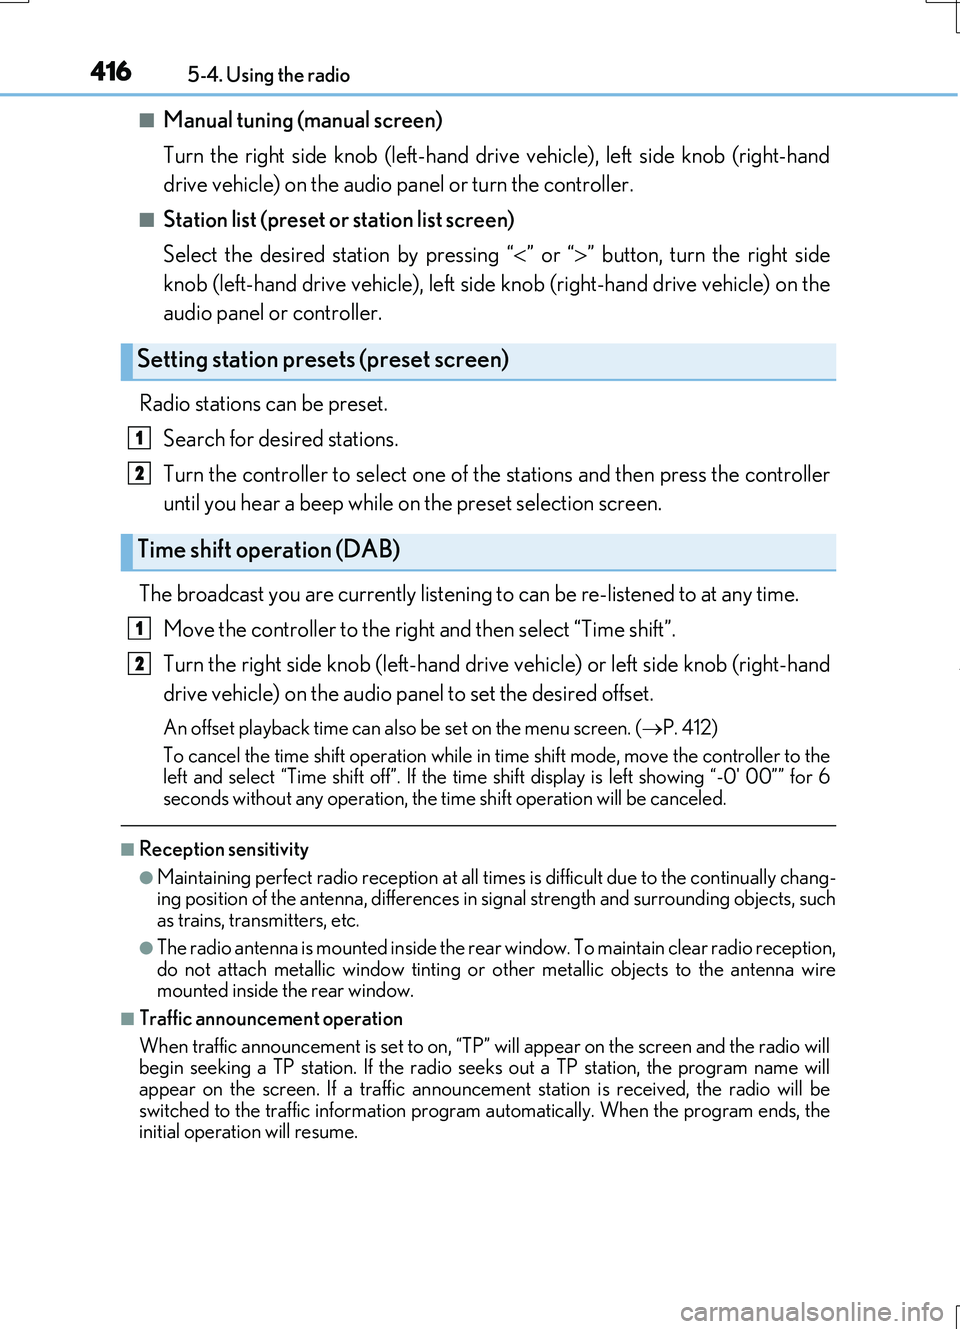
■Manual tuning (manual screen)
Turn the right side knob (left-hand drive vehicle), left side knob (right-hand
drive vehicle) on the audio panel or turn the controller.
■Station list (preset or station list screen)
Select the desired station by pressing “ ” or “” button, turn the right side
knob (left-hand drive vehicle), left side knob (right-hand drive vehicle) on the
audio panel or controller.
Radio stations can be preset.
Search for desired stations.
Turn the controller to select one of the stations and then press the controller
until you hear a beep while on the preset selection screen.
The broadcast you are currently listening to can be re-listened to at any time.
Move the controller to the right and then select “Time shift”.
Turn the right side knob (left-hand drive vehicle) or left side knob (right-hand
drive vehicle) on the audio panel to set the desired offset.
An offset playback time can also be set on the menu screen. ( P. 412)
To cancel the time shift operation while in time shift mode, move the controller to the left and select “Time shift off”. If the time shift display is left showing “-0' 00”” for 6
seconds without any operation, the time shift operation will be canceled.
■Reception sensitivity
●Maintaining perfect radio recept ion at all times is difficult due to the continually chang- ing position of the antenna, differences in signal strength and surrounding objects, suchas trains, transmitters, etc.
●The radio antenna is mounted inside the rear window. To maintain clear radio reception, do not attach metallic window tinting or other metallic objects to the antenna wire mounted inside the rear window.
■Traffic announcement operation
When traffic announcement is set to on, “TP” will appear on the screen and the radio will begin seeking a TP station. If the radio seeks out a TP station, the program name will
appear on the screen. If a traffic announcement station is received, the radio will be switched to the traffic information program automatically. When the program ends, theinitial operation will resume.
Setting station presets (preset screen)
Time shift operation (DAB)
1
2
1
2
Page 417 of 724

417
5
Lexus Display Audio system
RC200t_RC F_EE(OM24728E)
5-5. Playing an audio CD and MP3/WMA/AAC discs
Pressing the “MEDIA” button displays the audio disc top screen from any screen
of the selected source.
■Menu screen
P. 412
■Selecting a track/file
Press the “ ” or “” button, turn the right side knob (left-hand drive vehicle) or
left side knob (right-hand drive vehicle) on the audio panel to select the
desired track/file number.
To fast-forward or rewind, press and hold the “ ” or “” button.
■Selecting the track by the list (CD)
Move the controller to the right and then select the desired track.
■Selecting a folder (MP3/WMA/AAC disc)
Move the controller to the right and then select “Folders”.
Select the desired folder. Then select a file to begin using the selected
folder.
■Selecting a file by the selected folder (MP3/WMA/AAC disc)
Move the controller to the right and then select “Files”.
Select the desired file.
CD player operation
Insert a disc, press the “MEDIA” button or select “DISC” on the “Source”
screen with a disc inserted to begin listening to a disc.
Audio disc top screen
1
2
1
2
Page 419 of 724

4195-5. Playing an audio CD and MP3/WMA/AAC discs
5
Lexus Display Audio system
RC200t_RC F_EE(OM24728E)
●MP3 file compatibility
• Compatible standards MP3 (MPEG1 LAYER3, MPEG2 LSF LAYER3)
• Compatible sampling frequencies MPEG1 LAYER3: 32, 44.1, 48 (kHz) MPEG2 LSF LAYER3: 16, 22.05, 24 (kHz)
• Compatible bit rates (c ompatible with VBR) MPEG1 LAYER3: 32-320 (kbps) MPEG2 LSF LAYER3: 8-160 (kbps)
• Compatible channel modes: stereo, joint stereo, dual channel and monaural
●WMA file compatibility
• Compatible standards WMA Ver. 7, 8, 9 (only compatible with Windows Media Audio Standard)• Compatible sampling frequencies
32, 44.1, 48 (kHz) • Compatible bit rates (only compatible with 2-channel playback)Ver. 7, 8: CBR 48-192 (kbps)
Ver. 9: CBR 48-320 (kbps)
●AAC file compatibility
• Compatible standards MPEG4/AAC-LC• Compatible sampling frequencies
11.025/12/16/22.05/24/32/44.1/48 (kHz) • Compatible bit rates 16-320 (kbps)
• Compatible channel modes: 1ch and 2ch
●Compatible media
Media that can be used for MP3, WMA and AAC playback are CD-Rs and CD- RWs.
Playback in some instances may not be poss ible if the CD-R or CD-RW is not final- ized. Playback may not be possible or the au dio may jump if the disc is scratched or marked with fingerprints.
●Compatible disc formats
The following disc formats can be used.
• Disc formats: CD-ROM Mode 1 and Mode 2
CD-ROM XA Mode 2, Form 1 and Form 2 • File formats: ISO9660 Level 1, Level 2, (Romeo, Joliet) UDF (2.01 or lower)
MP3, WMA and AAC files written in any format other than those listed above may not play correctly, and their file names and folder names may not be displayed cor-rectly.
Items related to standards and limitations are as follows.
• Maximum directory hierarchy: 8 levels (including the root) • Maximum length of folder names/file names: 32 characters
• Maximum number of folders: 192 (including the root) • Maximum number of files per disc: 255
Page 421 of 724
4215-5. Playing an audio CD and MP3/WMA/AAC discs
5
Lexus Display Audio system
RC200t_RC F_EE(OM24728E)
■The Gracenote® media database
●Gracenote, the Gracenote logo and logotype, “Powered by Gracenote”, MusicID,
Playlist Plus and MediaVOCS are either registered trademarks or trademarks of
Gracenote, Inc. in the United States
Page 423 of 724
423
5
Lexus Display Audio system
RC200t_RC F_EE(OM24728E)
5-6. Using an external device
P. 397
Pressing the “MEDIA” button displays the iPod top screen from any screen of the
selected source.
■Menu screen
P. 412
■Selecting a song
Press the “ ” or “” button, turn the right side knob (left-hand drive vehicle) or
left side knob (right-hand drive vehicle) on the audio panel to select the
desired song number.
To fast-forward or rewind, press and hold the “ ” or “” button.
■Selecting a play mode
Move the controller to the right and then select “Browse”.
Select the desired play mode, and th en select a song to begin using the
selected play mode.
■Displaying the now playing list
Move the controller to the right and then select “Now playing list”.
Listening to an iPod
Connecting an iPod enables you to enjoy music from the vehicle speakers.
Press the “MEDIA” button or select “iPod” on the “Source” screen.
Connecting an iPod
iPod top screen
1
2
Page 424 of 724

4245-6. Using an external device
RC200t_RC F_EE(OM24728E)
■About iPod
●“Made for iPod” and “Made for iPhone” mean that an electronic accessory has been designed to connect specifically to an iPod , or iPhone, respectively, and has been certi-
fied by the developer to meet Apple performance standards.
●Apple is not responsible for the operation of this device or its compliance with safety and regulatory standards. Please note that th e use of this accessory with iPod or iPhone
may affect wireless performance.
●iPhone, iPod, iPod classic, iPod nano and iPod touch are trademarks of Apple Inc., reg- istered in the U.S. and other countries.
■iPod cover art
●Depending on the iPod and songs in the iPod, iPod cover art may be displayed.
●This function can be changed to on/off. (P. 411)
●It may take time to display iPod cover art, and the iPod may not be operated while the cover art display is in process.
■iPod functions
●When an iPod is connected and the audio sour ce is changed to iPod mode, the iPod will resume play from the same poin t in which it was last used.
●Depending on the iPod that is connected to the system, certain functions may not be
available. If a function is unavailable due to a malfunction (as opposed to a system spec- ification), disconnecting the device and reconnecting it may resolve the problem.
●Depending on the iPod, while connected to the system, the iPod cannot be operated
with its own controls. It is necessary to use the controls of the vehicle's audio system instead.
●When the battery level of an iPod is very low, the iPod may not operate. If so, charge the
iPod before use.
●Compatible models ( P. 426)
Page 425 of 724

4255-6. Using an external device
5
Lexus Display Audio system
RC200t_RC F_EE(OM24728E)
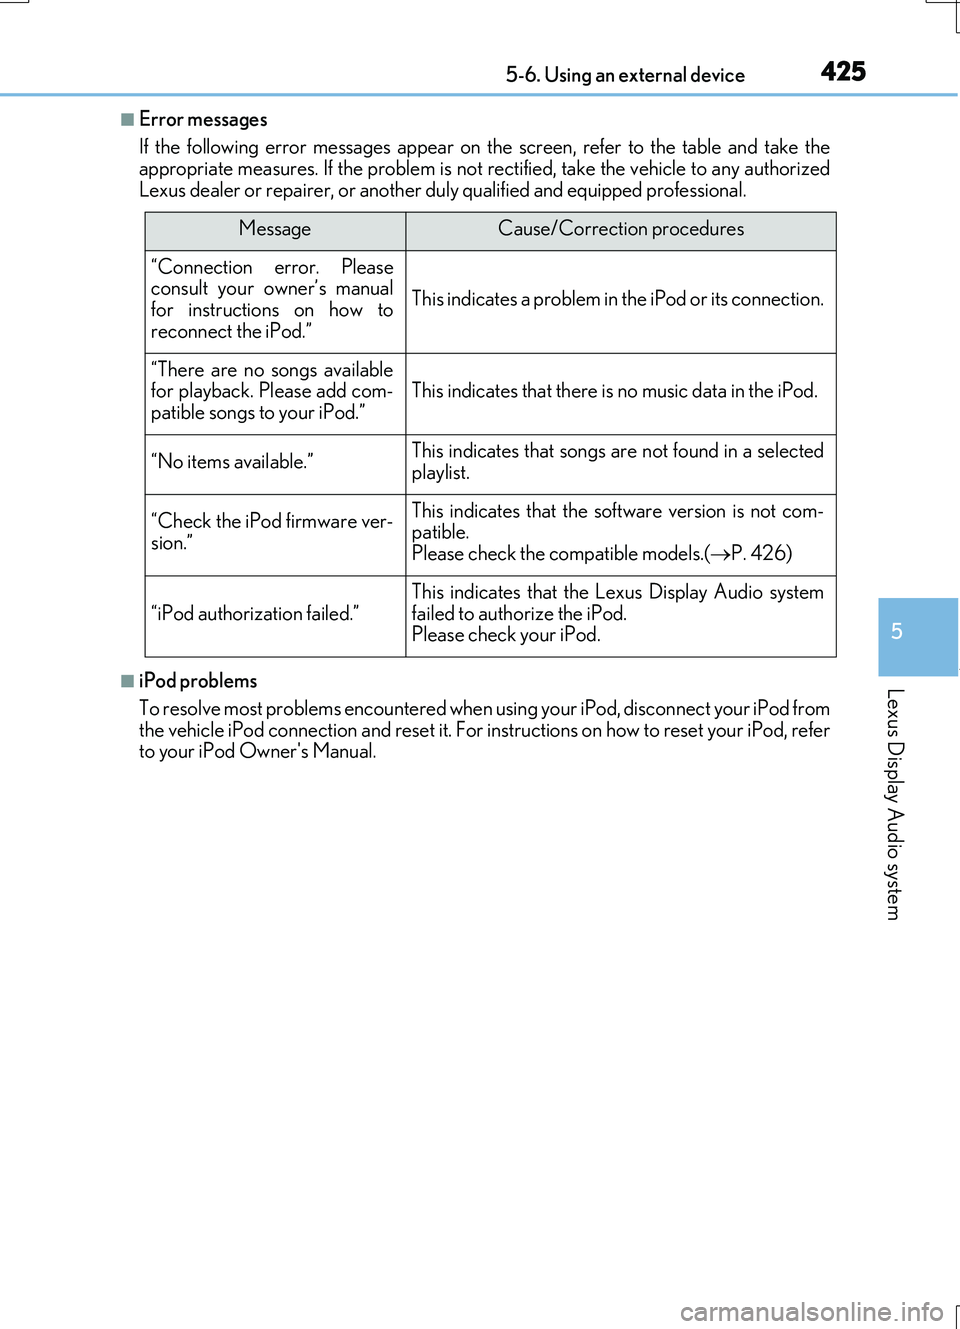
■Error messages
If the following error messages appear on the screen, refer to the table and take the appropriate measures. If the problem is not rectified, take the vehicle to any authorized
Lexus dealer or repairer, or another duly qualified and equipped professional.
■iPod problems
To resolve most problems encountered when us ing your iPod, disconnect your iPod from the vehicle iPod connection and reset it. For instructions on how to reset your iPod, referto your iPod Owner's Manual.
MessageCause/Correction procedures
“Connection error. Pleaseconsult your owner’s manualfor instructions on how to
reconnect the iPod.”
This indicates a problem in the iPod or its connection.
“There are no songs available for playback. Please add com-patible songs to your iPod.”This indicates that there is no music data in the iPod.
“No items available.”This indicates that songs are not found in a selected
playlist.
“Check the iPod firmware ver-
sion.”
This indicates that the software version is not com- patible.Please check the compatible models.( P. 426)
“iPod authorization failed.”
This indicates that the Lexus Display Audio system
failed to authorize the iPod. Please check your iPod.
Page 427 of 724

4275-6. Using an external device
5
Lexus Display Audio system
RC200t_RC F_EE(OM24728E)
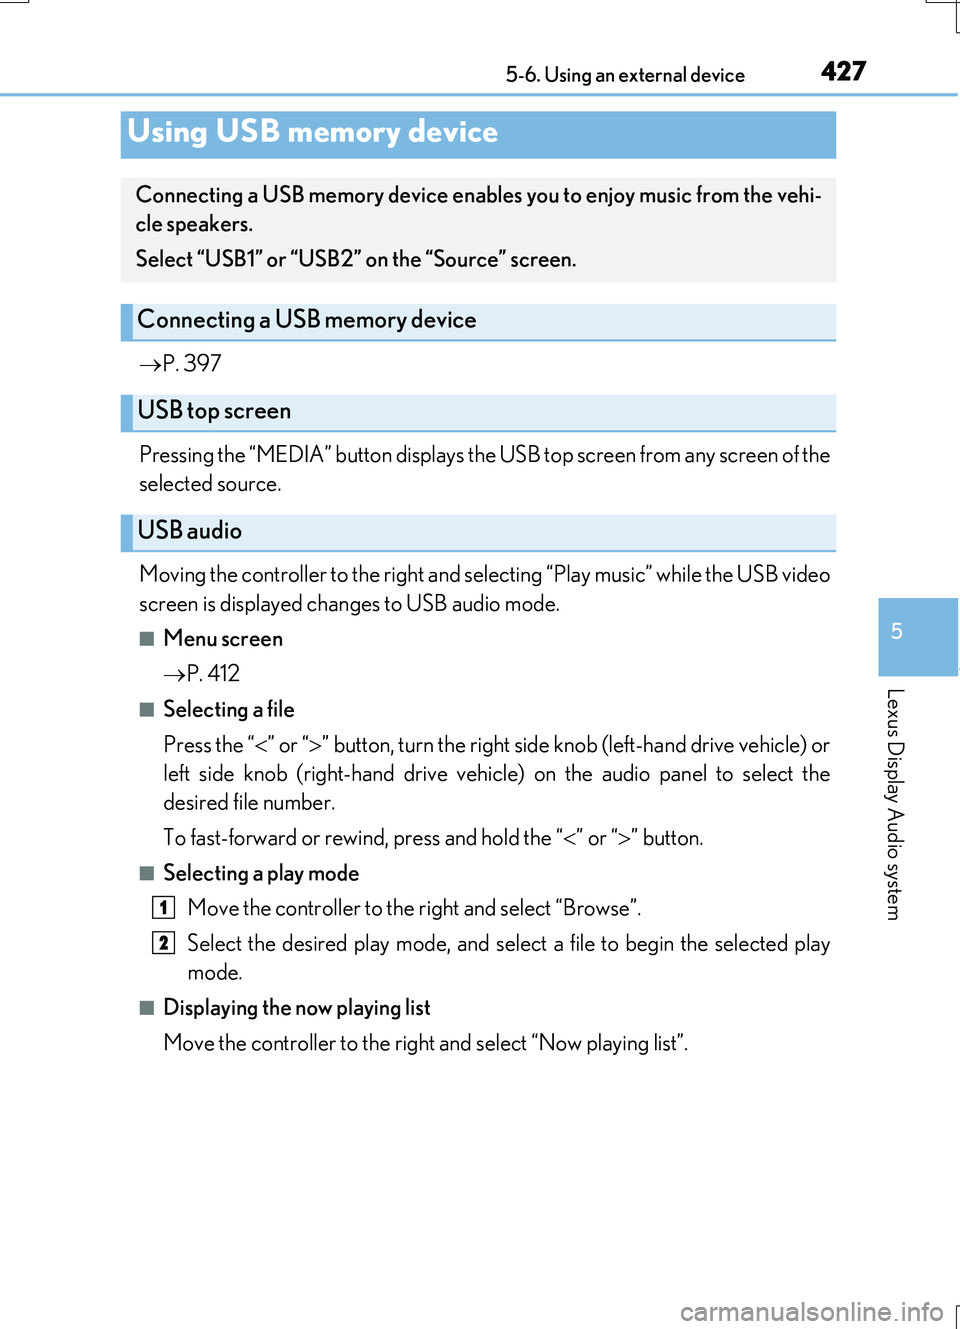
P. 397
Pressing the “MEDIA” button displays the USB top screen from any screen of the
selected source.
Moving the controller to the right and selecting “Play music” while the USB video
screen is displayed changes to USB audio mode.
■Menu screen
P. 412
■Selecting a file
Press the “ ” or “” button, turn the right side knob (left-hand drive vehicle) or
left side knob (right-hand drive vehicle) on the audio panel to select the
desired file number.
To fast-forward or rewind, press and hold the “ ” or “” button.
■Selecting a play mode
Move the controller to the right and select “Browse”.
Select the desired play mode, and select a file to begin the selected play
mode.
■Displaying the now playing list
Move the controller to the right and select “Now playing list”.
Using USB memory device
Connecting a USB memory device enables you to enjoy music from the vehi-
cle speakers.
Select “USB1” or “USB2” on the “Source” screen.
Connecting a USB memory device
USB top screen
USB audio
1
2