Page 139 of 595

467
Features of your vehicle
Trip A/B
Tripmeter (1)
• The tripmeter is the total driving dis-
tance since the last tripmeter reset.
- Distance range: 0.0 ~ 9999.9 km or
mi.• To reset the tripmeter, press the
RESET button (Type A : RESET,
Type B, C : ) on the steering
wheel for more than 1 second
when the tripmeter is displayed.Average Vehicle Speed (2)
• The average vehicle speed is cal-
culated by the total driving dis-
tance and driving time since the
last average vehicle speed reset.
- Speed range: 0 ~ 999 km/h or MPH
• To reset the average vehicle speed,
press the RESET button (Type A :
RESET, Type B, C : ) on the
steering wheel for more than 1 sec-
ond when the average vehicle
speed is displayed.
✽NOTICE
• The average vehicle speed is not dis-
played if the driving distance is less
than 50 meters (0.03 miles) or the
driving time is less than 10 seconds
since the ignition switch or Engine
Start/Stop button is turned to ON.
• Even if the vehicle is not in motion,
the average vehicle speed keeps
going while the engine is running.
OYDM046391C/OYDNDI2032C
OYDM046393C
■Type A■Ty p e B
■ Type C
Page 140 of 595

Features of your vehicle
68 4
Elapsed Time (3)
• The elapsed time is the total driv-
ing time since the last elapsed time
reset.
- Time range (hh:mm): 00:00 ~ 99:59
• To reset the elapsed time, press
the RESET button (Type A :
RESET, Type B, C : ) on the
steering wheel for more than 1
second when the elapsed time is
displayed.
✽NOTICE
Even if the vehicle is not in motion,
the elapsed time keeps going while
the engine is running.
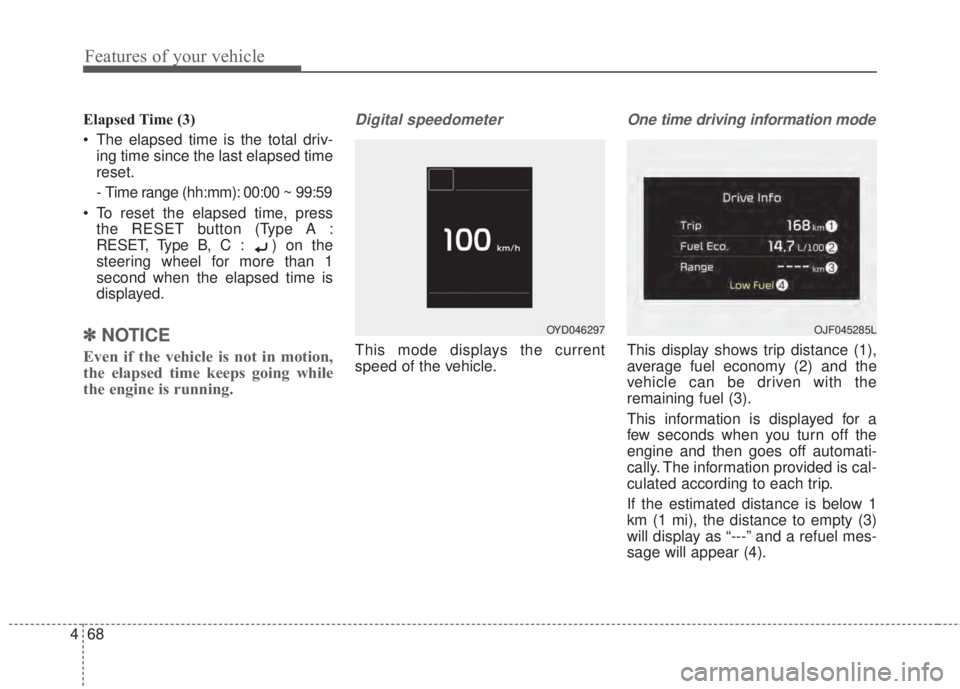
Digital speedometer
This mode displays the current
speed of the vehicle.
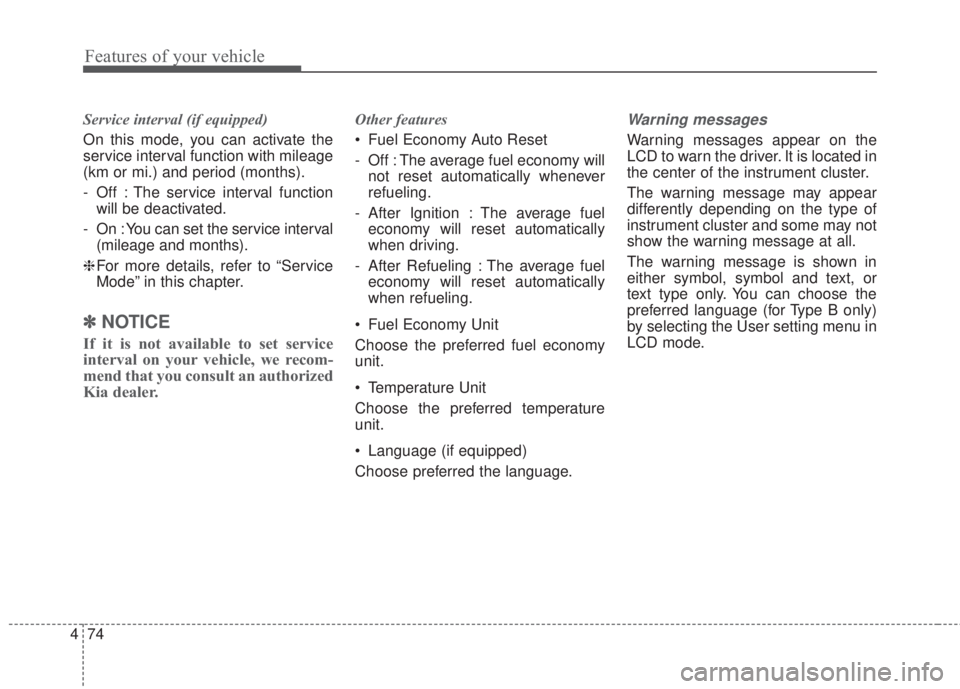
One time driving information mode
This display shows trip distance (1),
average fuel economy (2) and the
vehicle can be driven with the
remaining fuel (3).
This information is displayed for a
few seconds when you turn off the
engine and then goes off automati-
cally. The information provided is cal-
culated according to each trip.
If the estimated distance is below 1
km (1 mi), the distance to empty (3)
will display as “---” and a refuel mes-
sage will appear (4).
OYD046297OJF045285L
Page 142 of 595
Features of your vehicle
70 4
A/V Mode (if equipped)
This mode displays the state of the
A/V system.
Service Mode
Service in
It calculates and displays when you
need a scheduled maintenance
service (mileage or days).
If the remaining mileage or time
reaches 1,500 km (900 mi.) or 30
days, “Service in” message is dis-
played for several seconds each time
you set the ignition switch or Engine
Start/Stop Button to the ON position.Service required
If you do not have your vehicle serv-
iced according to the already inputted
service interval, “Service required”
message is displayed for several sec-
onds each time you set the ignition
switch or Engine Start/Stop Button to
the ON position.
To reset the service interval to the
mileage and days you inputted before:
- Press the SELECT/RESET button
for more than 1 second.
OYD046298OYDC046379OYD046220L
Page 146 of 595

Features of your vehicle
74 4
Service interval (if equipped)
On this mode, you can activate the
service interval function with mileage
(km or mi.) and period (months).
- Off : The service interval function
will be deactivated.
- On : You can set the service interval
(mileage and months).
❈For more details, refer to “Service
Mode” in this chapter.
✽NOTICE
If it is not available to set service
interval on your vehicle, we recom-
mend that you consult an authorized
Kia dealer.
Other features
• Fuel Economy Auto Reset
- Off : The average fuel economy will
not reset automatically whenever
refueling.
- After Ignition : The average fuel
economy will reset automatically
when driving.
- After Refueling : The average fuel
economy will reset automatically
when refueling.
• Fuel Economy Unit
Choose the preferred fuel economy
unit.
• Temperature Unit
Choose the preferred temperature
unit.
• Language (if equipped)
Choose preferred the language.Warning messages
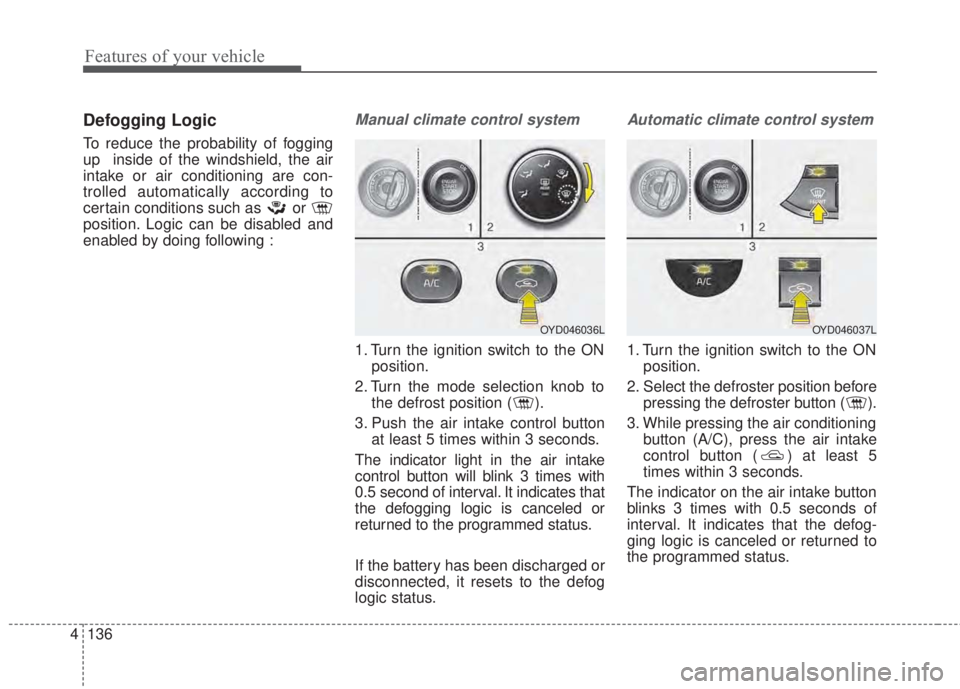
Warning messages appear on the
LCD to warn the driver. It is located in
the center of the instrument cluster.
The warning message may appear
differently depending on the type of
instrument cluster and some may not
show the warning message at all.
The warning message is shown in
either symbol, symbol and text, or
text type only. You can choose the
preferred language (for Type B only)
by selecting the User setting menu in
LCD mode.
Page 208 of 595

Features of your vehicle
136 4
Defogging Logic
To reduce the probability of fogging
up inside of the windshield, the air
intake or air conditioning are con-
trolled automatically according to
certain conditions such as or
position. Logic can be disabled and
enabled by doing following :
Manual climate control system
1. Turn the ignition switch to the ON
position.
2. Turn the mode selection knob to
the defrost position ( ).
3. Push the air intake control button
at least 5 times within 3 seconds.
The indicator light in the air intake
control button will blink 3 times with
0.5 second of interval. It indicates that
the defogging logic is canceled or
returned to the programmed status.
If the battery has been discharged or
disconnected, it resets to the defog
logic status.
Automatic climate control system
1. Turn the ignition switch to the ON
position.
2. Select the defroster position before
pressing the defroster button ( ).
3. While pressing the air conditioning
button (A/C), press the air intake
control button ( ) at least 5
times within 3 seconds.
The indicator on the air intake button
blinks 3 times with 0.5 seconds of
interval. It indicates that the defog-
ging logic is canceled or returned to
the programmed status.
OYD046036LOYD046037L
Page 209 of 595
4 137
Features of your vehicle
If the battery has been discharged or
disconnected, it resets to the defog
logic status.Auto defogging system
(if equipped)
Auto defogging reduces the probabil-
ity of fogging up the inside of the
windshield by automatically sensing
the moisture inside the windshield.
The auto defogging system operates
when the heater or air conditioning is
on.This indicator illuminates
when the auto defogging
system senses the mois-
ture inside the windshield
and operates.
If more moisture is in the vehicle,
higher steps operate as follows. For
example, if auto defogging does not
defog inside the windshield at step 1
Outside air position, it tries to defog
again at step 2 Blowing air toward
the windshield.
Step 1 : Outside air position
Step 2 : Blowing air toward the wind-
shield
Step 3 : Increasing air flow toward
the windshield
Step 4 : Operating the air conditioning
Step 5 : Maximizing the air condi-
tioning
OYDDCL2029
Page 210 of 595

Features of your vehicle
138 4
If your vehicle is equipped with the
auto defogging system, it is automat-
ically activated when the conditions
are met. However, if you would like to
cancel the auto defogging system,
press the front defroster button 4
times within 2 seconds while press-
ing the AUTO button. The indicator
will blink 3 times to notify you that the
system is cancelled. To use the auto
defogging system again, follow the
procedures mentioned above.
If the battery has been disconnected
or discharged, it resets to the auto
defogging status.✽NOTICE
• When the air conditioning is
turned on by Auto defogging sys-
tem, if you try to turn off the air
conditioning, the indicator will
blink 3 times and the air condi-
tioning will not be turned off.
• For efficiency, do not select recir-
culated air position while Auto
defogging system is operating.
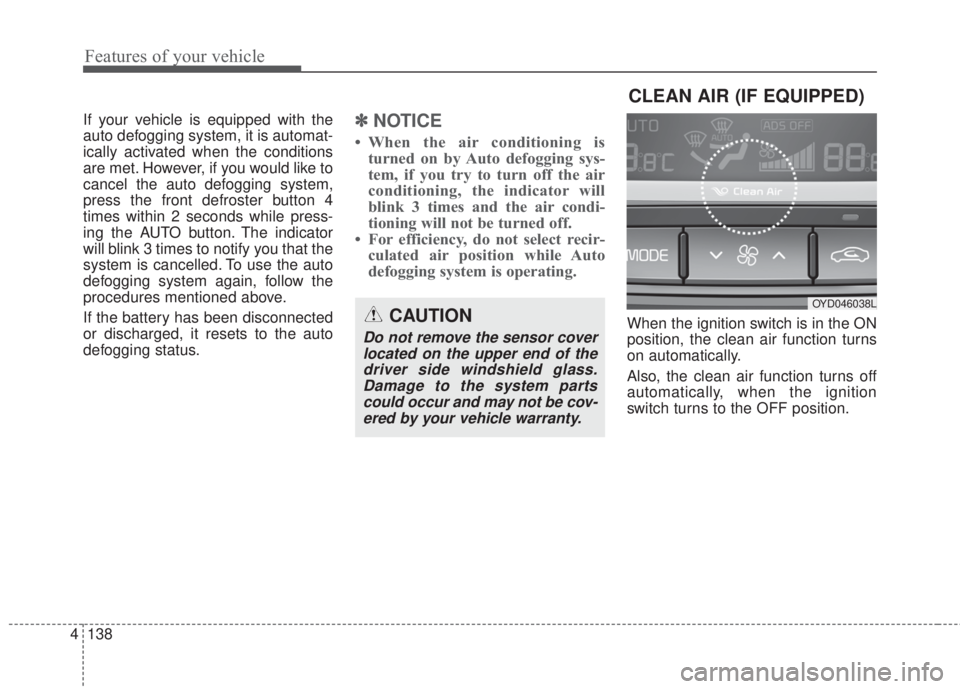
When the ignition switch is in the ON
position, the clean air function turns
on automatically.
Also, the clean air function turns off
automatically, when the ignition
switch turns to the OFF position.CAUTION
Do not remove the sensor cover
located on the upper end of the
driver side windshield glass.
Damage to the system parts
could occur and may not be cov-
ered by your vehicle warranty.
CLEAN AIR (IF EQUIPPED)
OYD046038L
Page 219 of 595
4 147
Features of your vehicle
LCD monitor (clock)Whenever the battery terminals or
related fuses are disconnected, you
must reset the time.
When the ignition switch is in the
ACC or ON position, the clock but-
tons operate as follows:
• HOUR (1) :
Pressing the 'H" button will advance
the time display by one hour.
• MINUTE (2) :
Pressing the "M" button will advance
the time display by one minute.
• Display conversion:
- Clock
To change the 12 hour format to
the 24 hour format, press the "H"
and “M” button at the same time for
more than 4 seconds.
For example, if the time is 10:15
p.m., the display will change to
22:15.
WARNING- Clock setting
distraction
Do not adjust the clock while
driving. You may lose your steer-
ing control and cause severe
personal injury or an accident.
OYD046323