2017 KIA CARENS RHD fuses
[x] Cancel search: fusesPage 172 of 723

Features of your vehicle
76
4
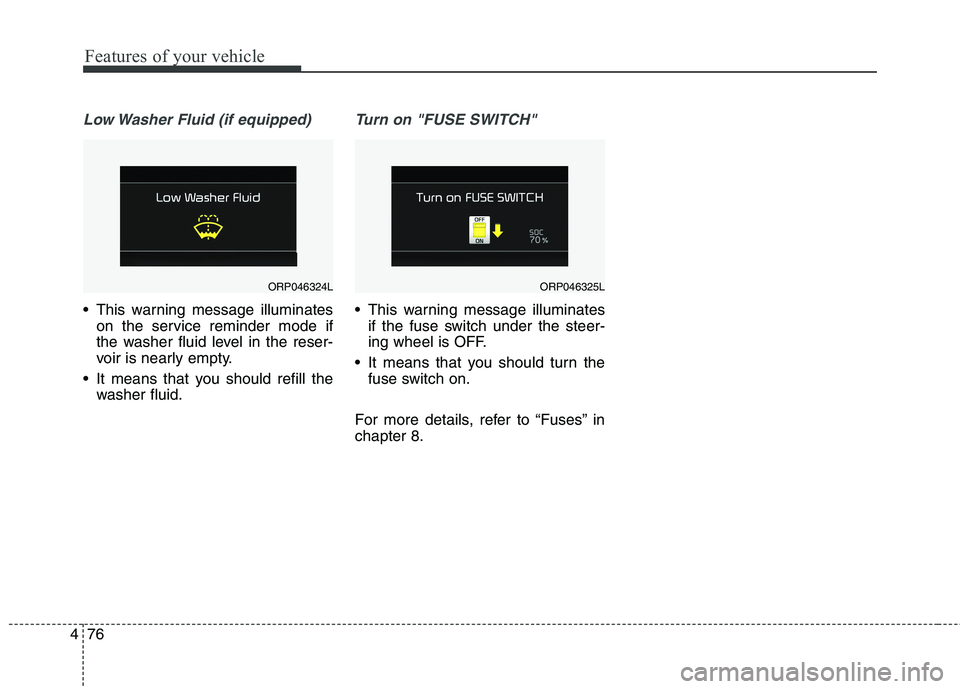
Low Washer Fluid (if equipped)
This warning message illuminates
on the service reminder mode if
the washer fluid level in the reser-
voir is nearly empty.
It means that you should refill the washer fluid.
Turn on "FUSE SWITCH"
This warning message illuminatesif the fuse switch under the steer-
ing wheel is OFF.
It means that you should turn the fuse switch on.
For more details, refer to “Fuses” inchapter 8.
ORP046324LORP046325L
Page 589 of 723

Fuses . . . . . . . . . . . . . . . . . . . . . . . . . . . . . . . . . . . . 8-63
Light bulbs . . . . . . . . . . . . . . . . . . . . . . . . . . . . . . . 8-84 . . . . . . . . . . . . . . . . . . . . . . . 8-85
. . . . . . . . . . . . 8-95
. . . . . . . 8-95
. . . . . . . 8-98
. . . . . . . . . . . . 8-99
. . . . . . . . . . . . . . . . 8-100
Appearance care . . . . . . . . . . . . . . . . . . . . . . . . . . 8-101 . . . . . . . . . . . . . . . . . . . . . . . . . . . . . . . 8-101
. . . . . . . . . . . . . . . . . . . . . . . . . . . . . . . . 8-107
Emission control system . . . . . . . . . . . . . . . . . . . 8-109 . . . . . . . . . . . . . 8-109
. . . . . . . . . . . 8-109
. . . . . . . . . . . . . . . 8-110
. . . . . . . . . . . . . . . . . . . . . . . . . . . . . 8-112
8
Page 650 of 723

863
Maintenance
FUSESA vehicle’s electrical system is pro-
tected from electrical overload dam-
age by fuses.
This vehicle has 3 (or 4) fuse panels,
one located in the driver’s side panel
bolster, others in the engine com-
partment near the battery.
If any of your vehicle’s lights, acces-
sories, or controls do not work, check
the appropriate circuit fuse. If a fuse
has blown, the element inside thefuse will be melted.
If the electrical system does not
work, first check the driver’s sidefuse panel.
Always replace a blown fuse with
one of the same rating.
Before replacing a blown fuse, dis-
connect the negative battery cable.
If the replacement fuse blows, this
indicates an electrical problem. Avoid
using the system involved and we
recommend that you consult an
authorised Kia dealer.
Three kinds of fuses are used: bladetype for lower amperage rating, car-tridge type, and multi fuse type for higher amperage ratings.
WARNING - Fuse
replacement
Never replace a fuse with any- thing but another fuse of the same rating.
A higher capacity fuse could cause damage and possibly a
fire.
Never install a wire or aluminum foil instead of the proper fuse -
even as a temporary repair. It
may cause extensive wiring
damage and a possible fire.
Do not arbitrarily modify or add-on electric wiring of the
vehicle.
Normal
Normal
■
Blade type
■ Cartridge type
■ Multi fuse type Blown
Blown
Normal Blown
ORB072110/ODM072020
Normal
Blown
■
Battery fuse terminal
Page 651 of 723

Maintenance
64
8
✽✽
NOTICE
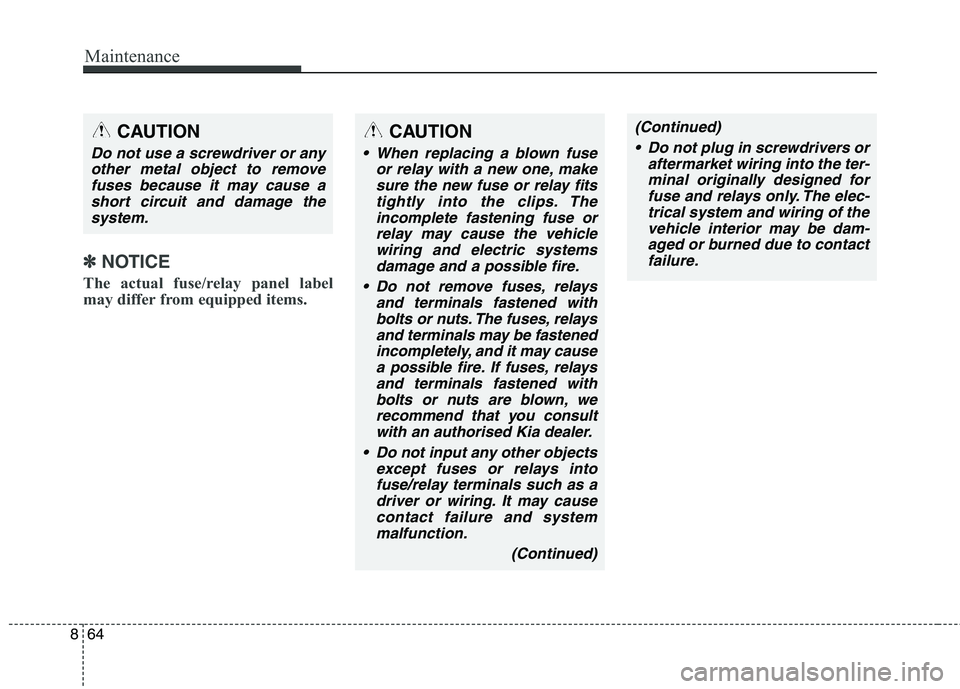
The actual fuse/relay panel label
may differ from equipped items.
CAUTION
When replacing a blown fuse or relay with a new one, makesure the new fuse or relay fitstightly into the clips. Theincomplete fastening fuse or relay may cause the vehiclewiring and electric systemsdamage and a possible fire.
Do not remove fuses, relays and terminals fastened withbolts or nuts. The fuses, relays and terminals may be fastenedincompletely, and it may causea possible fire. If fuses, relays and terminals fastened withbolts or nuts are blown, werecommend that you consult with an authorised Kia dealer.
Do not input any other objects except fuses or relays intofuse/relay terminals such as adriver or wiring. It may cause contact failure and systemmalfunction.
(Continued)
(Continued)
Do not plug in screwdrivers or aftermarket wiring into the ter-minal originally designed forfuse and relays only. The elec- trical system and wiring of thevehicle interior may be dam-aged or burned due to contact failure.CAUTION
Do not use a screwdriver or anyother metal object to removefuses because it may cause a short circuit and damage thesystem.
Page 654 of 723

867
Maintenance
2. Remove the fuse panel cover bypressing the tab and pulling the
cover up. When the blade type
fuse is disconnected, remove it by
using the clip designed for chang-ing fuses located in the engine
room fuse box. Upon removal,
securely insert reserve fuse of
equal quantity.
3. Check the removed fuse; replace it if it is blown. To remove or insert
the fuse, use the fuse puller in the
engine compartment fuse panel.
4. Push in a new fuse of the same rat- ing, and make sure it fits tightly in
the clips. If it fits loosely, we recom-
mend that you consult an autho-
rised Kia dealer.Main fuse
If the main fuse is blown, it must be
removed as follows:
1. Turn off the engine.
2. Disconnect the negative battery cable.
3. Remove the nuts shown in the pic- ture above.
4. Replace the fuse with a new one of the same rating.
5. Reinstall in the reverse order of removal.
OGDE071020R
CAUTION
After checking the fuse box in the
engine compartment, securelyinstall the fuse box cover. If not, electrical failures may occur fromwater leaking in.
CAUTION
Visually inspect the battery capfor secure closing. If the batterycap is not securely latched, the electrical system may be dam-aged to due influx of moistureinto the system.
Page 717 of 723

I5
Index
Fuel filler lid ..................................................................4-41
Closing the fuel filler lid ............................................4-41
Opening the fuel filler lid ..........................................4-41
Fuel Filter ......................................................................8-40 Draining water from fuel filter ..................................8-40
Fuel requirements ............................................................1-3 Diesel engine ................................................................1-6
Petrol engine ................................................................1-3
Fuses ..............................................................................8-63 Fuse/relay panel description ......................................8-69
Gross vehicle weight........................................................9-3
How to use this manual ..................................................1-2
If the engine does not start ..............................................7-4 If engine doesn't turn over or turns over slowly ..........7-4
If engine turns over normally but does not start ..........7-4
If the engine overheats ....................................................7-8
If you have a flat tyre (with spare tyre) ........................7-15 Changing tyres ..........................................................7-17
EC Declaration of Conformity for Jack......................7-25
Jack and tools ..............................................................7-15
Jack label ....................................................................7-24
Removing and storing the spare tyre ........................7-16
If you have a flat tyre (with tyre mobility kit) ..............7-26 Checking the tyre inflation pressure ..........................7-30
Components of the Tyre Mobility Kit (TMK) ............7-27
Distributing the sealant ..............................................7-30
Introduction ................................................................7-26
Notes on the safe use of the Tyre Mobility Kit ..........7-31
Technical Data ............................................................7-31
Using the Tyre Mobility Kit (TMK) ..........................7-28
In case of an emergency whilst driving ..........................7-3 If engine stalls whilst driving ......................................7-3
If the engine stalls at a crossroad or crossing ..............7-3
If you have a flat tyre whilst driving ............................7-3
Instrument cluster ..........................................................4-57 Gauges ........................................................................4-60
Instrument Cluster Control ........................................4-58
LCD Display Control ..................................................4-59
Transaxle Shift Indicator ............................................4-64
Instrument panel overview ..............................................2-5
Interior features............................................................4-172 Air ventilation seat ....................................................4-176
Ashtray ......................................................................4-172
AUX, USB and iPod ................................................4-180
Bottle holder ............................................................4-174
F
H
G
I