Page 90 of 615

IconDescription
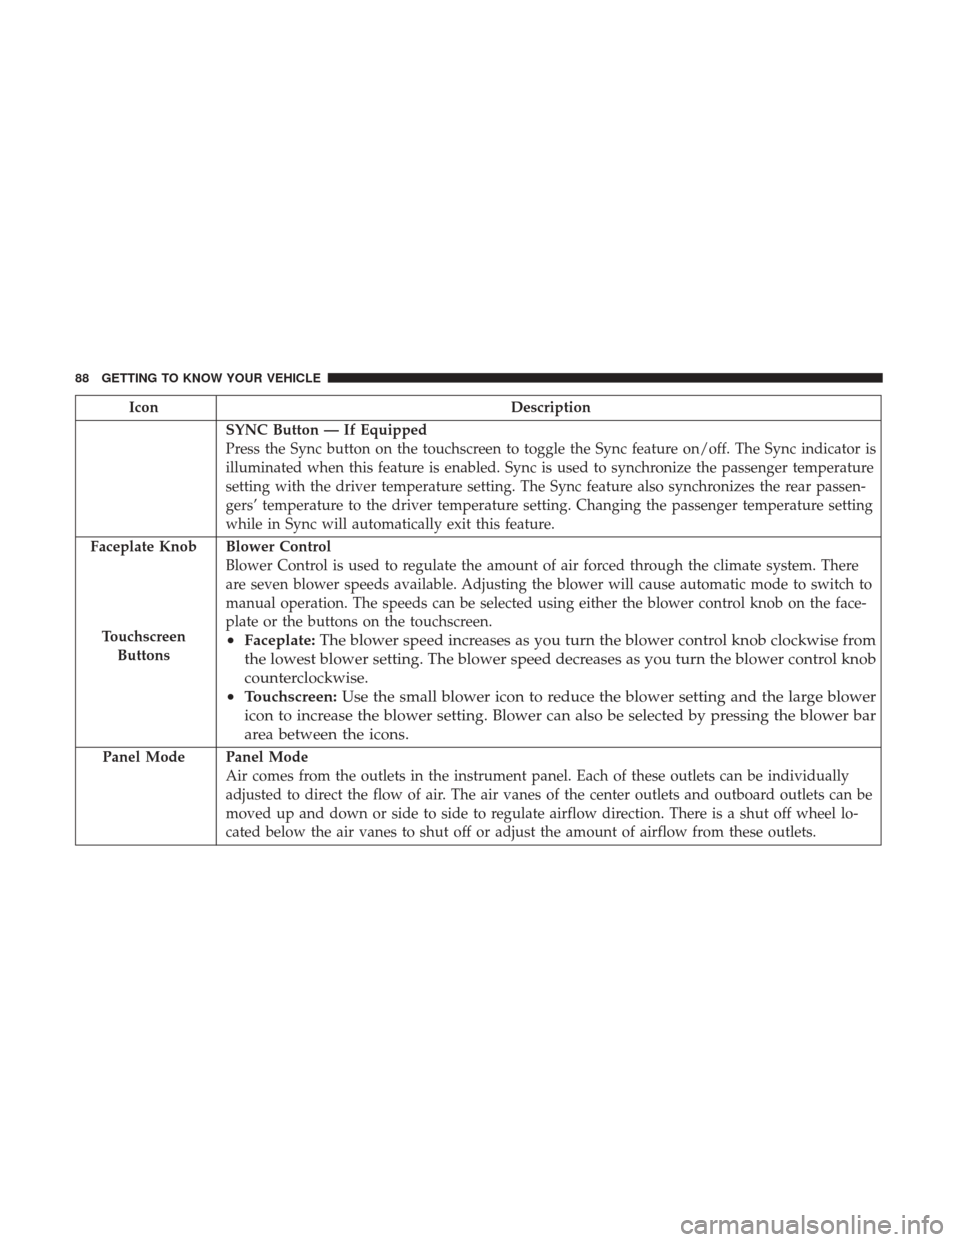
SYNC Button — If Equipped
Press the Sync button on the touchscreen to toggle the Sync feature on/off. The Sync indicator is
illuminated when this feature is enabled. Sync is used to synchronize the passenger temperature
setting with the driver temperature setting. The Sync feature also synchronizes the rear passen-
gers’ temperature to the driver temperature setting. Changing the passenger temperature setting
while in Sync will automatically exit this feature.
Faceplate Knob
Touchscreen Buttons
Blower Control
Blower Control is used to regulate the amount of air forced through the climate system. There
are seven blower speeds available. Adjusting the blower will cause automatic mode to switch to
manual operation. The speeds can be selected using either the blower control knob on the face-
plate or the buttons on the touchscreen.
• Faceplate: The blower speed increases as you turn the blower control knob clockwise from
the lowest blower setting. The blower speed decreases as you turn the blower control knob
counterclockwise.
• Touchscreen: Use the small blower icon to reduce the blower setting and the large blower
icon to increase the blower setting. Blower can also be selected by pressing the blower bar
area between the icons.
Panel ModePanel Mode
Air comes from the outlets in the instrument panel. Each of these outlets can be individually
adjusted to direct the flow of air. The air vanes of the center outlets and outboard outlets can be
moved up and down or side to side to regulate airflow direction. There is a shut off wheel lo-
cated below the air vanes to shut off or adjust the amount of airflow from these outlets.
88 GETTING TO KNOW YOUR VEHICLE
Page 99 of 615
Window Lockout Switch
The window lockout switch on the driver’s door trim panel
allows you to disable the window controls on the rear
passenger doors. To disable the window controls, push and
release the window lockout button (the indicator light on
the button with turn on). To enable the window controls,
push and release the window lockout button again (the
indicator light on the button will turn back off).
POWER SUNROOF WITH POWER SHADE —
IF EQUIPPED
The power sunroof switches are located to the left between
the sun visors on the overhead console.
Window Lockout Switch
Power Sunroof Switches
3
GETTING TO KNOW YOUR VEHICLE 97
Page 100 of 615

The power shade switches are located to the right between
the sun visors on the overhead console.WARNING!
•Never leave children unattended in a vehicle, or with
access to an unlocked vehicle. Never leave the key
fob in or near the vehicle, or in a location accessible
to children. Do not leave the ignition of a vehicle
equipped with Keyless Enter-N-Go in the ACC or
ON/RUN mode. Occupants, particularly unattended
children, can become entrapped by the power sun-
roof while operating the power sunroof switch. Such
entrapment may result in serious injury or death.
• In a collision, there is a greater risk of being thrown
from a vehicle with an open sunroof. You could also
be seriously injured or killed. Always fasten your
seat belt properly and make sure all passengers are
also properly secured.
• Do not allow small children to operate the sunroof.
Never allow your fingers, other body parts, or any
object, to project through the sunroof opening. In-
jury may result.
Power Shade Switches
98 GETTING TO KNOW YOUR VEHICLE
Page 103 of 615

Manual
To close the shade, push and hold the switch in the forward
position. Any release of the switch will stop the movement
and the shade will remain in a partially closed condition
until the switch is pushed again.
Pinch Protect Feature
This feature will detect an obstruction in the opening of the
sunroof during Express Close operation. If an obstruction in
the path of the sunroof is detected, the sunroof will auto-
matically retract. Remove the obstruction if this occurs.
NOTE:If three consecutive sunroof close attempts result in
Pinch Protect reversals, Pinch Protect will disable and the
sunroof must be closed in Manual Mode.
Wind Buffeting
Wind buffeting can be described as the perception of
pressure on the ears or a helicopter-type sound in the ears.
Your vehicle may exhibit wind buffeting with the windows
down, or the sunroof (if equipped) in certain open or partially open positions. This is a normal occurrence and
can be minimized. If the buffeting occurs with the rear
windows open, then open the front and rear windows
together to minimize the buffeting. If the buffeting occurs
with the sunroof open, adjust the sunroof opening to
minimize the buffeting or open any window.
Sunroof Maintenance
Use only a non-abrasive cleaner and a soft cloth to clean the
glass panel.
Ignition OFF Operation
The power sunroof switch will remain active for up to
approximately ten minutes after the ignition switch is
turned to the LOCK position. Opening either front door
will cancel this feature.
NOTE:
Ignition Off time is programmable through the
Uconnect System. Refer to “Uconnect Settings” in “Mulit-
media” for further information.
3
GETTING TO KNOW YOUR VEHICLE 101
Page 105 of 615

Closing The Hood
Lower the hood to approximately 12 inches (30 cm) from
the engine compartment and drop it. Make sure that the
hood is completely closed.
WARNING!
Be sure the hood is fully latched before driving your
vehicle. If the hood is not fully latched, it could open
when the vehicle is in motion and block your vision.
Failure to follow this warning could result in serious
injury or death.
CAUTION!
To prevent possible damage, do not slam the hood to
close it. Lower hood to approximately 12 in (30 cm) and
drop the hood to close. Make sure hood is fully closed
for both latches. Never drive vehicle unless hood is
fully closed, with both latches engaged.
LIFTGATE
Opening
To Unlock/Enter The Liftgate
The liftgate may be released in several ways:
•Key fob
• Outside handle
The liftgate passive entry unlock feature is built into the
electronic liftgate release. With a valid Passive Entry key
fob within 3 ft (1.0 m) of the liftgate, push the electronic
liftgate release to open with one fluid motion. Push the
button on the key fob twice within five seconds to release
the liftgate.
NOTE: If “Unlock All Doors 1st Press” is programmed in
instrument cluster display, all doors will unlock when you
push the electronic release on the liftgate. If �Unlock Driver
Door 1st Press� is programmed in Uconnect, the liftgate
will unlock when you push the electronic release on the
liftgate. Refer to “Uconnect Settings” in “Multimedia” for
further information.
3
GETTING TO KNOW YOUR VEHICLE 103
Page 106 of 615
NOTE:Use the power door lock switch on either front
door trim panel or the key fob to lock and unlock the
liftgate. The manual door locks on the doors and the
driver’s door lock cylinder will not lock and unlock the
liftgate.
WARNING!
Driving with the liftgate open can allow poisonous
exhaust gases into your vehicle. You and your passen-
gers could be injured by these fumes. Keep the liftgate
closed when you are operating the vehicle.
Closing
Grasp the liftgate closing handle and initiate lowering the
liftgate. Release the handle when the liftgate takes over the
closing effort.
NOTE: Before closing the liftgate, make sure to be in
possession of the key because the liftgate may be locked.
Liftgate Entry
1 — Liftgate Pull Handle
104 GETTING TO KNOW YOUR VEHICLE
Page 107 of 615

To Lock The Liftgate
With a valid Passive Entry key fob within 5 ft (1.5 m) of the
liftgate, pushing the Keyless Enter-N-Go — Passive Entry
lock button located to the right of the outside handle
release will lock the vehicle.
NOTE:The liftgate unlock feature is built into the elec-
tronic liftgate release.
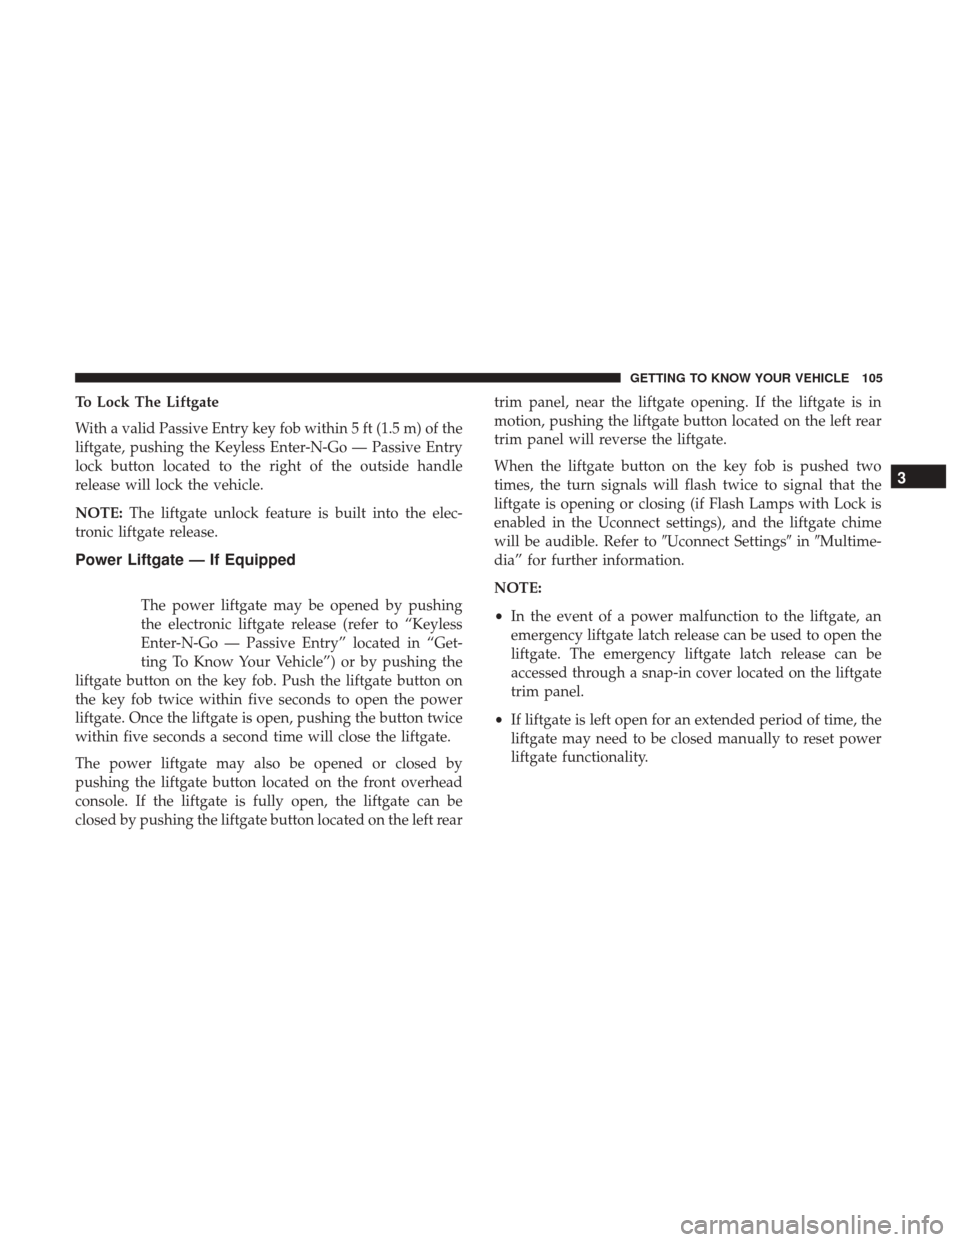
Power Liftgate — If Equipped
The power liftgate may be opened by pushing
the electronic liftgate release (refer to “Keyless
Enter-N-Go — Passive Entry” located in “Get-
ting To Know Your Vehicle”) or by pushing the
liftgate button on the key fob. Push the liftgate button on
the key fob twice within five seconds to open the power
liftgate. Once the liftgate is open, pushing the button twice
within five seconds a second time will close the liftgate.
The power liftgate may also be opened or closed by
pushing the liftgate button located on the front overhead
console. If the liftgate is fully open, the liftgate can be
closed by pushing the liftgate button located on the left rear trim panel, near the liftgate opening. If the liftgate is in
motion, pushing the liftgate button located on the left rear
trim panel will reverse the liftgate.
When the liftgate button on the key fob is pushed two
times, the turn signals will flash twice to signal that the
liftgate is opening or closing (if Flash Lamps with Lock is
enabled in the Uconnect settings), and the liftgate chime
will be audible. Refer to
�Uconnect Settings�in�Multime-
dia” for further information.
NOTE:
• In the event of a power malfunction to the liftgate, an
emergency liftgate latch release can be used to open the
liftgate. The emergency liftgate latch release can be
accessed through a snap-in cover located on the liftgate
trim panel.
• If liftgate is left open for an extended period of time, the
liftgate may need to be closed manually to reset power
liftgate functionality.
3
GETTING TO KNOW YOUR VEHICLE 105
Page 115 of 615

Reprogramming A Single HomeLink Button (Canadian/
Gate Operator)
To reprogram a channel that has been previously trained,
follow these steps:
1. Cycle the ignition to the ON/RUN position.
2. Push and hold the desired HomeLink button until theindicator light begins to flash after 20 seconds. Do not
release the button.
3.
Without releasing the button proceed with “Canadian/
Gate Operator Programming” step 2 and follow all re-
maining steps.
Using HomeLink
To operate, push and release the programmed HomeLink
button. Activation will now occur for the programmed
device (i.e. garage door opener, gate operator, security
system, entry door lock, home/office lighting, etc.) The
hand-held transmitter of the device may also be used at
any time.
Security
It is advised to erase all channels before you sell or turn in
your vehicle.
To do this, push and hold the two outside buttons for 20
seconds until the orange indicator flashes. Note that all
channels will be erased. Individual channels cannot be
erased.
The HomeLink Universal Transceiver is disabled when the
Vehicle Security Alarm is active.
Troubleshooting Tips
If you are having trouble programming HomeLink, here
are some of the most common solutions:
• Replace the battery in the Garage Door Opener hand-
held transmitter.
• Push the LEARN button on the Garage Door Opener to
complete the training for a Rolling Code.
•
Did you unplug the device for programming and remem-
ber to plug it back in?
If you have any problems, or require assistance, please call
toll-free 1-800-355-3515
or, on the Internet at HomeLink.com
for information or assistance.
3
GETTING TO KNOW YOUR VEHICLE 113