Page 198 of 562

3-101
Convenient features of your vehicle
3
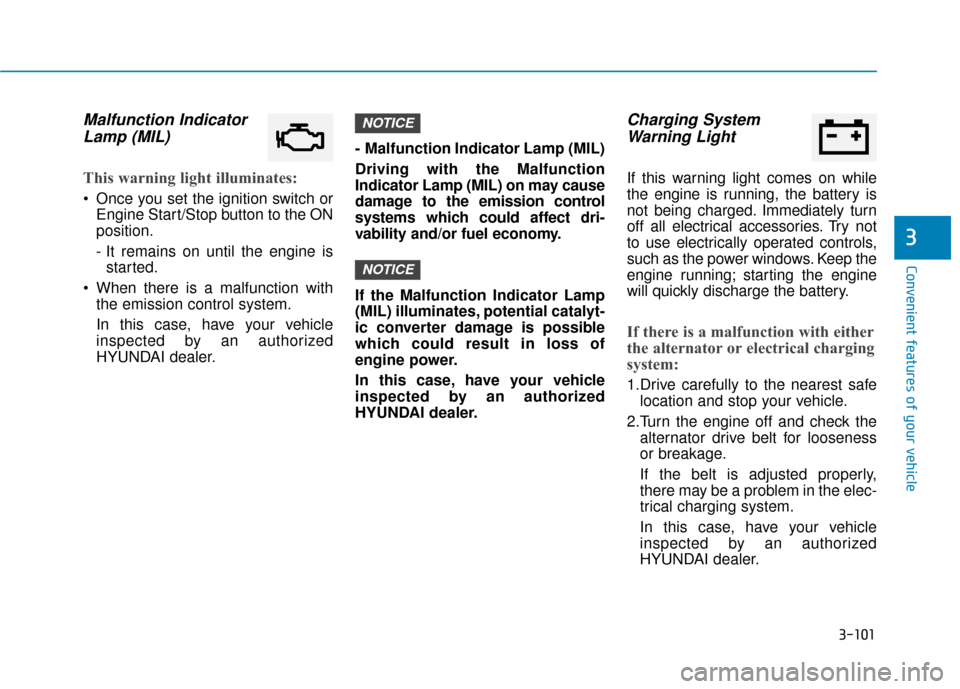
Malfunction IndicatorLamp (MIL)
This warning light illuminates:
Once you set the ignition switch or
Engine Start/Stop button to the ON
position.
- It remains on until the engine isstarted.
When there is a malfunction with the emission control system.
In this case, have your vehicle
inspected by an authorized
HYUNDAI dealer. - Malfunction Indicator Lamp (MIL)
Driving with the Malfunction
Indicator Lamp (MIL) on may cause
damage to the emission control
systems which could affect dri-
vability and/or fuel economy.
If the Malfunction Indicator Lamp
(MIL) illuminates, potential catalyt-
ic converter damage is possible
which could result in loss of
engine power.
In this case, have your vehicle
inspected by an authorized
HYUNDAI dealer.
Charging System
Warning Light
If this warning light comes on while
the engine is running, the battery is
not being charged. Immediately turn
off all electrical accessories. Try not
to use electrically operated controls,
such as the power windows. Keep the
engine running; starting the engine
will quickly discharge the battery.
If there is a malfunction with either
the alternator or electrical charging
system:
1.Drive carefully to the nearest safe
location and stop your vehicle.
2.Turn the engine off and check the alternator drive belt for looseness
or breakage.
If the belt is adjusted properly,
there may be a problem in the elec-
trical charging system.
In this case, have your vehicle
inspected by an authorized
HYUNDAI dealer.
NOTICE
NOTICE
Page 203 of 562

3-106
Convenient features of your vehicle
This indicator light illuminates for
2 seconds and goes off:
When the vehicle can not detect the
smart key which is in the vehicle
while the ignition switch or the
Engine Start/Stop button is ON.
In this case, have your vehicle inspect-
ed by an authorized HYUNDAI dealer.
This indicator light blinks:
When the battery of the smart keyis weak.
- At this time, you can not start theengine. However, you can start the
engine if you press the ignition
switch or the Engine Start/Stop but-
ton with the smart key. (For more
information, refer to "Starting
the Engine" in chapter 5).
When there is a malfunction with the immobilizer system.
In this case, have your vehicle
inspected by an authorized
HYUNDAI dealer.
Turn Signal IndicatorLight
This indicator light blinks:
When you turn the turn signal light
on.
If any of the following occurs, there
may be a malfunction with the turn
signal system. In this case, have your
vehicle inspected by an authorized
HYUNDAI dealer.
- The indicator light does not blinkbut illuminates.
- The indicator light blinks more rapidly.
- The indicator light does not illumi- nate at all.
High Beam IndicatorLight
This indicator light illuminates:
When the headlights are on and in
the high beam position.
When the turn signal lever is pulled into the Flash-to-Pass position.
Smart High Beam indi-cator (if equipped)
This warning light illuminates :
When the high-Beam is on with the
light switch in the AUTO light posi-
tion.
If your vehicle detects oncoming or preceding vehicles, the Smart High
Beam system will switch the high
beam to low beam automatically.
For more information, refer to
"Smart High Beam" in this chapter.
Page 212 of 562

3-115
Convenient features of your vehicle
3
Battery saver function
The purpose of this feature is to pre-
vent the battery from being dis-
charged. The system automatically
turns off the parking lamp when the
key is removed (remote key) or when
the driver turns the engine off (smart
key) and opens the driver-side door.
With this feature, the parking lamps
will turn off automatically if the driver
parks on the side of road at night.
If necessary, to keep the lamps on
when the engine is turned off, perform
the following:
1) Open the driver-side door.
2) Turn the parking lamps OFF andON again using the light switch on
the steering column.
Headlamp delay function (if equipped)
If the key is removed from the ignition
switch or placed in the ACC position or
the LOCK/OFF position with the head-
lamps ON, the headlamps (and/or
parking lamps) remain on for about 5
minutes. However, if the driver’s door
is opened and closed, the headlights
are turned off after 15 seconds.
However, with the engine off if the dri-
ver's door is opened and closed, the
headlamps (and/or parking lamps) are
turned off after 15 seconds.
The headlamps (and/or parking lamps)
can be turned off by pressing the lock
button on the remote key or smart key
twice or turning the light switch to the
OFF or AUTO position. However, if you
turn the light switch to the AUTO posi-
tion when it is dark outside, the head-
lamps will not be turned off.
You can activate or deactivate the
Headlamp Delay function from the
User Settings Mode (Light) on the
LCD display.
For more information, refer to the
"LCD Display" section in this
chapter. If the driver gets out of the vehicle
through other doors (except dri-
ver's door), the battery saver func-
tion does not operate and the
headlamp delay function does not
turn off automatically. Therefore, It
causes the battery to be dis-
charged. In this case, make sure
to turn off the lamp before getting
out of the vehicle.
NOTICE
Page 215 of 562
3-118
Convenient features of your vehicle
Interior Lights
Do not use the interior lights for
extended periods when the engine
is turned off or the battery will dis-
charge.
Interior lamp AUTO cut
The interior lamps will automatically
go off approximately 20 minutes after
the engine is turned off and the
doors closed. If a door is opened, the
lamp will go off 40 minutes after the
engine is turned off. If the doors are
locked by the remote key or smart
key and the vehicle enters the armed
stage of the theft alarm system, the
lamps will go off five seconds later.
Front lamps
NOTICE
Do not use the interior lights
when driving in the dark. The
interior lights may obscure your
view and cause an accident.
WARNING
OLF044096N
OLF044097N
OLF046557N
■Type B
■Type A
■Type C
Page 242 of 562

3-145
Convenient features of your vehicle
3
Adjusting the driver and passen-
ger side temperature individually
Press the "SYNC" button again to
operate the driver and passenger
side temperature individually. The
button indicator will turn off.
Temperature conversion
If the battery has been discharged or
disconnected, the temperature mode
display will reset to Fahrenheit.
To change the temperature unit from
°F to °C or °C to °F:
- On the instrument cluster, go toUser Settings Mode ➝ Other
Features ➝Temperature Unit.
- Press the AUTO button for 3 sec- onds while pressing the OFF button.
(Automatic climate control system)
Both the temperature unit on the
cluster LCD display and climate con-
trol screen will change.
Air intake control
This button is used to select the out-
side (fresh) air position or recirculat-
ed air position.
Recirculated air position
With the recirculated air position selected, air
from the passenger
compartment will be
drawn through the heat-
ing system and heated
or cooled according to
the function selected.
Outside (fresh) air position
With the outside (fresh)
air position selected, air
enters the vehicle from
outside and is heated or
cooled according to the
function selected.
Information
Prolonged use of the air conditioning
with the recirculated air position
selected will result in excessively dry
air in the passenger compartment.
i
OLF044226
■Type B OLF044225
■Type A
Page 250 of 562

3-153
Convenient features of your vehicle
Defogging logic (if equipped)
To reduce the probability of fogging
up the inside of the windshield, the
air intake or air conditioning are con-
trolled automatically according to
certain conditions such as or
position. To cancel or return the
defogging logic, do the following.
Manual climate control system
1. Turn the ignition switch to the ONposition.
2. Press the defroster button ( ).
3. Press the air intake control button at least 5 times within 10 seconds.
The indicator on the air intake button
blinks 3 times with 0.5 seconds of
interval. It indicates that the defog-
ging logic is canceled or returned to
the programmed status.
If the battery has been discharged or
disconnected, it resets to the defog
logic status.
Automatic climate control sys- tem
1. Turn the ignition switch to the ON
position.
2. Press the defroster button ( ).
3. While pressing the air conditioning button (A/C), press the air intake
control button at least 5 times with-
in 3 seconds.
The climate control information
screen will blink 3 times with 0.5 sec-
onds of interval. It indicates that the
defogging logic is canceled or
returned to the programmed status.
If the battery has been discharged or
disconnected, it resets to the defog
logic status.
3
Page 256 of 562

3-159
Convenient features of your vehicle
3
To prevent damage to the Power
Outlets :
Use the power outlet only whenthe engine is running and
remove the accessory plug after
use. Using the accessory plug
for prolonged periods of time
with the engine off could cause
the battery to discharge.
Only use 12V electric acces- sories which are less than 180
W(Watt) in electric capacity.
Adjust the air-conditioner or heater to the lowest operating
level when using the power outlet.
Close the cover when not in use.
Some electronic devices can cause electronic interference
when plugged into a vehicle’s
power outlet. These devices may
cause excessive audio static
and malfunctions in other elec-
tronic systems or devices used
in your vehicle.
(Continued)(Continued)
Push the plug in as far as it will
go. If good contact is not made,
the plug may overheat and the
fuse may open.
Plug in battery equipped electri- cal/electronic devices with
reverse current protection. The
current from the battery may
flow into the vehicle’s electri-
cal/electronic system and cause
system malfunction.
NOTICE
Avoid electrical shocks. Do not
place your fingers or foreign
objects (pin, etc.) into a power
outlet or touch the power outlet
with a wet hand.
WARNING
Page 257 of 562

3-160
Convenient features of your vehicle
Clock
With Audio system
Whenever the battery terminals or
related fuses are disconnected, you
must reset the time.
To set the time:The ignition switch must be in the
ACC position or the ON position.
• H (Hour, 1)
Each time you press the "H" button,
the clock will change backward by
one hour. Pressing and holding the
"H" button will change the clock
backward continuously.
Release the button at the desired time.
• M (Minute, 2)
Each time you press the "M" button ,
the clock will change backward by
one minute. Pressing and holding the
"M" button will change the clock
backward continuously.
Release the button at the desired time.
• Display conversion
To change the 12 hour format to the
24 hour format, press the "H" and
"M" button simultaneously for more
than 4 seconds.
For example, if the "H" and "M" but-
ton is pressed when the time is 10:15
p.m., the display will change to 22:15
With Navigation system
You can set the clock by using the
Navigation system.
Do not adjust the clock while
driving, you may lose your
steering control and cause an
accident that results in severe
personal injury or death.
WARNING
OLF044237
OLF044238