2017 HYUNDAI IX20 key
[x] Cancel search: keyPage 239 of 456
Driving your vehicle
8
5
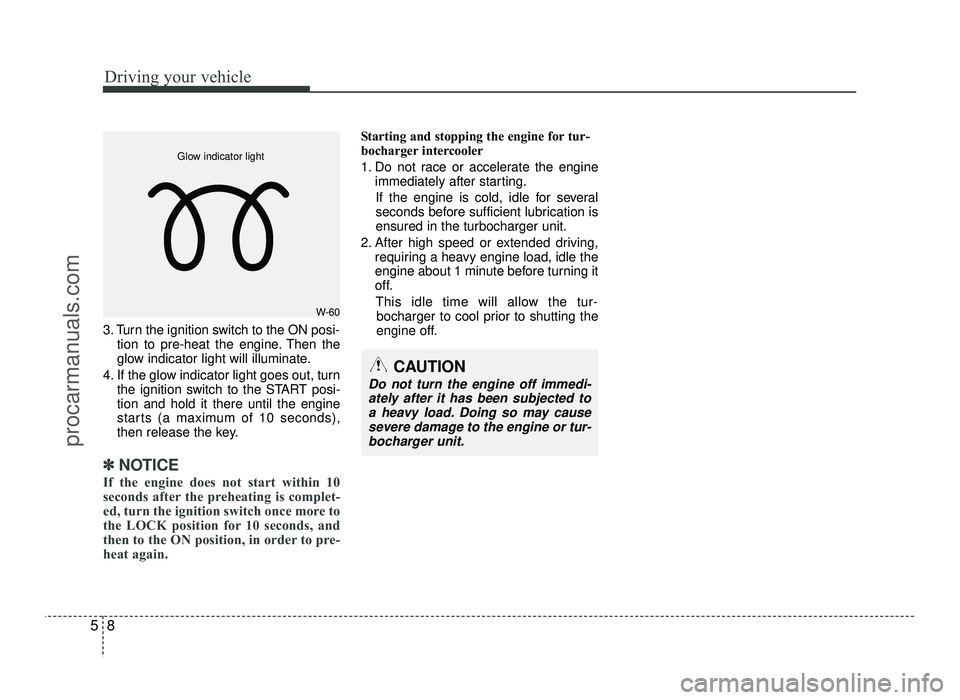
3. Turn the ignition switch to the ON posi-
tion to pre-heat the engine. Then the
glow indicator light will illuminate.
4. If the glow indicator light goes out, turn the ignition switch to the START posi-tion and hold it there until the engine
starts (a maximum of 10 seconds),
then release the key.
✽✽
NOTICE
If the engine does not start within 10
seconds after the preheating is complet-
ed, turn the ignition switch once more to
the LOCK position for 10 seconds, and
then to the ON position, in order to pre-
heat again.
Starting and stopping the engine for tur-
bocharger intercooler
1. Do not race or accelerate the engine immediately after starting.
If the engine is cold, idle for several
seconds before sufficient lubrication isensured in the turbocharger unit.
2. After high speed or extended driving, requiring a heavy engine load, idle the
engine about 1 minute before turning it
off.
This idle time will allow the tur- bocharger to cool prior to shutting the
engine off.
W-60
Glow indicator light
CAUTION
Do not turn the engine off immedi-
ately after it has been subjected toa heavy load. Doing so may cause
severe damage to the engine or tur-bocharger unit.
procarmanuals.com
Page 243 of 456
Driving your vehicle
12
5
Starting the engine
✽✽
NOTICE - Kick down mecha- nism (if equipped)
If your vehicle is equipped with a kick
down mechanism in the accelerator
pedal, it prevents you from driving at
full throttle unintentionally by making
the driver require increased effort to
depress the accelerator pedal. However,
if you depress the pedal more than
approximately 80%, the vehicle can be
at full throttle and the accelerator pedal
will be easier to depress. This is not a
malfunction but a normal condition.
Starting the gasoline engine (if equipped)
1. Carry the smart key or leave it inside the vehicle.
2. Make sure the parking brake is firmly applied
3. Manual Transaxle - Depress the
clutch pedal fully and shift the
transaxle into Neutral. Keep the clutch
pedal and brake pedal depressed
while starting the engine.
Automatic Transaxle - Place the
transaxle shift lever in P (Park).
Depress the brake pedal fully.
You can also start the engine when
the shift lever is in the N (Neutral)
position.
4. Press the ENGINE START/STOP but- ton.
It should be started without depressing
the accelerator.
5. Do not wait for the engine to warm up while the vehicle remains stationary.
Start driving at moderate engine speeds.
(Steep accelerating and decelerating
should be avoided.)
Starting the diesel engine (if equipped)
To start the diesel engine when the engine is cold, it has to be pre-heated
before starting the engine and then have
to be warmed up before starting to drive.
1. Make sure the parking brake is applied.
2. Manual Transaxle - Depress the
clutch pedal fully and shift the
transaxle into Neutral. Keep the clutch
pedal and brake pedal depressed
while pressing the ENGINE START/
STOP button to the START position.
Automatic Transaxle - Place the
transaxle shift lever in P (Park).
Depress the brake pedal fully.
You can also start the engine when the
shift lever is in the N (Neutral) position.
WARNING
Always wear appropriate shoes when operating your vehicle.
Unsuitable shoes (high heels, ski
boots,etc.) may interfere with
your ability to use the brake and
accelerator pedal, and the clutch(if equipped).
Do not start the vehicle with the accelerator pedal depressed. The
vehicle can move and lead to anaccident.
Wait until the engine rpm is nor- mal. The vehicle may suddenly
move if the brake pedal isreleased when the rpm is high.
procarmanuals.com
Page 244 of 456
513
Driving your vehicle
3. Press the ENGINE START/STOP but-ton while depressing the brake pedal.
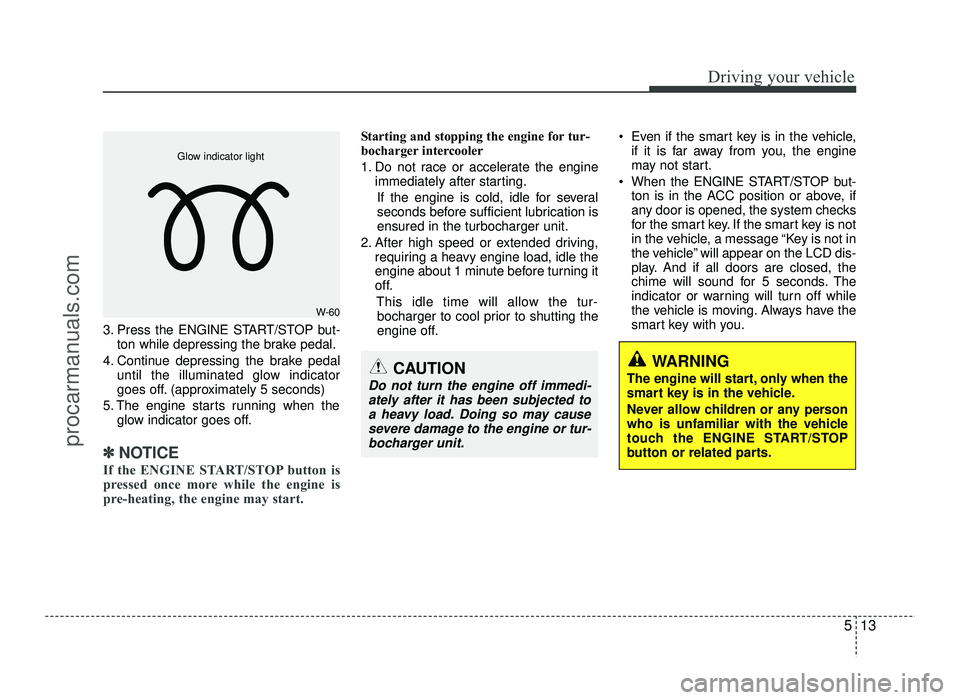
4. Continue depressing the brake pedal until the illuminated glow indicator
goes off. (approximately 5 seconds)
5. The engine starts running when the glow indicator goes off.
✽✽
NOTICE
If the ENGINE START/STOP button is
pressed once more while the engine is
pre-heating, the engine may start.
Starting and stopping the engine for tur-
bocharger intercooler
1. Do not race or accelerate the engine immediately after starting.
If the engine is cold, idle for several
seconds before sufficient lubrication isensured in the turbocharger unit.
2. After high speed or extended driving, requiring a heavy engine load, idle the
engine about 1 minute before turning it
off.
This idle time will allow the tur-bocharger to cool prior to shutting the
engine off. Even if the smart key is in the vehicle,
if it is far away from you, the engine
may not start.
When the ENGINE START/STOP but- ton is in the ACC position or above, if
any door is opened, the system checks
for the smart key. If the smart key is not
in the vehicle, a message “Key is not in
the vehicle” will appear on the LCD dis-
play. And if all doors are closed, the
chime will sound for 5 seconds. The
indicator or warning will turn off while
the vehicle is moving. Always have the
smart key with you.
WARNING
The engine will start, only when the
smart key is in the vehicle.
Never allow children or any person
who is unfamiliar with the vehicle
touch the ENGINE START/STOP
button or related parts.
W-60
Glow indicator light
CAUTION
Do not turn the engine off immedi-
ately after it has been subjected to
a heavy load. Doing so may causesevere damage to the engine or tur-
bocharger unit.
procarmanuals.com
Page 245 of 456
Driving your vehicle
14
5
✽✽
NOTICE
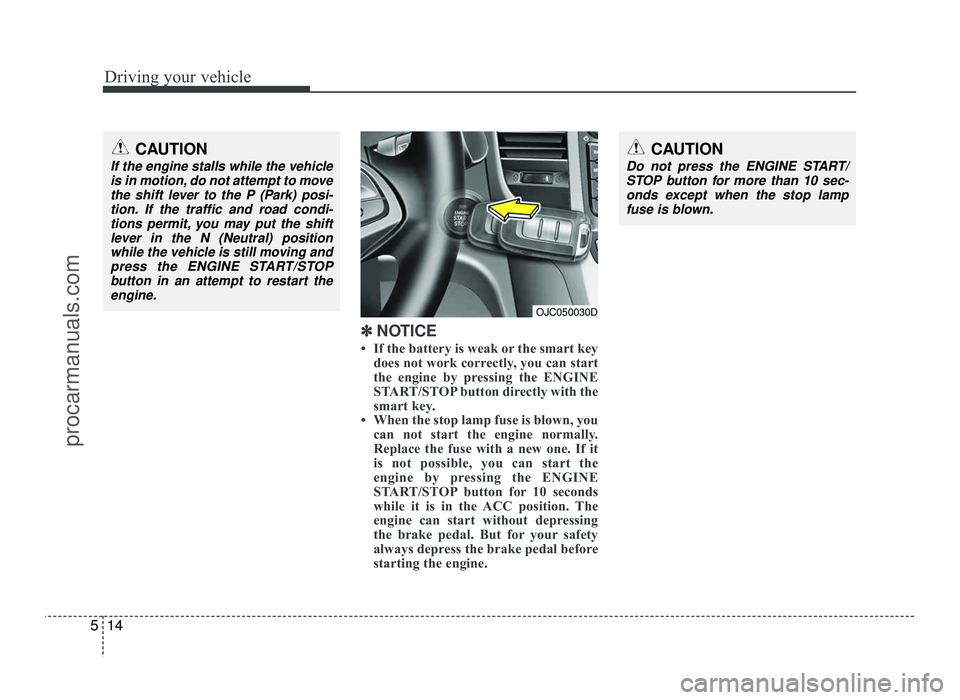
If the battery is weak or the smart key does not work correctly, you can start
the engine by pressing the ENGINE
START/STOP button directly with the
smart key.
When the stop lamp fuse is blown, you can not start the engine normally.
Replace the fuse with a new one. If it
is not possible, you can start the
engine by pressing the ENGINE
START/STOP button for 10 seconds
while it is in the ACC position. The
engine can start without depressing
the brake pedal. But for your safety
always depress the brake pedal before
starting the engine.
CAUTION
Do not press the ENGINE START/
STOP button for more than 10 sec-onds except when the stop lamp
fuse is blown.
OJC050030D
CAUTION
If the engine stalls while the vehicle is in motion, do not attempt to movethe shift lever to the P (Park) posi-
tion. If the traffic and road condi-tions permit, you may put the shiftlever in the N (Neutral) position
while the vehicle is still moving andpress the ENGINE START/STOP
button in an attempt to restart the engine.
procarmanuals.com
Page 249 of 456

Driving your vehicle
18
5
ISG system malfunction
The system may not operate when:
- The ISG related sensors or system
error occurs.
The yellow AUTO STOP indicator ( )
on the instrument cluster will stay on
after blinking for 5 seconds and the light
on the ISG OFF button will illuminate. If
your vehicle is equipped with a supervi-
sion cluster, the notice will illuminate on
the LCD display.
✽✽ NOTICE
If the ISG OFF button light is not turned off by pressing the ISG OFF
button again or if the ISG system con-
tinuously does not work correctly, we
recommend that you contact an
authorized HYUNDAI dealer.
When the ISG OFF button light comes on, it may stop illuminating after driv-
ing your vehicle at approximately 80
km/h for a maximum of two hours
and setting the fan speed control knob
below the 2nd position. If the ISG
OFF button light continues to illumi-
nate in spite of the procedure, we rec-
ommend that you contact an author-
ized HYUNDAI dealer.WARNING
When the engine is in Idle Stop
mode, it's possible to restart theengine without the driver taking
any action.
Before leaving the car or doing any-
thing in the engine room area, stop
the engine by turning the ignition
switch to the LOCK(OFF) position
or removing the ignition key.
OJC050036
procarmanuals.com
Page 287 of 456

Driving your vehicle
56
5
To keep locks from freezing
To keep the locks from freezing, squirt an
approved de-icer fluid or glycerine into
the key opening. If a lock is covered with
ice, squirt it with an approved de-icing
fluid to remove the ice. If the lock is
frozen internally, you may be able to thaw
it out by using a heated key. Handle the
heated key with care to avoid injury.
Use approved window washer
anti-freeze in system
To keep the water in the window washer
system from freezing, add an approved
window washer anti-freeze solution in
accordance with instructions on the con-
tainer. Window washer anti-freeze is
available from an authorized HYUNDAI
dealer and most auto parts outlets. Donot use engine coolant or other types of
anti-freeze as these may damage thepaint finish. Don't let your parking brake
freeze
Under some conditions your parking
brake can freeze in the engaged position.
This is most likely to happen when there
is an accumulation of snow or ice around
or near the rear brakes or if the brakes
are wet. If there is a risk the parking
brake may freeze, apply it only temporar-
ily while you put the shift lever in P (auto-
matic transaxle) or in first or reverse gear
(manual transaxle) and block the rear
wheels so the vehicle cannot roll. Then
release the parking brake.
Don't let ice and snow accumu- late underneath
Under some conditions, snow and ice
can build up under the fenders and inter-
fere with the steering. When driving in
severe winter conditions where this may
happen, you should periodically check
underneath the car to be sure the move-
ment of the front wheels and the steering
components is not obstructed.Carry emergency equipment
Depending on the severity of the weath-
er, you should carry appropriate emer-
gency equipment. Some of the items you
may want to carry include tire chains, tow
straps or chains, flashlight, emergency
flares, sand, shovel, jumper cables, win-
dow scraper, gloves, ground cloth, cover-
alls, blanket, etc.
Don't place foreign objects or
materials in the engine compart-ment
Placement of foreign objects or materials
which prevent cooling of the engine, in
the engine compartment, may cause a
failure or combustion. The manufacturer
is not responsible for the damage caused
by such placement.
procarmanuals.com
Page 429 of 456
Maintenance
90
7
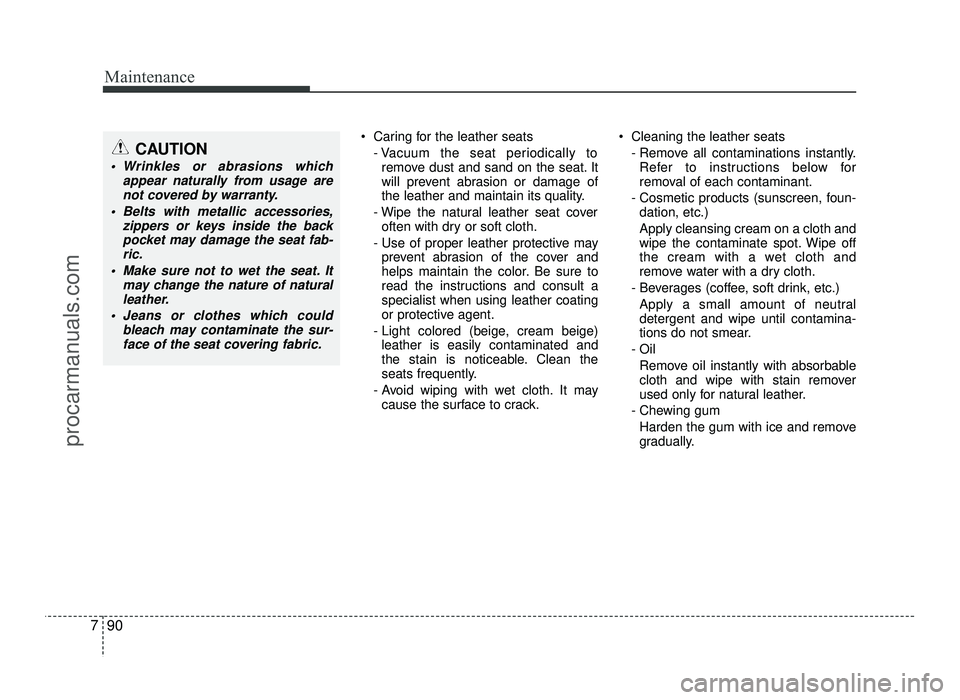
Caring for the leather seats
- Vacuum the seat periodically toremove dust and sand on the seat. It
will prevent abrasion or damage of
the leather and maintain its quality.
- Wipe the natural leather seat cover often with dry or soft cloth.
- Use of proper leather protective may prevent abrasion of the cover and
helps maintain the color. Be sure to
read the instructions and consult aspecialist when using leather coating
or protective agent.
- Light colored (beige, cream beige) leather is easily contaminated and
the stain is noticeable. Clean the
seats frequently.
- Avoid wiping with wet cloth. It may cause the surface to crack. Cleaning the leather seats
- Remove all contaminations instantly.Refer to instructions below for
removal of each contaminant.
- Cosmetic products (sunscreen, foun- dation, etc.)
Apply cleansing cream on a cloth and
wipe the contaminate spot. Wipe off
the cream with a wet cloth and
remove water with a dry cloth.
- Beverages (coffee, soft drink, etc.) Apply a small amount of neutraldetergent and wipe until contamina-
tions do not smear.
- Oil Remove oil instantly with absorbable
cloth and wipe with stain remover
used only for natural leather.
- Chewing gum Harden the gum with ice and remove
gradually.CAUTION
Wrinkles or abrasions which appear naturally from usage arenot covered by warranty.
Belts with metallic accessories, zippers or keys inside the backpocket may damage the seat fab-
ric.
Make sure not to wet the seat. It may change the nature of natural
leather.
Jeans or clothes which could bleach may contaminate the sur-
face of the seat covering fabric.
procarmanuals.com
Page 451 of 456
Index
6
I
Interior features ····························································4-104
Ashtray ···································································4-105
Cigarette lighter ······················································4-105
Clothes hanger·························································4-109
Cup holder ······························································4-106
Digital clock ···························································4-104
Aux, USB and iPod ················································4-108
Floor mat anchor(s) ················································4-109
Luggage net (holder) ··············································4-110
Luggage board ·························································4-110
Outside temperature ················································4-104
Power outlet ···························································4-107
Shopping bag holder ··············································4-108
Sunvisor ··································································4-107
Interior light ···································································4-80 Luggage room lamp ··················································4-18
Map lamp ··································································4-80
Room lamp ································································4-80
Vanity mirror lamp ····················································4-80
Interior light bulb replacement ······································7-83
Interior overview ·····························································2-2
ISG (Idle Stop and Go) system ······································5-15
ISOFIX system ······························································3-34 Jack and tools ···································································6-9
Jump starting ····································································6-5
Key positions ···································································5-5
Keys ·················································································4-2
Label
Air bag warning label ··············································3-61
Tire sidewall labeling ···············································7-58
Tire specification and pressure label ························8-10
Vehicle certification label ··········································8-9
Latch system, see ISOFIX system ·································3-34
License plate light bulb replacement ·····························7-82
Light bulbs ·····································································7-74 Front fog light bulb replacement ······························7-78
Headlight bulb replacement ······································7-75
High mounted stop light replacement ·······················7-82
Interior light bulb replacement··································7-83
License plate light bulb replacement ························7-82
Position light bulb replacement ································7-77
Rear combination light bulb replacement ·················7-79
L
K
J
procarmanuals.com