2017 Hyundai Ioniq Electric air conditioning
[x] Cancel search: air conditioningPage 447 of 582
6-6
What to do in an emergency
Jump starting procedure
1. Position the vehicles close enoughthat the jumper cables will reach,
but do not allow the vehicles totouch.
2. Avoid fans or any moving parts in the motor compartment at all
times, even when the vehicles are
turned off.
3. Turn off all electrical devices such as radios, lights, air conditioning,
etc. Put the vehicles in P (Park)
and set the parking brakes. Turn
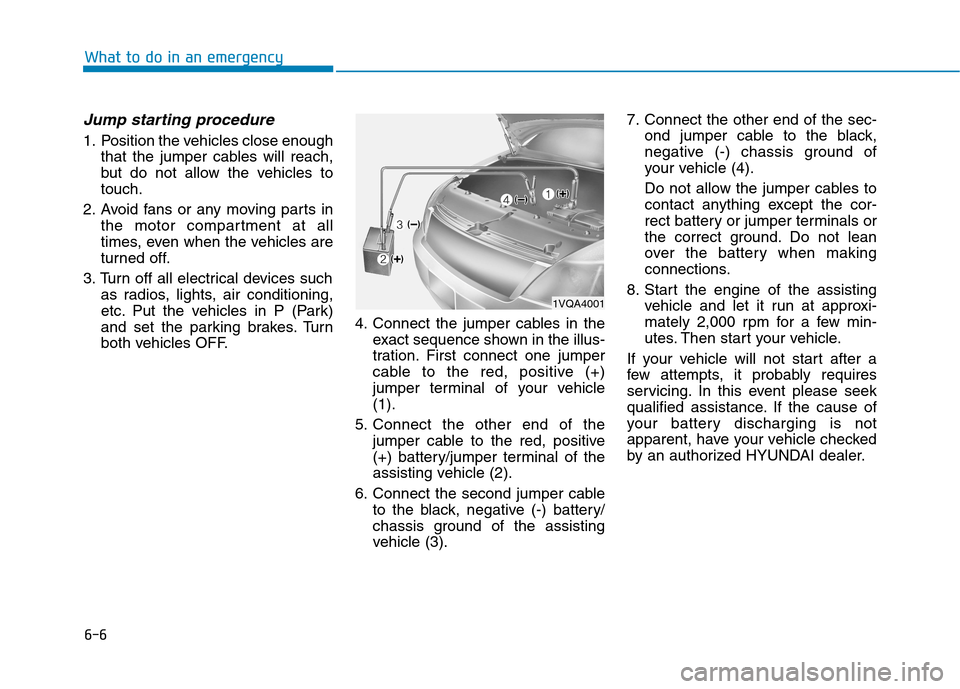
both vehicles OFF. 4. Connect the jumper cables in the
exact sequence shown in the illus-
tration. First connect one jumper
cable to the red, positive (+)
jumper terminal of your vehicle(1).
5. Connect the other end of the jumper cable to the red, positive
(+) battery/jumper terminal of the
assisting vehicle (2).
6. Connect the second jumper cable to the black, negative (-) battery/
chassis ground of the assisting
vehicle (3). 7. Connect the other end of the sec-
ond jumper cable to the black,
negative (-) chassis ground of
your vehicle (4).
Do not allow the jumper cables to
contact anything except the cor-
rect battery or jumper terminals or
the correct ground. Do not lean
over the battery when making
connections.
8. Start the engine of the assisting vehicle and let it run at approxi-
mately 2,000 rpm for a few min-
utes. Then start your vehicle.
If your vehicle will not start after a
few attempts, it probably requires
servicing. In this event please seek
qualified assistance. If the cause of
your battery discharging is not
apparent, have your vehicle checked
by an authorized HYUNDAI dealer.
1VQA4001
Page 449 of 582
6-8
What to do in an emergency
1. Pull off the road and stop as soonas it is safe to do so.
2. Shift to P (Park) and set the park- ing brake. If the air conditioning is
on, turn it off.
3. If coolant is running out under the vehicle or steam is coming out
from the hood, stop the vehicle.Do not open the hood until the
coolant has stopped running or
the steaming has stopped. If there
is no visible loss of coolant and no
steam, leave the vehicle running
and check to be sure the cooling
fan is operating. If the fan is not
running, turn the vehicle off.
4. Check for coolant leaking from the radiator, hoses or under the vehi-
cle. (If the air conditioning had
been in use, it is normal for cold
water to be draining from it when
you stop). 5. If coolant is leaking out, turn off
the vehicle immediately and we
recommend that you call an
authorized HYUNDAI dealer for
assistance.
6. If you cannot find the cause of the overheating, wait until the radiator
temperature has returned to nor-
mal. Then, if coolant has beenlost, carefully add coolant to the
reservoir to bring the fluid level in
the reservoir up to the halfway
mark. 7. Proceed with caution, keeping
alert for further signs of overheat-
ing. If overheating happens again,
we recommend that you call an
authorized HYUNDAI dealer for
assistance.
• Serious loss of coolant indi- cates there is a leak in the cool-ing system and we recommend
that the system be checked by
an authorized HYUNDAI dealer.
When overheating from low coolant, suddenly adding coolant
may cause damages in the motor
compartments. To prevent dam-
age, add coolant slowly in smallquantities.
NOTICE
IIFF TT HH EE VV EEHH IICC LLEE OO VVEERR HH EEAA TTSS
Do not remove the coolant cap
when the radiator is hot. This
can allow coolant to blow out ofthe opening and cause serious
burns.
WARNING
Page 472 of 582
7-6
Maintenance
While operating your vehicle:
Check for vibrations in the steeringwheel. Notice if there is any
increased steering effort or loose-
ness in the steering wheel, or
change in its straight-ahead posi-tion.
Notice if your vehicle constantly turns slightly or “pulls” to one side
when traveling on smooth, levelroad.
When stopping, listen and check for unusual sounds, pulling to one
side, increased brake pedal travel
or “hard-to-push” brake pedal.
If any slipping or changes in the operation of your reduction gear
occurs, check the reduction gear
fluid level.
Check the reduction gear P (Park) function.
Check the parking brake.
Check for fluid leaks under your vehicle (water dripping from the air
conditioning system during or after
use is normal).
At least monthly:
Check coolant level in the coolantreservoir.
Check the operation of all exterior lights, including the stoplights, turn
signals and hazard warning flashers.
Check the inflation pressures of all tires including the spare for tires
that are worn, show uneven wear,or are damaged.
Check for loose wheel lug nuts.
At least twice a year: (i.e., every Spring and Fall)
Check radiator, heater and air condi- tioning hoses for leaks or damage.
Check windshield washer spray and wiper operation. Clean wiper
blades with clean cloth dampened
with washer fluid.
Check headlamp alignment.
Check muffler, exhaust pipes, shields and clamps.
Check the seat belts for wear and function.
At least once a year:
Clean body and door drain holes.
Lubricate door hinges and hoodhinges.
Lubricate door and hood locks and latches.
Lubricate door rubber weather strips.
Check the air conditioning system.
Inspect and lubricate reduction gear linkage and controls.
Clean the battery and terminals.
Check the brake fluid level.
Page 482 of 582
7-16
MaintenanceE
E XX PPLLAA NN AATTIIOO NN OO FF SS CC HH EEDD UU LLEE DD MM AAIINN TTEENN AANN CCEE IITT EEMM SS
Cooling system
Check cooling system components,
such as radiator, coolant reservoir,
hoses and connections for leakage
and damage. Replace any damaged
parts.
Coolant
The coolant should be changed at
the intervals specified in the mainte-
nance schedule.
Reduction gear fluid
The reduction gear fluid should be
inspected according to the intervalsspecified in the maintenance sched-
ule.
Brake hoses and lines
Visually check for proper installation,
chafing, cracks, deterioration and
any leakage. Replace any deteriorat-
ed or damaged parts immediately.
Brake fluid
Check brake fluid level in the brake
fluid reservoir. The level should be
between the MIN and the MAX
marks on the side of the reservoir.
Use only hydraulic brake fluid con-
forming to DOT 3 or DOT 4 specifi-cation.
Brake discs, pads, calipers
and rotors
Check the pads, the disc, and the
rotor for any excessive wear-out.
Inspect calipers for any fluid leakage
For more information on checking
the pads or lining wear limit, refer to
the HYUNDAI web site. (http://ser
vice.hyundai-motor.com)
Suspension mounting bolts
Check the suspension connections
for looseness or damage. Retighten
to the specified torque.
Steering gear box, linkage &
boots/lower arm ball joint
With the vehicle stopped and the
hybrid system off, check for exces-
sive free-play in the steering wheel.
Check the linkage for bends or dam-
age. Check the dust boots and ball
joints for deterioration, cracks, or
damage.
Replace any damaged parts.
Drive shafts and boots
Check the drive shafts, boots and
clamps for cracks, deterioration, or
damage. Replace any damaged
parts and, if necessary, repack the
grease.
Air conditioning refrigerant
Check the air conditioning lines and
connections for leakage and damage.
Page 544 of 582
8
Specifications & Consumer information
8
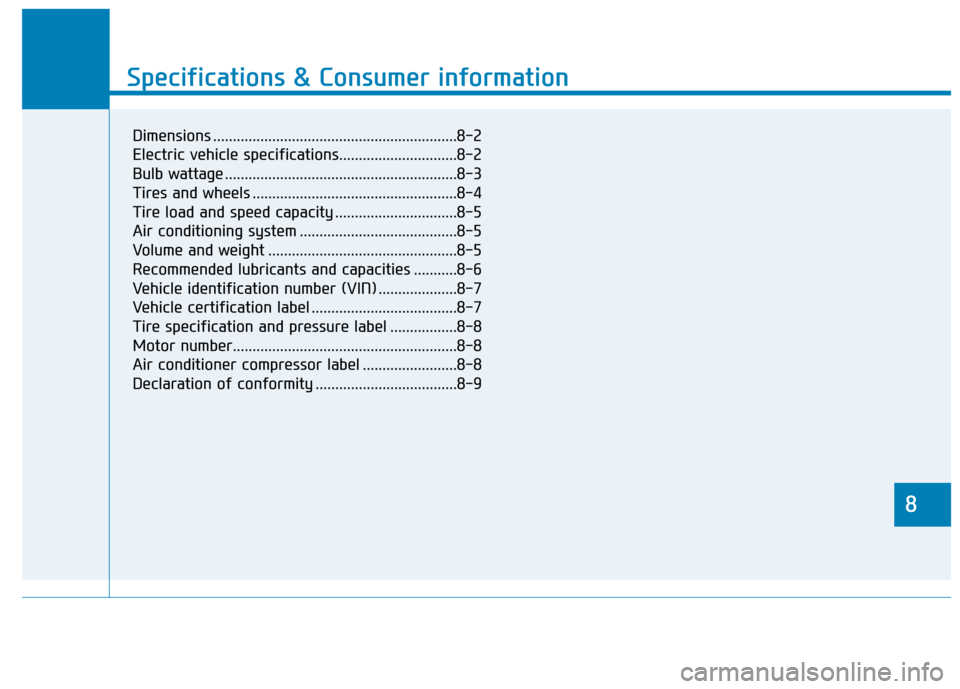
Specifications & Consumer information
8
Dimensions ..............................................................8-2
Electric vehicle specifications..............................8-2
Bulb wattage ...........................................................8-3
Tires and wheels ....................................................8-4
Tire load and speed capacity ...............................8-5
Air conditioning system ........................................8-5
Volume and weight ................................................8-5
Recommended lubricants and capacities ...........8-6
Vehicle identification number (VIN) ....................8-7
Vehicle certification label .....................................8-7
Tire specification and pressure label .................8-8
Motor number.........................................................8-8
Air conditioner compressor label ........................8-8
Declaration of conformity ....................................8-9
Page 571 of 582
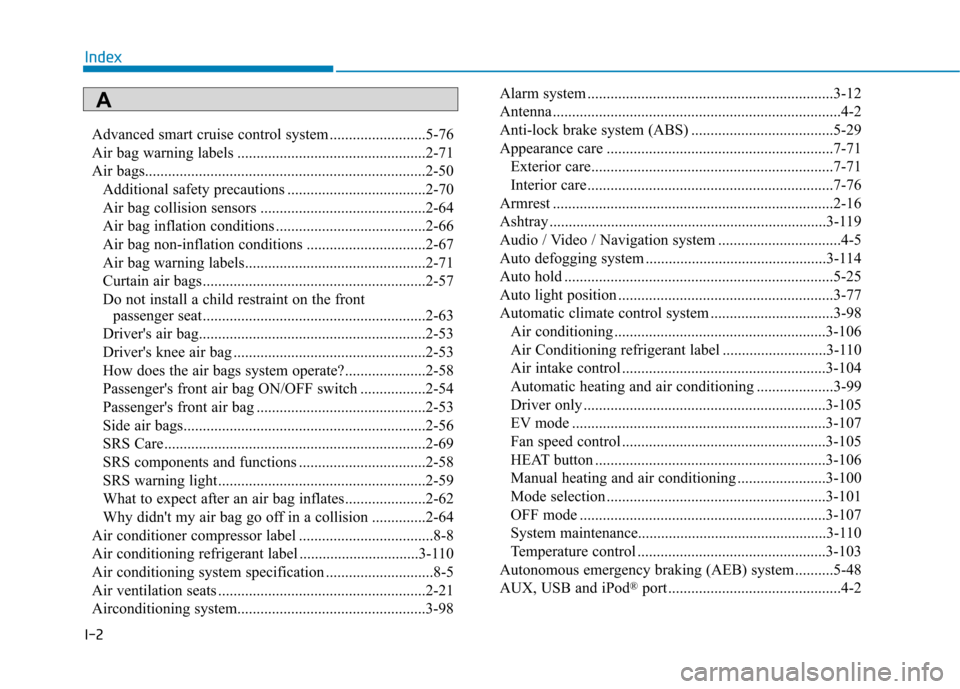
I-2Advanced smart cruise control system .........................5-76
Air bag warning labels .................................................2-71
Air bags.........................................................................2-50
Additional safety precautions ....................................2-70
Air bag collision sensors ...........................................2-64
Air bag inflation conditions .......................................2-66
Air bag non-inflation conditions ...............................2-67
Air bag warning labels...............................................2-71
Curtain air bags..........................................................2-57
Do not install a child restraint on the front passenger seat..........................................................2-63
Driver's air bag...........................................................2-53
Driver's knee air bag ..................................................2-53
How does the air bags system operate?.....................2-58
Passenger's front air bag ON/OFF switch .................2-54
Passenger's front air bag ............................................2-53
Side air bags...............................................................2-56
SRS Care....................................................................2-69
SRS components and functions .................................2-58
SRS warning light......................................................2-59
What to expect after an air bag inflates.....................2-62
Why didn't my air bag go off in a collision ..............2-64
Air conditioner compressor label ...................................8-8
Air conditioning refrigerant label ...............................3-110
Air conditioning system specification ............................8-5
Air ventilation seats ......................................................2-21
Airconditioning system.................................................3-98 Alarm system ................................................................3-12
Antenna ...........................................................................4-2
Anti-lock brake system (ABS) .....................................5-29
Appearance care ...........................................................7-71
Exterior care...............................................................7-71
Interior care................................................................7-76
Armrest .........................................................................2-16
Ashtray ........................................................................3-119
Audio / Video / Navigation system ................................4-5
Auto defogging system ...............................................3-114
Auto hold ......................................................................5-25
Auto light position ........................................................3-77
Automatic climate control system ................................3-98
Air conditioning .......................................................3-106
Air Conditioning refrigerant label ...........................3-110
Air intake control .....................................................3-104
Automatic heating and air conditioning ....................3-99
Driver only ...............................................................3-105
EV mode ..................................................................3-107
Fan speed control .....................................................3-105
HEAT button ............................................................3-106
Manual heating and air conditioning .......................3-100
Mode selection .........................................................3-101
OFF mode ................................................................3-107
System maintenance.................................................3-110
Temperature control .................................................3-103
Autonomous emergency braking (AEB) system ..........5-48
AUX, USB and iPod ®
port .............................................4-2
Index
A