Page 439 of 582
5-100
Driving your vehicle
Carry emergency equipment
In accordance with weather condi-
tions, you should carry appropriate
emergency equipment, while driving.
Some of the items you may want to
carry include tire chains, tow straps
or chains, flashlight, emergency
flares, sand, shovel, jumper cables,
window scraper, gloves, ground
cloth, coveralls, blanket, etc. Do not place objects or materials
in the motor compartment
Putting objects or materials in the
motor compartment may cause an
vehicle failure, because those may
block cooling the parts in the motor
compartment. Such damage will not
be covered by the manufacturer's
warranty.
Page 443 of 582
6-2
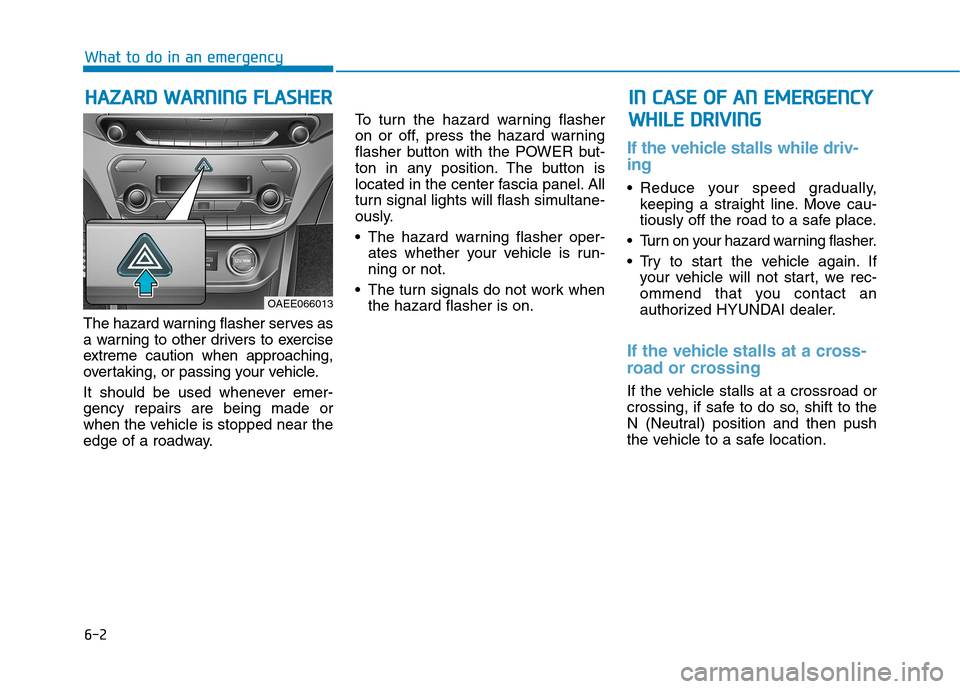
The hazard warning flasher serves as
a warning to other drivers to exercise
extreme caution when approaching,
overtaking, or passing your vehicle.
It should be used whenever emer- gency repairs are being made or
when the vehicle is stopped near the
edge of a roadway. To turn the hazard warning flasher
on or off, press the hazard warning
flasher button with the POWER but-
ton in any position. The button is
located in the center fascia panel. All
turn signal lights will flash simultane-
ously.
• The hazard warning flasher oper-
ates whether your vehicle is run- ning or not.
The turn signals do not work when the hazard flasher is on.
If the vehicle stalls while driv- ing
Reduce your speed gradually,keeping a straight line. Move cau-
tiously off the road to a safe place.
Turn on your hazard warning flasher.
Try to start the vehicle again. If your vehicle will not start, we rec-
ommend that you contact an
authorized HYUNDAI dealer.
If the vehicle stalls at a cross-
road or crossing
If the vehicle stalls at a crossroad or
crossing, if safe to do so, shift to the
N (Neutral) position and then push
the vehicle to a safe location.
HH AAZZAA RRDD WW AARRNN IINN GG FF LLAA SSHH EERR
What to do in an emergency
IINN CC AA SSEE OO FF AA NN EE MM EERR GG EENN CCYY
W
W HHIILL EE DD RRIIVV IINN GG
OAEE066013
Page 445 of 582
6-4
What to do in an emergency
If the vehicle doesn't turn over
or turns over slowly
Be sure the gear is in P (Park). Thevehicle starts only when the gear is
in P (Park).
Check the 12-volt battery connec- tions to be sure they are clean andtight.
Turn on the interior light. If the light dims or goes out when you operate
the starter, the battery is drained.
Do not push or pull the vehicle to
start it. This could cause damage to
your vehicle. See instructions for
"Jump Starting" provided in this
chapter. Jump starting can be dangerous if
done incorrectly. Follow the jump
starting procedure in this section to
avoid serious injury or damage to
your vehicle. If in doubt about how to
properly jump start your vehicle, we
strongly recommend that you have a
service technician or towing service
do it for you.
JJ
UU MM PP SS TT AA RRTTIINN GG
II FF TT HH EE VV EEHH IICC LLEE WW IILL LL NN OO TT
S
S TT AA RRTT
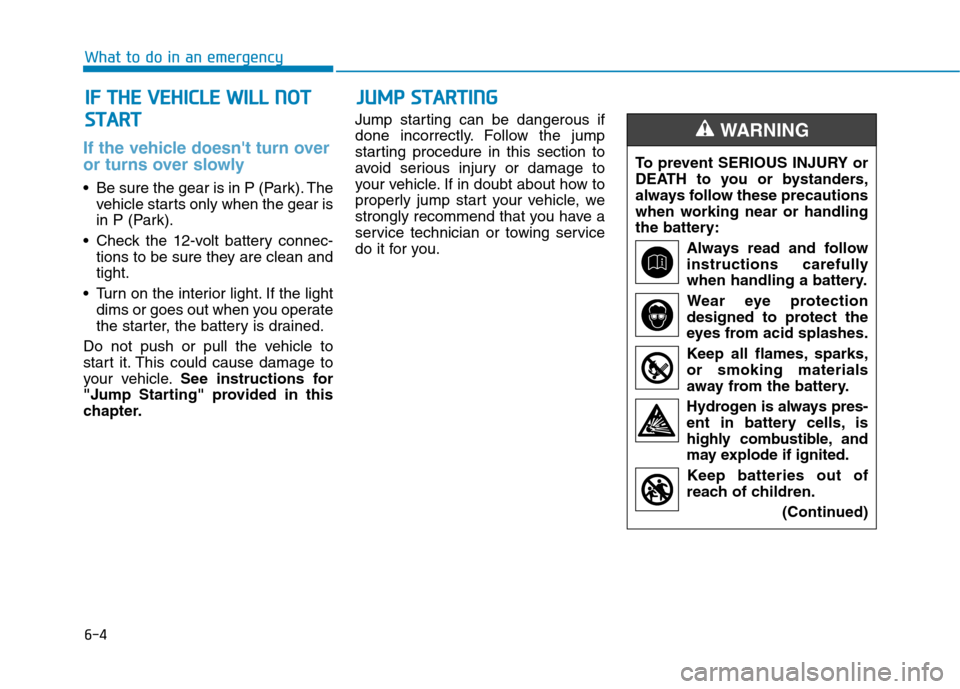
To prevent SERIOUS INJURY or
DEATH to you or bystanders,
always follow these precautions
when working near or handling
the battery:
Always read and follow
instructions carefully
when handling a battery.Wear eye protection
designed to protect the
eyes from acid splashes.
Keep all flames, sparks, or smoking materials
away from the battery.
Hydrogen is always pres- ent in battery cells, is
highly combustible, and
may explode if ignited.
Keep batteries out of
reach of children.
(Continued)
WARNING
Page 447 of 582
6-6
What to do in an emergency
Jump starting procedure
1. Position the vehicles close enoughthat the jumper cables will reach,
but do not allow the vehicles totouch.
2. Avoid fans or any moving parts in the motor compartment at all
times, even when the vehicles are
turned off.
3. Turn off all electrical devices such as radios, lights, air conditioning,
etc. Put the vehicles in P (Park)
and set the parking brakes. Turn
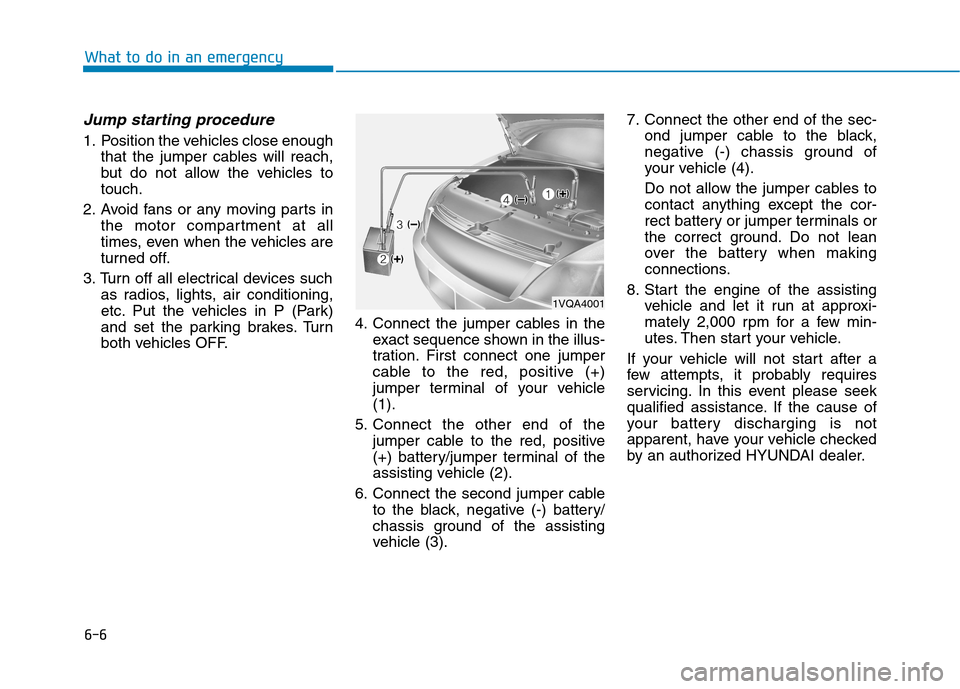
both vehicles OFF. 4. Connect the jumper cables in the
exact sequence shown in the illus-
tration. First connect one jumper
cable to the red, positive (+)
jumper terminal of your vehicle(1).
5. Connect the other end of the jumper cable to the red, positive
(+) battery/jumper terminal of the
assisting vehicle (2).
6. Connect the second jumper cable to the black, negative (-) battery/
chassis ground of the assisting
vehicle (3). 7. Connect the other end of the sec-
ond jumper cable to the black,
negative (-) chassis ground of
your vehicle (4).
Do not allow the jumper cables to
contact anything except the cor-
rect battery or jumper terminals or
the correct ground. Do not lean
over the battery when making
connections.
8. Start the engine of the assisting vehicle and let it run at approxi-
mately 2,000 rpm for a few min-
utes. Then start your vehicle.
If your vehicle will not start after a
few attempts, it probably requires
servicing. In this event please seek
qualified assistance. If the cause of
your battery discharging is not
apparent, have your vehicle checked
by an authorized HYUNDAI dealer.
1VQA4001
Page 452 of 582
6-11
What to do in an emergency
6
If any of the below happens, have
the system checked by an author-
ized HYUNDAI dealer.
1. The Low Tire Pressure Telltale/TPMS Malfunction Indicator
does not illuminate for 3 sec-
onds when the vehicle is ON.
2. The TPMS Malfunction Indicator remains illuminated after blink-
ing for approximately 1 minute.
3. The Low Tire Pressure Position Telltale remains illuminated.
Low tire pressure telltale
Low tire pressure position andtire pressure telltale
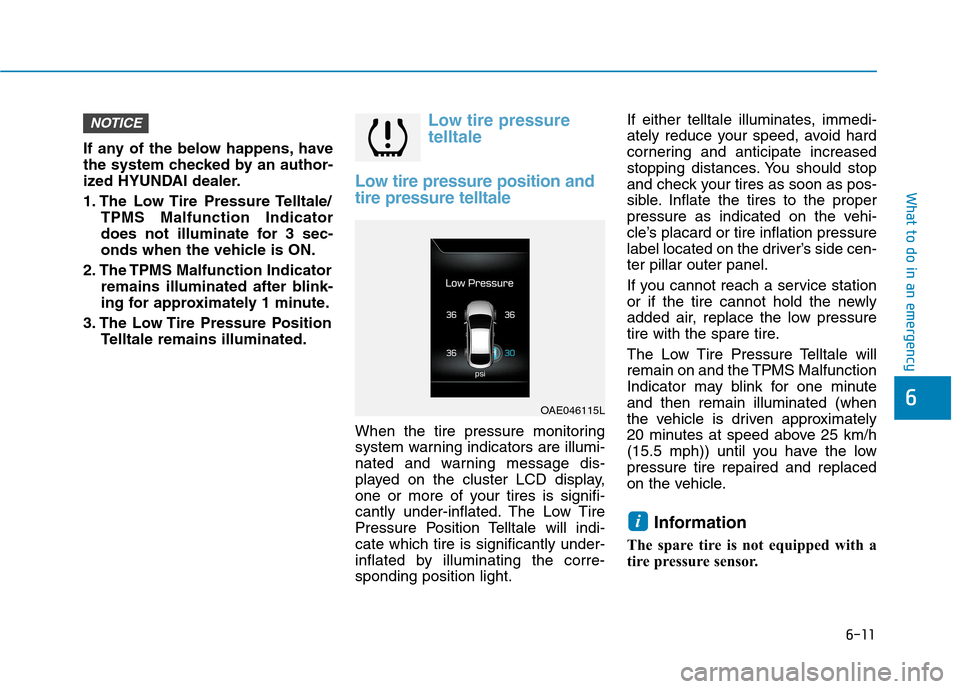
When the tire pressure monitoring
system warning indicators are illumi-
nated and warning message dis-
played on the cluster LCD display,
one or more of your tires is signifi-
cantly under-inflated. The Low Tire
Pressure Position Telltale will indi-cate which tire is significantly under-
inflated by illuminating the corre-sponding position light. If either telltale illuminates, immedi-
ately reduce your speed, avoid hard
cornering and anticipate increased
stopping distances. You should stop
and check your tires as soon as pos-
sible. Inflate the tires to the proper
pressure as indicated on the vehi-
cle’s placard or tire inflation pressure
label located on the driver’s side cen-ter pillar outer panel.
If you cannot reach a service station
or if the tire cannot hold the newly
added air, replace the low pressure
tire with the spare tire.
The Low Tire Pressure Telltale will
remain on and the TPMS Malfunction
Indicator may blink for one minuteand then remain illuminated (when
the vehicle is driven approximately
20 minutes at speed above 25 km/h
(15.5 mph)) until you have the lowpressure tire repaired and replaced
on the vehicle.
Information
The spare tire is not equipped with a
tire pressure sensor.
i
NOTICE
OAE046115L
Page 455 of 582
6-14
What to do in an emergency
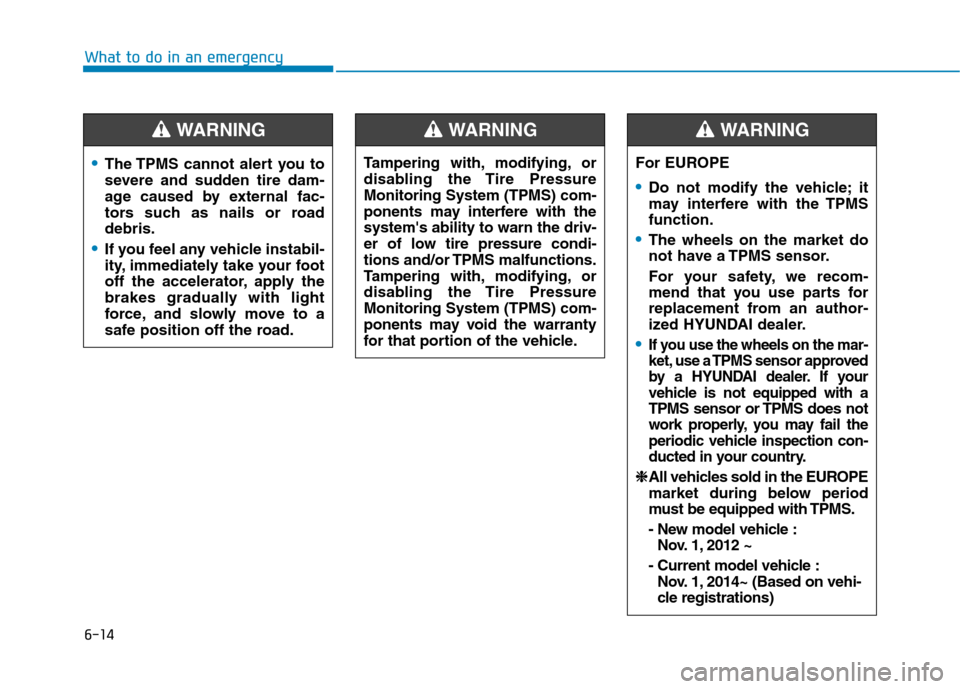
The TPMS cannot alert you to
severe and sudden tire dam-
age caused by external fac-
tors such as nails or roaddebris.
If you feel any vehicle instabil-
ity, immediately take your foot
off the accelerator, apply the
brakes gradually with light
force, and slowly move to a
safe position off the road.
WARNING
Tampering with, modifying, or
disabling the Tire PressureMonitoring System (TPMS) com-
ponents may interfere with thesystem's ability to warn the driv-
er of low tire pressure condi-
tions and/or TPMS malfunctions.
Tampering with, modifying, or
disabling the Tire PressureMonitoring System (TPMS) com-
ponents may void the warranty
for that portion of the vehicle.
WARNING
For EUROPE
Do not modify the vehicle; it
may interfere with the TPMSfunction.
The wheels on the market do
not have a TPMS sensor.
For your safety, we recom-
mend that you use parts for
replacement from an author-
ized HYUNDAI dealer.
If you use the wheels on the mar-
ket, use a TPMS sensor approved
by a HYUNDAI de
aler. If your
vehicle is not equipped with a
TPMS sensor or TPMS does not
work properly, you may fail the
periodic vehicle inspection con-
ducted in your country.
❈❈ All vehicles sold in the EUROPE
market during below period
must be equipped with TPMS.
- New model vehicle :
Nov. 1, 2012 ~
- Current model vehicle : Nov. 1, 2014~ (Based on vehi-
cle registrations)
WARNING
Page 468 of 582
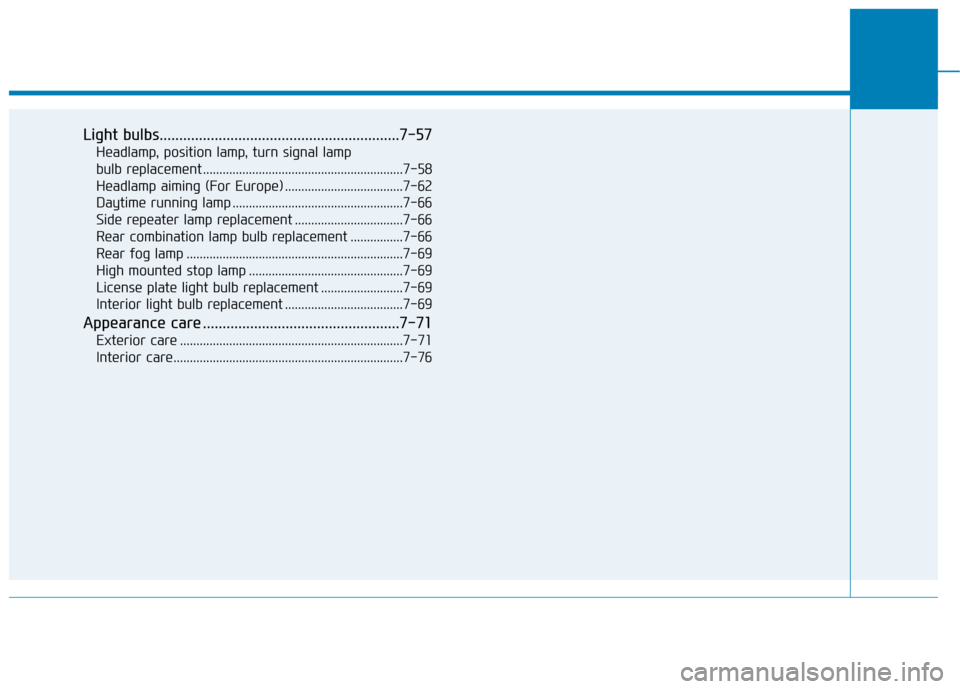
Light bulbs.............................................................7-57Headlamp, position lamp, turn signal lamp
bulb replacement .............................................................7-58Headlamp aiming (For Europe) ....................................7-62
Daytime running lamp ....................................................7-66
Side repeater lamp replacement .................................7-66
Rear combination lamp bulb replacement ................7-66
Rear fog lamp ..................................................................7-69
High mounted stop lamp ...............................................7-69
License plate light bulb replacement .........................7-69
Interior light bulb replacement ....................................7-69
Appearance care ..................................................7-71 Exterior care ....................................................................7-71
Interior care......................................................................7-76
Page 472 of 582
7-6
Maintenance
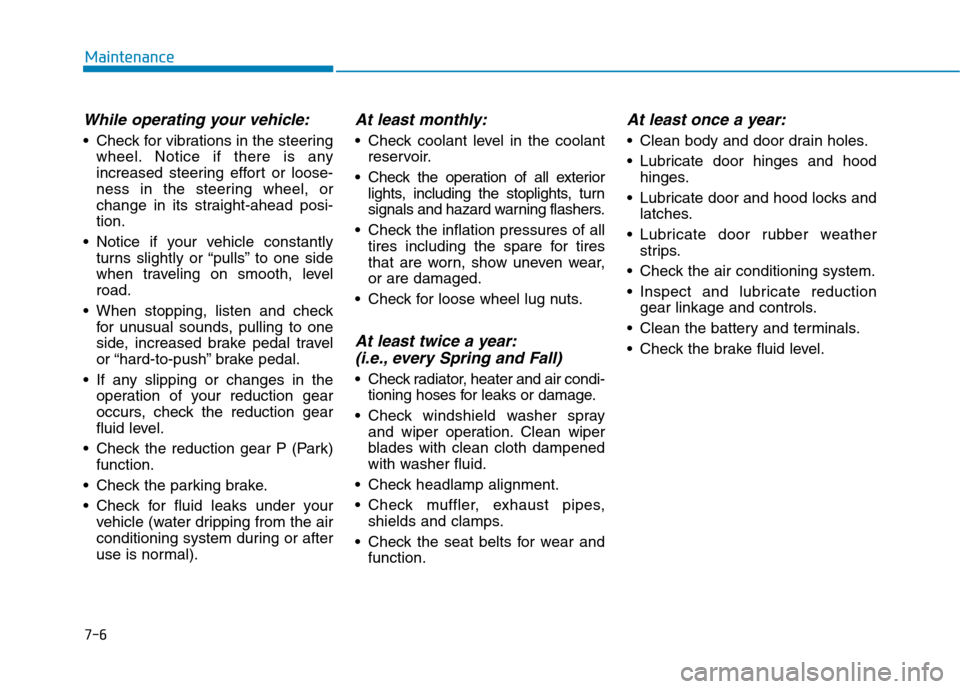
While operating your vehicle:
Check for vibrations in the steeringwheel. Notice if there is any
increased steering effort or loose-
ness in the steering wheel, or
change in its straight-ahead posi-tion.
Notice if your vehicle constantly turns slightly or “pulls” to one side
when traveling on smooth, levelroad.
When stopping, listen and check for unusual sounds, pulling to one
side, increased brake pedal travel
or “hard-to-push” brake pedal.
If any slipping or changes in the operation of your reduction gear
occurs, check the reduction gear
fluid level.
Check the reduction gear P (Park) function.
Check the parking brake.
Check for fluid leaks under your vehicle (water dripping from the air
conditioning system during or after
use is normal).
At least monthly:
Check coolant level in the coolantreservoir.
Check the operation of all exterior lights, including the stoplights, turn
signals and hazard warning flashers.
Check the inflation pressures of all tires including the spare for tires
that are worn, show uneven wear,or are damaged.
Check for loose wheel lug nuts.
At least twice a year: (i.e., every Spring and Fall)
Check radiator, heater and air condi- tioning hoses for leaks or damage.
Check windshield washer spray and wiper operation. Clean wiper
blades with clean cloth dampened
with washer fluid.
Check headlamp alignment.
Check muffler, exhaust pipes, shields and clamps.
Check the seat belts for wear and function.
At least once a year:
Clean body and door drain holes.
Lubricate door hinges and hoodhinges.
Lubricate door and hood locks and latches.
Lubricate door rubber weather strips.
Check the air conditioning system.
Inspect and lubricate reduction gear linkage and controls.
Clean the battery and terminals.
Check the brake fluid level.